Samsung Galaxy A7 (2018) Display Assembly Replacement Guide
Duration: 45 minutes
Steps: 9 Steps
Step 1


– It’s usually easier to use a Display Assembly (Screen With Frame) to fix your broken device. If you need help, you can always schedule a repair.
Step 2


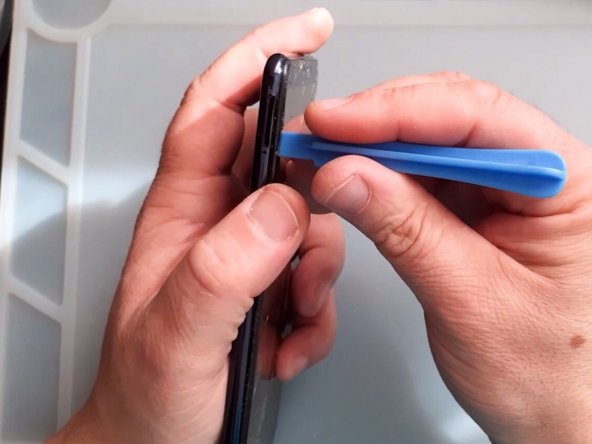
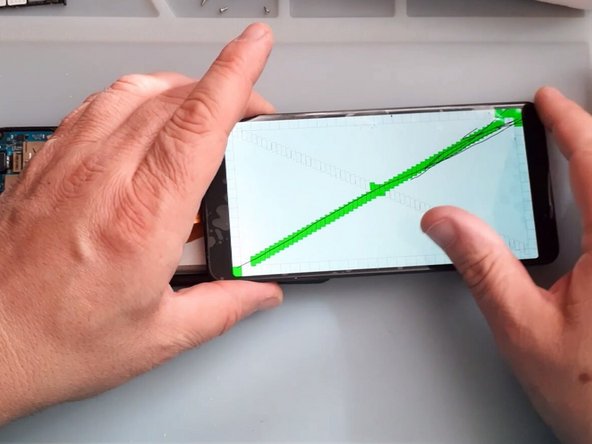
– Let’s get this party started! Use some hot air to warm up the device and loosen up that sticky stuff holding the back cover on.
– Now for the gentle part, carefully separate the back cover. Think of it like a slow dance, no sudden moves.
– Grab your trusty suction cup and plastic opening tool. We’re going to get this back cover off like a pro! If you need help, you can always schedule a repair.
Step 3


– Alright, grab your trusty Phillips screwdriver – we’re taking out those 9 screws!
– Now, let’s pop off that middle frame. Remember, gentle does it with those plastic tools.


Step 5


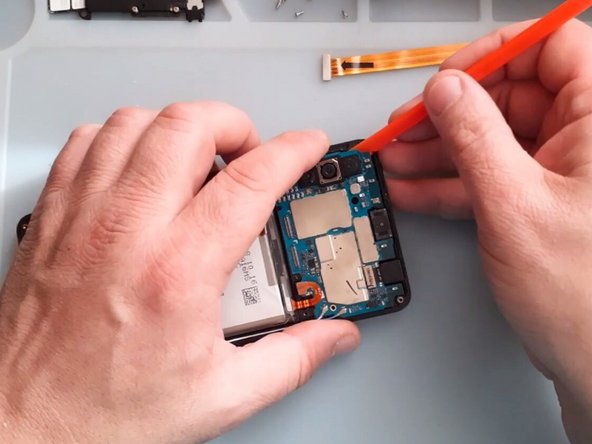
– Grab your trusty Phillips screwdriver and that handy plastic tool, and let’s pop off that sub board cover. It’s like giving the device a little hug, but with tools! If you need help, you can always schedule a repair
Step 6
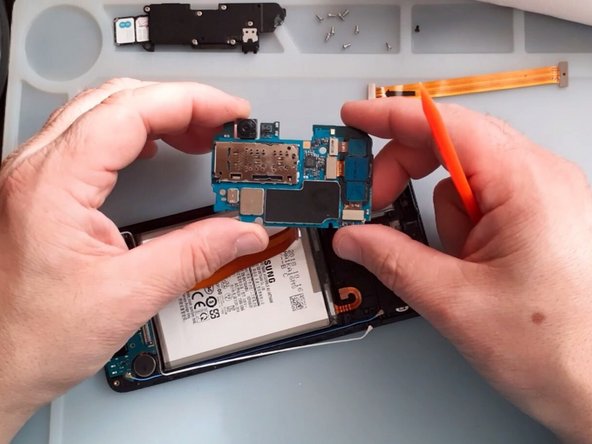

– Carefully unscrew the black Philips screw and gently lift out the Motherboard like you’re unveiling a surprise gift!
Step 7

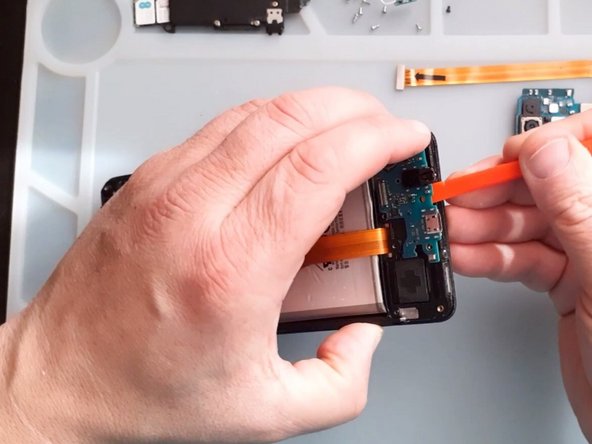
– Gently take out the Antenna Sub-PBA board. A little warmth can help make it easier to pop that sub board out!
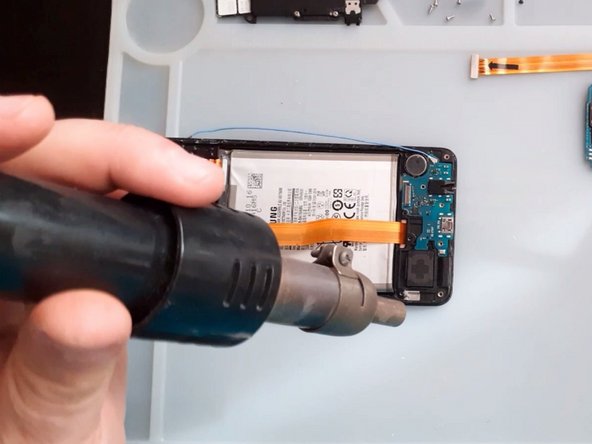
Step 8

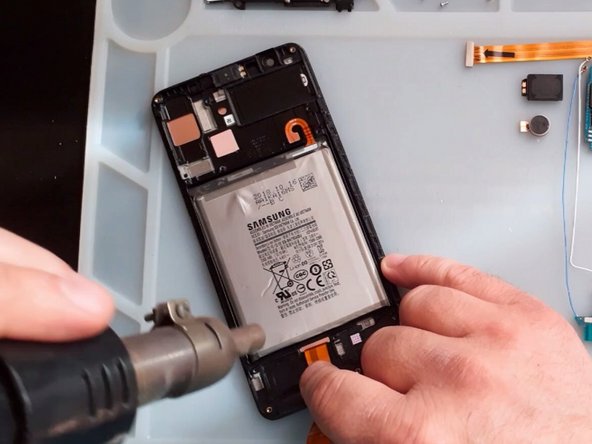
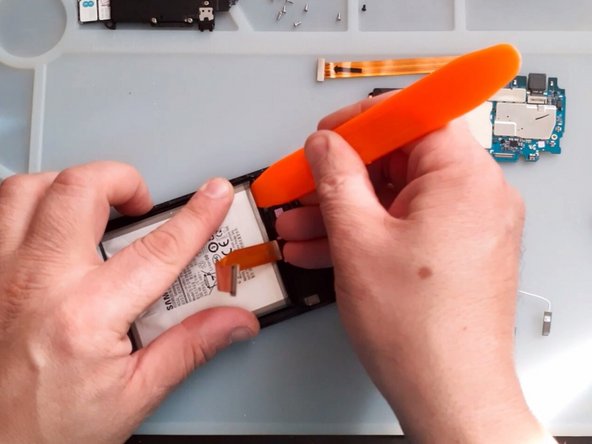
– Let’s get that new screen frame ready to rock! First up, gently use some hot air and your trusty plastic tools to detach the battery.
– Next, it’s time to tackle the vibrator motor.
– Don’t forget the loudspeaker; it’s essential for those tunes!
– And last but not least, let’s not overlook the receiver.
Step 9

– That’s a wrap, folks!
