Samsung Galaxy A70 Screen Replacement Guide: DIY Tutorial
Duration: 45 minutes
Steps: 28 Steps
Get ready to replace your Galaxy A70’s cracked or broken screen. If the frame’s got a wobble, swap it out to ensure your shiny new screen fits snugly and stays safe from uneven pressure. Before diving in, discharge the battery below 25% to lower the chance of any fiery mishaps if punctured. Remember, this guide shows how to swap just the screen while keeping the original frame and motherboard. Some replacement screens come pre-installed in a new frame (a.k.a. chassis), so double-check you’ve got the right part before you start. You’ll need some fresh adhesive to reattach everything when you’re done. If you need help, you can always schedule a repair.
Step 1


– Grab your trusty SIM card eject tool, a SIM eject bit, or even a straightened paper clip. Now, gently insert it into the tiny hole on the SIM tray found on the left edge of your phone.
– Give it a firm press to pop that tray right out and then go ahead and remove it with ease!
Tools Used

Step 2

Using a hair dryer, heat gun, or hot plate can be handy, but remember to keep it cool! Overheating your device can lead to a sad AMOLED display and a grumpy internal battery, both of which are sensitive to heat. So, take your time and keep things chill! If you need help, you can always schedule a repair.
– First things first, let’s give your Galaxy A70 a little break—turn it off! Next up, grab that handy iOpener, give it a warm-up, and place it on the back cover to help loosen that adhesive. Make sure to let it chill there for at least two minutes. If you’re feeling like it’s not quite ready, don’t hesitate to give it another round of warmth during the back cover removal. You’ve got this!
Tools Used

Step 3


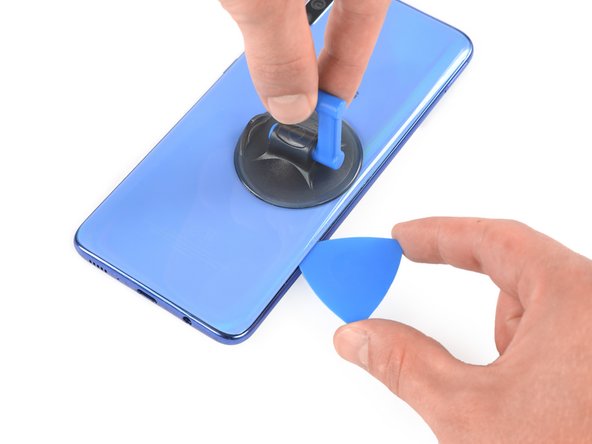
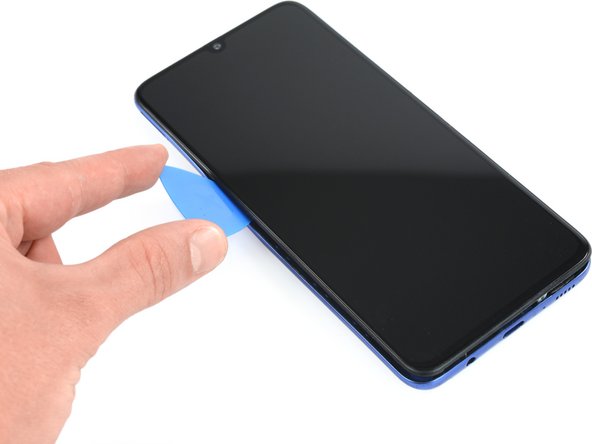
– Stick a suction cup right on the back of your phone, close to the middle of the right side.
– Now pull on the suction cup to give yourself a little peek between the back cover and the frame.
– Carefully slide a pick into that tiny gap you just made!
Step 4


After you’ve popped in that opening pick, you can totally ditch the suction cup or keep it handy for a little extra grip while you tackle the removal. You’ve got this!
– Gently glide the opening pick along the edge until you reach the bottom right corner.
– Keep the opening pick right where it is to stop that pesky adhesive from sticking back together.
Step 5


If you’re having a tough time with the cutting, feel free to give the iOpener another go to soften that sticky adhesive.
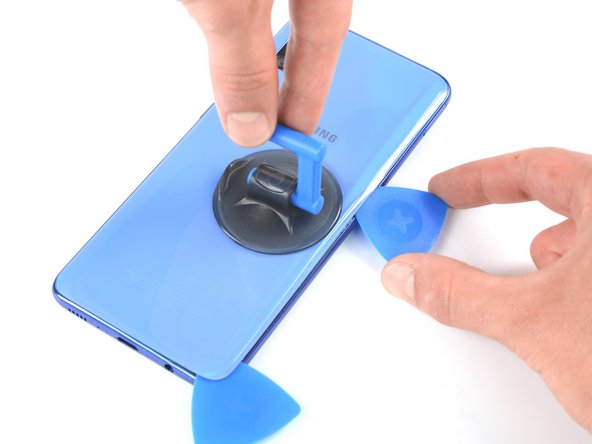
– Let’s get this back cover off! First, you’ll gently insert a second opening pick underneath the bottom right corner of the back cover.
– Slide that opening pick along the edge, heading towards the top right corner. Keep that pick moving, like a little dance across the phone’s edge!
– We’re almost there! Leave those opening picks in place to prevent the adhesive from sticking back together. You’re doing great!
Tools Used
Step 6


– Sneak a third pick under the top right corner of the back cover.
– Glide the pick’s tip along the phone’s top edge to slice through that adhesive.
– Keep the pick in the top left corner to stop the adhesive from sticking again.
Step 7


– Pop a fourth opening pick right into the top left corner.
– Gently glide that opening pick down the left edge of your phone to slice through the adhesive like a pro.
– Keep the opening pick in there to stop the adhesive from sealing back up. You’re doing great!
Step 8

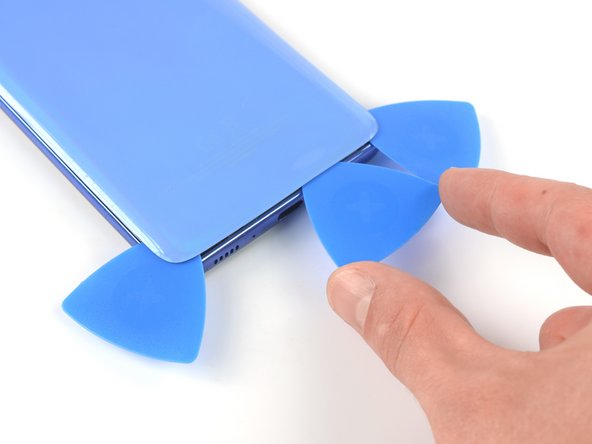
– Alright, let’s get this party started! Insert a fifth opening pick underneath the bottom left corner, like you’re giving it a little high five.
– Now, slide it along the bottom edge to cut the remaining adhesive. We’re almost there, buddy!
Step 9

– Let’s get this back cover off! You can do it.
– After you’ve got the back cover back on, give your phone a little love with some pressure. A stack of heavy books will do the trick. It’ll help that adhesive bond strong and tight! If you need help, you can always schedule a repair
Step 10

– Grab your trusty Phillips screwdriver and carefully take out the fourteen screws that hold the midframe in place. Each one is 4.0 mm long, so keep an eye on them!
Step 11


The midframe is securely fastened by plastic clips, so let’s take a look at how to carefully release them. If you need help, you can always schedule a repair
– Now it’s time to get started – carefully insert an opening pick between the midframe and front panel assembly on the right edge of the phone, near the volume button. If you need help, you can always schedule a repair
Step 12


– Gently glide that opening pick down to the bottom right corner to free those pesky plastic clips.
Step 13


– Keep gliding the opening tool gracefully from the bottom right corner to the bottom left corner, popping those plastic clips free as you go!
Step 14


– Let’s get those clips loosened! Slide the opening pick along the left edge to gently detach the plastic clips.


Step 18

Feel free to use a hair dryer, heat gun, or hot plate for a little warmth boost, but keep an eye on the heat! Overheating your phone can lead to some unwanted drama, especially for the display and the internal battery, which are both a bit sensitive to heat. Stay cool and repair on!
– Time to get this repair started. Apply a heated iOpener to the screen for two minutes to loosen things up. If you need help, you can always schedule a repair
Tools Used
Step 19


When your phone’s screen is cracked, the suction handle might be feeling a bit rebellious and not want to stick. No worries! Give it a go with some strong tape, or you can get creative and superglue the suction handle in place. Just let that glue cure for a bit and you’ll be all set to move on.
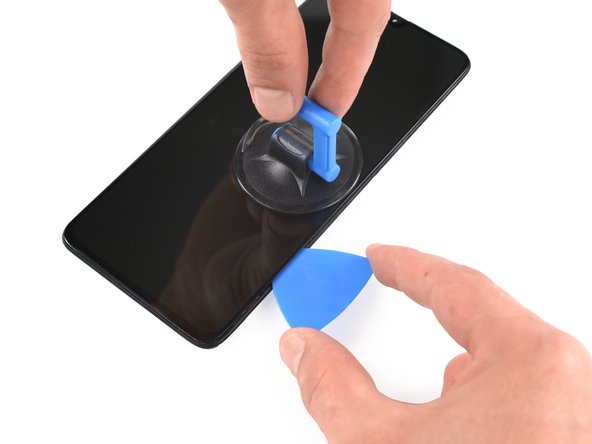
– First, attach a suction cup to the right edge of the display – it’s time to get started on this repair.
– Now, pull up the suction cup with some strong and steady force to create a gap – you’re making great progress.
– Next, carefully insert the tip of an opening pick into the gap you just created. If you need help, you can always schedule a repair
Tools Used

Step 20

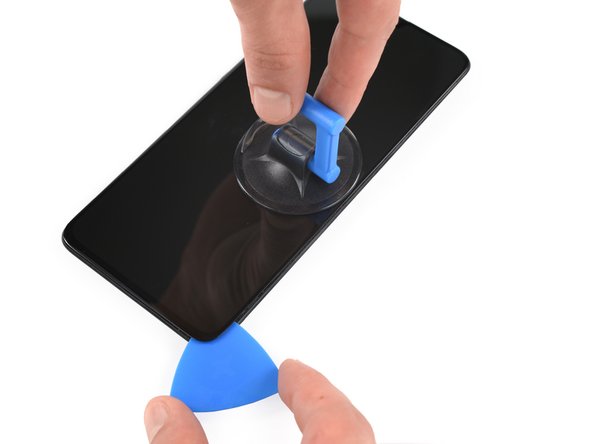
– Slide your opening pick down to the bottom right corner to cut through that adhesive.
– Keep the opening pick right there to stop the adhesive from sticking back together.
Step 21


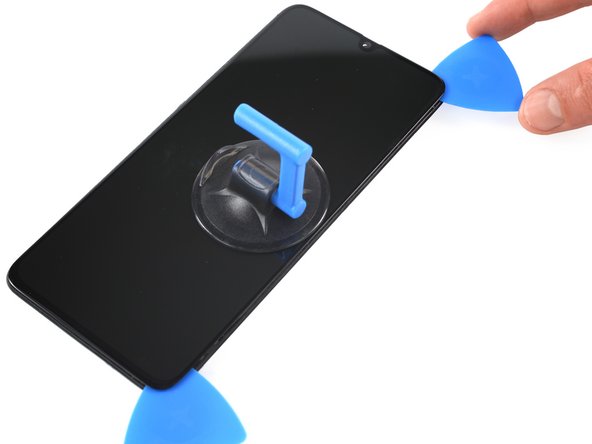
– First, carefully insert a second opening pick under the bottom right corner of your phone – you’re making great progress!
– Next, gently slide the opening pick along the right edge of your device. When you reach the top, leave it there to keep things open.
– Now, leave both opening picks in place to prevent the adhesive from resealing. You’re doing a great job! If you need help, you can always schedule a repair
Step 22


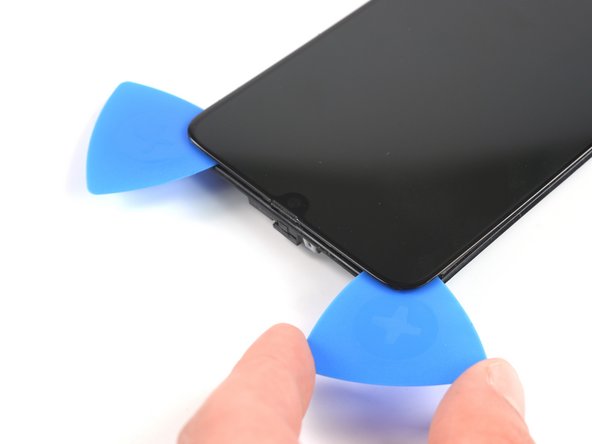
Gently slide near the front facing camera and only insert the tip (3 mm) of the opening pick to avoid messing up the camera. If you need help, you can always schedule a repair!
– Slide a third opening pick under the top right corner, just like a ninja sneaking in!
– Now, glide that pick along the top edge to cut through the adhesive. You’re doing great!
– Keep the opening pick in the top left corner to stop the adhesive from sticking back together. You’re almost there!
Step 23


– Slide a fourth opening pick into the top left corner like a pro.
– Gently glide the opening pick down the left edge to break that stubborn adhesive seal.
– Keep the opening pick in the bottom left corner to ensure the adhesive doesn’t start playing tricks on you again.
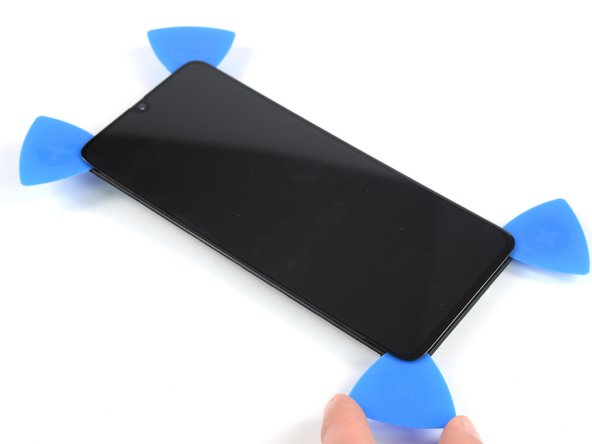
Step 24

– Place your fifth opening pick under the bottom left corner.
– Guide the opening pick along the bottom edge to cut away the rest of the adhesive.
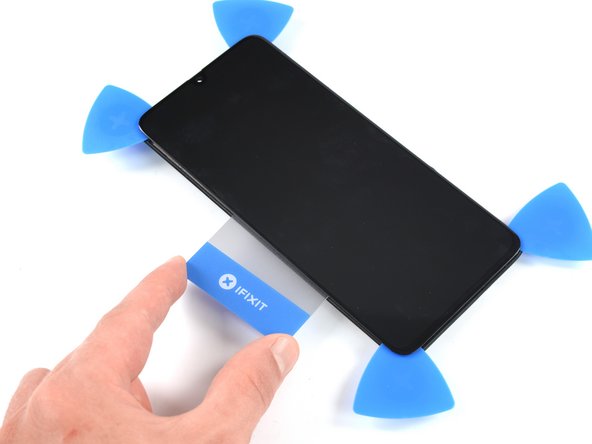
Step 25


Hey there! Just a friendly reminder: steer clear of using that plastic card under the bottom edge of the screen in the next steps. We want to keep that display flex cable intact and happy!
– Heat up your trusty iOpener and apply it to the screen to help loosen that pesky adhesive hiding underneath.
– The remaining adhesive that’s keeping the screen stuck to the midframe is right in the center, so give it some extra love!
Tools Used
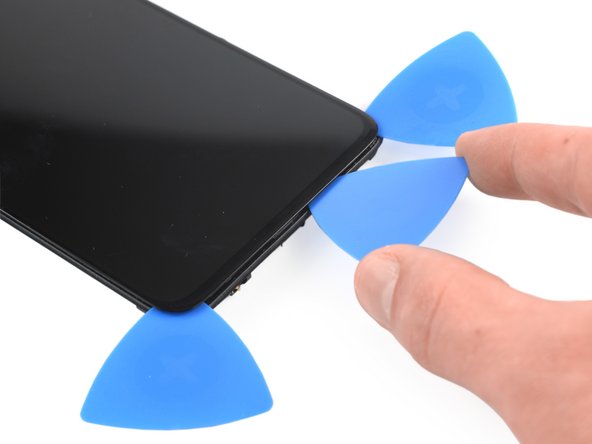
Step 26


– Slide a plastic card into the left edge, finding that sweet spot between the display and the phone assembly.
– Gently press the plastic card in and wiggle it back and forth until you slice through all that sticky adhesive holding it together.
– When you’re confident you’ve made it through the adhesive jungle, go ahead and pop out the four opening picks from the corners.


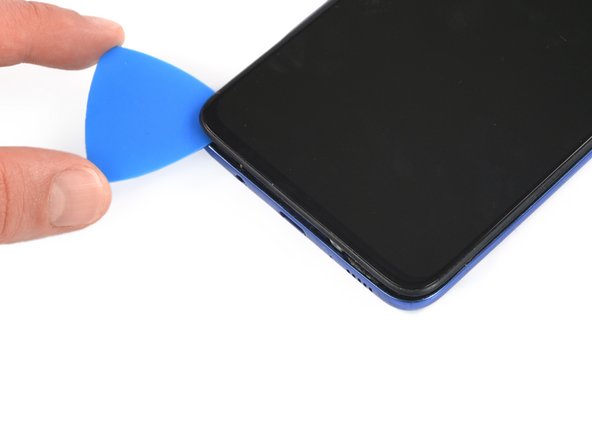
Step 28

– Let’s get started by removing the screen. This is the first step in our repair process, and it’s easier than you think. Just take your time and gently pry it off.