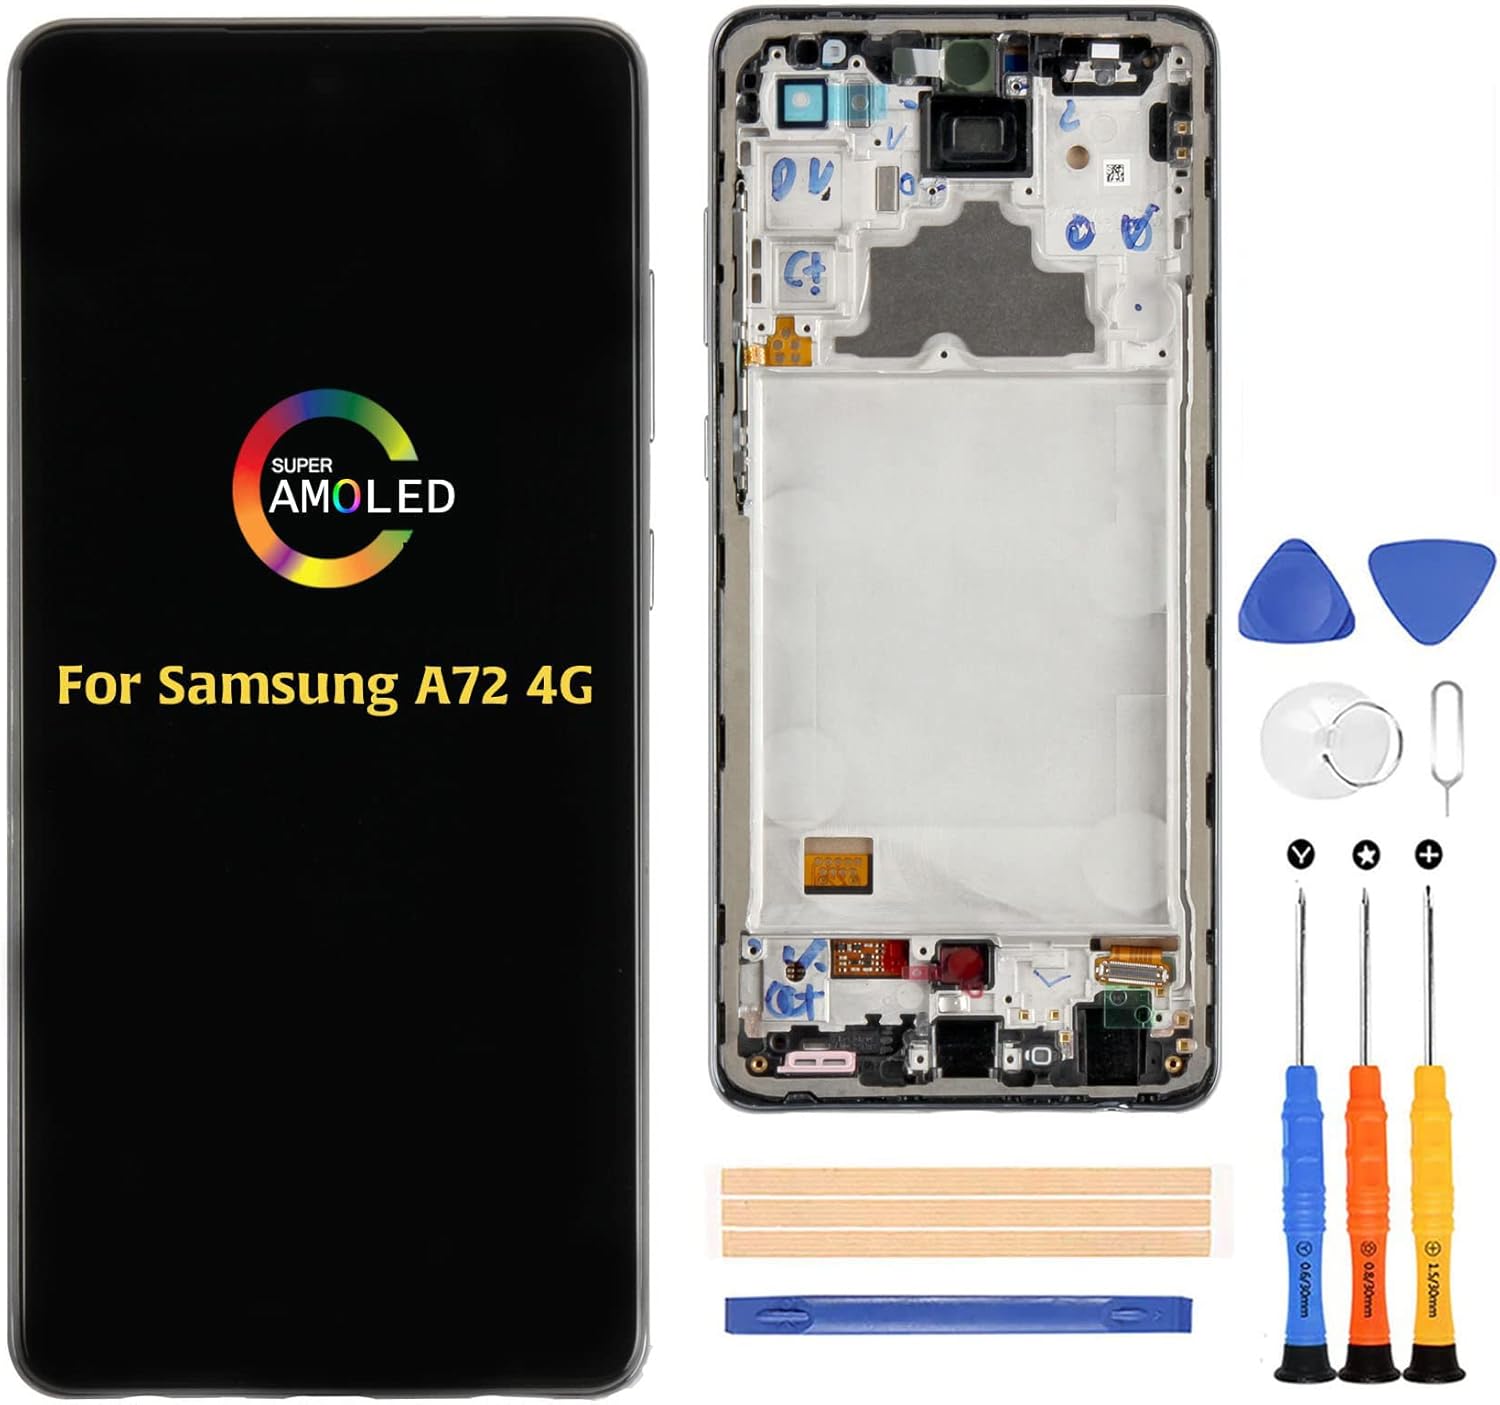
Samsung Galaxy A72 Screen Replacement Guide
Duration: 45 minutes
Steps: 26 Steps
Make sure to drain that battery down to below 25% before getting started!
Just a friendly reminder:
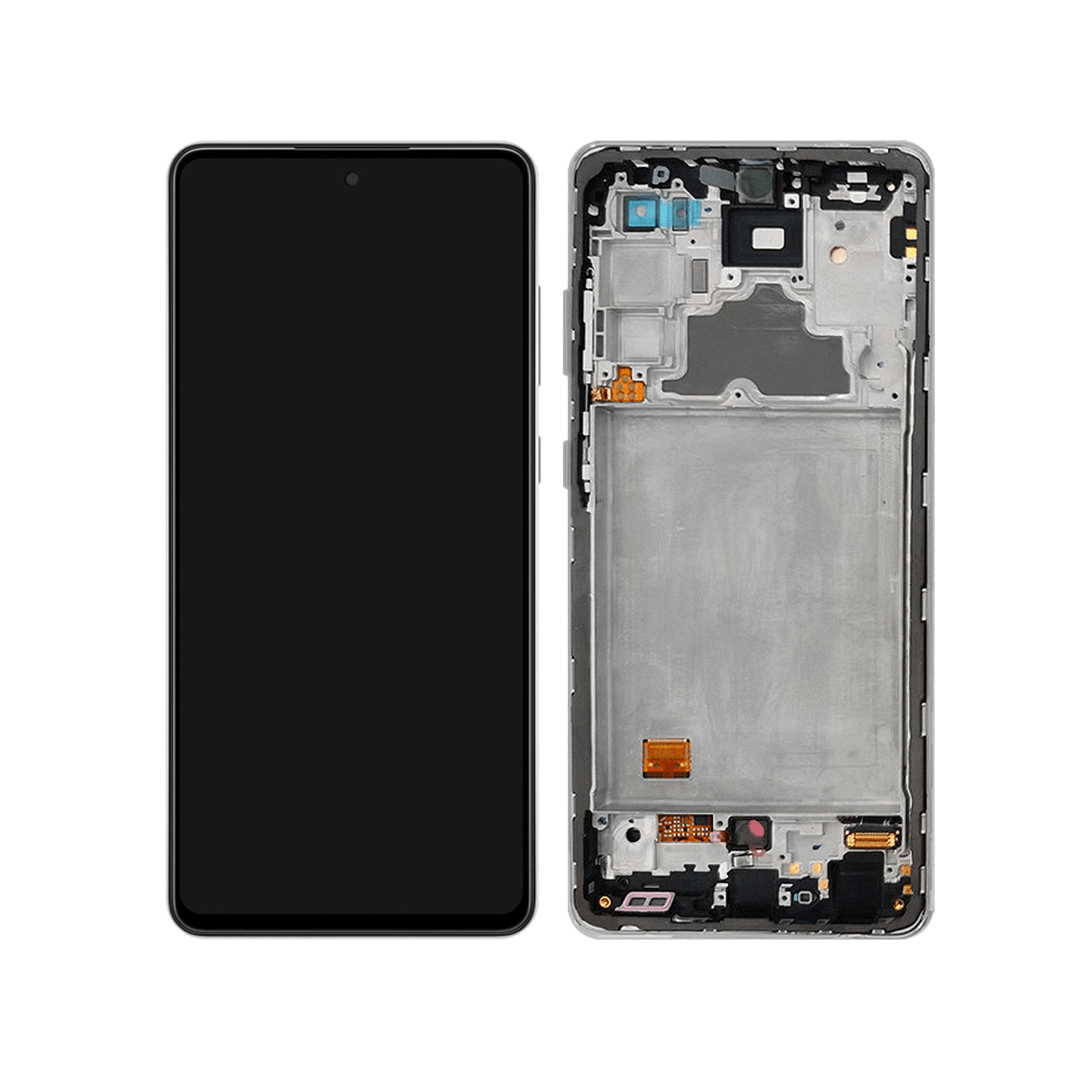
Ready to tackle that cracked or broken screen on your Samsung Galaxy A72? Awesome! Just a heads-up: if your frame’s looking a little worse for wear, swap it out to ensure the new screen fits snugly and avoids any awkward pressure mishaps. And if your battery is puffing up like a balloon, let’s take a moment to be cautious. Before diving in, make sure to drain that battery to below 25%. If it gets punctured, it could become a fire hazard, but don’t worry, discharging it reduces that risk significantly! Note: This guide is all about swapping out the screen while keeping the original frame and motherboard intact. However, some replacement screens come with a shiny new frame (or chassis), which calls for a completely different approach. Double-check that you’ve got the right part before you get started. When it’s time to put everything back together, remember that skipping the adhesive seals might let your device function just fine, but it could lose that all-important water protection. So, grab some replacement adhesive to keep those components snug when you’re reassembling. Happy fixing!
Step 1

You can use a hair dryer, heat gun, or hot plate if you need to, but keep an eye on the heat! Too much can be a bad thing for your phone—those displays and internal batteries don’t like getting too toasty.
– Grab your iOpener and give the back cover a warm embrace for a solid two minutes. This will help loosen up that pesky adhesive hiding underneath.


Step 2


If the back cover has seen better days and the suction handle isn’t sticking like it should, no worries! Try using some strong tape to give it a lift, or if you’re feeling crafty, superglue that handle in place and let it cure. Then, you’re good to go!
Having a hard time making a gap? No problem! Just apply a little more heat to soften up that adhesive. Remember to follow the iOpener instructions to keep everything from getting too toasty.
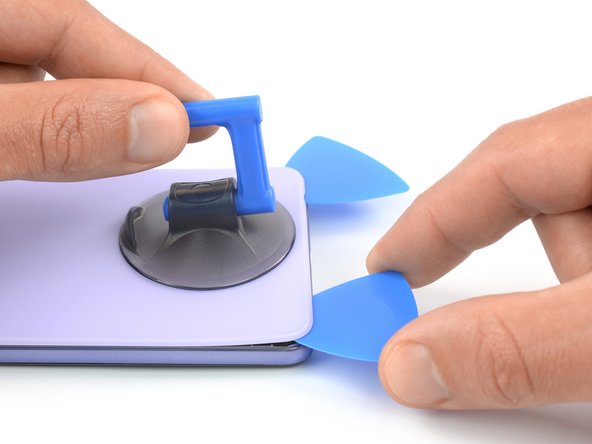
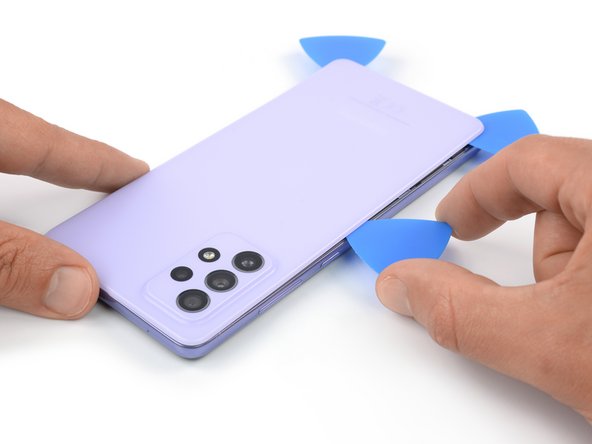
– Grab a suction handle and stick it onto the bottom edge of the back cover near the edge—let’s get a good grip!
– Gently pull up on the suction handle to create a little gap between the back cover and the frame. It’s like giving your device a friendly lift!
– Now, slide an opening pick into that gap you just made. You’re doing great!
– Carefully glide the opening pick down to the bottom right corner to cut through the adhesive. Slice it, but keep it smooth!
– Leave that opening pick in place to ensure the adhesive doesn’t make a comeback. You’ve got this!
Tools Used

Step 3

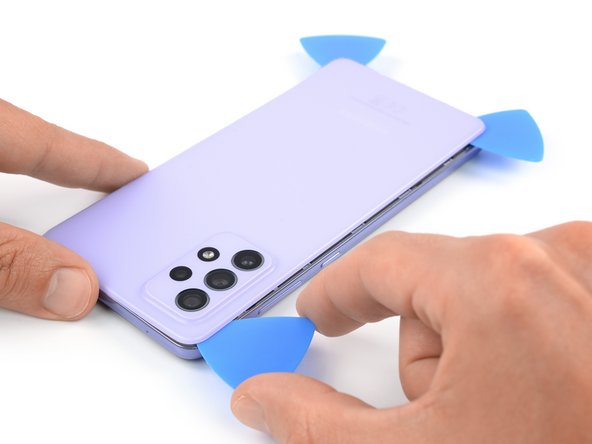
– Now it’s time to bring in some backup – insert a second opening pick at the bottom edge of your phone to help loosen things up.
– Gently slide the opening pick to the bottom left corner to slice through the adhesive and make progress.
– Leave the opening picks in place for now, so the adhesive doesn’t start to reseal – you’re making great progress, and if you need help, you can always schedule a repair
Step 4

If the adhesive gets a little stubborn, don’t sweat it! Just give it a little heat with your iOpener for a minute or two. That’ll loosen things right up.
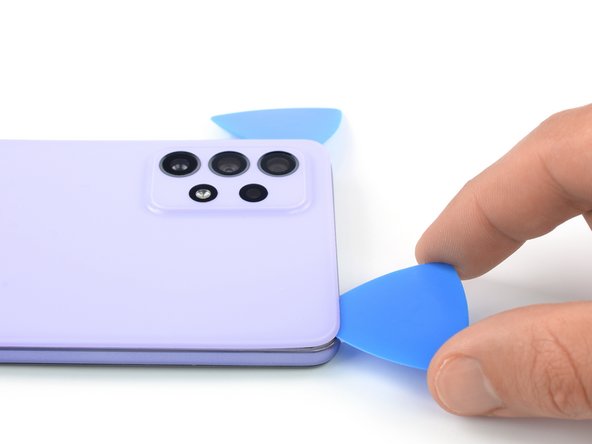
– Now it’s time to get a third opening pick into the action – insert it at the bottom left corner of your phone.
– Gently slide the opening pick along the left edge of your phone to carefully slice through the adhesive.
– Leave that opening pick right where it is, at the top left corner, to keep the adhesive from resealing and making your job harder. If you need help, you can always schedule a repair
Tools Used
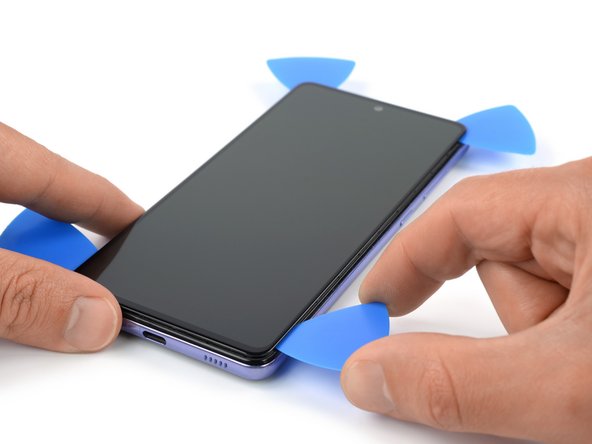
Step 5

– Slide a fourth opening pick under the top left corner of your phone, just like tucking in a cozy blanket.
– Gently glide the opening pick along the top edge to slice through that sticky adhesive as if you’re spreading butter on toast.
– Keep that opening pick snugly in the top right corner to stop the adhesive from sticking back together like it’s having a hard time saying goodbye.
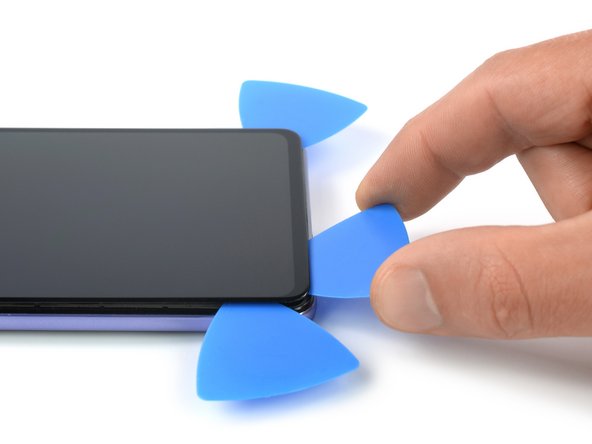
Step 6
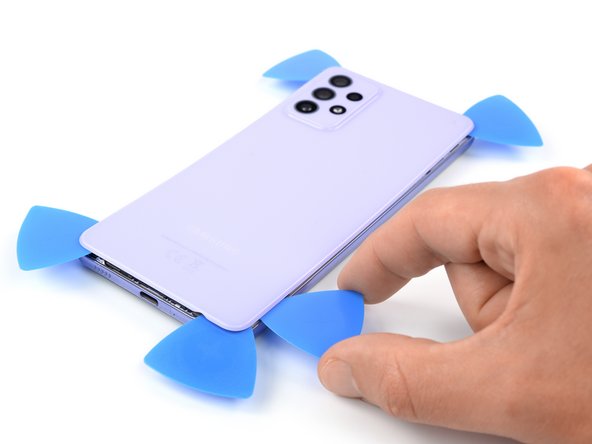

– Slide a fifth opening pick right under that top right corner like a pro.
– Gently glide the opening pick down the right side of the back cover to cut through the remaining adhesive like butter.
Step 7
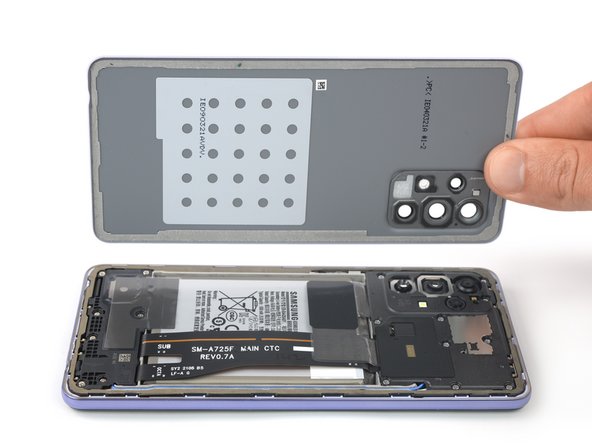

– Pop off that back cover.
– Once the relevant areas are clean with isopropyl alcohol (90%+), slap on some new adhesive where necessary.
– Stick on the new back cover with pre-cut adhesive or double-sided tape. After it’s in place, press down hard and steady on your phone for a few minutes to let the adhesive set—a stack of heavy books does the trick.
Step 8

– Grab your trusty Phillips screwdriver and let’s tackle those ten 4.5 mm-long screws holding the motherboard cover in place. You’ve got this!
Step 9


– Slide the spudger’s pointed end right under the motherboard cover’s edge like a pro!
– Now, give that motherboard cover a little nudge upwards by angling your spudger down. You’ve got this!
Tools Used

Step 10

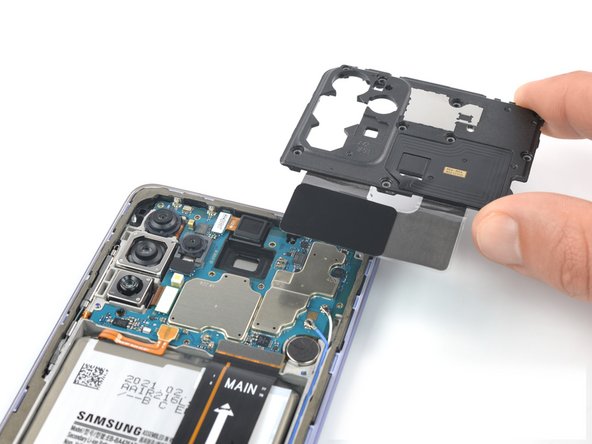
– Get ready to unveil the heart of your device by carefully taking off the motherboard cover.


Step 13

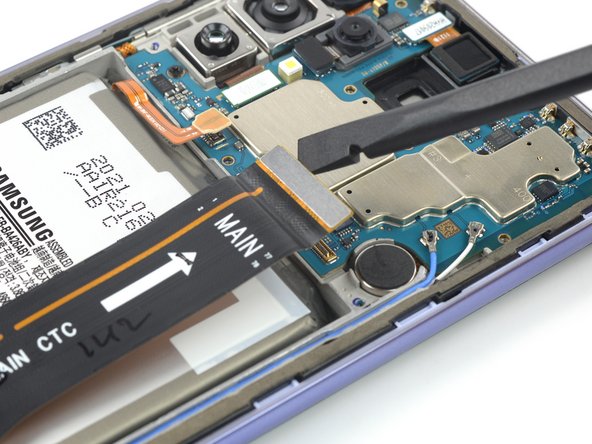
– Let’s get started by removing the seven 4.5mm-long screws that hold the loudspeaker assembly in place – just grab your trusty Phillips screwdriver and you’re all set. If you need help, you can always schedule a repair

Step 15
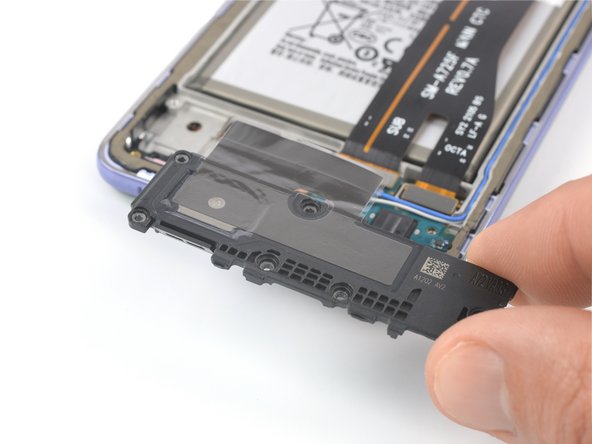

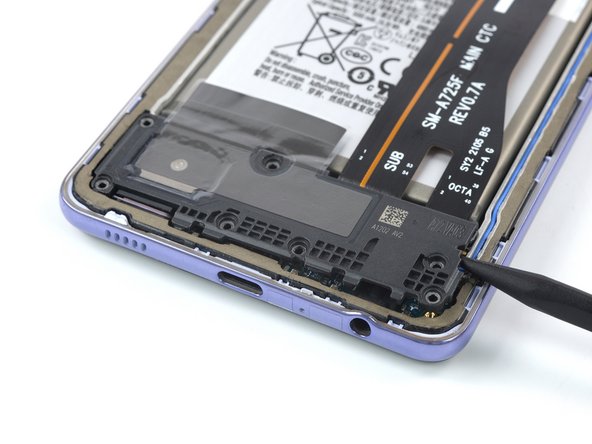
– First up, let’s get that loudspeaker assembly out of the way. You’ve got this! Remember, a little patience goes a long way.
– When you’re putting things back together, don’t forget to add some fresh adhesive where needed. A quick clean-up with isopropyl alcohol (>90%) on the relevant areas will do wonders!


Step 17

The display adhesive of the Galaxy A72 is a tough cookie. You might need to reheat and reapply the iOpener a few times before and during the display removal. Patience is key!
A hair dryer, heat gun, or hot plate can also do the trick, but be careful not to overheat the device. If you need help, you can always schedule a repair.
– Let’s get started by applying a heated iOpener to the screen. This will help loosen the adhesive underneath, making the repair process smoother. Just apply the iOpener for at least 5 minutes and you’ll be ready to move on to the next step. If you need help, you can always schedule a repair
Step 18


If your screen is looking a bit worse for wear with some serious cracks, don’t fret! A layer of clear packing tape can help the suction cup stick better. If you want to go a bit tougher, you can use some heavy-duty tape instead of the suction cup. And hey, if nothing else works, you can always superglue that suction cup right to your screen!
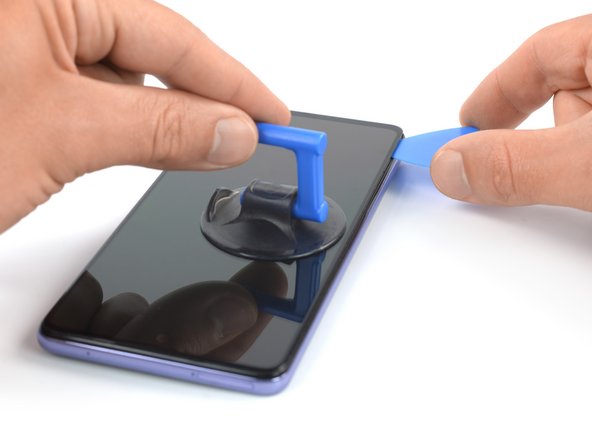
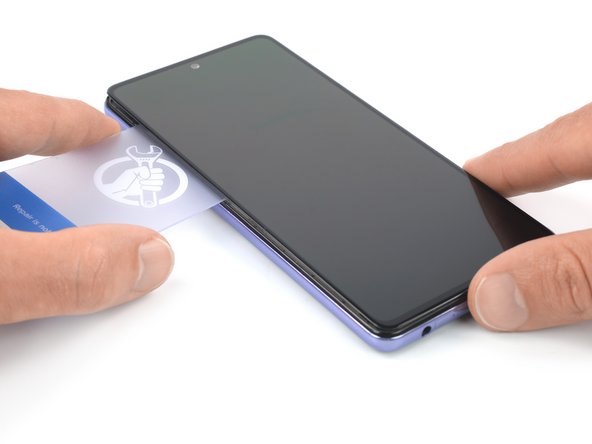
– When your screen feels a bit toasty, grab a suction cup and stick it on the left edge of the screen.
– Gently pull on the suction handle to lift the screen just enough to make a little gap between it and the front panel assembly.
– Slide in an opening pick into that gap you just created.
– Move the opening pick down to the bottom left corner of the screen to cut through that sticky adhesive.
– Keep the opening pick in place so the adhesive doesn’t get any funny ideas about resealing!
Tools Used
Step 19

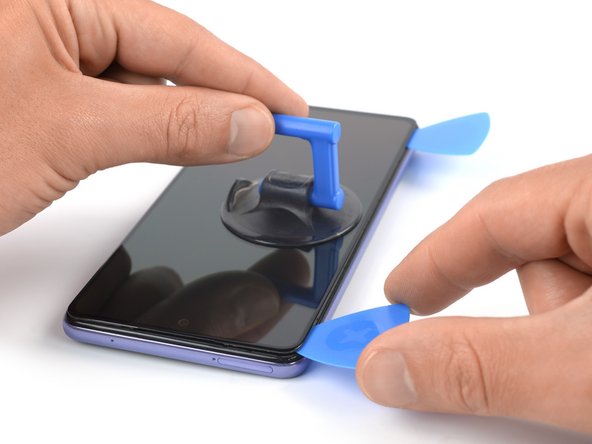
– Let’s get this show on the road! Grab a second opening pick and carefully slide it into the gap between the front panel assembly and the screen.
– Now, slide that pick up to the top left corner of the screen like you’re slicing through butter. We want to cut that adhesive, baby!
– Hold that pick right there, champ. We don’t want that adhesive sealing itself back up just yet.
Step 20

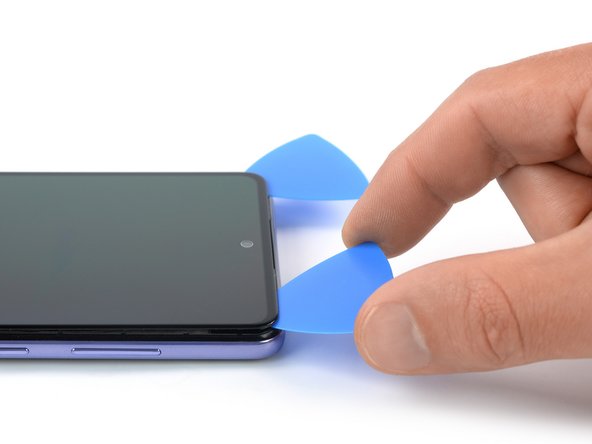

When you’re cutting near the front camera, just dip the tip of the opening pick (about 2–3 mm) to avoid messing with the camera. If you need help, you can always schedule a repair.
– Slide a third opening pick under the top left corner of your screen, like tucking a cozy blanket in.
– Gently glide that opening pick all the way to the top right corner to slice through the adhesive—it’s like spreading butter on toast!
– Keep the pick in place to stop that pesky adhesive from resealing. You’ve got this!
Step 21

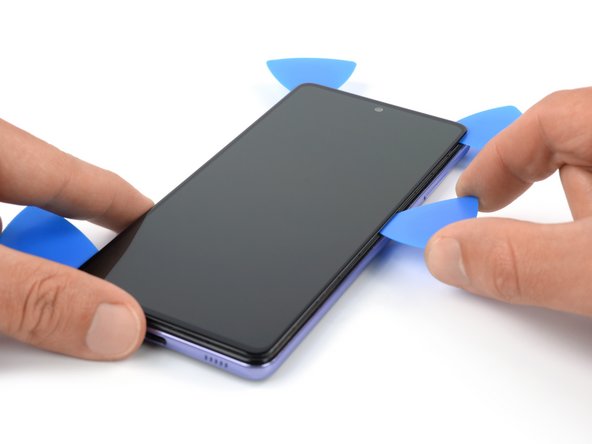
– Slide a fourth opening pick under the top right corner and glide it along the right edge of the phone to neatly cut through that adhesive.
– Keep that opening pick right where it is to stop the adhesive from sealing back up.
Step 22

– Pop in a fifth opening pick right at that bottom right corner of your screen.
– Gently glide the opening pick along the bottom edge of your phone to carefully slice through that adhesive.

Step 24


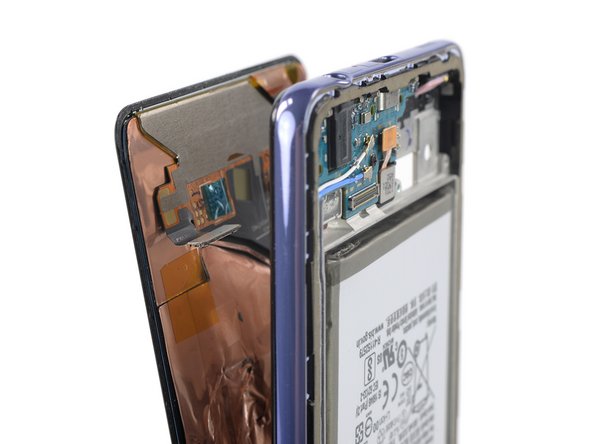
Hold up, partner! Don’t go yanking that display out just yet. The screen and digitizer cable are still cozying up with the front panel. Take it slow and steady, we’re almost there! If you need help, you can always schedule a repair.
Step 25

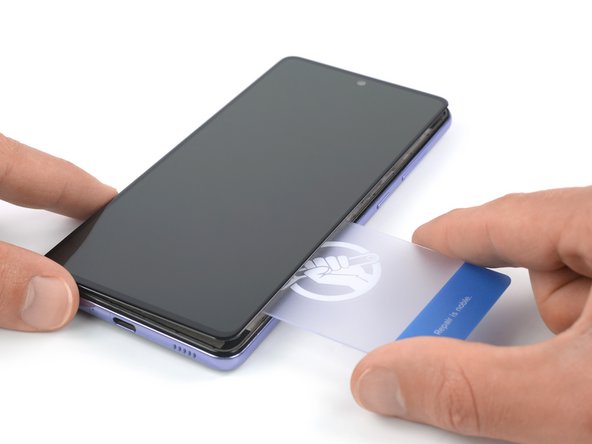
– Now it’s time to get that display cable threaded through the gap in the front panel assembly. Take your time and make sure it’s securely in place. If you need help, you can always schedule a repair
Step 26


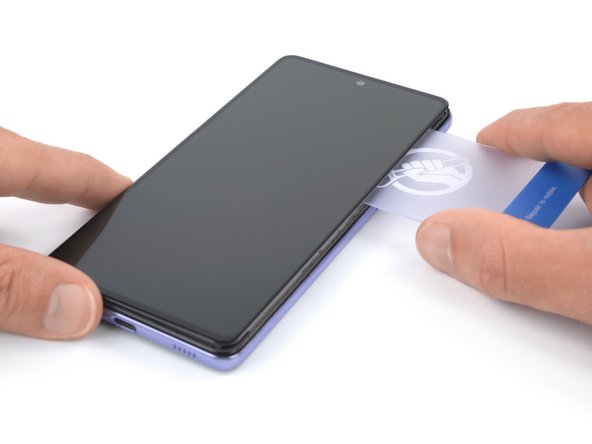
– First things first, let’s get that screen off!
– Once you’ve got it off, clean the areas that need new adhesive with some isopropyl alcohol (make sure it’s over 90%!). After that, apply the fresh adhesive where it’s needed.
– When you’re putting everything back together, keep this guide handy if you’re using a pre-cut adhesive card. You’ve got this!