Samsung Galaxy Ace Repair Guide: Step-by-Step Tutorial
Duration: 45 minutes
Steps: 11 Steps
Step 1


– Alright, buddy! Time to unleash your inner tech ninja. Pop off that battery cover and say hello to the battery. Let’s give our device some love and get it back in action. If you need help, you can always schedule a repair.
Step 2


If the green one is being stubborn, don’t worry – just grab a trusty tweezer to gently coax it out. If you need help, you can always schedule a repair
– Let’s get started by removing the 7 silver screws using a trusty Phillips #000 screwdriver. If you need help, you can always schedule a repair
Step 3
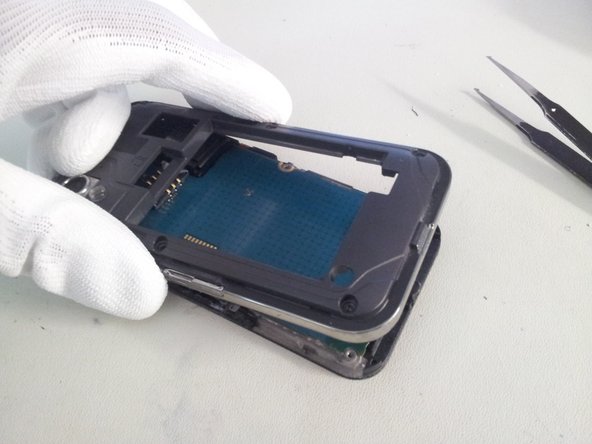

– Gently lift the back cover away from the screen assembly starting at the bottom. Take your time and be careful—you’re doing great!
Step 4

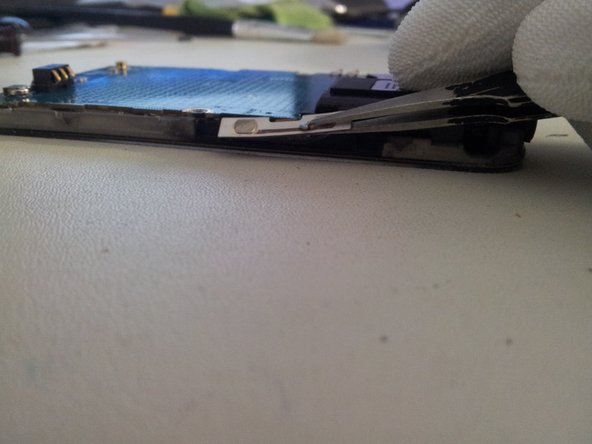
Take it easy! The flex cable is super sensitive and could get damaged if you rush through it.
– Use a trusty flat tweezer to carefully remove the flexible on/off button from the frame. If you need help, you can always schedule a repair
Step 5


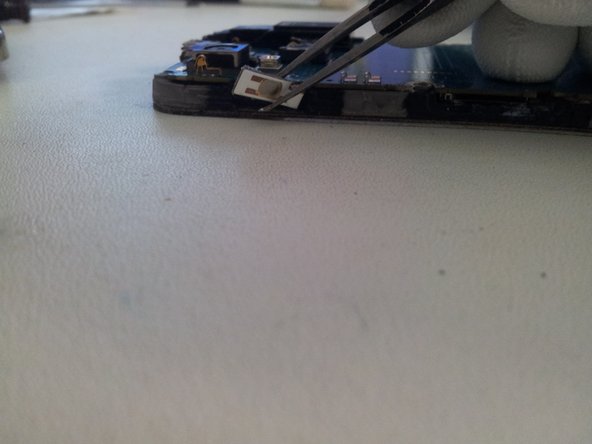
Take it slow and steady, lifting the flex like you’re trying to sneak a cookie past your grandma. If you go too fast, you might accidentally give the cable a little trim. Not cool.
– Time to get started. Use a flat tweezer to carefully remove the flexible volume button from the left side – it’s easier than you think.
– Now, repeat the same steps for the right side. If you need help, you can always schedule a repair
Step 6

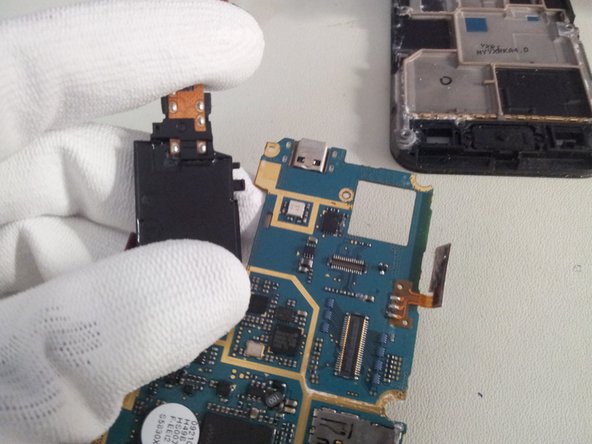
– Alright, time to give that microphone a little lift! Gently remove it from the logic board. You got this!
Step 7

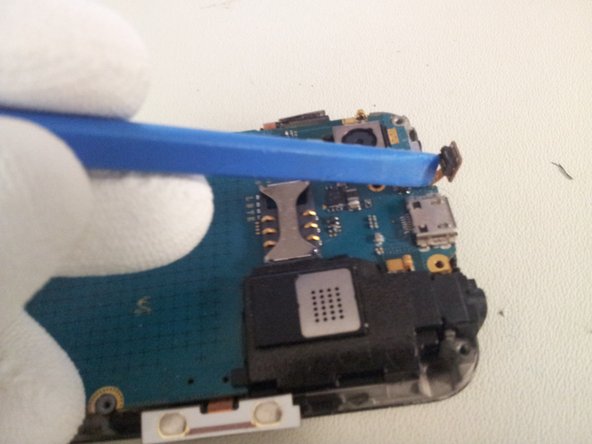
– Gently lift the sensor/earpiece cable with the opening tool.
– Be careful not to force it, as you could damage the soldering.
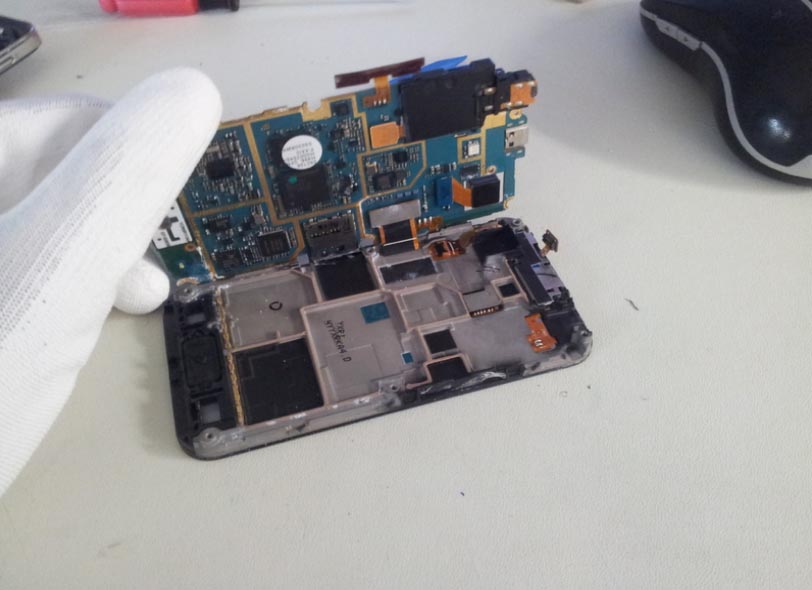
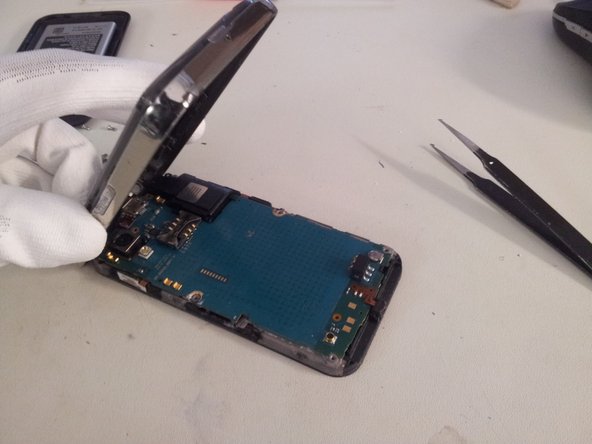
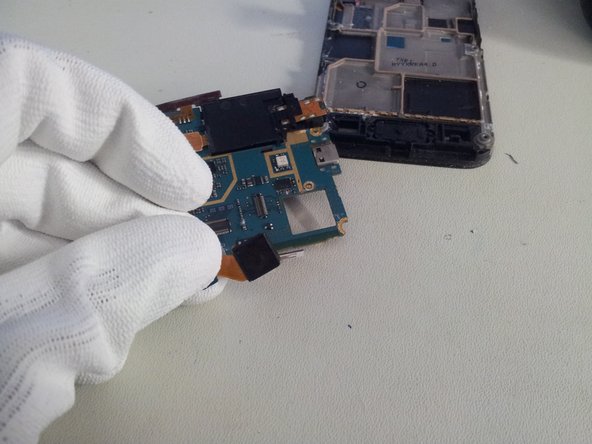
Step 8


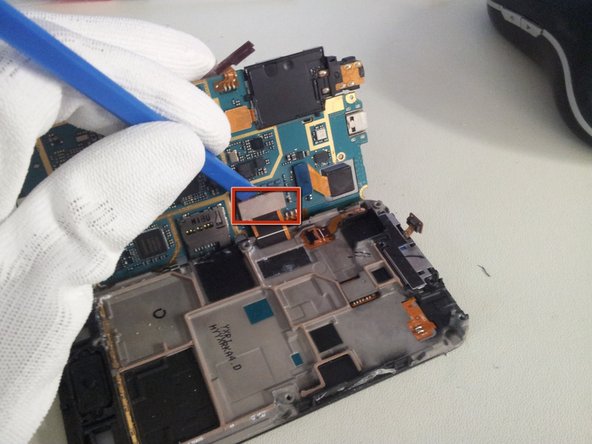
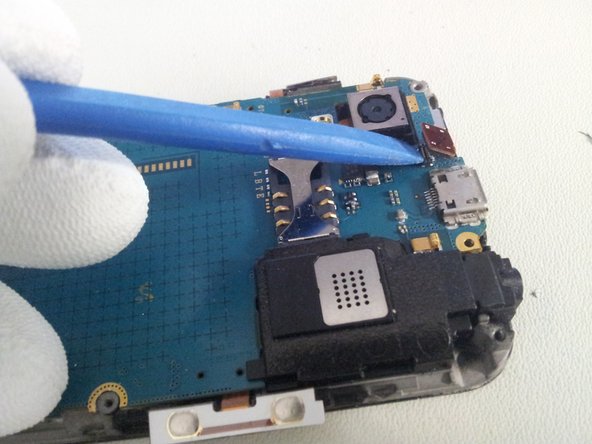
– Time to get this repair started – gently lift the logic board from the right side.
– Next, use your trusty removal tool to carefully unplug the display cable from the logic board.
– You’re making great progress – now you can separate the logic board from the display assembly. If you need help, you can always schedule a repair
Step 9

– Time to free that camera module! Use your handy-dandy removal tool to gently unclip it from the Logic board. It’s like giving it a little high five, but with less excitement (and less hand sanitizer). If you need help, you can always schedule a repair.
Step 10


Heads up! The speaker module is held in place by some little plastic teeth on the logic board. Don’t go hulk on it. Just gently wiggle it back and forth, and the speaker will pop right out.
– Grab your trusty removal tool or a spudger and give that speaker module cable a gentle unplugging.
– Now, separate the speaker module from the Logic board with a little finesse.
Tools Used

Step 11

– Alright, time to dive into the Logic board!