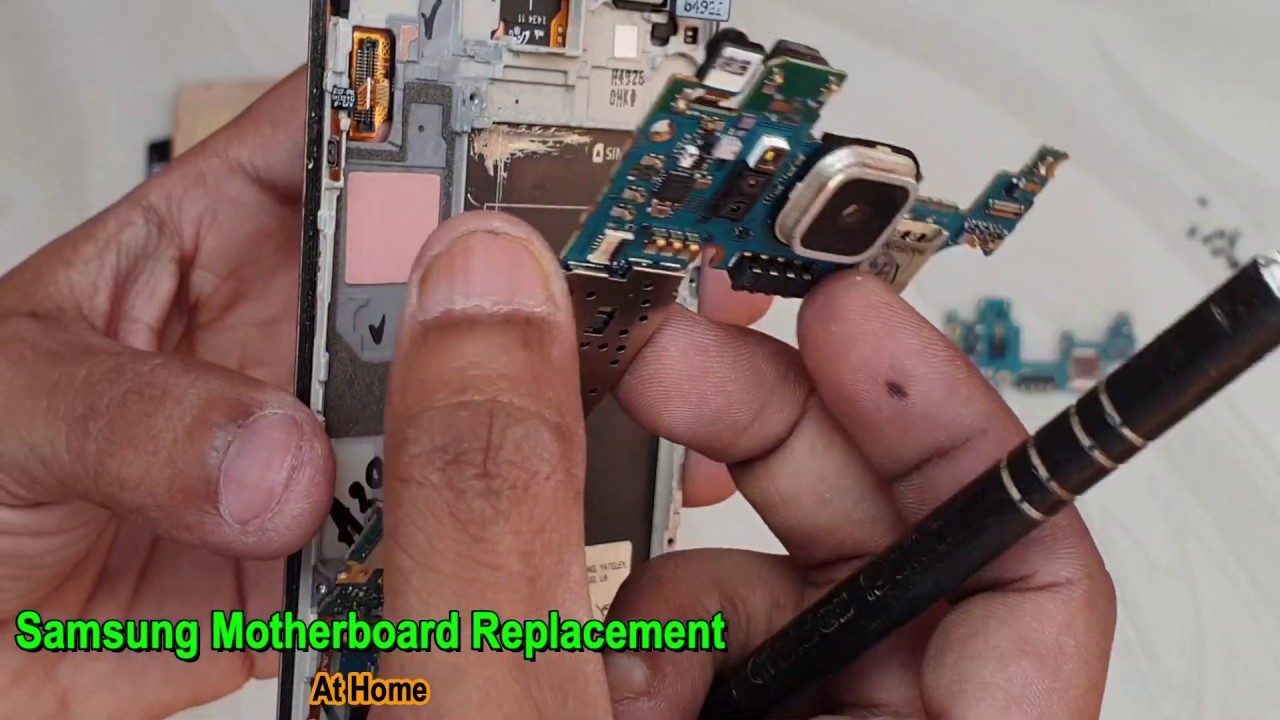
Samsung Galaxy Alpha Front Camera Replacement Guide
Duration: 45 minutes
Steps: 14 Steps
Step 1


– First, locate the slot on the top left side of your phone’s back panel, right next to the flashlight – it’s the perfect spot to get started.
– Now, take your trusty fingernail or prying tool and gently insert it into the slot. Lift up to loosen the top left corner of the back panel – you’re making great progress!
– Almost there! Slide your fingernail or prying tool around the outer edge of the back panel to completely release it from the phone. If you need help, you can always schedule a repair
Step 2


Heads up! The NFC antenna is glued to the battery. So make sure you get a replacement that comes with one. Otherwise, you’ll be stuck with a phone that can’t talk to other devices. 😉 If you need help, you can always schedule a repair.
Alright, let’s get this show on the road! Make sure your device is powered down before we begin. We wouldn’t want any surprises, would we? 😉
– Alright, let’s get this battery out! Look for a little slot at the bottom of the battery. Stick your thumb in there like it’s your own personal parking spot.
– Now, give the battery a little nudge towards the phone. It should pop right out – think of it like a magic trick! If you’re having trouble, you can always schedule a repair.
Step 3
– To get started, locate the slot next to the flashlight on your device. Now, carefully insert your fingernail or a prying tool into the slot and gently lift around the edges to remove the back panel. If you need help, you can always schedule a repair
Step 4
Heads up! The battery comes with an NFC antenna, so make sure your new battery has one too. You got this! If you need help, you can always schedule a repair.
Alright, let’s get started! Make sure your device is powered down before we get going. Safety first!
Step 5

This step’s a little skippable if you’re just swapping out the screen. But if you’re tackling a more involved repair, this step’s a must! It opens the door to all those other goodies inside.
– Grab your trusty JIS #000 screwdriver and let’s get to work! Carefully unscrew all twelve of those little 3mm screws that are keeping the back of your phone snug and secure. You’ve got this!
Step 6

– Heat your iOpener in the microwave for 30 seconds – it’s time to get this repair started!
– Place the iOpener on the front screen and move it around to make sure all parts are heated evenly. You’re doing great!
– After a few heating cycles, you’re ready to move on to the next step. Keep it up!
– Make sure the screen is thoroughly heated before moving forward. The more heat cycles, the easier the removal will be. If you need help, you can always schedule a repair
Tools Used

Step 7

Hey there! Just a friendly reminder: avoid pressing down on the back of your phone while you’re lifting the screen. We wouldn’t want any cracks to crash the party!
– Make sure to give that adhesive a good heat-up before you start prying the screen off. It’ll make the job so much easier!
– Carefully slide the opening pick around the edges of the glass. Just be cautious not to shove it too far underneath the screen – we want to keep things intact!


Step 9

For this step, you’ll need a dynamic duo of tools. One will help you lift things up, while the other keeps that gap nice and open for you. Let’s make this repair happen!
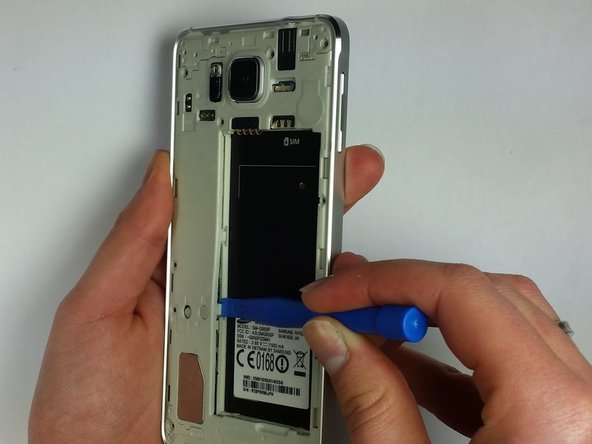
– Let’s get started by locating the plastic clips on the side of the battery slot – they’re the key to unlocking this repair.
– Now, grab your trusty Plastic Opening Tool and gently pry those clips loose by pulling up inside the crevasse in the plastic walls. With a little finesse, you should be able to separate the two pieces. If you need help, you can always schedule a repair
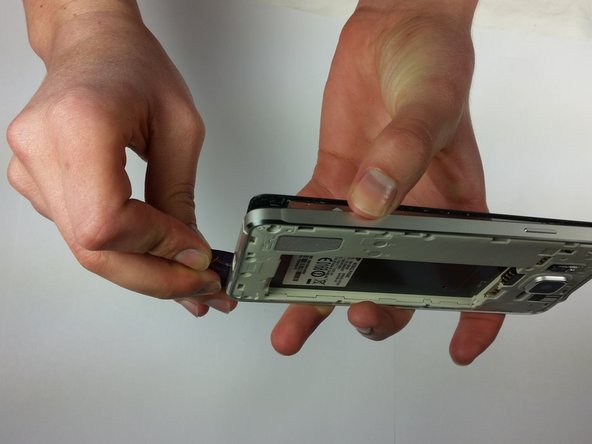
Step 10

– Let’s get started by removing the two 3mm screws using a Phillips #00 screwdriver. If you need help, you can always schedule a repair
Step 11

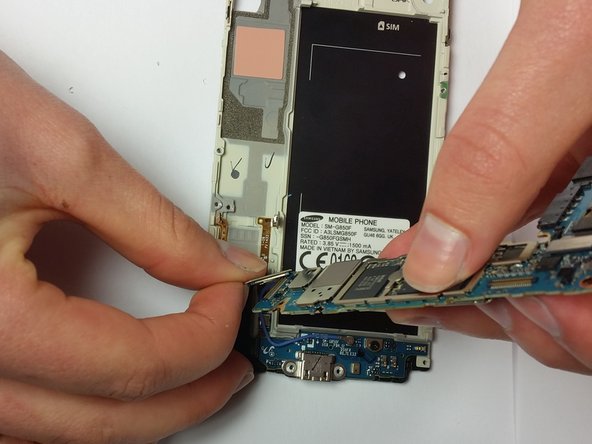
– Using your fingers or a trusty metal tweezzer, gently apply some pressure and carefully pry up each of the four pin connectors shown – don’t worry, it’s easier than it sounds. If you need help, you can always schedule a repair
Step 12

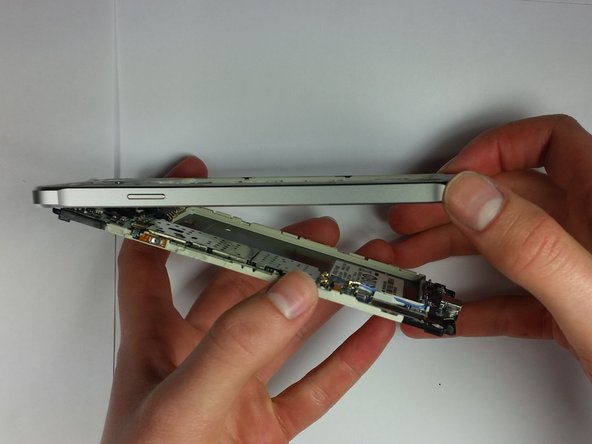
– Now, go ahead and disconnect the final connector that’s connected by that blue cable. You’ve got this!
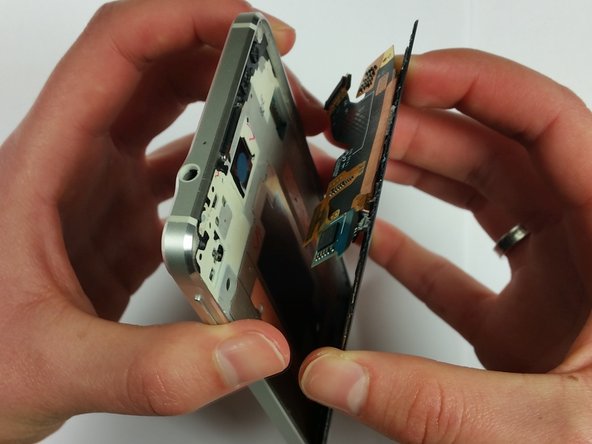
Step 13

– Locate the end of the blue component highlighted in the image and carefully lift the top part away from the casing.
Step 14
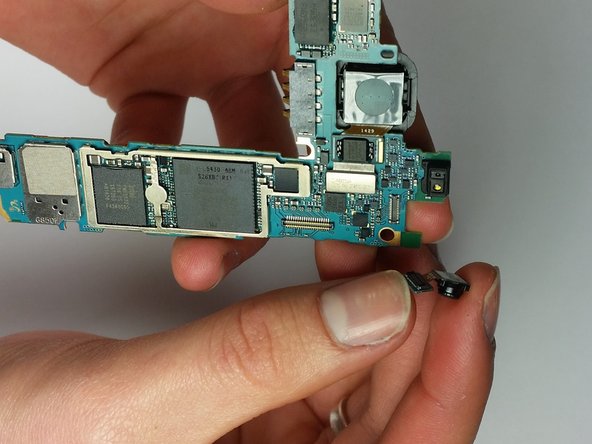

– First, find that tiny camera on the top part of the piece – it’s time to set it free.
– Now, use a tool or your finger to gently coax the front camera out of its spot. Don’t worry if it takes a little wiggle, and remember, if you need help, you can always schedule a repair