Samsung Galaxy Amp 2 Motherboard Replacement Guide: Step-by-Step DIY
Duration: 45 minutes
Steps: 6 Steps
Alright, let’s swap out that motherboard! It’s like giving your phone a brand new brain. This might be needed if water snuck in or things just aren’t working like they should. Be gentle, we don’t want to hurt the rest of the phone! If you need help, you can always schedule a repair.
Step 1


– Let’s get this party started! Find the little divot on the side of your phone, it’s hanging out to the left of the camera. Take your fingernail (or a handy-dandy opening tool if you have one) and gently wiggle it into that divot.
– Now, give that rear panel a little lift and pry it off. Be gentle, we don’t want to break anything. If you’re feeling unsure, you can always schedule a repair with us!
Step 2


– Slide in a fingernail or a trusty plastic opening tool into the little gap at the bottom right of the battery and give it a gentle lift. You’ve got this!
– Once you’ve got a good grip on the battery, carefully pull it out of the phone like a pro. Easy peasy!
Step 3
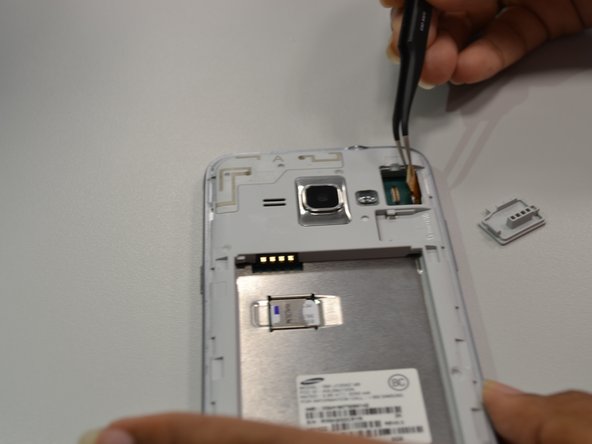

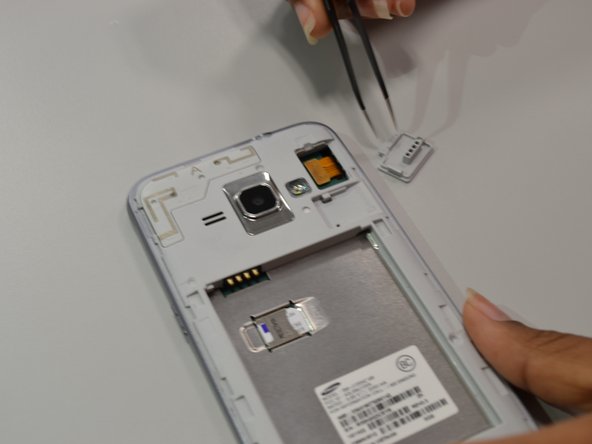
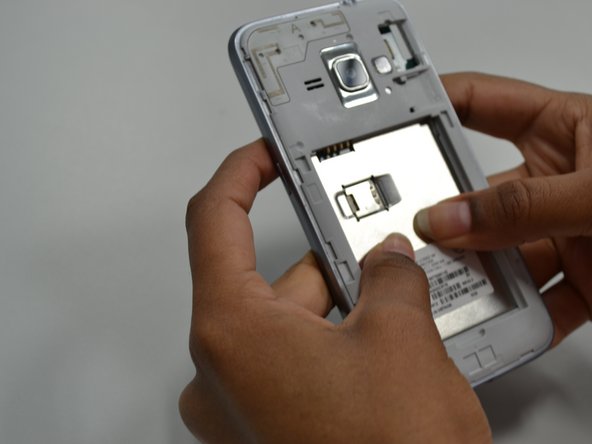
– Grab your angled tweezers and gently lift that little rectangular guard in the upper right corner of your phone.
– Next, pop that connector piece off from the back panel. You got this!


Step 5
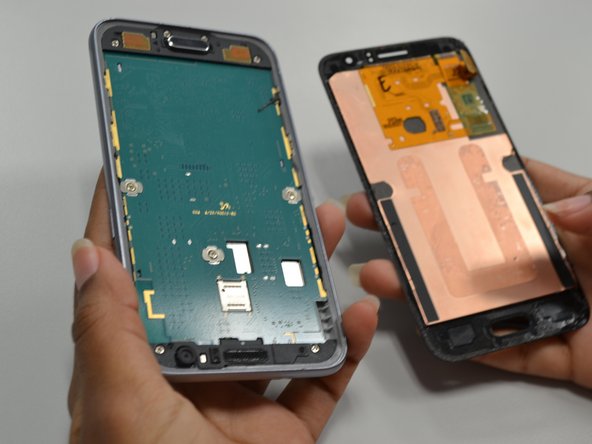
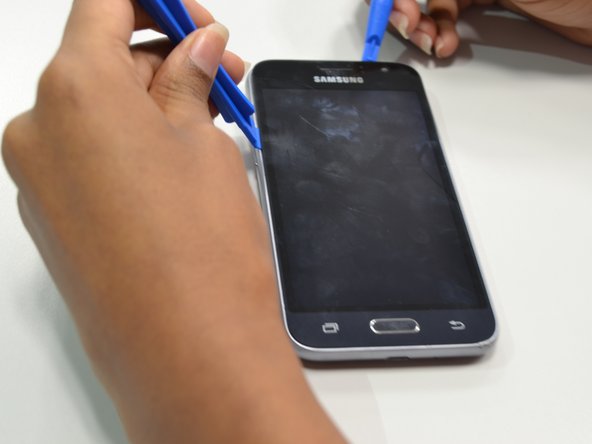

If you’re feeling adventurous, grab a suction tool and gently pull the screen away. You’ve got this!
– Now, let’s get those tools out. Use four plastic opening tools and carefully lift the screen. Be gentle – you don’t want to go all Hulk on this thing! If you need help, you can always schedule a repair.
Step 6


– Alright, let’s get those screws out! Use a screwdriver with a PH000 bit to remove the nine 4.5mm screws holding the back panel in place.
– Now, give that back panel a little push from the bottom and watch the motherboard part come off. It’s like magic!
– Ready for the next step? Gently push from the front to release the top part of the motherboard. You’re doing great!