Samsung Galaxy Amp 2 Screen Replacement: DIY Guide & Tutorial
Duration: 45 minutes
Steps: 5 Steps
Ready to give your cracked or unresponsive screen a makeover? This guide’s got you covered! We’ll walk you through replacing that broken screen like a pro. You’ll be using a heat gun, but a hairdryer will do the trick in a pinch. Just remember, heat and delicate wiring don’t mix! Handle with care, and you’ll be back to browsing in no time. If you need a little extra help, you can always schedule a repair.
Step 1


– Get a good grip on your phone by inserting your fingernail or an opening tool into the divot – it’s the small notch to the left of the rear-facing camera. This is where the magic starts!
– Now, gently lift the rear panel upwards, prying it away from the phone. Take your time and be careful not to force it. If you need help, you can always schedule a repair
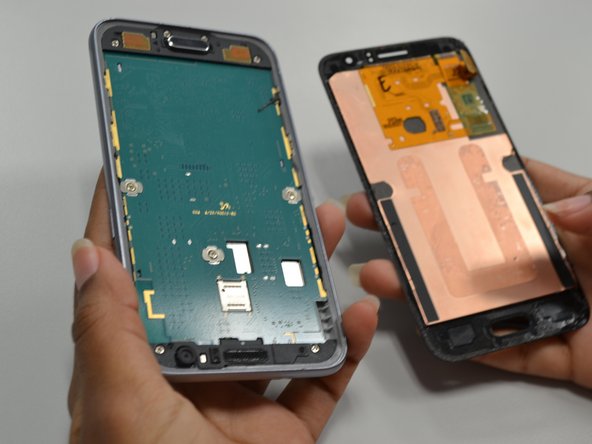
Step 2


– Let’s get that battery out! Gently slip a fingernail or plastic opening tool into the gap in the bottom right corner of the battery. Now, lift it up with a little oomph!
– Grab hold of the battery and carefully pull it out of the phone. You’re doing great!
Step 3
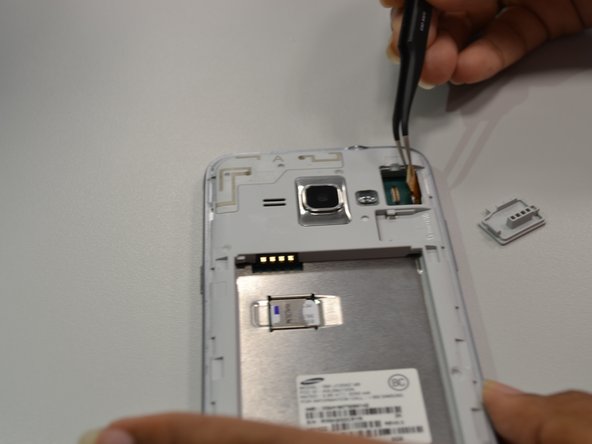

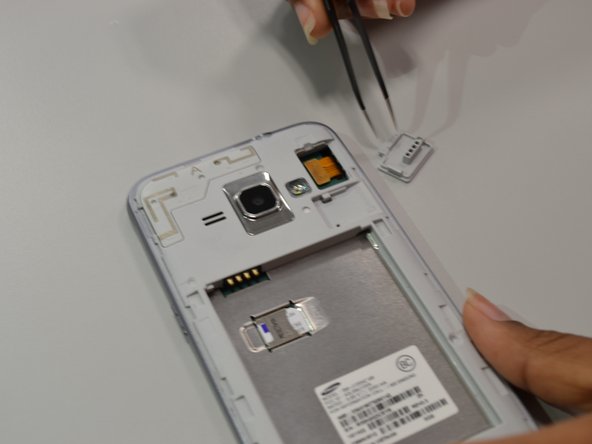
– With your trusty angled tweezers, lift the tiny rectangular guard in the upper right corner of the phone.
– Now, carefully detach the connector piece from the back panel. If you need help, you can always schedule a repair.
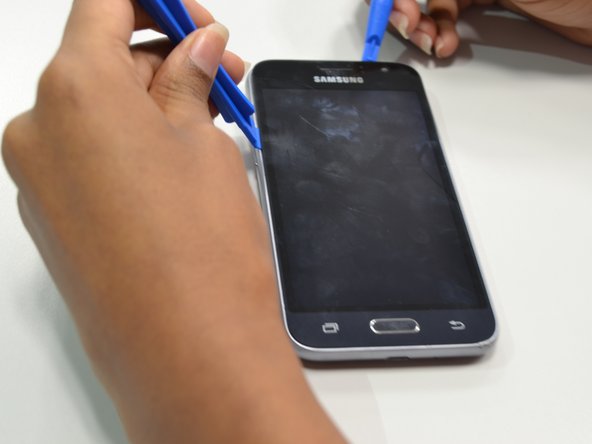
Step 4

– Time to get those screens warm! Gently apply some heat from a heat gun or hairdryer around the edges of the screen for a minute or two. This will help loosen up the adhesive holding the screen in place. Don’t worry, it’s just a quick warm-up, no need to turn your phone into a mini-oven! If you need help, you can always schedule a repair.
Tools Used

Step 5

Optional: Grab a suction tool and give that screen a gentle tug to pop it off. You’re doing great!
– Grab four trusty plastic opening tools and gently coax that screen off like a pro.