Samsung Galaxy Amp 2 Speaker Replacement Guide
Duration: 45 minutes
Steps: 7 Steps
Ready to give your Galaxy Amp 2 speaker a makeover? Let’s get this party started! We’re gonna take apart the phone, replace the speaker, and then you’ll be rockin’ out to tunes and chatting with friends like a pro. Just remember, we’re using a heat gun (or hair dryer – no judgment) to loosen things up, so be careful! If you’re feeling unsure about any of this, you can always schedule a repair with us. We’re here to help!
Step 1


– Let’s get this party started! Find the little groove on the side of your phone, near the camera. It’s like a tiny invitation for your fingernail or a trusty opening tool to join the fun.
– Now, with a gentle lift, pop that back panel right off. It’s like giving your phone a little high-five, but without the awkwardness.
Step 2


– Let’s pop that battery out! Gently slide a fingernail or plastic opening tool into the gap on the bottom right corner of the battery. Give it a little lift, and you’ll be ready to go!
– Now grab hold of that battery and give it a safe and easy lift out of the phone. You’re doing great!
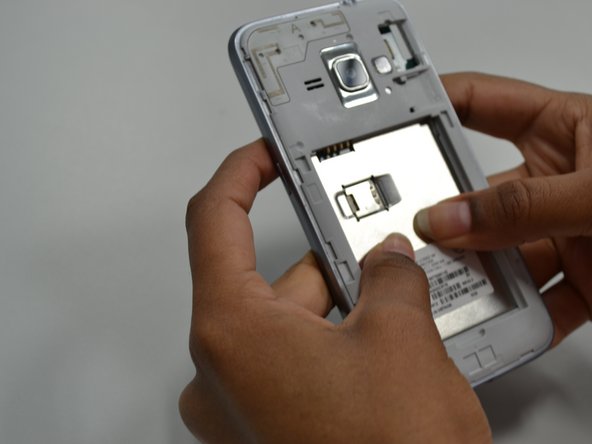
Step 3
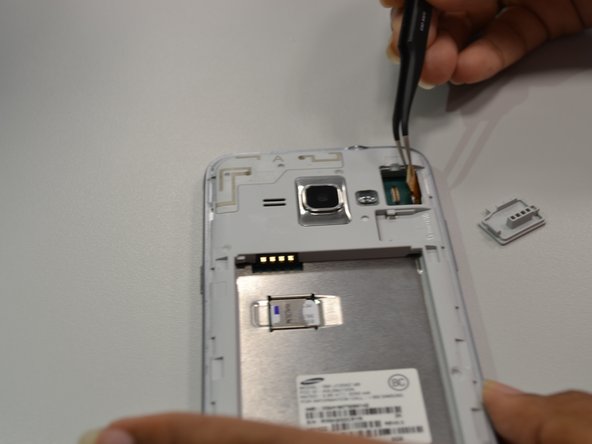

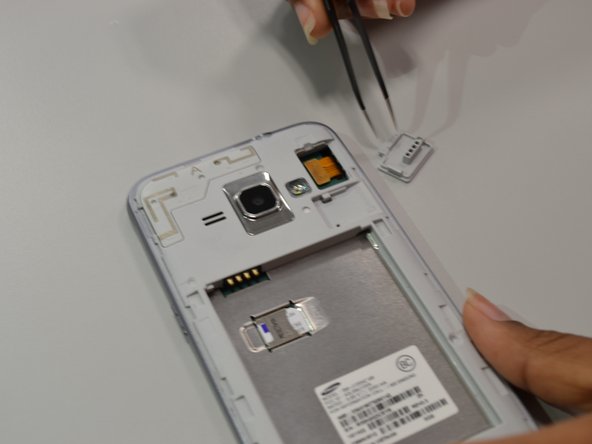
– Alrighty, let’s tackle this with a smile! First, muster up your courage and grab those cool angled tweezers, then gently elevate that little rectangular guardian at the phone’s upper right corner. Next, let’s break free that pesky connector from the back panel – Piece of cake, right? And if you need a little guidance, remember, you can always schedule a repair to get that pro touch!
Step 4

– Give that screen a little TLC with some heat! Gently warm up the edges of the screen with a heat gun or hairdryer for about a minute or two. It’ll make things a bit easier for you. If you need help, you can always schedule a repair.
Tools Used

Step 5
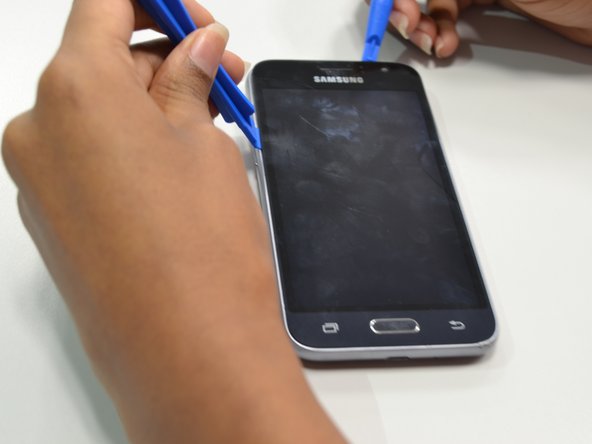

Optional: Try using a suction tool to gently pry the screen off. If you’re not comfortable with this step, or if you need help, you can always schedule a repair
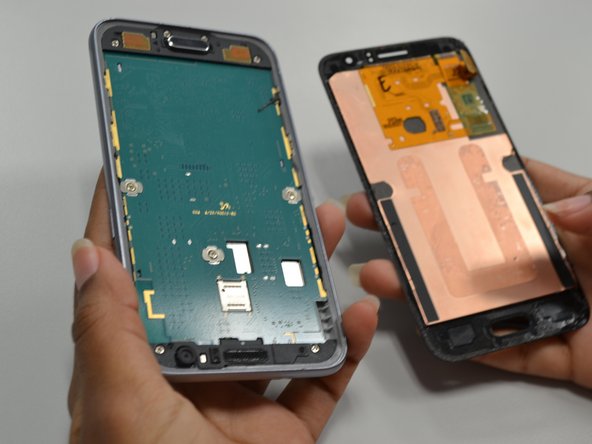
– Alright, time to get those trusty plastic opening tools ready! Gently, gently, pry off that screen – we don’t want to scratch anything! If you need help, you can always schedule a repair.
Step 6


– Let’s get started by removing the nine 4.5mm PH screws using a screwdriver with a PH000 bit – it’s easier than you think.
– Now, gently push from the back panel to release the bottom part of the motherboard. You’re making great progress.
– Almost there, just push from the front panel to remove the top part of the motherboard. If you need help, you can always schedule a repair
Step 7
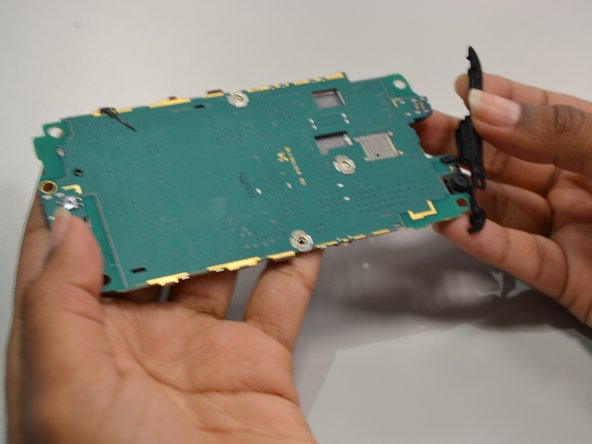

– Carefully tug the black piece attached to the top of the motherboard. That’s your speaker, and it’s ready to make some noise again!