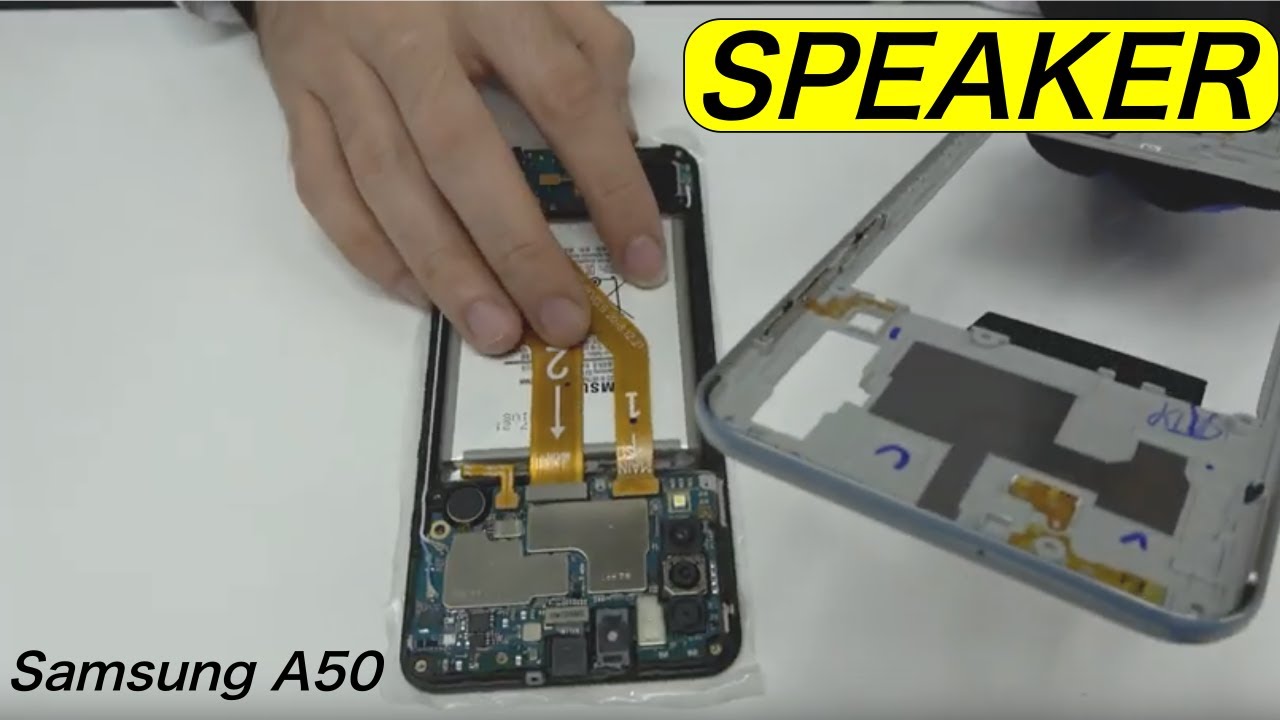
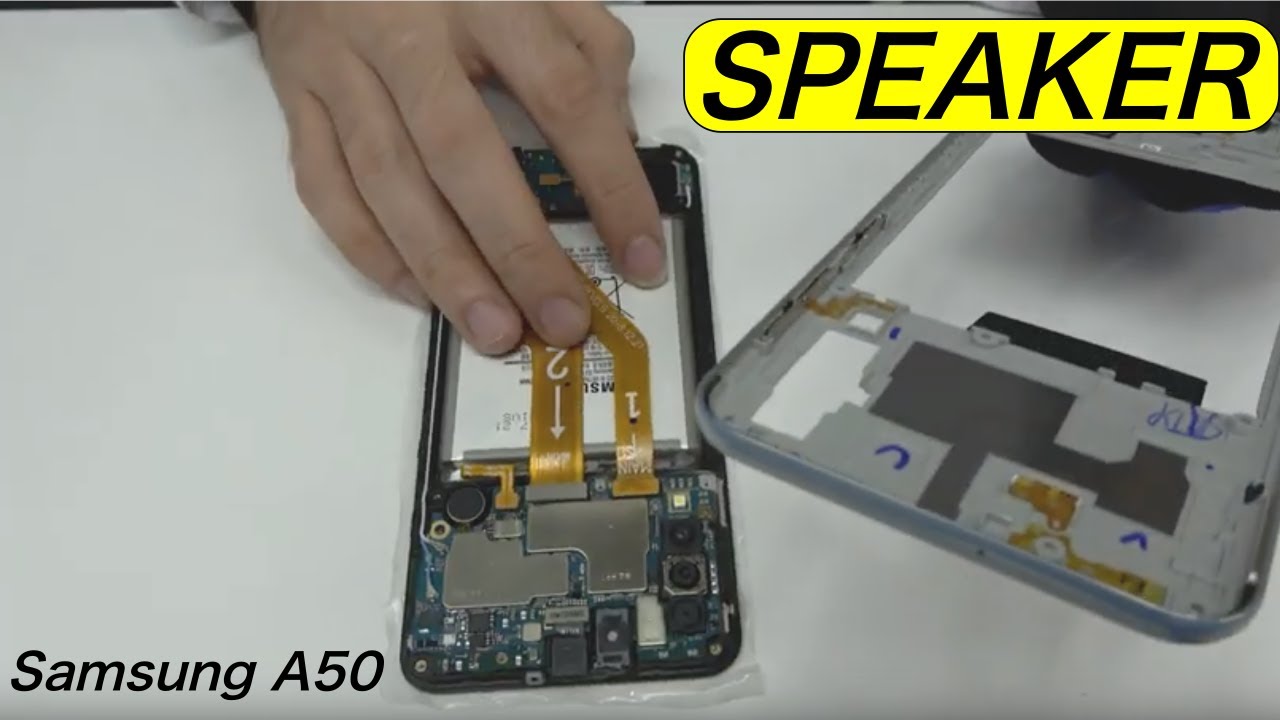
Samsung Galaxy Centura Screen Replacement Guide: DIY Repair Tutorial
Duration: 45 minutes
Steps: 6 Steps
Get ready to breathe new life into your Samsung Galaxy Centura by replacing the screen. Our step-by-step guide will walk you through the process. If you need help, you can always schedule a repair.
Step 1
– Alright, let’s get this show on the road! Look for a rectangular groove on the top of your device. It’ll be like a little invitation for us to get inside.
– Now, get your finger or a plastic opening tool ready. Gently press it into the groove, and pull back – just like you’re opening a secret door! Your device should pop open, revealing all its inner workings. If you need help, you can always schedule a repair
Step 3
– Spot those seven little screws on the back of your gadget. Grab your Phillips #00 screwdriver and show those 5.0mm screws who’s boss by removing them. If you need help, you can always schedule a repair.
Step 4
– Find that little groove on the device’s side and gently slide the plastic opening tool in there. Give it a firm tug, and before you know it, things will start to pop open!
– Carefully pull the plastic apart and set it off to the side. Voilà! Your phone should now look like the second picture.
Step 5
– First things first, gently push back those clips on the right and the upper left of your phone. Just a little nudge will do the trick!
– Once those clips are out of the way, carefully lift the motherboard. Voilà! You’ve now uncovered the screen from the back. You’re doing great!
Step 6
– Let’s get this screen lifted! Carefully slide that metal spudger along the top edge of the back side of the screen.
– Now for the fun part – apply some gentle pressure to lift the screen up. Keep going around the edges, slowly and steadily, until you’ve freed the screen completely. You got this!
Tools Used


