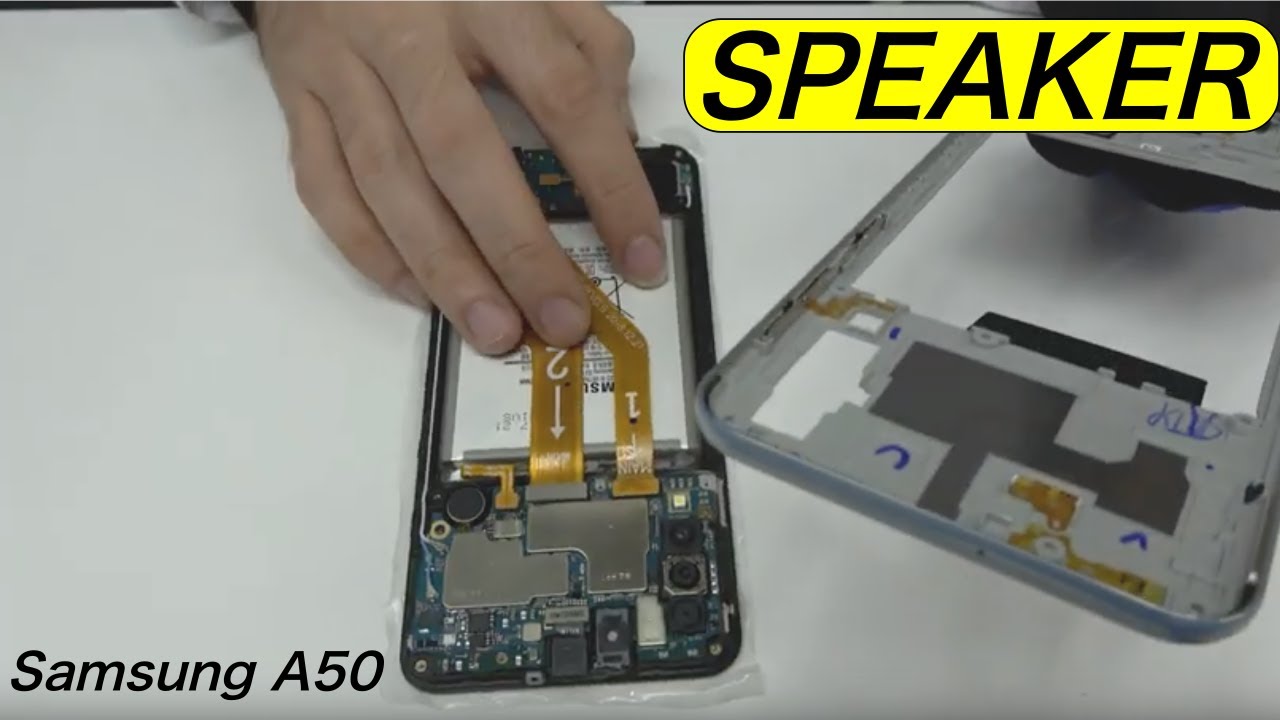
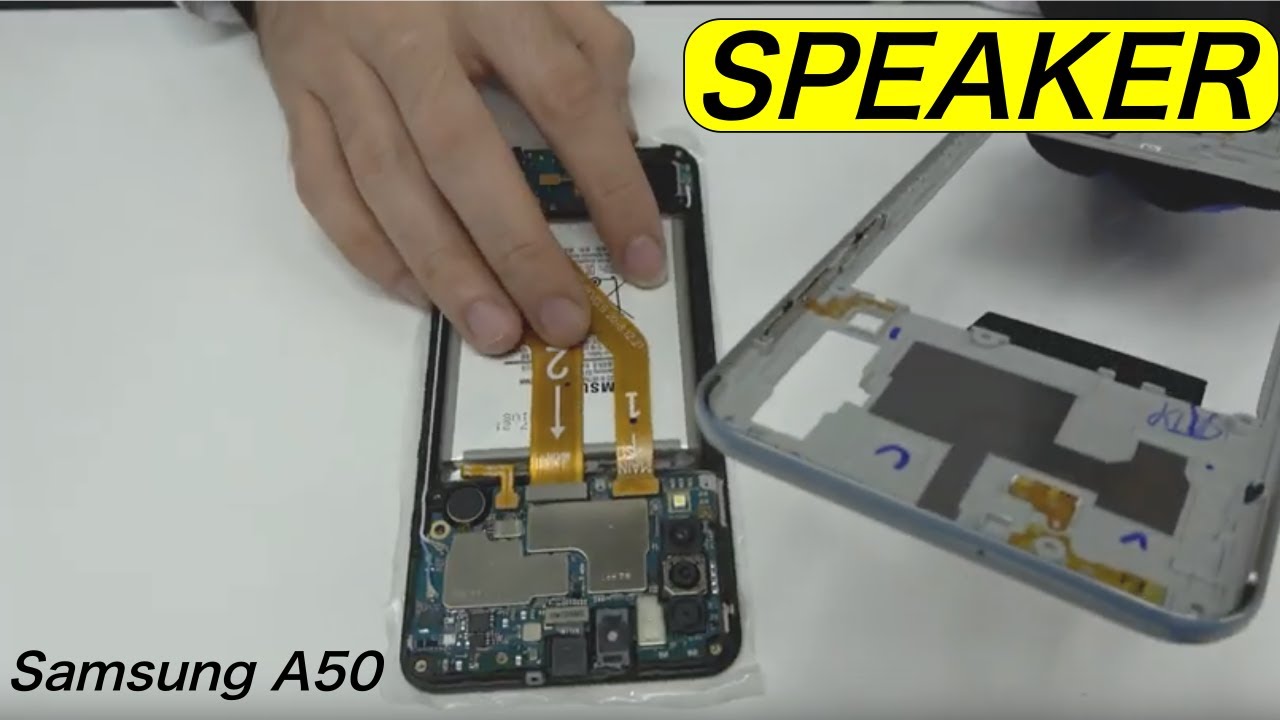
Samsung Galaxy Centura Speaker Replacement Guide
Duration: 45 minutes
Steps: 5 Steps
Ready to give your Samsung Galaxy Centura’s speaker a little TLC? This guide will walk you through the process of swapping out the external speaker, the one that blasts your tunes. This is different from the earpiece speaker used for phone calls, so don’t get those mixed up! If you need help, you can always schedule a repair.
Step 1
– Alright, buddy, let’s get this party started! Find that rectangular groove on the top side of your device. You’ll spot it in a jiffy.
– Now, get your finger or a plastic opening tool, and give that groove a firm push. Pull back gently and watch your device pop open like a champ. It’s just like magic, but with way less smoke and mirrors.
Step 2
– Now that you’ve removed the back casing, take a look at your phone’s internals – you should have a clear view of the battery. It’s time to get started on the fun part!
– Use your thumb and index finger to gently pull the battery up. It should come out easily, without any resistance. If you need help, you can always schedule a repair
Step 3
– Spot the seven sneaky screws on the back of your device. Grab your trusty Phillips #00 screwdriver and work your magic on those 5.0mm screws. If you need help, you can always schedule a repair.
Step 4
– Let’s get this party started! Gently slide that plastic opening tool into the notch on the side of your device. Now, give it a little push – you’re gonna pop open that plastic casing like a champ!
Step 5
– First things first, find that sneaky black plastic clip hiding at the top of the plastic casing you just removed. Grab your trusty metal spudger and give that clip a gentle nudge to set it free.
– Now, with a steady hand, apply a firm prying motion to pop off the pink plastic section. Just a heads up, the external speaker is part of this assembly, so handle it with care!
Tools Used


