Samsung Galaxy Fame S6812i Motherboard Replacement Guide – DIY Tutorial
Duration: 45 minutes
Steps: 6 Steps
Prepare yourself for an adventure: swapping out that motherboard! Remember, if you need a hand, you can always schedule a repair.
Step 1


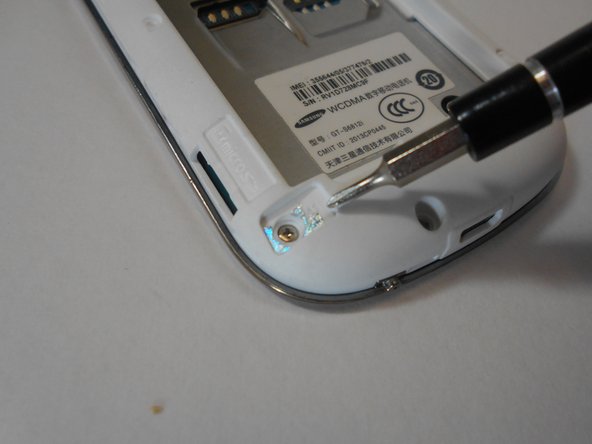
– Find the tiny indent at the top of your device and use your fingernails or a spudger to gently pop the cover off the mid-frame. If you need help, you can always schedule a repair.
Step 2


– You’ll find a little indent on the bottom left corner of the battery compartment. Just use your fingers or a plastic opening tool to give that battery a gentle lift!
Step 3

Be careful, one of these is tucked away under a piece of reflective foil. If you accidentally break it, your warranty will be void. If you’re not comfortable with this step, don’t worry – you can always schedule a repair
Take your time and work around the edges carefully – it might take a little effort, but we’ve got your back. If you need help, you can always schedule a repair
– Let’s get started by removing the five 3mm screws from the top and bottom edges of your device using a trusty Philips #00 screwdriver.
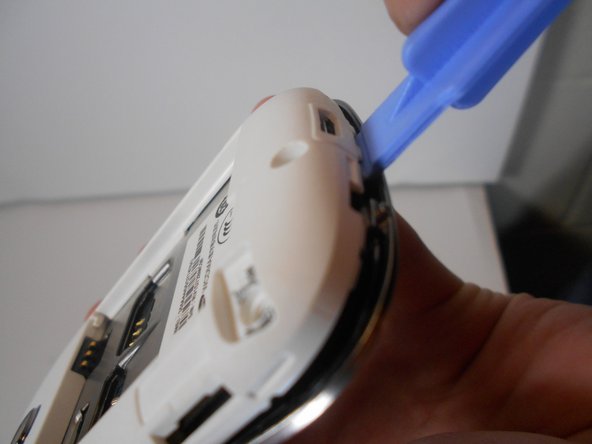
– Next, use a plastic removal tool to carefully pry the mid-frame away from the device. If you need help, you can always schedule a repair
Step 4
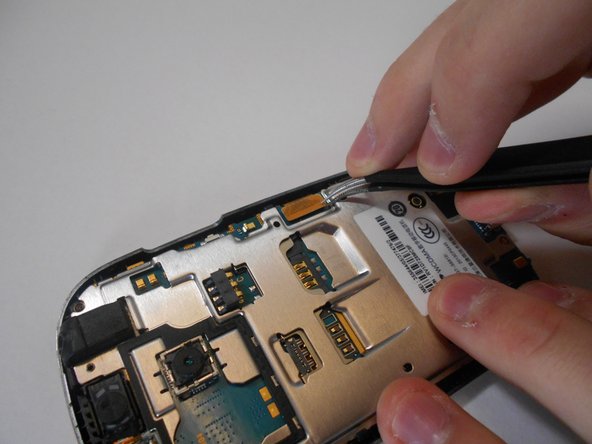

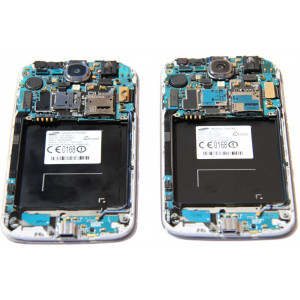
– First, find those two ribbon cable connections on the motherboard. With a gentle touch, use the pointed end of your trusty spudger to disconnect those cables. Once that’s done, carefully lift the motherboard out of the phone. You’re doing great!
Step 5

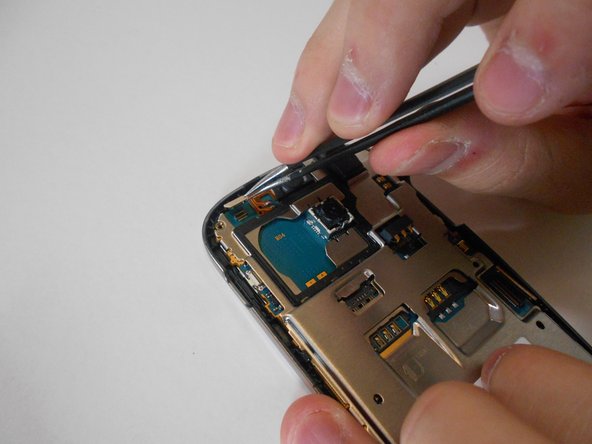
– Now it’s time to give that motherboard some air! Gently lift it up using your fingers or a plastic opening tool. Be careful, we don’t want to damage anything! If you need help, you can always schedule a repair.
Step 6
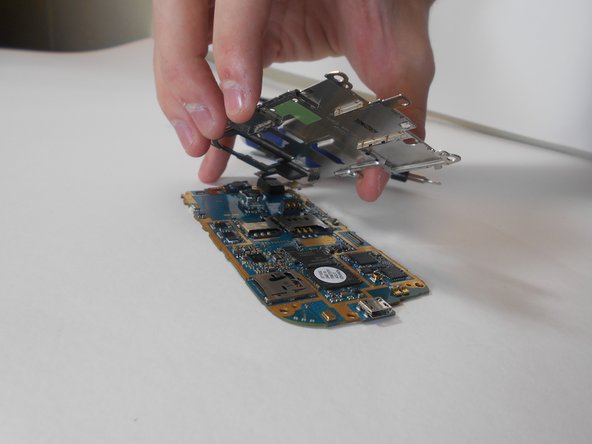

Set these screws aside, separate from the ones for the back plate, so you can keep them organized and avoid mixing them up. If you need help staying on track, you can always schedule a repair
– Find the two #00 Phillips head screws on the front side of the motherboard. These little guys are what keep the SIM card chassis snug as a bug in a rug.