Samsung Galaxy Grand Repair: Step-by-Step Digitizer/Glass Replacement Guide
Duration: 45 minutes
Steps: 5 Steps
Watch out for the heat! Too much of it can put a serious dent in your phone’s components. Just a friendly reminder!
Take your time! Replacing screens isn’t a race, and rushing through can lead to some unfortunate mishaps. Handle with care to keep your phone happy!
Alright, so you’ve never replaced a digitizer/glass combo before? No worries, it’s pretty standard stuff. Just remember to spread the heat around evenly with back and forth motions like a pro. If you’re still not sure, check out a video on replacing a Galaxy or iPad screen. Remember, too much heat can hurt your phone’s parts, so be careful! Take your time and be gentle. This ain’t no race. It’s all about patience and a light touch. If you’re not careful, you might end up with a broken phone, so be mindful! If you need help, you can always schedule a repair.
Step 1

– Alright, let’s get started! First things first, we gotta give our device a little makeover. Gently remove the back case, battery, SIM card, and Micro SD Card. No worries if you’re feeling a little nervous, it’s all pretty straightforward.
– Now, let’s loosen up those screws holding everything together. Go ahead and remove the screws around the perimeter of the device. You’re doing great!
Step 2

Be careful when removing the bezel, as it may be stuck to the midframe with adhesive. If it’s being stubborn, try heating it up around the edges to loosen the adhesive. Just remember to be gentle, especially around the top edge of the screen – you don’t want to damage that LCD. If you need help, you can always schedule a repair
– Time to get started! Use a prying tool to carefully lift the plastic case covering the logic board, and set it aside where it’s safe.
– Now, slide your prying tool into the gap between the screen and the case, and gently lift the plastic case towards the back of the phone. Be mindful of those buttons, we don’t want any accidents!
Step 3

– Now that you’ve separated the bottom casing from the top, you should see the motherboard exposed – you’re making great progress! If you need help, you can always schedule a repair
Step 4


– Let’s start by freeing those cables circled in red. Carefully pry them up with your tool – think of it as a gentle nudge!
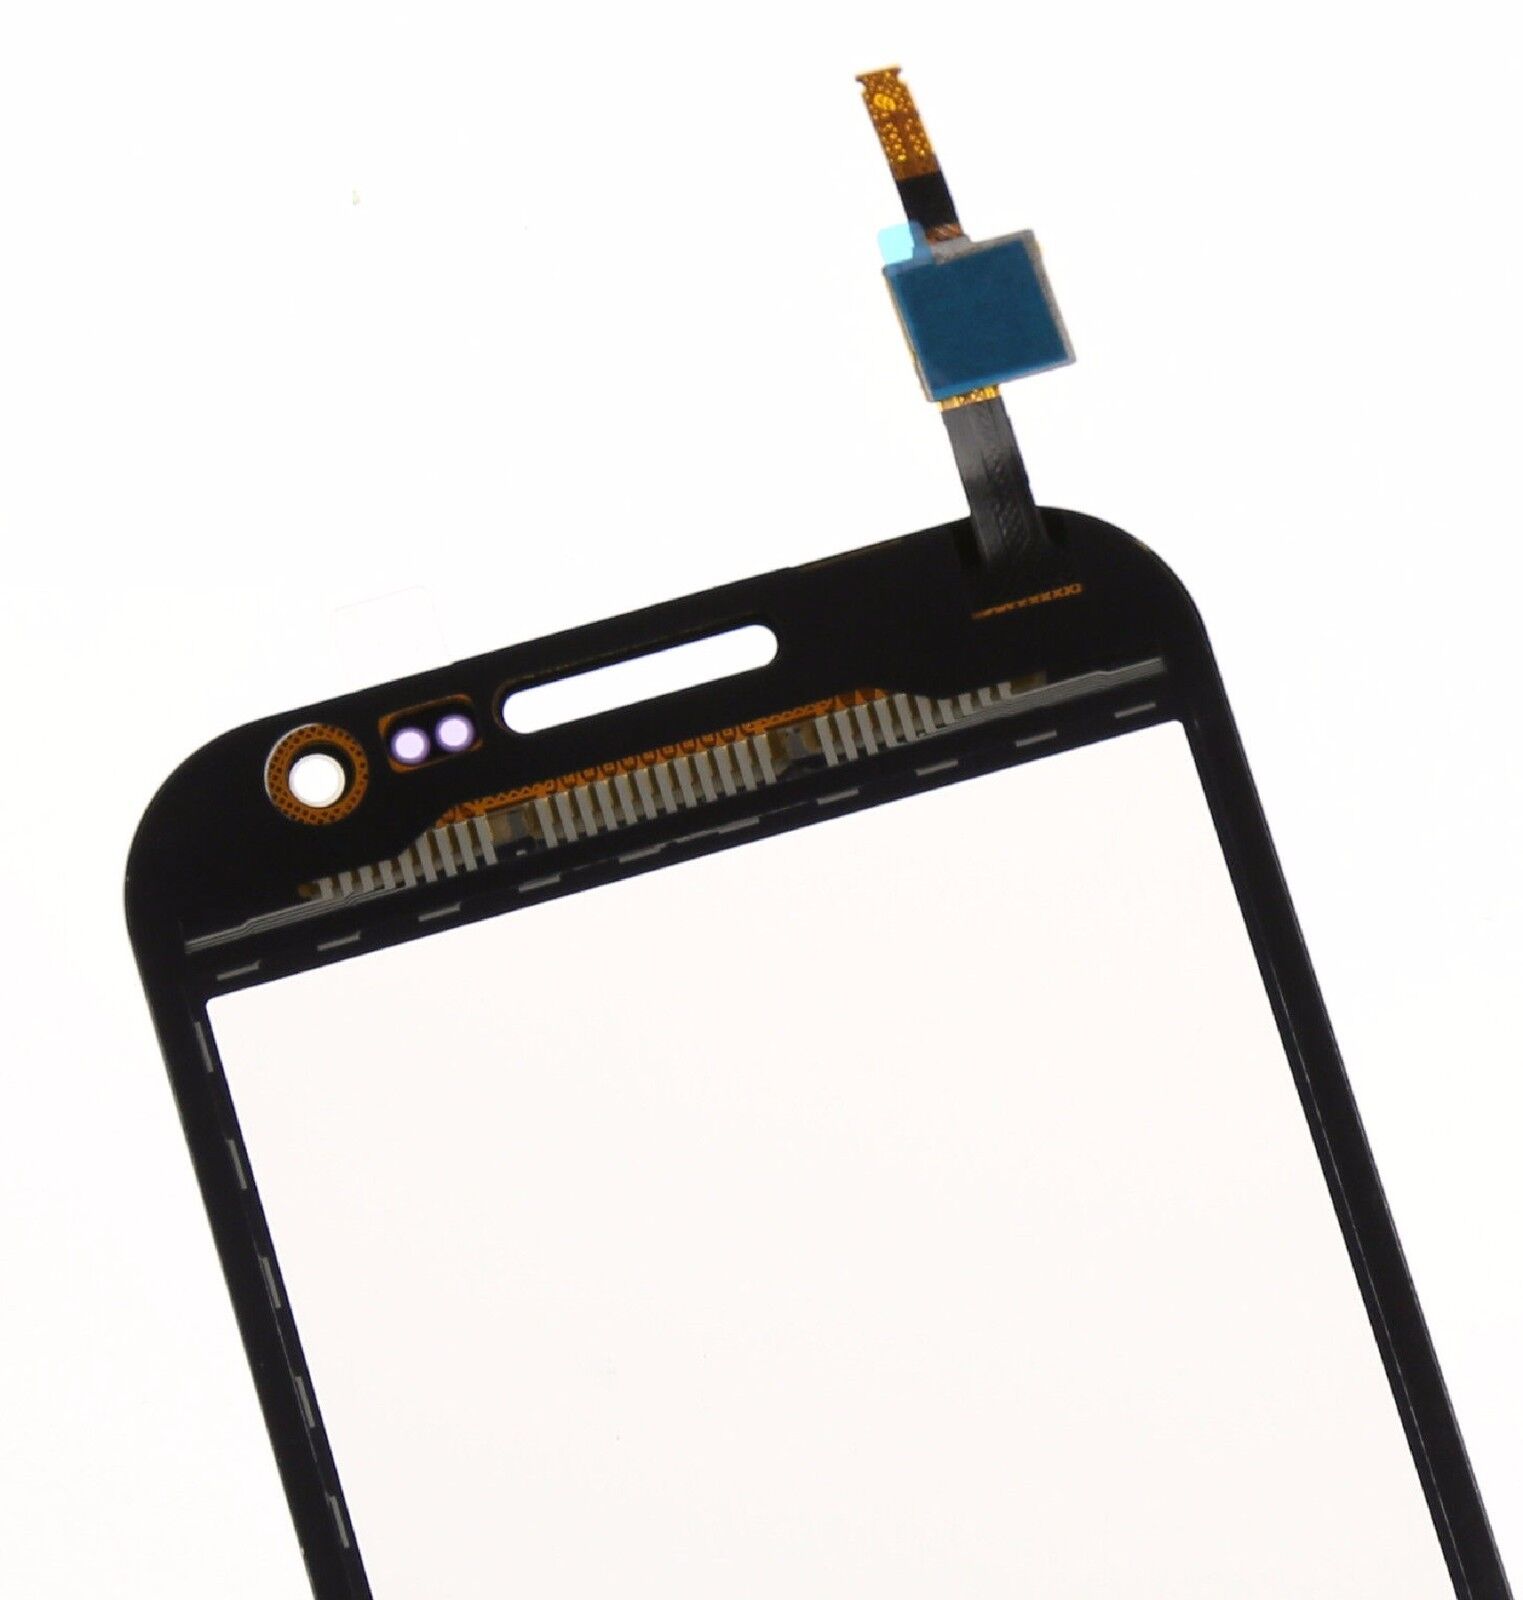
– Time to tackle that flex cable with the green circle. Use your trusty tool to give the black clip a little lift, moving it up and towards the cable. Take a peek at the second picture – you’ll see the line on the logic board. That’s the path it needs to take when you put it back! Then, we can remove the front-facing camera and give it a little break.
– Okay, there’s one screw holding down the logic board, and you’ll find it right by the Micro SD slot in the third picture (circled in red).
– Now that we’ve got the screws out, we can carefully lift that logic board out of the frame. Just be mindful of the flex cables – they’re like tiny bridges we don’t want to break!
– Alright, we’ve got the logic board out of the way, so we can safely tackle the glass and digitizer. You’re doing great!
Step 5


– Let’s get started by heating a section of the device with a heat gun, about 3-5 inches away. This will help you get your prying tool under the glass. Be careful not to push the tool too far under the bezel, or you might scratch the LCD.
– Now, work your way around the screen, heating as needed to loosen the adhesive. It’s easy to get through when it’s hot, but be gentle around the back button and menu buttons – they can stick to the glass.
– Once you’ve pried the glass up, set the home button aside and release the clip holding the digitizer cable. Then, carefully pull the cable through the phone’s housing.
– Next, remove all the old adhesive and replace it with new stuff. This will ensure a strong bond and prevent any future issues.
– Route the new digitizer cable through the housing and into the slot on the logic board. The lines on the cable should match up with the lines on the motherboard. Put the home button back in place, making sure it’s secure and functioning properly.
– To put everything back together, just reverse the steps you followed to take it apart.
– Finally, once you’ve secured the logic board screw, front-facing camera, and pushed all the flex cables back into place, insert the battery and turn the device on. Test the screen to make sure everything is working smoothly. If it’s all good, you can finish reassembling your device. If you need help, you can always schedule a repair.
– You did it! You successfully repaired your device. Nice job!
Tools Used
