Samsung Galaxy J3 Repair Guide
Duration: 45 minutes
Steps: 6 Steps
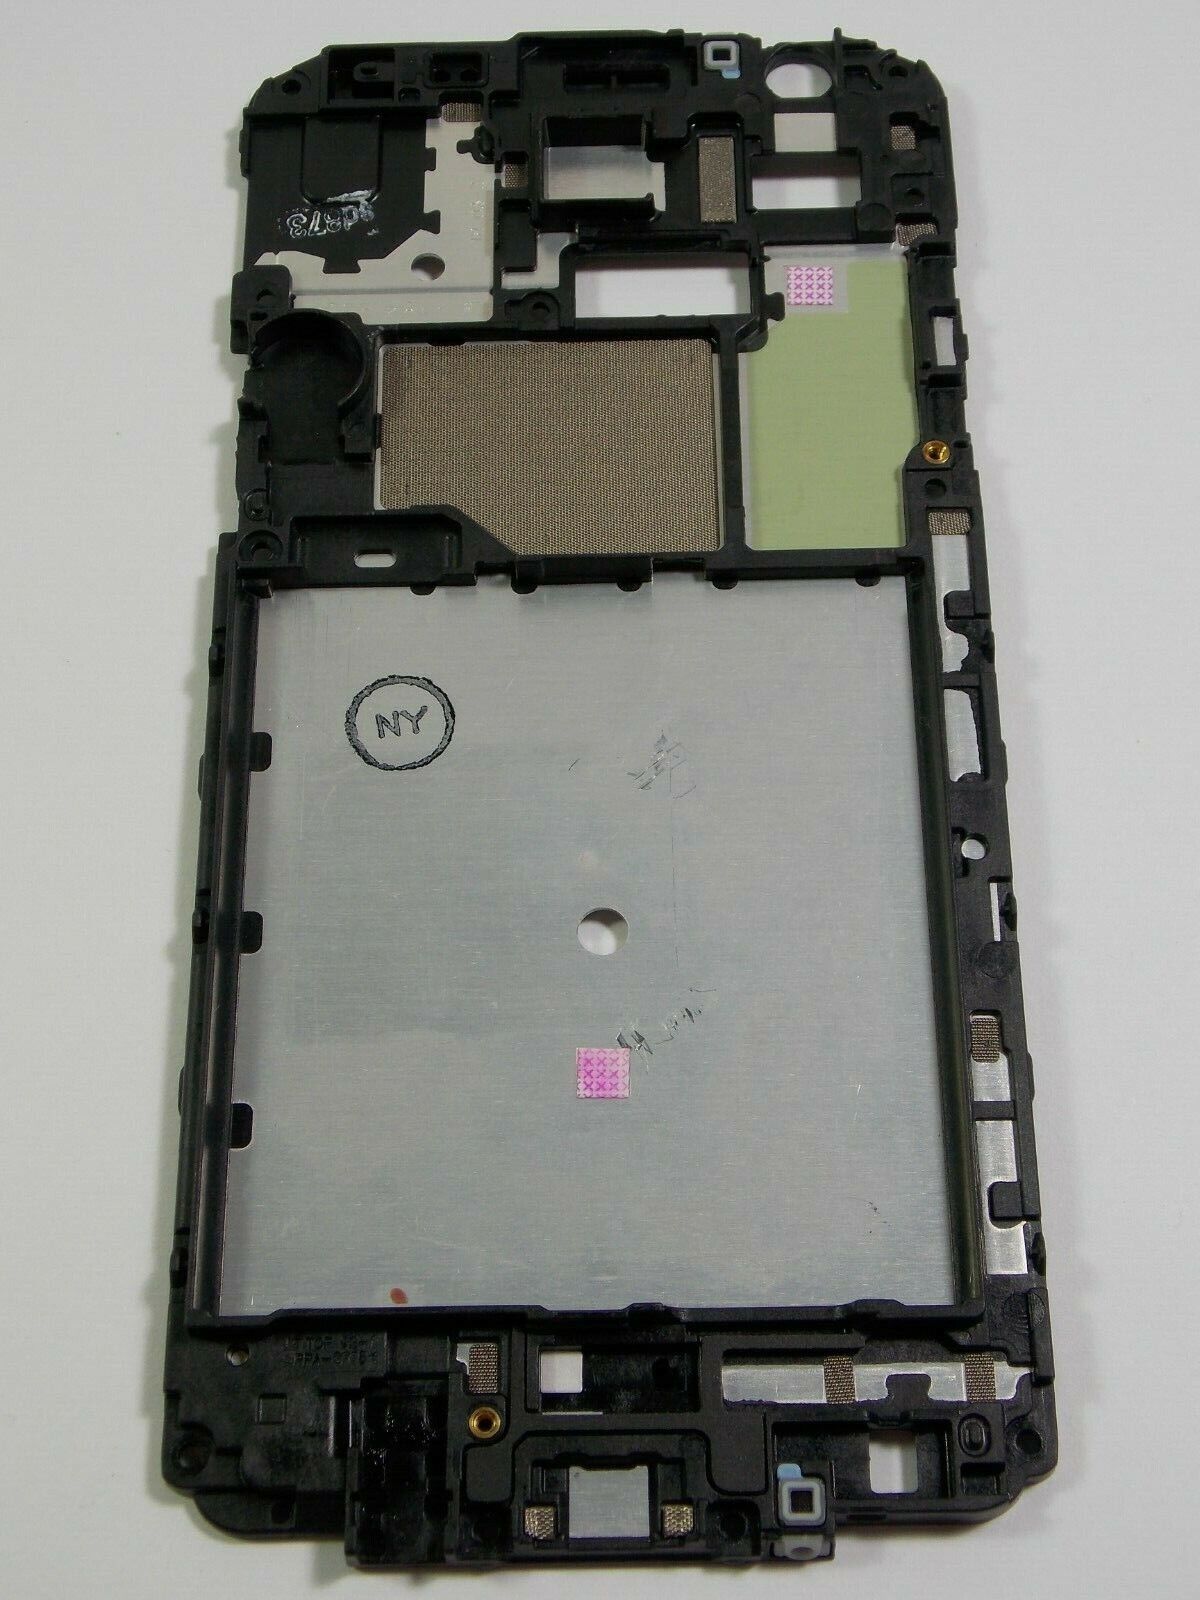
Taking off the midframe requires some patience because there are a lot of screws holding it together. This panel shields the vital inner parts of the device and provides extra stability. If you need help, you can always schedule a repair
Step 1

– Slide your fingernail into the back cover removal slot and gently pull it back until the cover pops off with a satisfying click.
Step 2

Before you start, make sure your device is completely powered down – it’s an important safety step to avoid any potential damage or injury. If you need help, you can always schedule a repair
Step 3

– Gently slide out the SD and SIM card from your device using your finger. If you need help, you can always schedule a repair
Step 4

Hey, be careful around the home button! It’s kinda delicate, so loosen that adhesive before pulling too hard. You don’t want to break those little tabs that hold it in place. If you need help, you can always schedule a repair.
The cracked screen is secured under the screen assembly with a little plastic brace; pop this off with an iFixit opening tool. If you need help, you can always schedule a repair
– Use an iFixit opening tool to carefully pry the screen away from one of the phone’s vertical sides. Keep gently working your way around until the screen is loose enough to remove safely. If you need help, you can always schedule a repair
Tools Used

Step 5


– Grab your trusty Phillips #000 screwdriver and let’s get to work! Carefully unscrew all eleven 5mm screws from the metal panel and set them aside. You’ve got this!
Tools Used

Step 6

– Flip your device over and give the back panel a little love tap – push gently to separate the metal plate from the back paneling. It’s like a little dance party for your device!