Samsung Galaxy Light Camera Replacement Guide
Duration: 45 minutes
Steps: 6 Steps
Get ready to give your Samsung Galaxy Light a brand new rear facing camera. This step-by-step repair guide from Salvation Repair will walk you through the process. If you need help, you can always schedule a repair.
Step 1

Before you dive in and pop off that back cover, make sure your Samsung Galaxy Light is totally powered down!
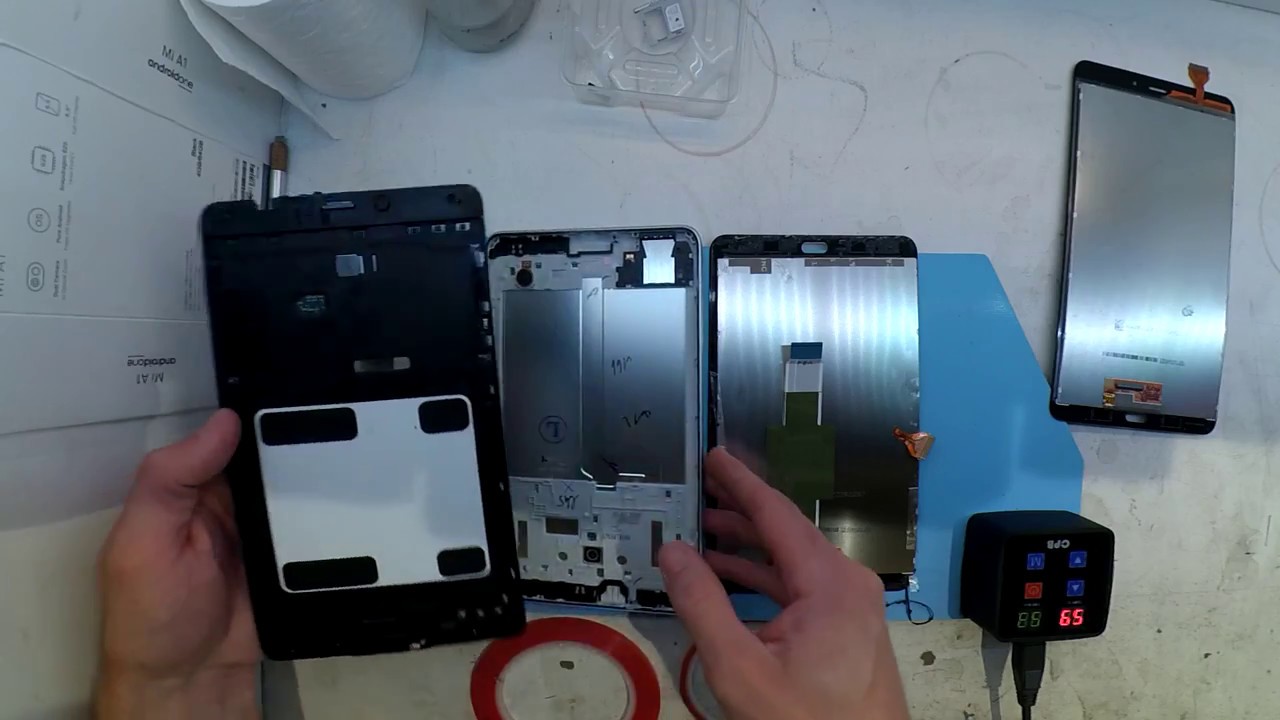
– Time to get started! Use a plastic opening tool or your trusty fingernails to carefully pry up the back cover of your device.
– Now, go ahead and remove the back cover. If you need help, you can always schedule a repair

Step 3

– Let’s get started by removing the nine screws that hold the midframe in place. Grab your trusty Phillips #0 screwdriver and carefully take out all the screws from the front of the device. If you need help, you can always schedule a repair
Tools Used

Step 4

– Let’s get started by using a plastic opening tool to carefully separate the midframe from the front panel of your device.
– Now, go ahead and remove the midframe – you’re making great progress! If you need help, you can always schedule a repair
Step 5


– Alright, let’s get this motherboard outta there! 😎
– Using your handy dandy plastic opening tool, gently lift up the digitizer connector from the motherboard. No need to be rough, we’re not trying to break anything.
– Now, carefully lift that motherboard up and scoot it over to the left side of your device. It’s like a little dance move! 💃
– One more time with the plastic opening tool, gently pry up the display connector on the back side of the motherboard. We’re almost there!
Step 6

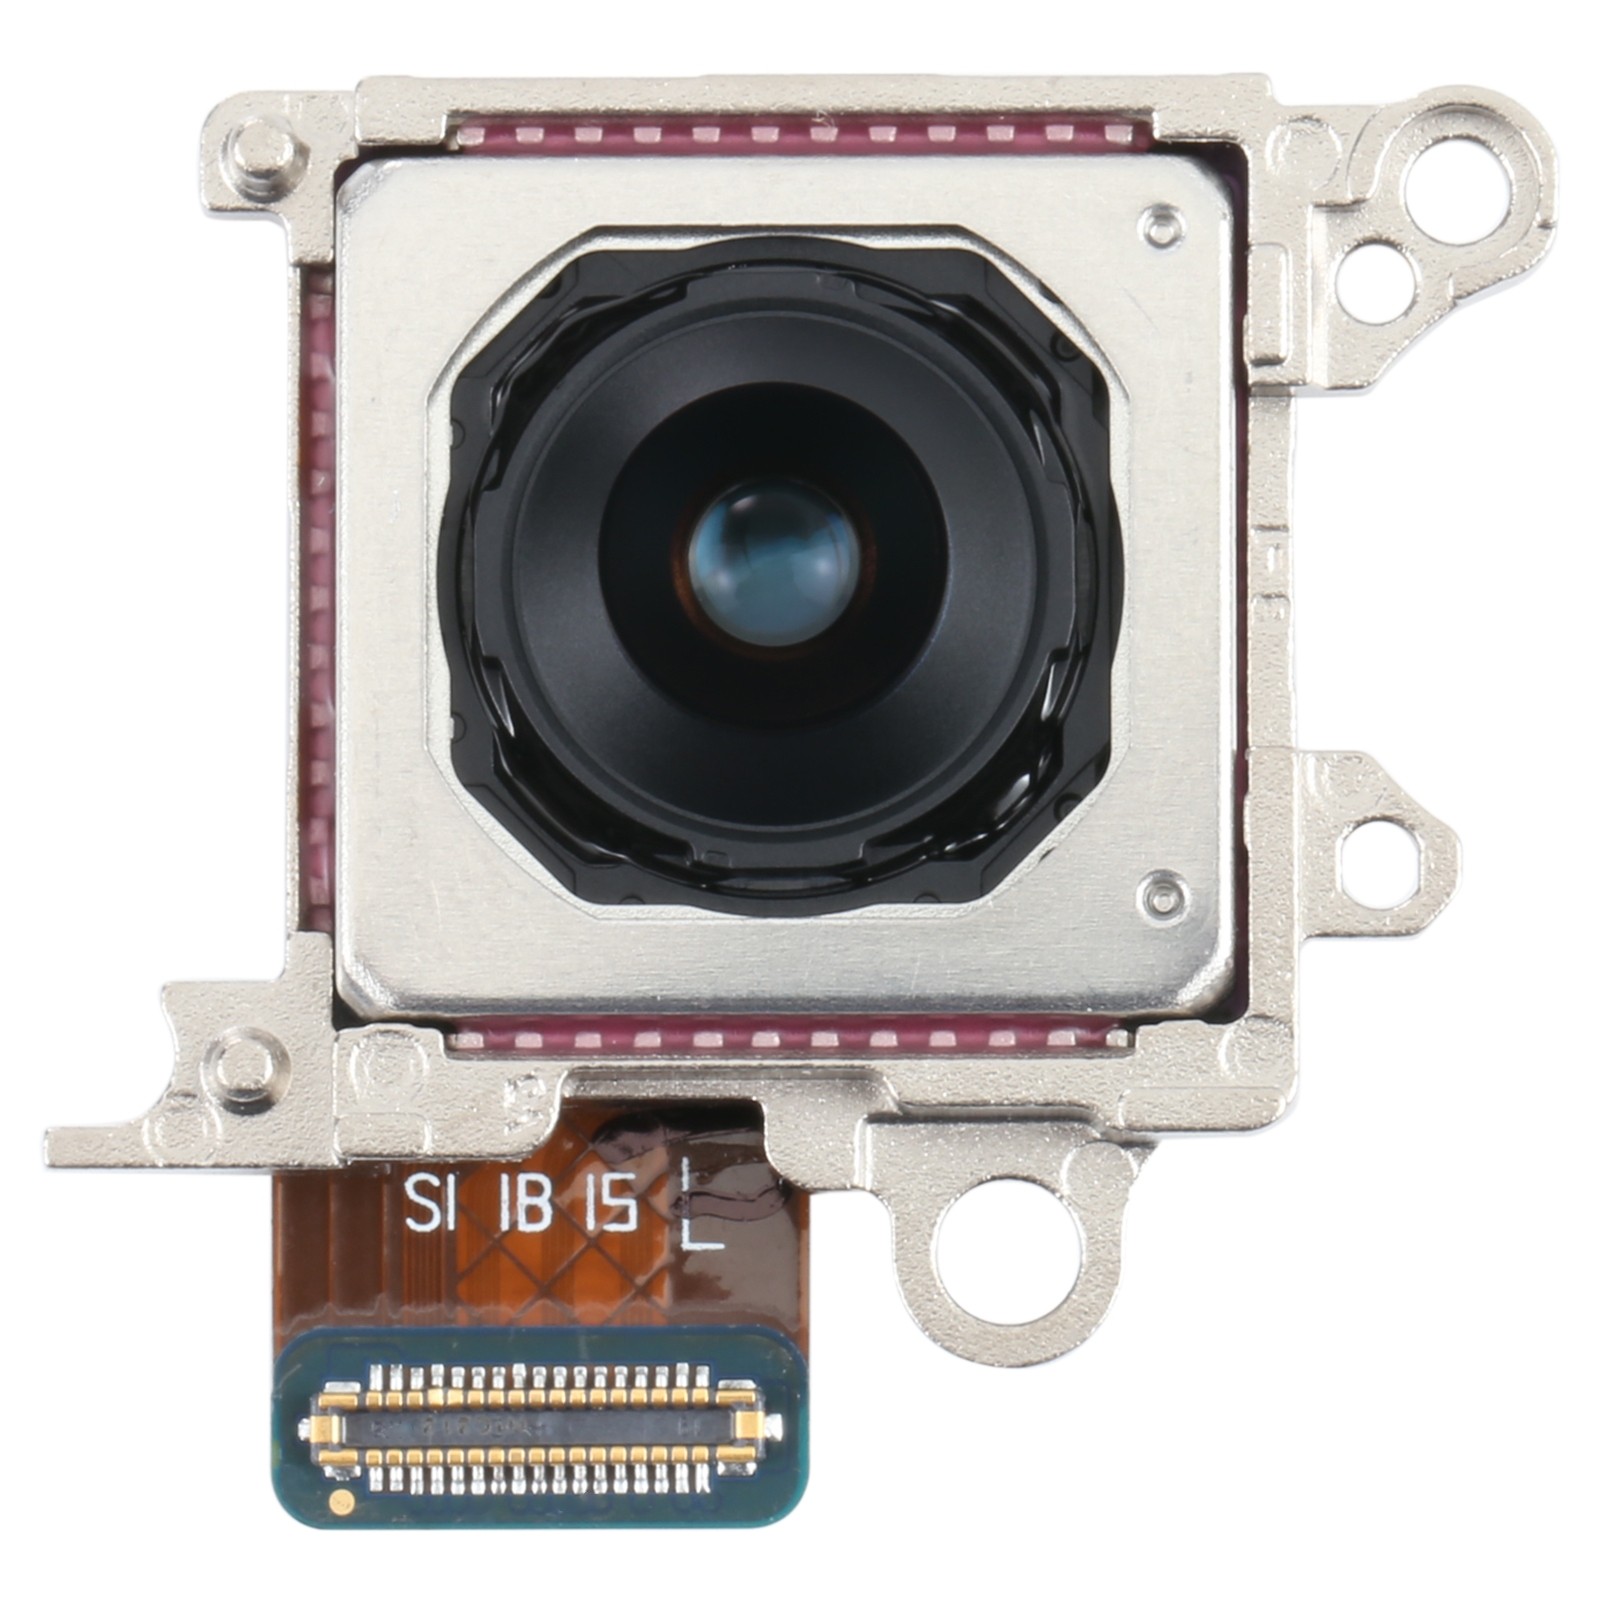
– Alright, time to give that rear-facing camera a little break from the motherboard. Grab your trusty plastic opening tool and gently disconnect it. You’ve got this! If you need help, you can always schedule a repair.