Samsung Galaxy Light Digitizer Replacement Guide – DIY Repair
Duration: 45 minutes
Steps: 10 Steps
Get ready to breathe new life into your Samsung Galaxy Light (SGH-T399) with this easy-to-follow repair guide from Salvation Repair. We’ll walk you through the process of disassembling your device and replacing the digitizer. Don’t worry, the Galaxy Light is a breeze to work with, making it a great candidate for DIY repairs. Since the screen and digitizer are separate components, you can replace the digitizer without having to touch the screen. If you need help along the way, you can always schedule a repair.
Step 1

Before you dive in and pop off that back cover, double-check that your Samsung Galaxy Light is totally powered down.
– Let’s get this party started! Using a plastic opening tool (or your trusty fingernails!), gently lift the back cover of your device.
– Time to give that back cover a high-five! Remove it from the device.

Step 3

– Grab your trusty Phillips #0 screwdriver and get ready to shine! It’s time to take off all nine (9) screws that are holding the midframe snug against the front of your device. You’ve got this!
Tools Used

Step 4

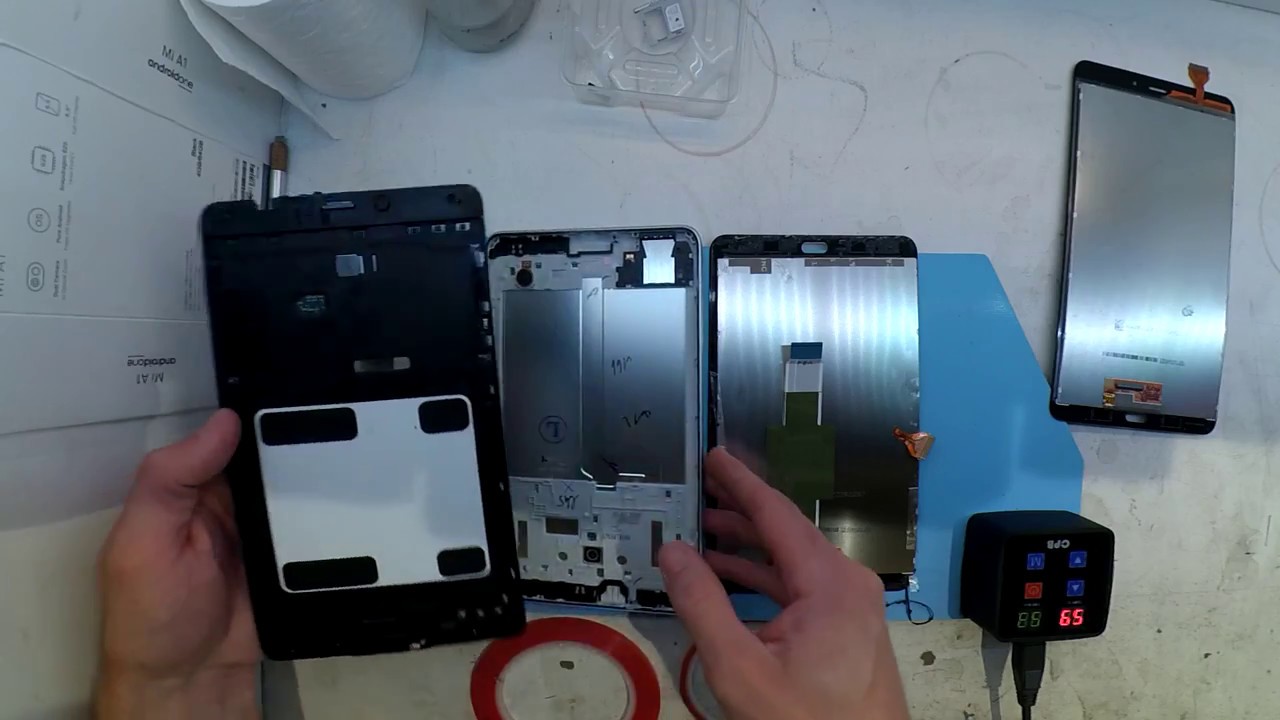
– Grab your trusty plastic opening tool and gently pry the midframe away from the front panel of your device. It’s like giving it a little hug to help it breathe!
– Now, go ahead and lift off the midframe. You’ve got this!
Step 5


– Alright, let’s get this motherboard outta here!
– Using your trusty plastic opening tool, gently nudge that digitizer connector off the motherboard.
– Now, carefully lift that motherboard up and scootch it over to the left side of your device.
– Time to say goodbye to the display connector. Using your trusty tool, carefully pry it up from the back of the motherboard.
Step 6
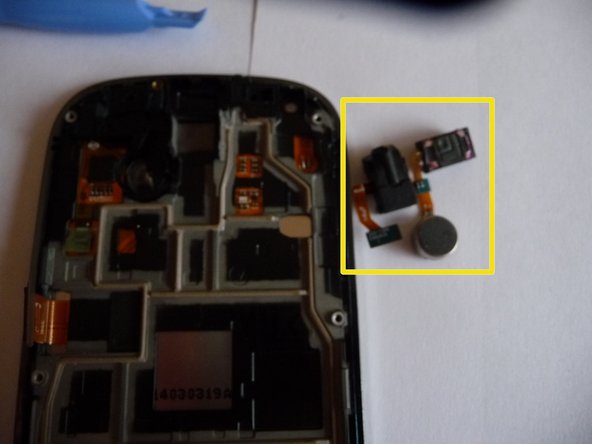

– Grab your trusty plastic opening tool and gently pry out the headphone jack (red)/earpiece (red)/vibrator (orange) assembly. They’re all buddies and come out as one happy unit! Just be extra cautious with those delicate ribbon cables connecting them; they can be a bit touchy and might tear easily.

Step 8

– Let’s get started by using a plastic opening tool to release the latch – just swing it up towards the cable and gently slide the digitizer connector free.
– Now, focus on the wide area of the cable where the chip is located. You’ll notice the cable is securely glued to a small metal plate, which is attached to the back with heat-conducting adhesive. Carefully loosen this cable from the back to avoid any damage.
– If you’re planning to reuse the digitizer, be super careful when removing it – you don’t want to damage that cable. Apply some gentle heat and use a metal tool to pry between the metal plate and the back. Take your time, and remember, if you need help, you can always schedule a repair.
Step 9


– Now it’s time to carefully release the adhesive and pull the digitizer away from the frame. To prevent the adhesive from reattaching as it cools, use guitar picks or cards to keep things separated.
– Start at the top, near the Samsung logo, and work your way down. The adhesive can be pretty strong, so apply even heat and use plastic opening tools to gently pull the top edge of the digitizer away from the frame. Remember, the digitizer cable feeds through a slot in the frame, so be mindful of that.
– Apply some more heat to the sides and use your plastic opening tools to separate the digitizer from the frame. Just be careful not to push the tool too far in, or you might damage the screen or get adhesive all over it.
– A heads up: unlike some other Samsung phones, there aren’t any cables on the back of the touch-sensitive buttons on either side of the home button.
– Once you’ve separated the digitizer from the frame on all sides, it’s time to remove it. If you need help or feel unsure at any point, you can always schedule a repair with Salvation Repair.
Watch out for the red zone — that’s where the digitizer cable sneaks through the frame’s slot! If you’re planning on using the digitizer again, keep an eye out when detaching it from this area, or you might accidentally damage the cable. No worries, though! If you need help, you can always schedule a repair!
Step 10

– Now, let’s put everything back together! It’s basically the same steps as taking it apart, but in reverse. If your old digitizer was looking a bit rough (cracked, we’re looking at you!), take a moment to give the frame a good look over. Make sure there are no sneaky glass shards hanging around – they can get in the way of your shiny new digitizer and cause some serious trouble! Once you’re sure the coast is clear, carefully put the new digitizer in place. It should fit snugly and look amazing. If you run into any trouble, don’t sweat it! You can always schedule a repair with us. We’re here to help you out!