Samsung Galaxy Luna Motherboard Replacement
Duration: 45 minutes
Steps: 10 Steps
Follow this awesome guide to swap out your motherboard. If you need help, you can always schedule a repair.
Step 1

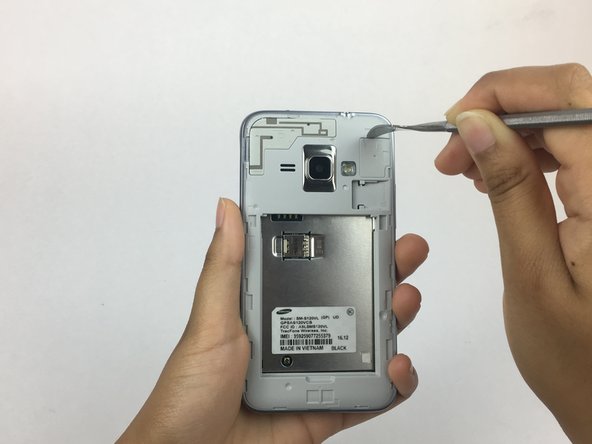
– Grab your trusty plastic opening tool and gently pry at the little divot to the left of the camera. This’ll pop the back case right off. Easy peasy! If you need help, you can always schedule a repair.
Step 2

– Gently pull up the corner near the divot to pop off the case.
Step 3


– Ready to give that battery a little nudge? Grab your fingernail or a prying tool and gently slide it under the bottom of the battery. Give it a little lift and pop it out of the case. You got this! If you need help, you can always schedule a repair
Step 4


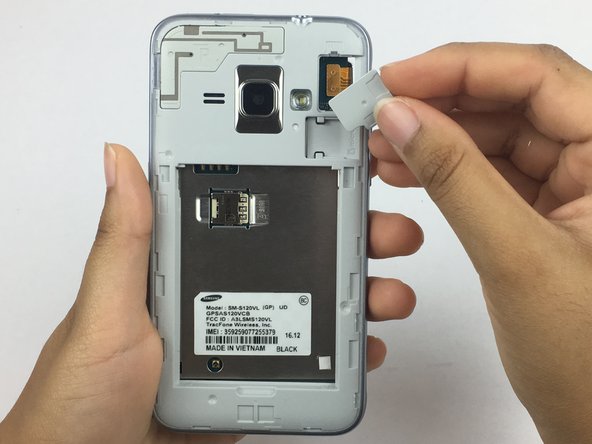
– Get started by using your finger or a plastic opening tool to gently push the SIM card further into its container – you’ll know it’s in the right spot when you hear a click.
– Once you’ve heard that satisfying click, grab the SIM card and carefully slide it out of the container.
– Now it’s time to completely remove the SIM card from its slot.
– When you’re ready to put everything back together, simply slide the new SIM card into the slot until you hear that click again – easy peasy. If you need help, you can always schedule a repair.
Step 5

– Let’s get started by using a plastic opening tool or your trusty fingernail to carefully pry the rear case off. Just locate the divot to the left of the camera and gently lift it to the left.
– Now, grab the rear case by the corner nearest the divot and lift it off the phone. Easy does it!
– Next, use an opening tool to remove the cover for the digitizer connector. This will give you access to the connector itself.
– Finally, use a tweezer or a plastic spudger to detach the connector. If you need help, you can always schedule a repair with Salvation Repair.
Step 6
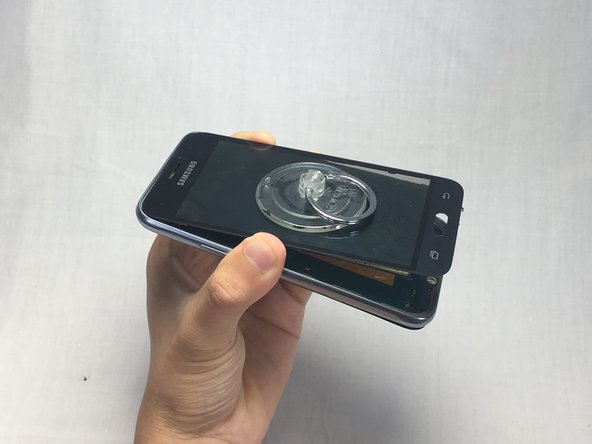


– Lend your screen some suction power by placing a small cup on the center, press firmly in place!
– Getting a grip on your gadget? Time to get bendy – gently hold the back and pull on that cup until the screen starts to flex.
Step 7
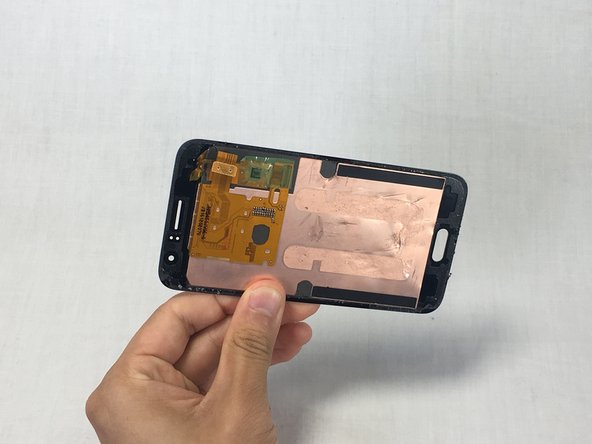

Be careful not to rip any exposed circuits when you’re taking off the screen. If you need help, you can always schedule a repair.
– Alright, let’s get this screen off! Grab your trusty spudger and find a little gap around the edge of the phone. Gently pry the screen away. Be careful not to go too hard, we don’t want any scratches!
– Make sure that screen is completely loose before you go and try to pull it off. We want to keep everything nice and tidy, right?
Step 8
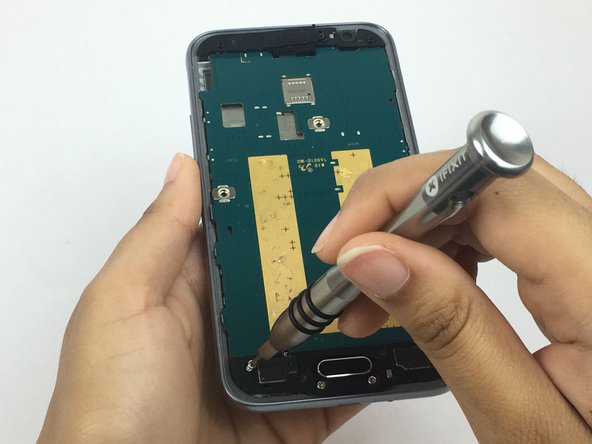

– Alright, grab your trusty Philips PH000 screwdriver – you know, the one you use to fix everything? We’re going to loosen those nine little 3 mm screws. They’re holding things in place, so we need to give them a little freedom.
Step 9

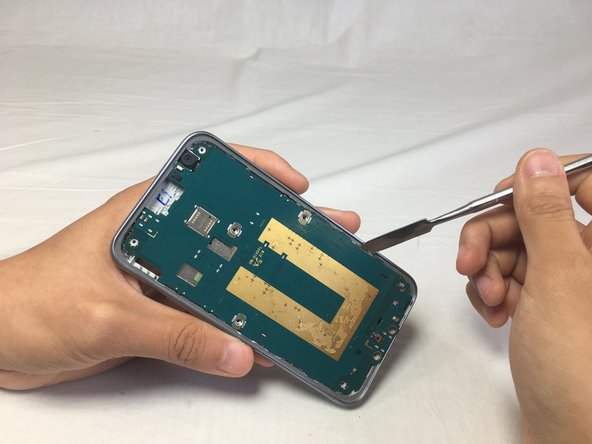
Be gentle when working with the motherboard’s circuitry – it’s super delicate and can be easily damaged. If you’re not feeling confident, don’t worry, you can always schedule a repair
– Grab your trusty metal spudger and gently nudge that button frame off the motherboard. It’s like giving it a little hug goodbye!
– Now, give the motherboard some love and do the same thing. You’re doing great!
Step 10
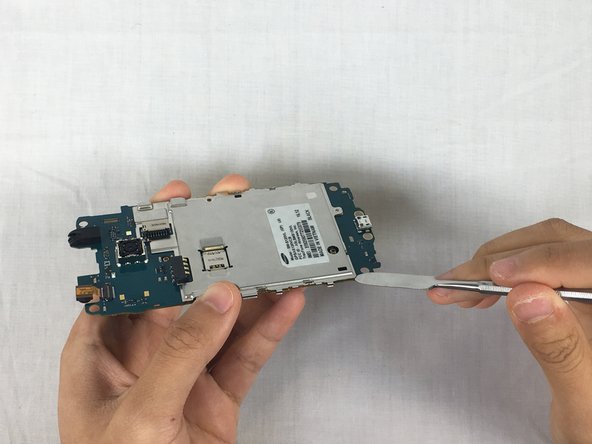

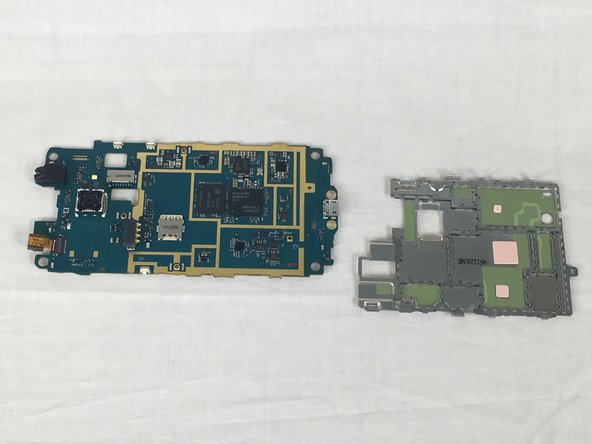
Handle the motherboard cover with care; let’s avoid any accidental scratches on that delicate circuitry!
– Grab that trusty Philips PH000 screwdriver and twist out the black screw like a pro.
– Now, take your metal spudger and gently pry open the motherboard cover—let’s uncover those secrets inside!