Samsung Galaxy M51 Screen Replacement Guide
Duration: 45 minutes
Steps: 25 Steps
Ready to tackle that cracked screen on your Samsung Galaxy M51? Let’s get to it! If your frame is looking a bit wonky, it’s a good idea to swap it out to ensure your new screen fits snugly and avoids any pesky pressure issues. Before diving in, make sure to drain that battery below 25%. A punctured battery can be a bit dramatic, but discharging it first keeps things safe and sound. Just a heads up: this guide focuses on swapping out the screen while keeping the original frame and motherboard intact. However, if you’ve got a replacement screen that comes with a new frame (or chassis, if you want to sound fancy), the process will be a bit different. Double-check you’ve got the right part before you start. And don’t forget, you’ll need some replacement adhesive to stick everything back together when you’re done. If you need help, you can always schedule a repair.
Step 1


When putting the cards back in, just remember to line them up right in the tray for a smooth fit!
– Grab your trusty SIM eject tool and gently poke it into the tiny hole on the SIM card tray located on the left side of your phone.
– Give it a good press to pop that tray out.
– Carefully pull out the SIM card tray and set it aside.
Step 2

First, make sure to completely power down your phone before you start this procedure.
You can use a hair dryer, heat gun, or hot plate to get the job done, but be gentle – your phone’s display and internal battery are sensitive to heat, so don’t overdo it. If you need help, you can always schedule a repair
– Get your iOpener nice and toasty by applying it to the back cover for at least two minutes. It’s like giving the phone a warm hug!
Tools Used

Step 3


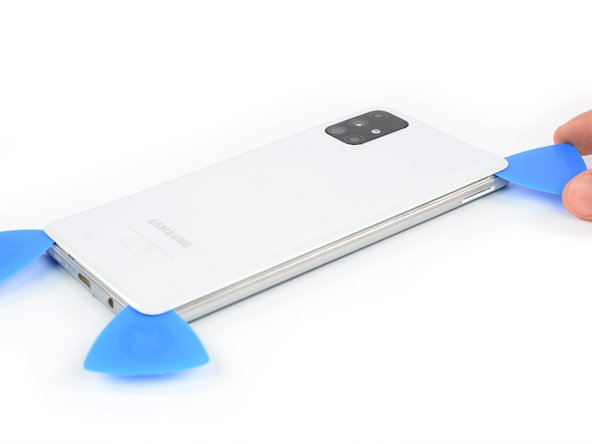
– Grab a suction handle and stick it on the back cover, getting as close to the USB-C port as you can.
– Gently lift the bottom edge of the back cover with your suction handle to create a little gap between it and the frame.
– Slip the tip of an opening pick into the gap you’ve just made.
– Slide that opening pick over to the bottom left corner and let it chill there.
Tools Used

Step 4


– Grab another opening pick and glide it from the bottom left corner to the bottom right to slice through that adhesive.
– Keep those opening picks in place to stop the adhesive from re-sticking.
Step 5

If you’re running into a bit of a sticky situation, don’t hesitate to crank up the heat a notch to help loosen that adhesive. Just remember to check out the iOpener instructions to keep things from getting too toasty!
– Let’s get this party started! Slide a third opening pick under the bottom right corner of the back cover.
– Now, give that adhesive a little love tap! Slide the pick along the right edge of the phone to the top right corner, cutting through that adhesive.
– Keep that opening pick in the top right corner so the adhesive doesn’t get all cuddly and reseal itself. If you need help, you can always schedule a repair.
Tools Used
Step 6


– Slide a fourth opening pick beneath the top right corner, like tucking in a cozy blanket.
– Gently glide it along the top edge all the way to the left corner to slice through that pesky adhesive.
– Keep that opening pick right where it is to stop the adhesive from getting all clingy again.
Step 7
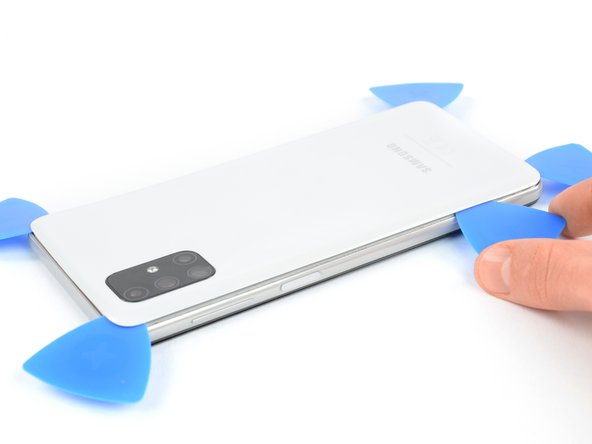

– Pop in a fifth opening pick at the top left corner and gently glide it along the edge to slice through the leftover adhesive. Keep it smooth and steady!

Step 9


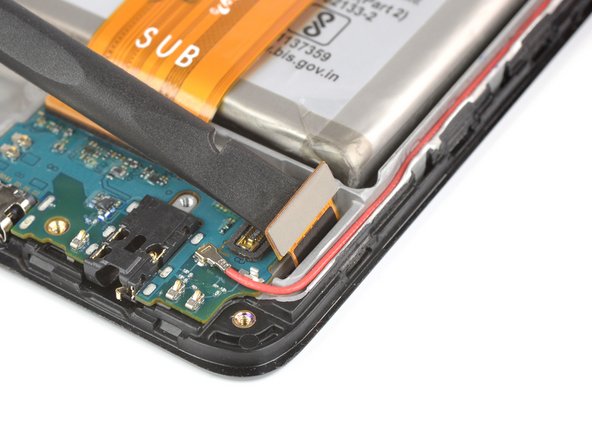
– Grab your trusty spudger and use its pointy end to gently disconnect the fingerprint sensor from the motherboard. You’ve got this!
Tools Used

Step 10

– Unscrew the 15 Phillips #00 screws, each measuring 4.0 mm, that are holding the midframe in place. You’ve got this!
Step 11

Those plastic clips holding the midframe? They’re just begging to be removed! Let’s get this party started! And if you need help, you can always schedule a repair.
– Let’s get this show on the road! Start by sliding an opening pick between the midframe and display, near the USB-C port.
– Now, gently slide the opening pick towards the bottom right corner to release those pesky plastic clips. You’re doing great!
Step 12

– Now it’s time to get those plastic clips to release – simply slide the opening pick along the right edge to set them free.
Step 13

– Now it’s time to get this repair started – slide the opening pick along the top edge to release the midframe from those plastic clips. If you need help, you can always schedule a repair

Step 15

– Alright, let’s get that midframe out! Time to give it the boot. Gently remove it, and we’ll be cruising right along.
Step 16


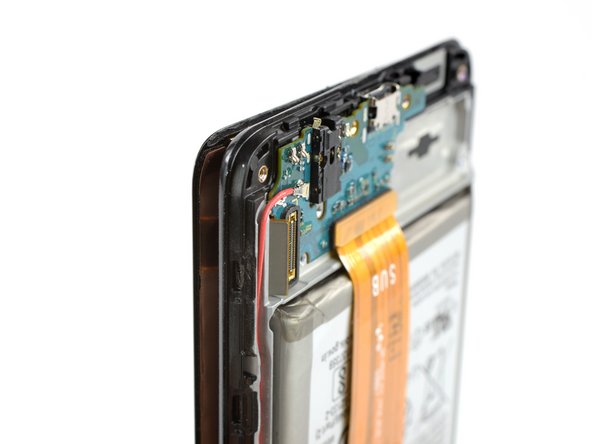
– Let’s get started by using the flat end of a spudger to carefully disconnect the battery – don’t worry, it’s easier than it sounds. If you need help, you can always schedule a repair
Tools Used

Step 18

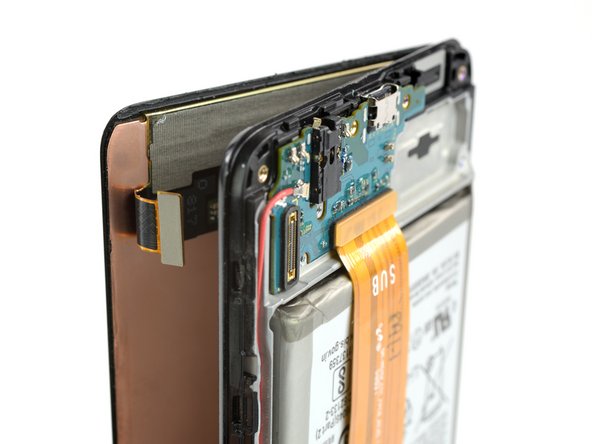
– Get your iOpener nice and toasty – heat it up for at least two minutes. Then, put it on the display to loosen up that sticky stuff underneath.
Tools Used
Step 19

If your screen is cracked, the suction cup might not stick as well as you’d like. No worries, just try lifting it with some strong tape or superglue the suction cup in place and let it cure – then you’re good to go. If you need help, you can always schedule a repair
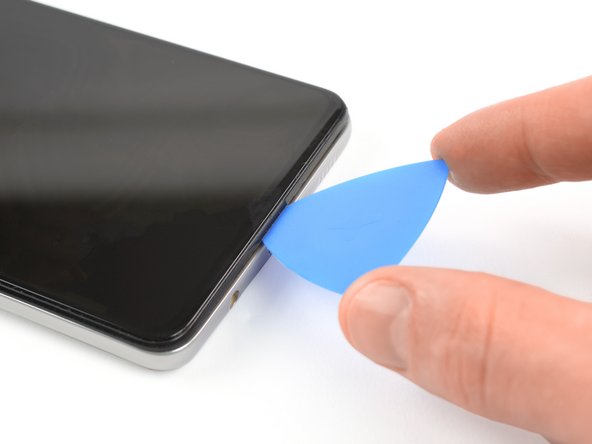
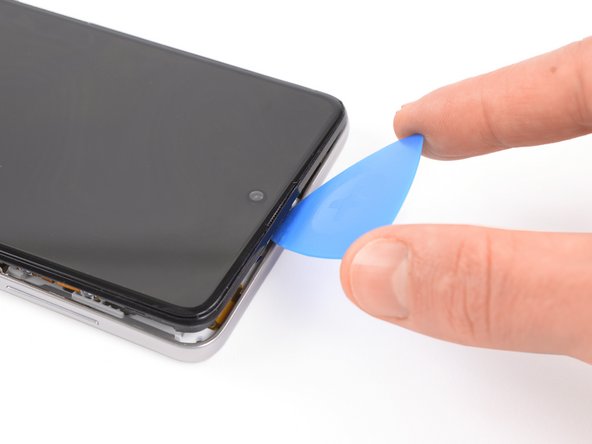
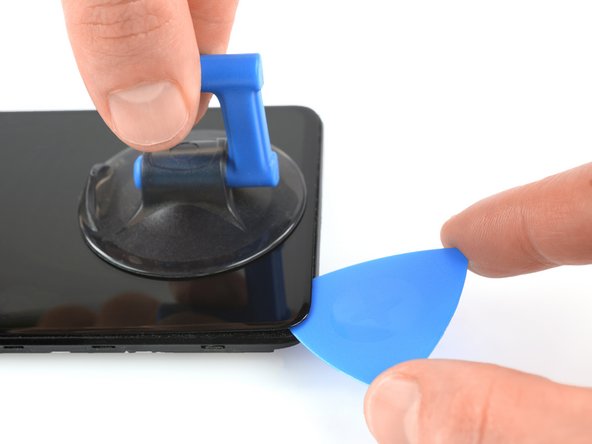
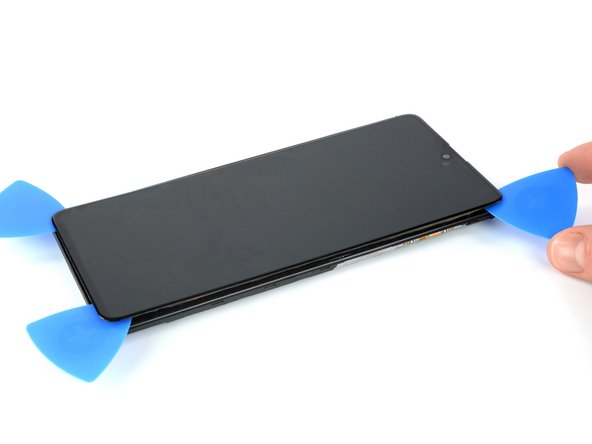
– Let’s get that screen off! Stick a suction handle right near the bottom edge.
– Now, give it a good pull upwards with a steady hand. You want to create a little space between the screen and the frame.
– Carefully slide an opening pick into that gap you just made.
– Slide that pick towards the bottom left corner and leave it in place. You’re doing great!
Tools Used
Step 20

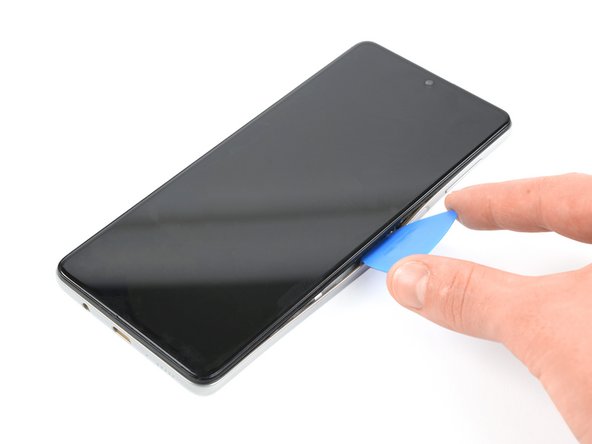
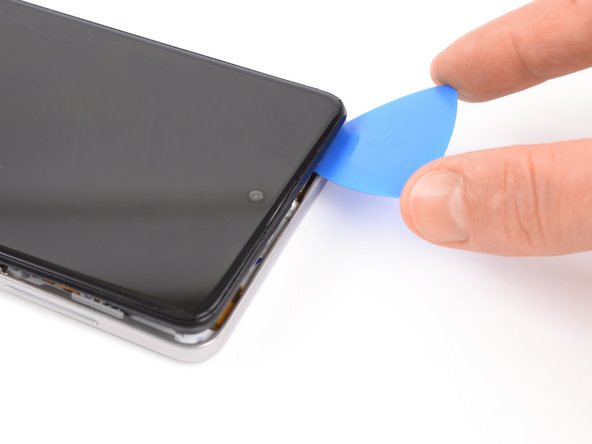
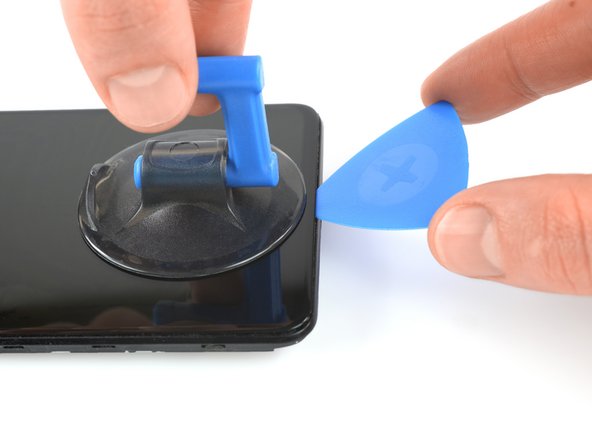
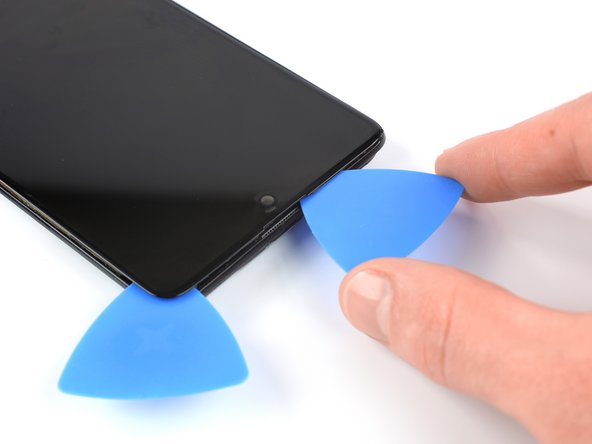
– Slide a second opening pick into the bottom right corner to slice through that pesky adhesive.
– Keep the opening pick in place to stop the adhesive from sticking back together.
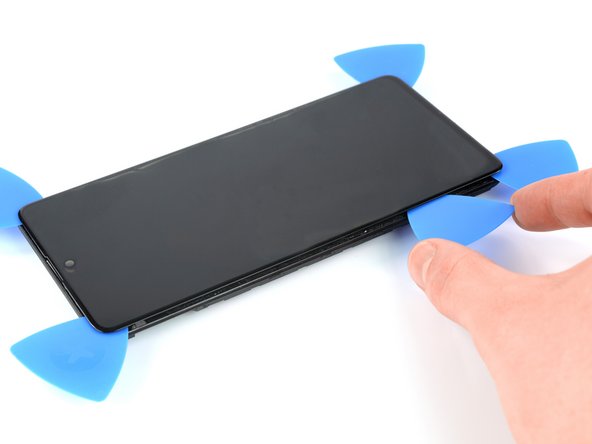
Step 21


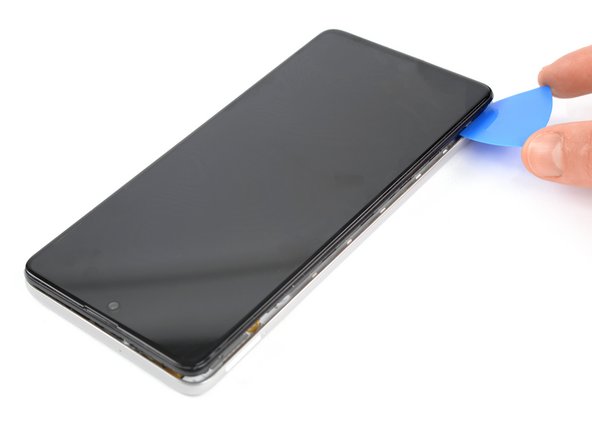
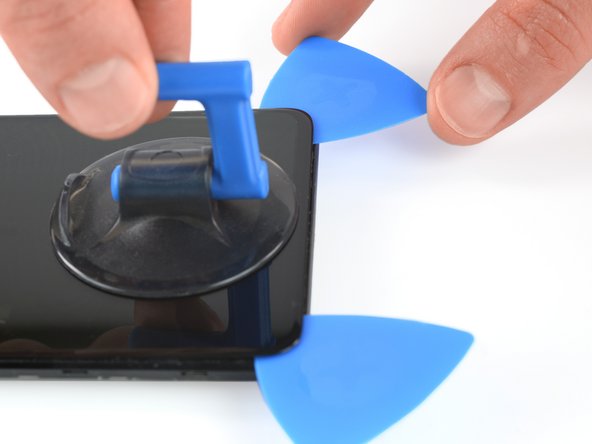
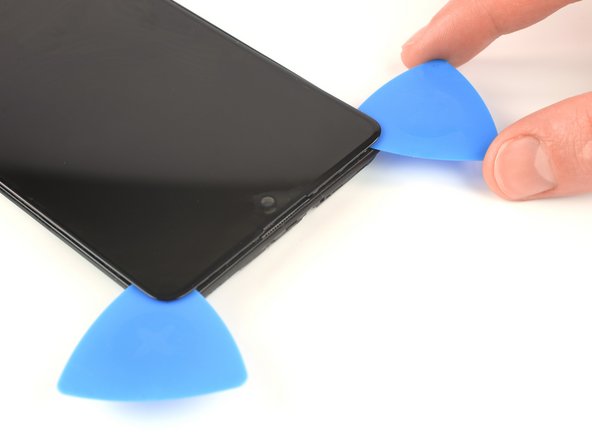
– Now, we’re gonna slide a third opening pick along that left edge, cutting through the adhesive. It’s like a little dance, right?
– Keep that opening pick right up in the top right corner, like it’s ready for a selfie!
Step 22

You might need to warm up and reapply the iOpener a few times to loosen that adhesive. Be sure to follow the iOpener instructions to avoid overheating. If you need help, you can always schedule a repair.
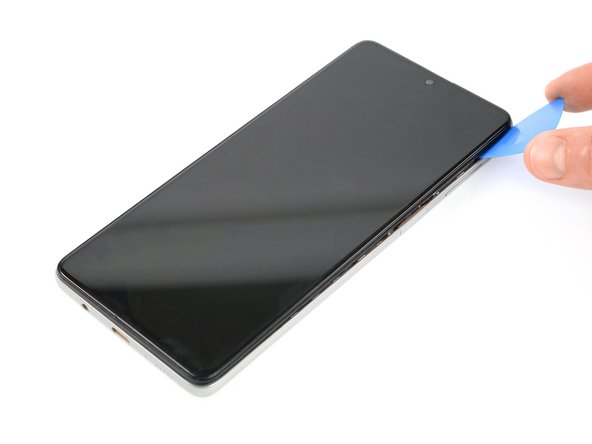
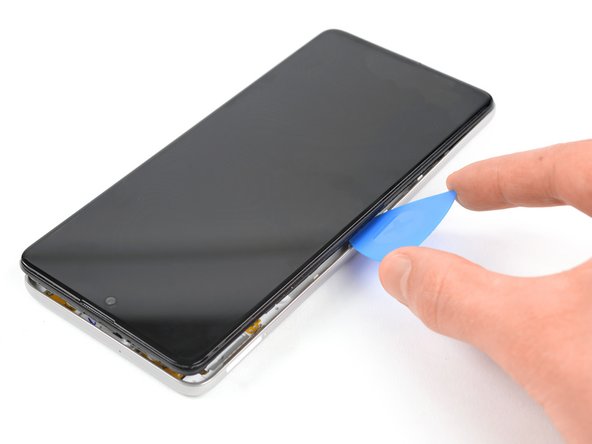
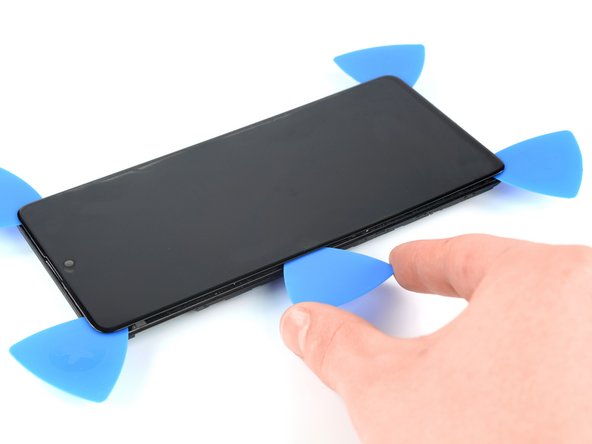
– Now it’s time to bring in the fourth opening pick – slide it up to the top left corner to cut through that adhesive. You’re making great progress!
– Leave that opening pick right where it is, so the adhesive doesn’t start to reseal. You’re doing a great job keeping everything under control. If you need help, you can always schedule a repair
Tools Used
Step 23

– Pop in a fifth opening pick and glide it along the left edge to slice through that stubborn adhesive like a pro!