Samsung Galaxy Mega 2 Repair Guide: How to Replace Rear Camera (Step-by-Step)
Duration: 45 minutes
Steps: 5 Steps
Get ready to breathe new life into your Galaxy Mega 2 by replacing the rear camera. This step-by-step repair guide from Salvation Repair will walk you through the process, which is a bit challenging but won’t take up too much of your time. To replace this part, you’ll need to remove the screen, but don’t worry, we’ve got you covered. If you need help, you can always schedule a repair.
Step 1

Alright, let’s get started! First things first, make sure your phone is powered off. We wouldn’t want any surprises, right?
– Check out the back of your phone and locate the little slot at the charging port down at the bottom.
– Now, grab your trusty plastic opening tool or simply use your fingernail to gently lift the back cover.
– Once you’ve popped the corner loose, slide your finger around the edge and keep going until the back cover gives way.


Step 3

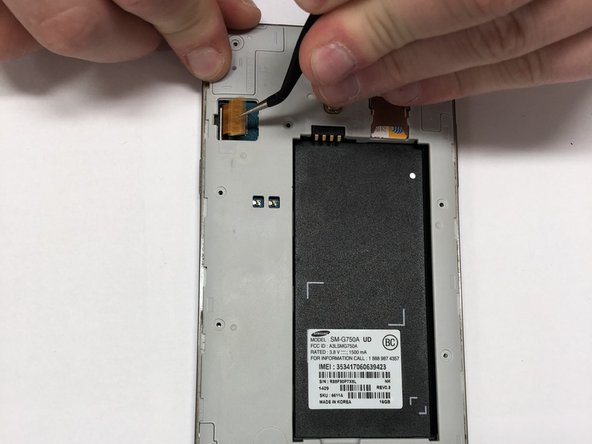
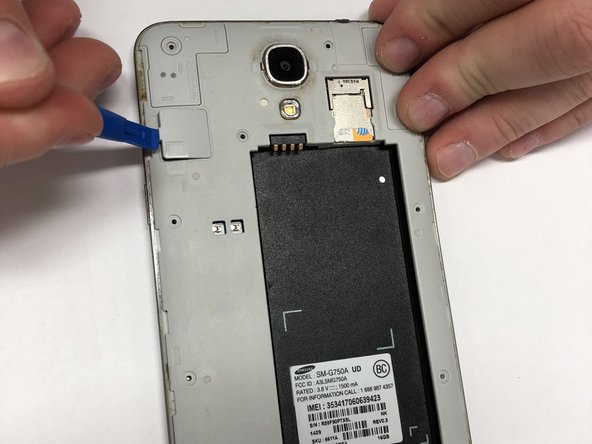
– Grab your trusty Phillips head PH000 and remove all 13 of those tiny 1.4 mm screws – you got this!
– Now it’s time to get a little gentle, use your pry tool to carefully pop that Digitizer cover off the device, it’s like a little puzzle.
– Almost there, use your pry tool again to disconnect the digitizer, and don’t worry if you need a little help, you can always schedule a repair
Step 4

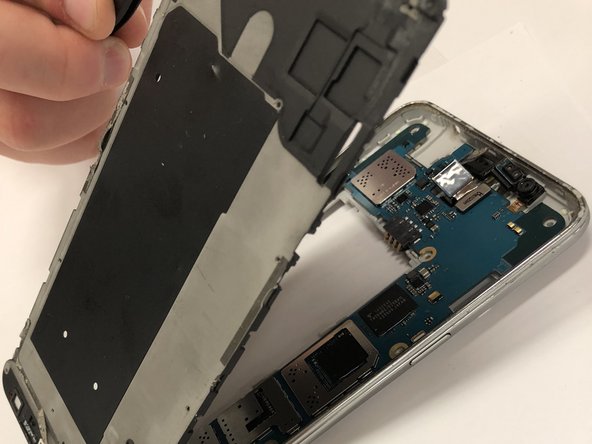
Once you’ve got that screen off, make sure to totally free it from the mid-frame.
– Go ahead and slide that tool in there like a smooth criminal, working your way around the screen, separating the screen from that back frame. Then, for the next step, press down on that top right corner of the mid-frame, and watch it magically release from the motherboard. Now use your trusty tweezers to pick up the mid-frame and get it completely separate from the motherboard. If you need help, you can always schedule a repair.
Tools Used

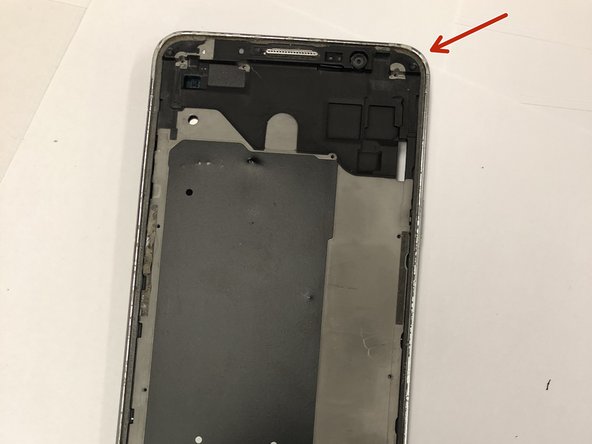
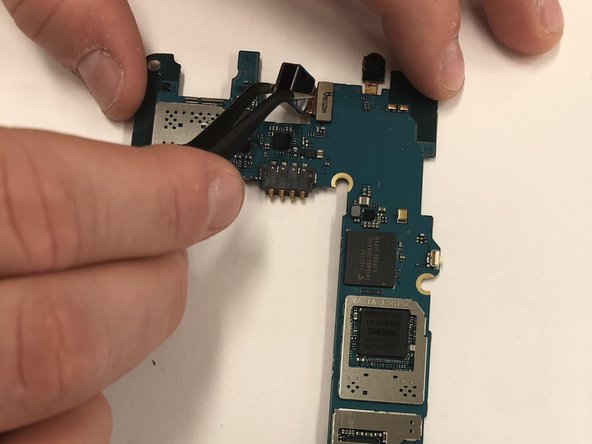
Step 5

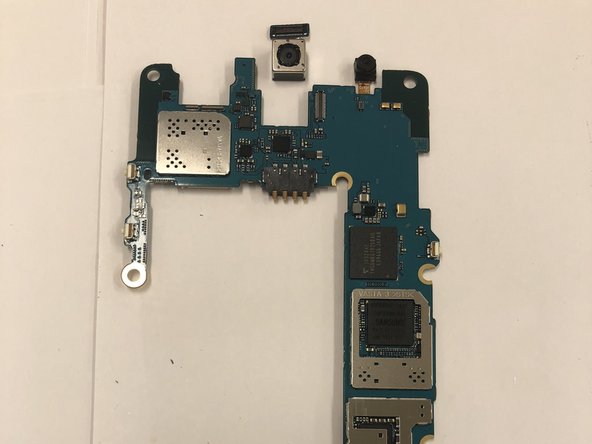
– Alright, once you’ve popped off that rear assembly frame, you’ll be greeted by the motherboard and its connectors. Exciting stuff, right?
– Next up, find the rear-facing camera in the top middle of your phone. It’s like a little treasure waiting for you!
– Grab your trusty tweezers and gently lift the motherboard to disconnect it from the mid-frame. You’re doing great!
– Now, flip that motherboard over like a pro.
– With your tweezers, carefully disconnect the rear-facing camera. You’re almost there!
Tools Used


