Samsung Galaxy Mega Motherboard Replacement: Step-by-Step Guide
Duration: 45 minutes
Steps: 8 Steps
Get ready to breathe new life into your device by replacing the motherboard. Our step-by-step guide will walk you through the process. If you need help, you can always schedule a repair with Salvation Repair.
Step 1


– Alright, let’s get this party started! First things first, make sure your device is completely powered down. We don’t want any surprises during this adventure.
– Now, on the back of your phone, you’ll find a little slot hanging out on the top left corner. It’s like a secret entrance to the back plate.
– Grab your plastic opening tool (or your trusty fingernail if you’re feeling brave) and give that back plate a little tug. It’s like you’re saying ‘Hey, back plate, it’s time to move!’
– With that corner loose, slide your finger around the device, gently working your way between the back plate and the phone. This is how we’ll release those connectors and get things moving.


Step 3


If you’re having trouble getting started, don’t worry – you can use a metal spudger instead of a plastic opening tool to begin prying open the seam. Just keep in mind that this might cause some exterior cosmetic damage. If you need help, you can always schedule a repair
– First things first, let’s tackle those screws! Remove the 14 screws measuring 3.45 mm with a Phillips #000 screwdriver from the assembly. You’ve got this!
– Now it’s time to get a little hands-on. Carefully slide a plastic opening tool into the seam just above the volume buttons of your phone. Take your time, and let it do the work!
Tools Used

Step 4


When putting everything back together, make sure those volume and power buttons are lined up nicely.
– Use your plastic opening tool to carefully pry around the device and release the internal connectors – it’s like setting the insides free.
– Once you’ve made your way around the entire device with the tool, it should come apart nicely, and you’ll be one step closer to getting your device back in working order. If you need help, you can always schedule a repair
Step 5

– Let’s get started by removing the 2.55 mm Phillips #000 screw from the motherboard panel. If you need help, you can always schedule a repair
Step 6


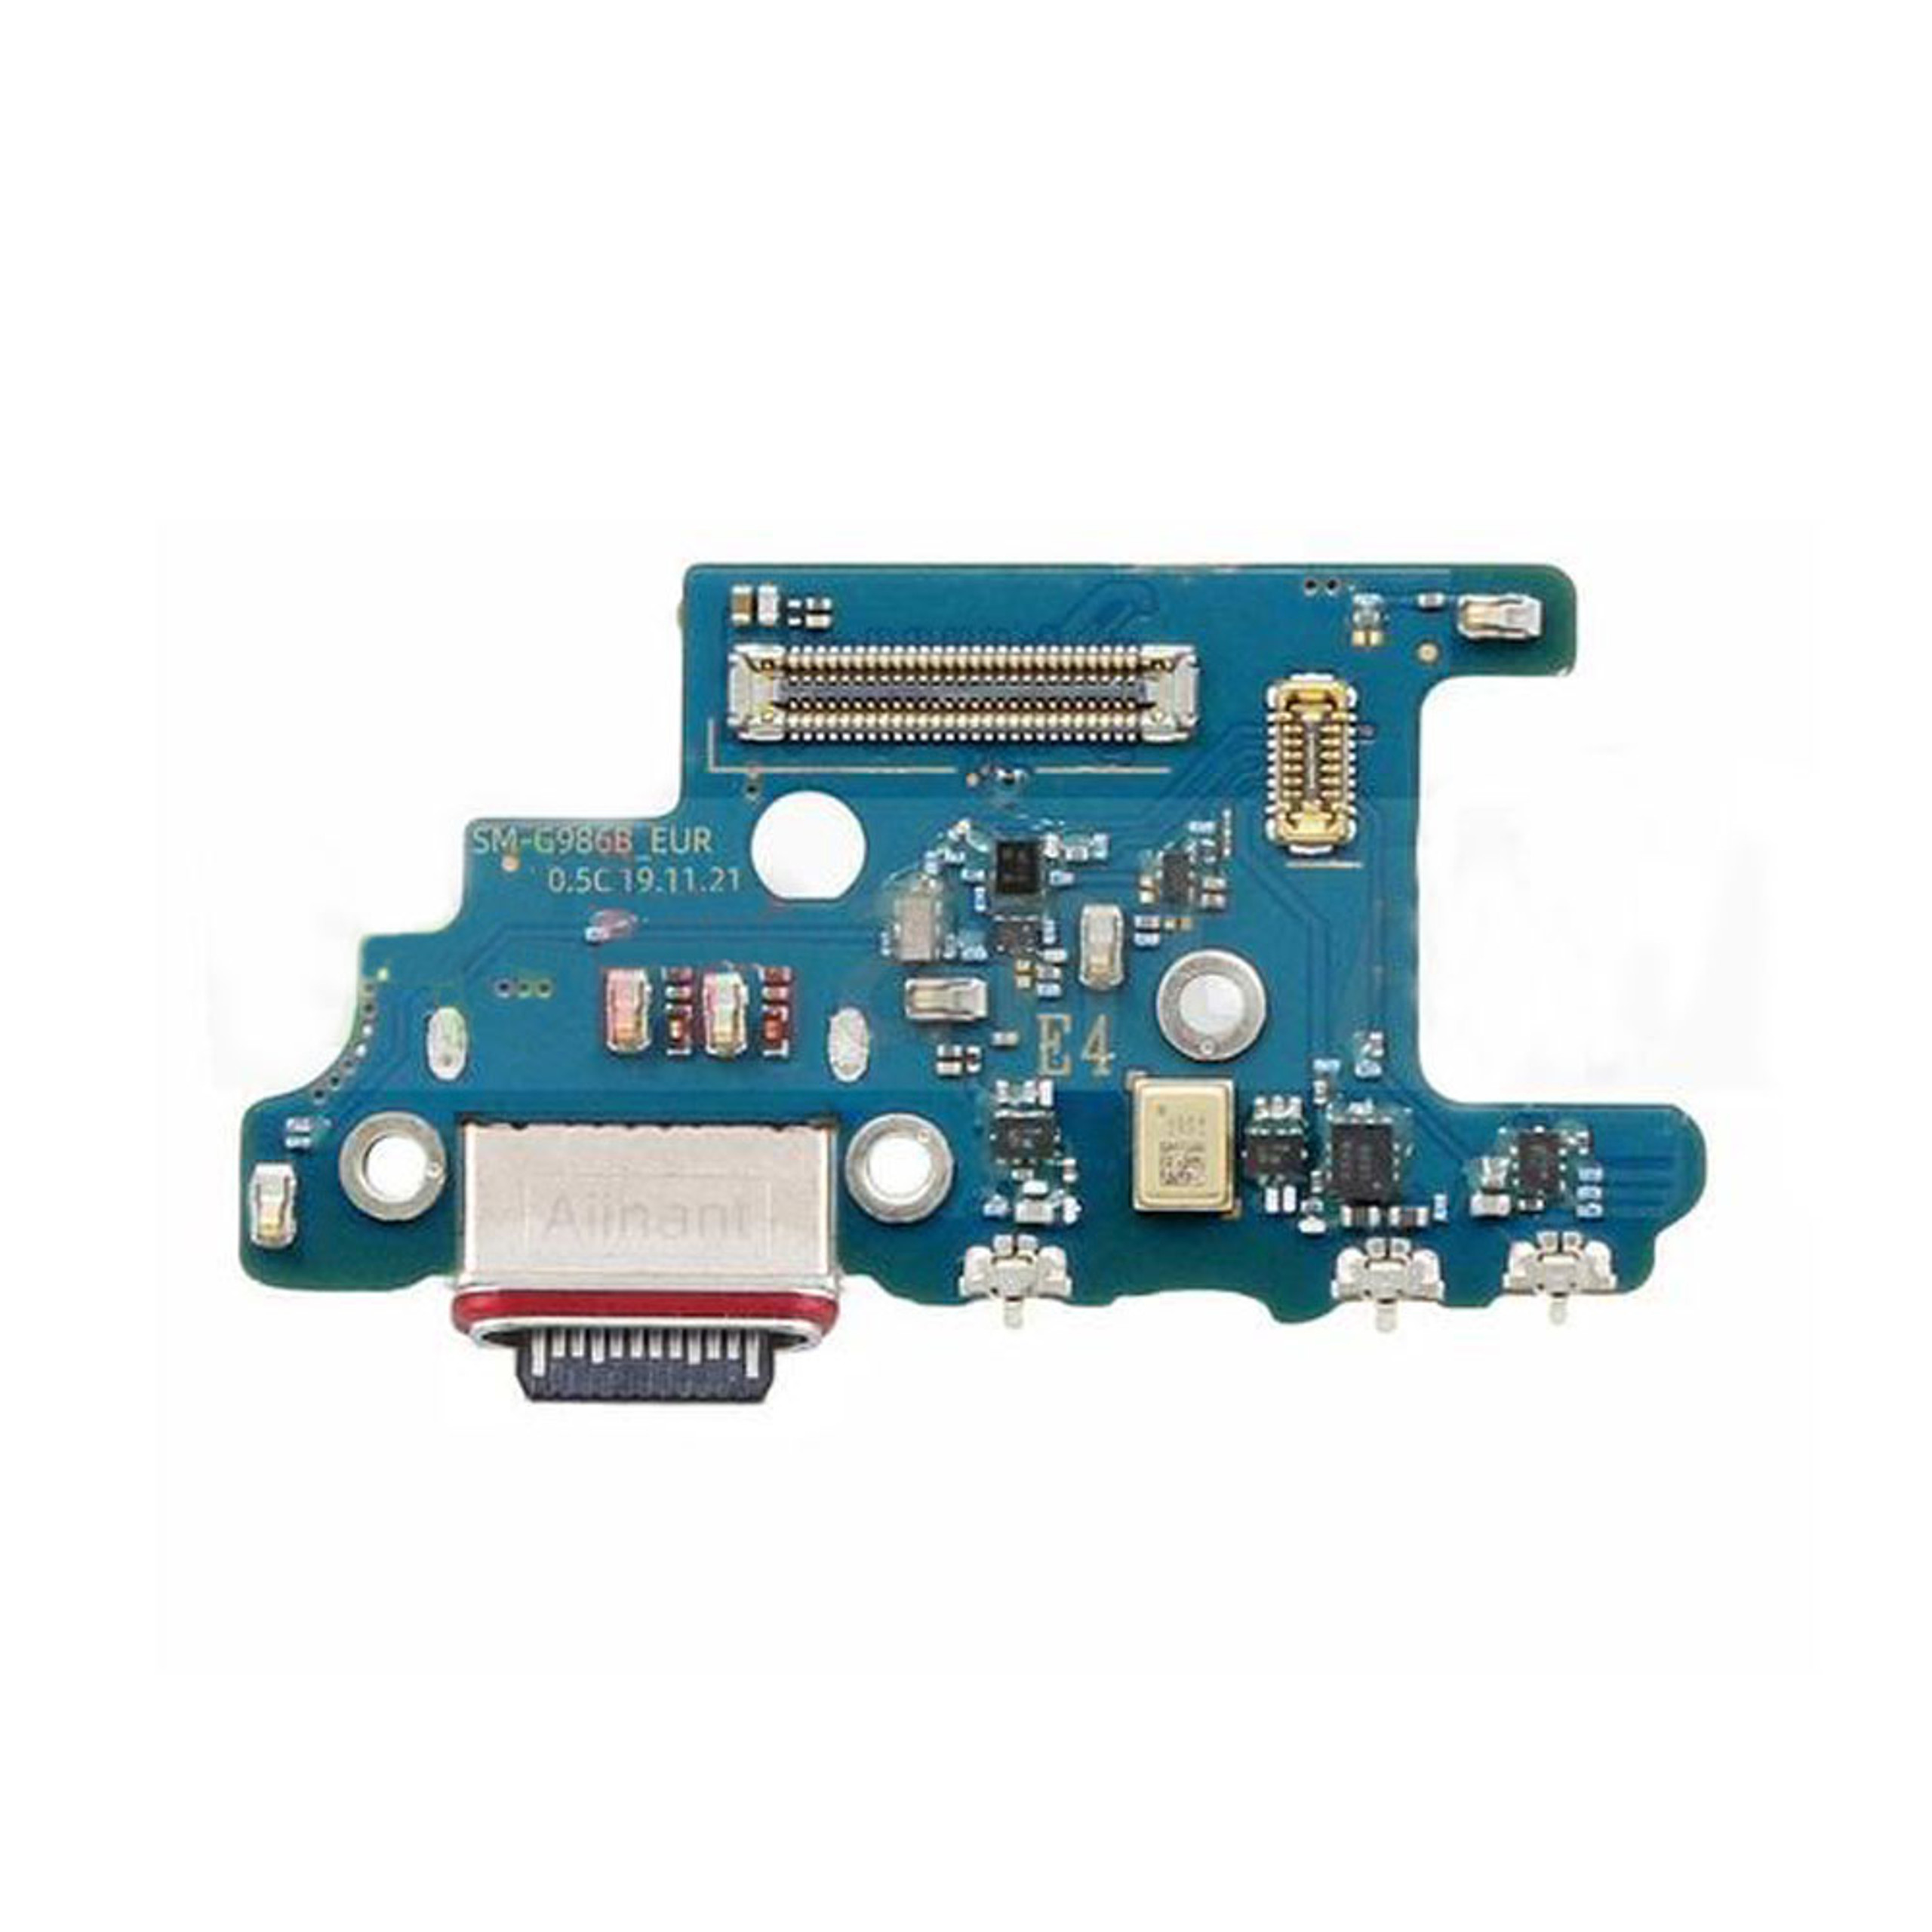
– Let’s get started by removing the connector clips from the motherboard. This is a crucial step, so take your time and make sure they’re completely removed.


Step 8


Okay, let’s tackle those connectors! There are six little buddies hanging out on the motherboard that need to be removed. Check out the pictures in this guide to see where they are—make sure you disconnect all of them before you proceed with the removal!
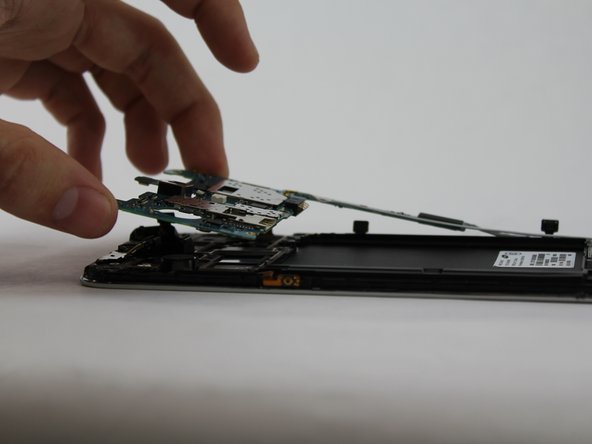
– Carefully lift the motherboard with your finger, taking your time to avoid any damage.