Samsung Galaxy Note Edge Motherboard Replacement Guide
Duration: 45 minutes
Steps: 7 Steps
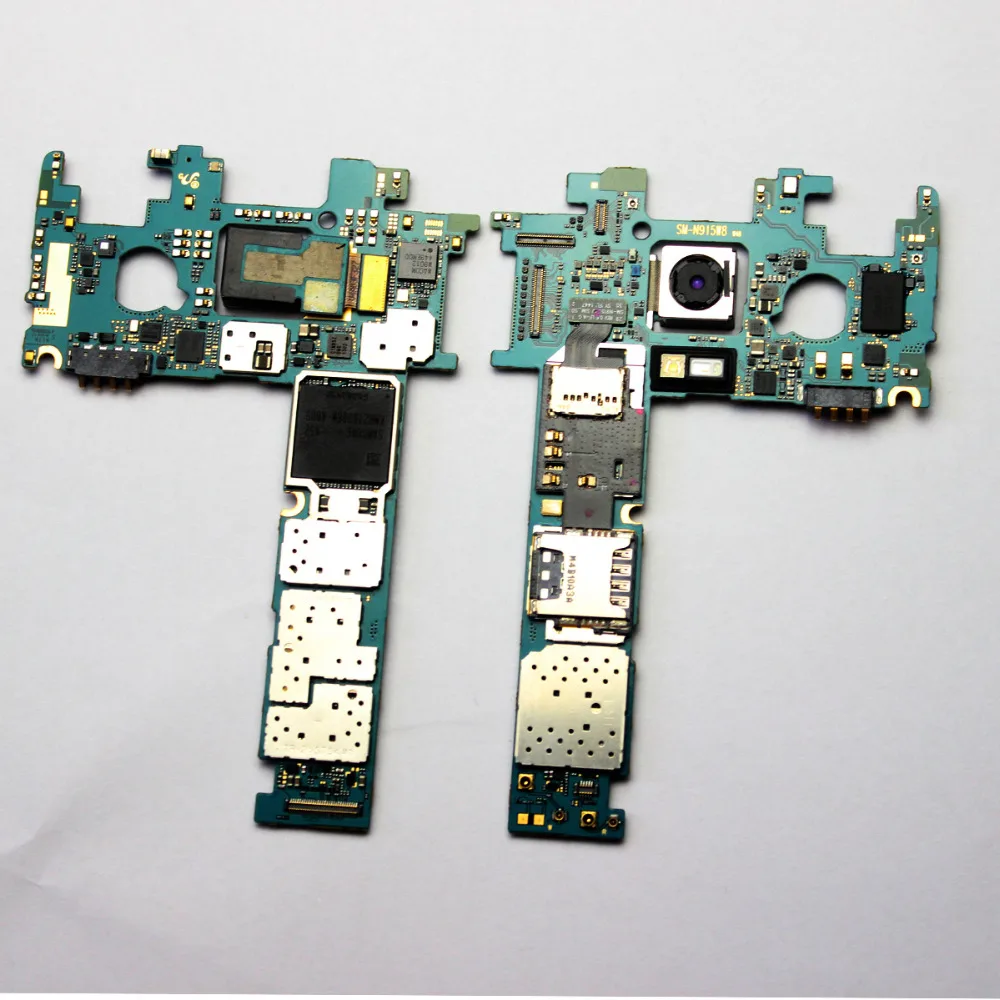
Think of the phone’s motherboard as the superstar of your device—it’s where all the action happens! This vital component is crucial for keeping your phone running smoothly and is absolutely essential for its operation.
Step 2


While putting this guide together, we were missing a battery from our device. But don’t worry, we’ve got your back!
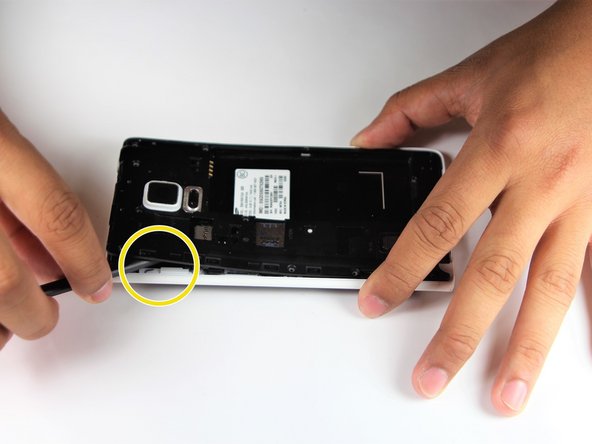
– Let’s get this party started! Use your spudger to pop off the back cover of the phone, starting at the notch in the top left corner. It’s like opening a treasure chest!
– Now, let’s get that battery out. Gently pry it loose using your spudger at the notch right under where the battery lives. We’re almost there! You’re doing great!
Step 3

– Let’s slide that SIM Card right out of its holder. Easy peasy!
– Time to give that stylus a little break. Pop it out of its home.
Step 4


– Alright, grab that trusty Phillips #000 Screwdriver, and get ready to remove those fifteen 4mm screws holding the back cover in place.
– Now for a little spudger action! Slide it into the stylus socket and give that midframe a gentle pry – you’re just trying to get it started.
– Now, go all the way around the phone with your spudger. Keep prying carefully until that midframe pops right off! You’re doing great.
Tools Used


Step 5


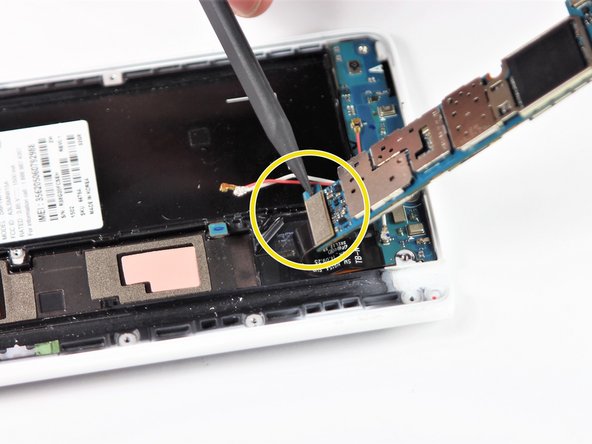
– Grab your trusty spudger and gently use the pointed end to disconnect those two wires (the pink and white ones) hanging out near the bottom of your phone.
– Now, let’s keep that spudger going! Use the pointed end to disconnect the fingerprint scanner cable, which is hanging out right above those pink and white wires.
Tools Used
Step 6


– Grab your trusty Spudger and let’s get down to business! Gently pry off the leads connecting these parts to the logic board nestled in the top left corner:
– Front Facing Camera
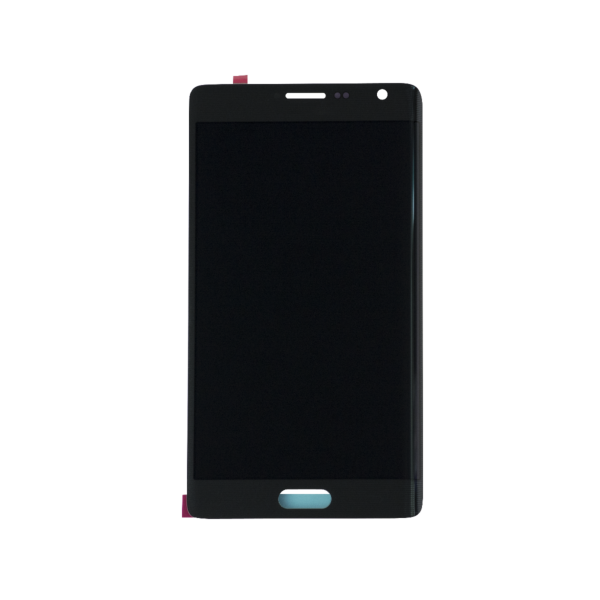
– AMOLED Display Screen
– AMOLED Capacitive Screen
Tools Used
Step 7


– First things first, grab that spudger and gently slide the pointy end right under the motherboard at the top end. No need to be rough!
– Now, carefully lift that motherboard up! While you’re at it, make sure to disconnect the cable that’s linking the daughter board. It’s hiding away on the underside of the motherboard.
– And just like that, you can remove the motherboard from your device. You’re doing great!
Tools Used