Samsung Galaxy Note II Motherboard Replacement Guide
Duration: 45 minutes
Steps: 21 Steps
Get ready to breathe new life into your Samsung Galaxy Note II by replacing the motherboard with this easy-to-follow guide from Salvation Repair. If you need help, you can always schedule a repair.
Step 1


– Grab the end of the stylus and give it a gentle pull to remove it from its cozy little slot in the midframe. It’s like saying goodbye to a good friend, but you’ll be seeing it again soon!
Step 2


– Let’s get started by carefully prying with a plastic opening tool, or even your trusty fingernail, in the divot to the left of the rear-facing camera – it’s located near the power button. If you need help, you can always schedule a repair


Step 4


– If you’ve got an SD card hangin’ out, grab the flat end of a spudger or your fingernail and give that microSD card a gentle nudge deeper into its slot. You’ll hear a click when it’s ready to go.
– Once you hear that click, let go and the card will pop right out of its slot.
– Now you can take that microSD card out for a little vacation.
– To put it back, just push the microSD card into the slot until it clicks in place. Easy peasy!
Tools Used

Step 5


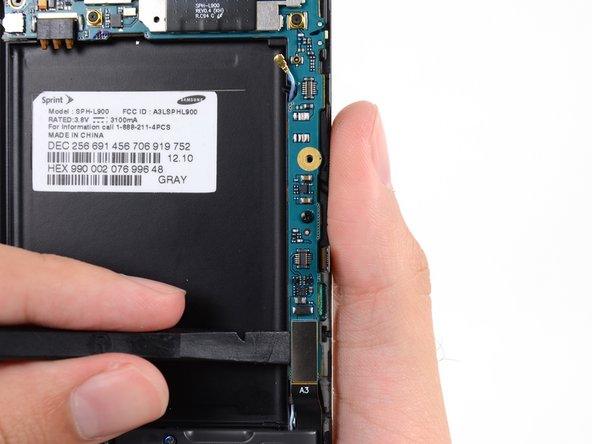
– Time to get that battery out. Insert a plastic opening tool or your finger into the notch of the battery compartment and gently lift the battery upward. If you need help, you can always schedule a repair
Step 6

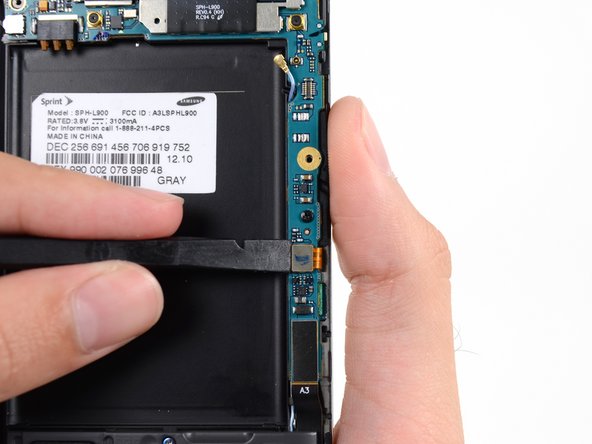
– Let’s get started by removing the battery from the midframe. This is a crucial step, so take your time and make sure it’s done correctly. If you need help, you can always schedule a repair
Step 7

– Carefully take out the eleven 4.0 mm Phillips #00 screws that are holding the midframe snugly to the display assembly. You’ve got this!
Step 8


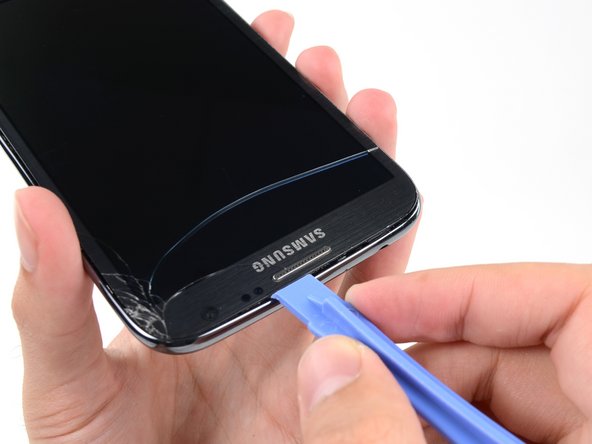
– Start by slipping your trusty plastic opening tool between the midframe and front panel assembly – it’s time to get this repair started
– Now, gently slide that tool down the seam, taking your time to loosen things up. If you need help, you can always schedule a repair


Step 10


– Alright, let’s get this party started! Grab your trusty plastic opening tool and gently pry around the corner. We’re gonna pop this thing open like a birthday present. Just be careful not to go overboard and scratch anything. If you need help, you can always schedule a repair.
Step 11

– Let’s get this phone open! Gently slide a plastic opening tool along the top of the phone. It’s like giving the phone a little tickle, but with a tool.
Step 12


– Let’s get this midframe free! Push the plastic opening tool down to separate the corner of the midframe from the display assembly. It’s like a gentle nudge to get things moving. If you need help, you can always schedule a repair
Step 13


– Let’s get those clips loose along the power button side of the phone. They’re just holding on for dear life. 😉
– Now for the grand finale – free the two clips along the top and bottom of the battery compartment. You’re almost there! 💪
Step 14


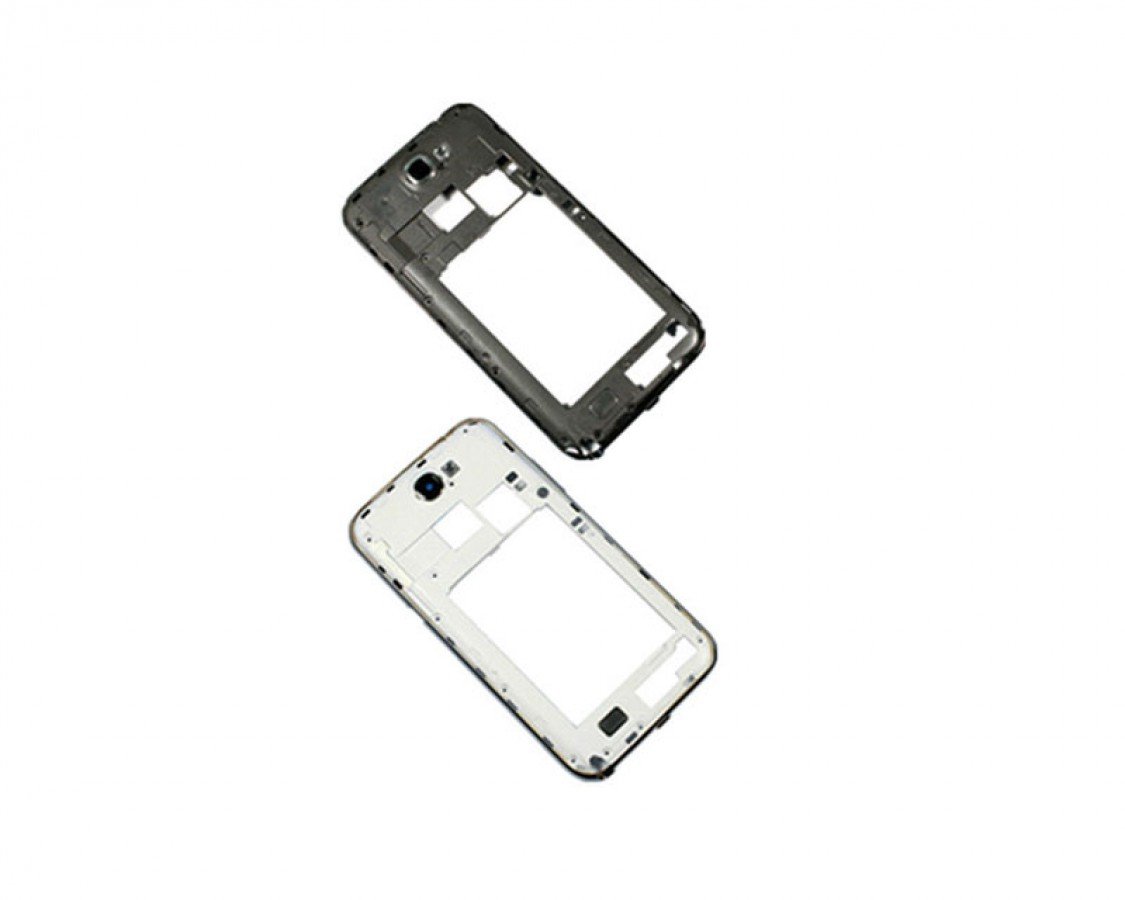
– Time to give that display assembly a little lift and get it out of the midframe. You’ve got this! If you need help, you can always schedule a repair.
Step 15


– Grab a spudger and gently pop off the cable connector for the vibrator/power button assembly.
– Unhook the antenna cable connector.
– Unclip the display cable connector.
Tools Used
Step 16


– Time to unplug the front-facing camera cable connector. Let’s keep that camera safe!
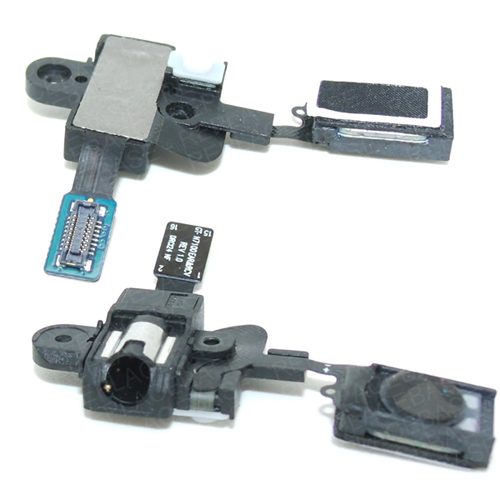
– Next up, gently disconnect the headphone jack cable connector. Music to our ears, right?
– Now, it’s the digitizer cable connector’s turn to be unplugged. You’re doing great!
Step 17

– Grab your trusty spudger and gently pop off the antenna cable connector from the motherboard. You’ve got this!
– Next, let’s unplug the soft button cable connector and give it a little break.
– Now, it’s time to disconnect the USB board cable connector. Smooth moves, you’re on a roll!
Tools Used
Step 18

– Unscrew that pesky 3 mm Phillips #00 screw that’s holding the motherboard snugly to the display assembly. You’ve got this!
Step 19


Gently grip the motherboard by its edges to keep it safe from ESD surprises. And watch out for those pesky cables as you lift it out of the display assembly!
– Carefully lift out the motherboard with a gentle touch.

Step 21

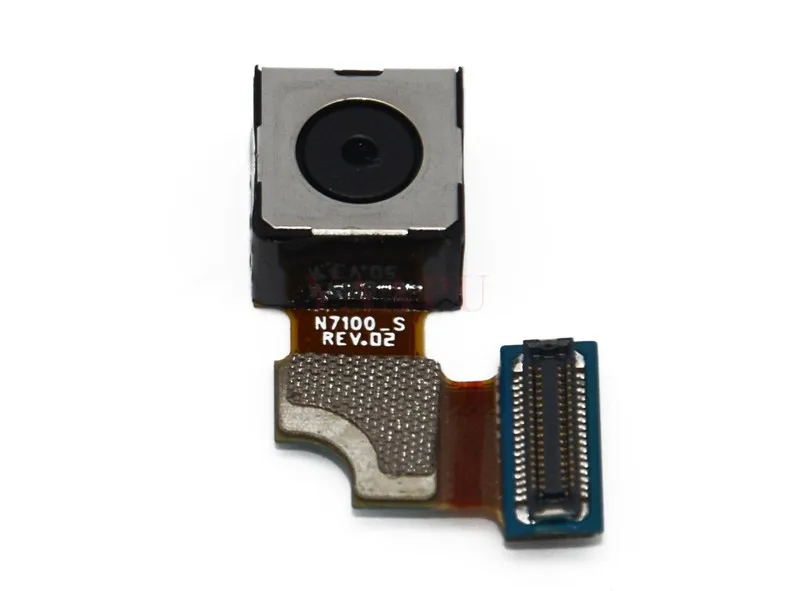
– Alright, time to give that camera some space! Gently use tweezers or your fingers to remove the rear-facing camera assembly. Don’t worry, it’s a snap! If you need a helping hand, you can always schedule a repair.
Tools Used