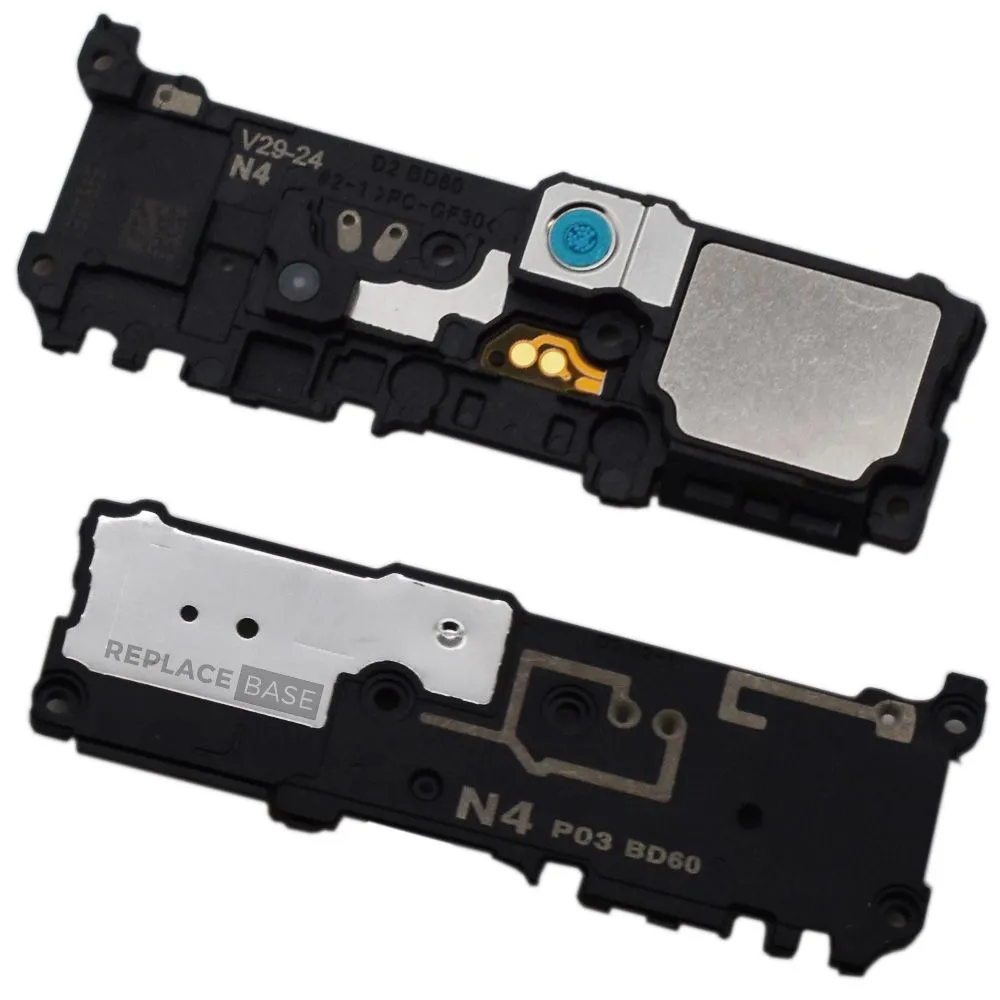
Samsung Galaxy Note10 Loudspeaker Replacement Guide
Duration: 45 minutes
Steps: 16 Steps
Hey there! Just a quick reminder: Always handle with care! Keep your workspace tidy and organized. If you run into any bumps along the way or need a hand, feel free to schedule a repair!
Hey there, techie! This guide’s gonna walk you through how to swap out or remove the speaker on your Samsung Galaxy Note10. Heads up: That cover for the daughterboard is actually your main speaker. Pretty cool, huh? If you need help, you can always schedule a repair.
Step 1
Alright, champ, before we dive into this, give your phone a proper shutdown. You wouldn’t want anything getting zapped while we’re working, right?
If you’re feeling adventurous, you can try using a hairdryer, heat gun, or hot plate, but be careful not to turn up the heat too high! Remember, those screens and batteries aren’t fans of extreme temperatures. If you’re not sure about this step, you can always schedule a repair with us.
– Grab your trusty iOpener and warm up the left edge of the back panel for a solid minute! You’ve got this!
Tools Used
Step 2
Hey, if you’ve got a cracked back glass, try sticking some clear packing tape over it. That might help the suction cup stick. Or, you could use some super-strong tape instead of the suction cup. If you’re still having trouble, don’t worry, you can always schedule a repair.
Now, depending on how old your phone is, this next part might be a little tricky. If you’re having trouble, try heating up the edge a bit more and then give it another go.
– Start by putting a suction cup on the warmed edge of the back panel, right near the border.
– Gently tug upwards on the suction cup with a firm and steady grip to open up a small gap between the back panel and the frame.
– Now, slide the tip of an opening pick into that gap you just created.
Step 3
Keep that opening pick to a cool halfway point when diving into your phone—going deeper than that might tick off some delicate internals!
– Now it’s time to get that pick sliding – gently work it along the left edge towards the bottom left corner to break through the adhesive. You’re making great progress!
– Leave that pick right where it is, stuck in the bottom left corner, to keep the adhesive from sealing back up. You’re doing a great job so far! If you need help, you can always schedule a repair
Step 4
– Now, let’s get that adhesive loosened up! Grab another opening pick and slide it across the left side towards the top left corner. Think of it like slicing butter, but way cooler.
– Leave that pick right there in the top left corner. We don’t want that adhesive getting cozy and sealing back up! We’re in control here.
Step 5
– Get your iOpener ready and gently place it on the top edge of the phone. Give it a minute to work its magic!
Tools Used
Step 6
– Pop in a third opening pick right at the gap on the top edge of your phone.
– Gently glide that opening pick over to the top right corner, cutting through the adhesive like a pro.
– Keep that pick snugly in the top right corner to stop the adhesive from getting all clingy again.
Step 7
– Get ready to unlock your phone’s full potential – start by heating up an iOpener and applying it to the right edge of your phone for about a minute. If you need help, you can always schedule a repair
Tools Used
Step 8
As you move toward the bottom edge, you’ll notice the back panel starting to peel away from the phone.
– Pop in a fourth and final opening pick into the gap on the right side of your phone, and gently slide it down toward the bottom right corner to cut through that pesky adhesive.
– Now, take that opening pick and glide it back and forth around the entire edge of the phone to free any stubborn adhesive that might have been missed. If you encounter some extra clingy adhesive, don’t hesitate to give it a little heat!
Step 9
– Time to give that back panel a little lift and send it on its way!
Step 10
– Grab your trusty Phillips screwdriver and let’s tackle those five 4 mm screws holding the wireless charging coil in place. You’ve got this!
Step 11
– Grab your trusty tweezers and give that metal shield covering the battery connector a little lift. Flip it back, and you’re good to go! If you need help, you can always schedule a repair
Tools Used
Step 13
– Grab your trusty spudger, and with its pointed end, gently pry apart that pesky wireless charging coil connector from the motherboard. You’ve got this!
Tools Used
Step 14
The wireless charging coil is held in place by a bit of light adhesive. No worries, it’s not going anywhere without a little help!
– Gently lift the metal shield so it’s nice and easy to grab with your fingers.
– Carefully peel the wireless charging coil away from the device as if you’re unwrapping a present.
– Now, go ahead and remove that wireless charging coil!
Step 15
– Let’s get those speakers singin’ again! Use a Phillips screwdriver to remove the five 4 mm screws that hold the loudspeaker in place. If you need help, you can always schedule a repair
Step 16
– Time to get a little handy – use a pair of tweezers to carefully remove the loudspeaker. If you need help, you can always schedule a repair
Tools Used


