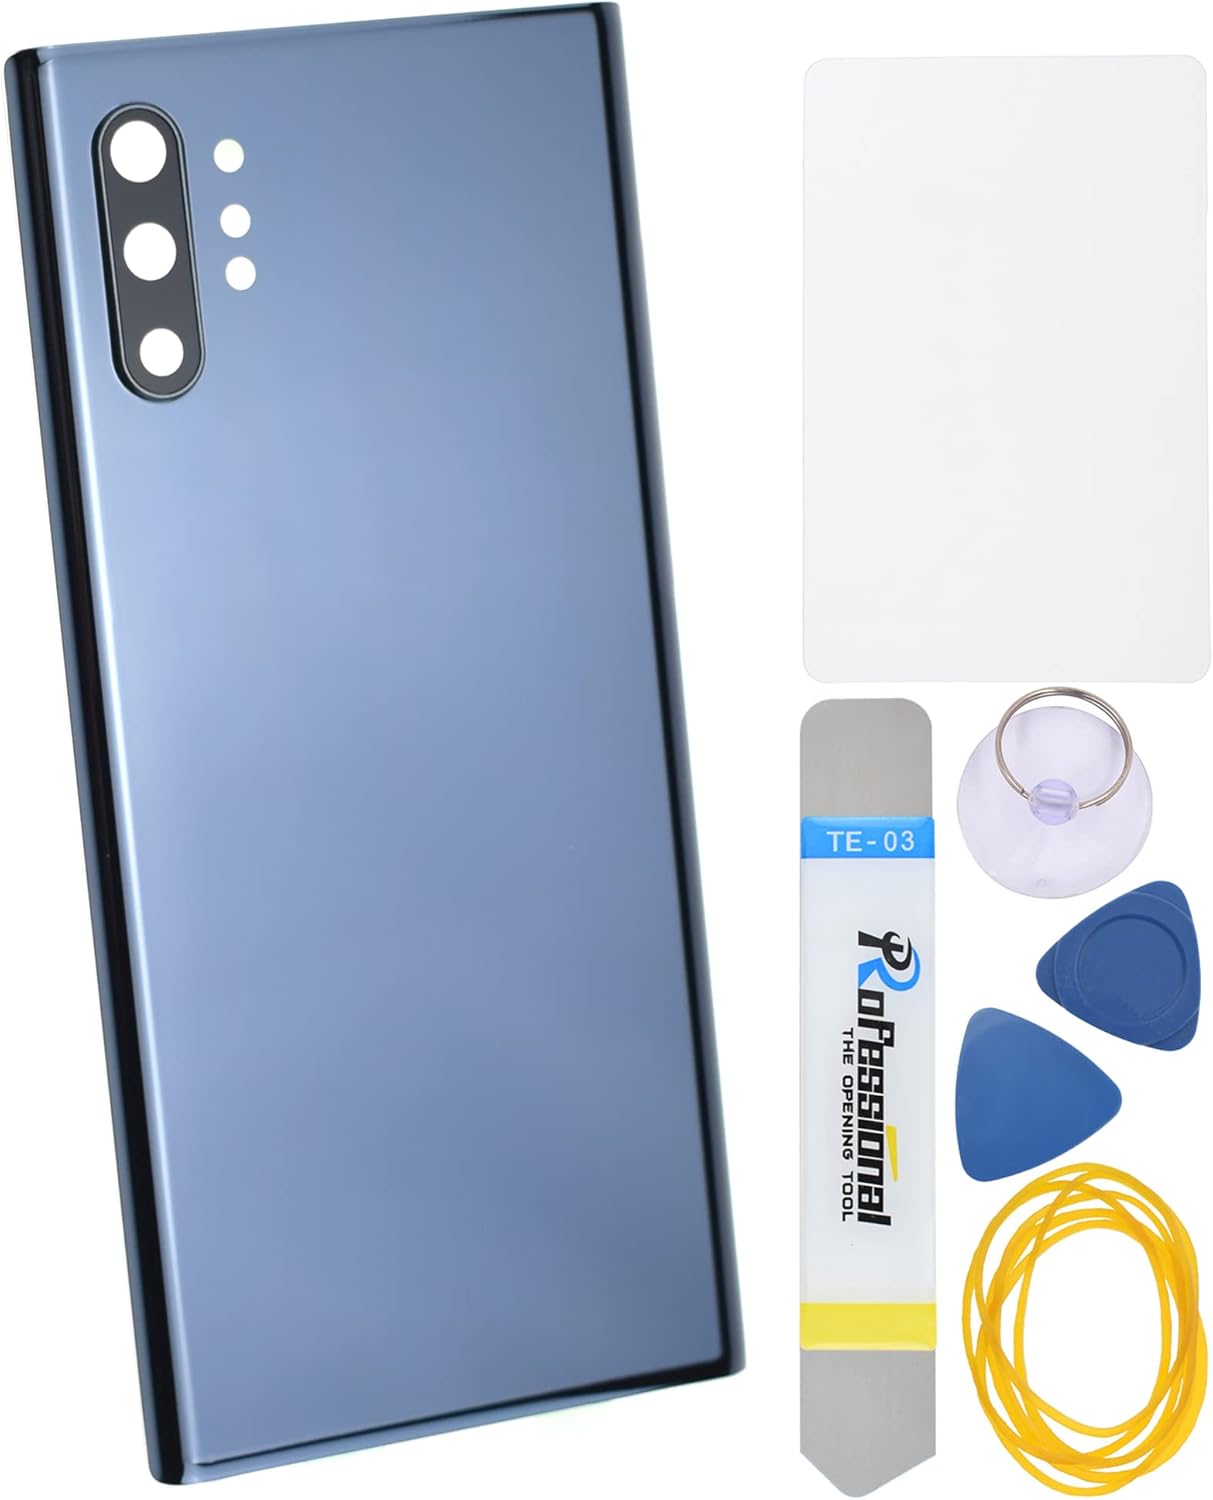
Samsung Galaxy Note10 Rear Cover Replacement: DIY Guide & Tutorial
Duration: 45 minutes
Steps: 9 Steps
Get ready to give your Samsung Galaxy Note10 a fresh new look by swapping out that rear cover! It’s easier than you think, and we’re here to guide you through every step. If you need help, you can always schedule a repair.
Step 1

Before you start taking things apart, make sure your phone is completely powered off. This will help prevent any accidental damage or injuries.
You can use a hair dryer, heat gun, or hot plate to help with the repair, but remember to keep it cool! Overheating your phone can lead to some serious heat damage to the display and internal battery. So, let’s keep it chill while we fix things up!
– Get your iOpener nice and warm by heating it up for a minute. Then, apply the warm iOpener to the left edge of the back panel. This will help soften the adhesive holding the panel in place.
Tools Used

Step 2


If your back glass is super cracked, you can cover it with some clear packing tape. That might help the suction cup stick. Or try some strong tape instead of the suction cup. If you’re really struggling, you can even superglue the suction cup to the cracked panel. You got this!
Depending on how old your phone is, this could be a little tricky. If you’re having trouble, just apply more heat to the edge and try again. You’re doing great! If you need help, you can always schedule a repair.
– Get your suction cup ready and place it nice and snug on the heated edge of the back panel. We’re talking as close to the edge as you can get.
– Now, give that suction cup a good pull – strong, steady force. You’re aiming to create a little gap between the back panel and the frame. Just enough to slip in your tool.
– Grab your trusty opening pick and gently slide it into that gap you just created. You’re a pro at this!
Step 3


Keep that opening pick to a safe distance—no more than halfway into the phone! We want to avoid any accidental run-ins with those delicate internal components.
– Let’s get this party started! Slide the opening pick along the left edge of your device, heading towards the bottom left corner. This will help loosen the adhesive holding everything together.
– Keep the pick inserted in the bottom left corner. This will prevent the adhesive from sealing itself back up, and you don’t want that, do you?
Step 4


– Now it’s time to bring in some extra help – insert a second opening pick and gently slide it across the left side, making your way towards the top left corner. This will help you slice through the adhesive with ease.
– Leave that pick right where it is, nestled in the top left corner, to keep the adhesive from re-sealing and making your job more difficult. If you need help, you can always schedule a repair
Step 5

– Get your iOpener warmed up and give that top edge of your phone a nice, hot hug for a minute. It’ll make everything a little more chill.
Tools Used
Step 6


– Pop in a third opening pick right into that little gap at the top edge of your phone.
– Gently slide that pick over to the top right corner to cut through the sticky stuff.
– Keep the pick snug in that corner to stop the adhesive from making a comeback!
Step 7

– Get your trusty iOpener and heat up the right edge of your phone for a minute. Just like warming up for a workout, this will help loosen things up!
Tools Used
Step 8


As you work your way down to the bottom edge, you’ll notice the back panel starting to pop away from the phone. Keep going, you’re doing great!
– Pop in that fourth and final opening pick into the gap on the right side of your phone, and gently slide it down towards the bottom right corner to cut through the adhesive like a pro.
– Now, take that opening pick and glide it back and forth around the entire edge of the phone to free any stubborn adhesive that might be holding on. If you encounter some extra clingy spots, don’t hesitate to give it a little heat to help it along!
Step 9


– Let’s get this party started! Time to give that back panel a little lift and send it on its way. You got this!