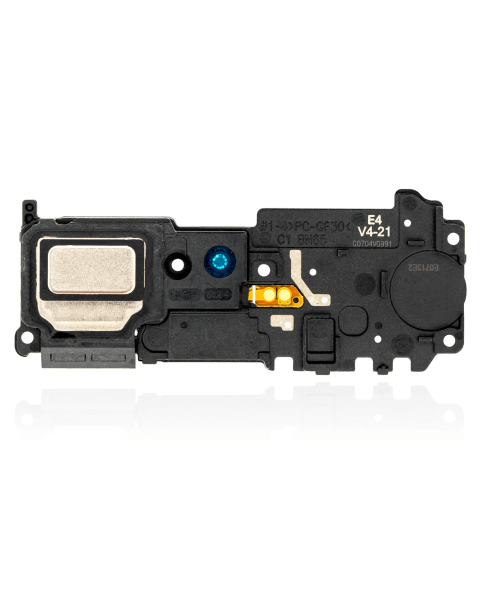
Samsung Galaxy Note20 Loudspeaker Replacement Guide
Duration: 45 minutes
Steps: 12 Steps
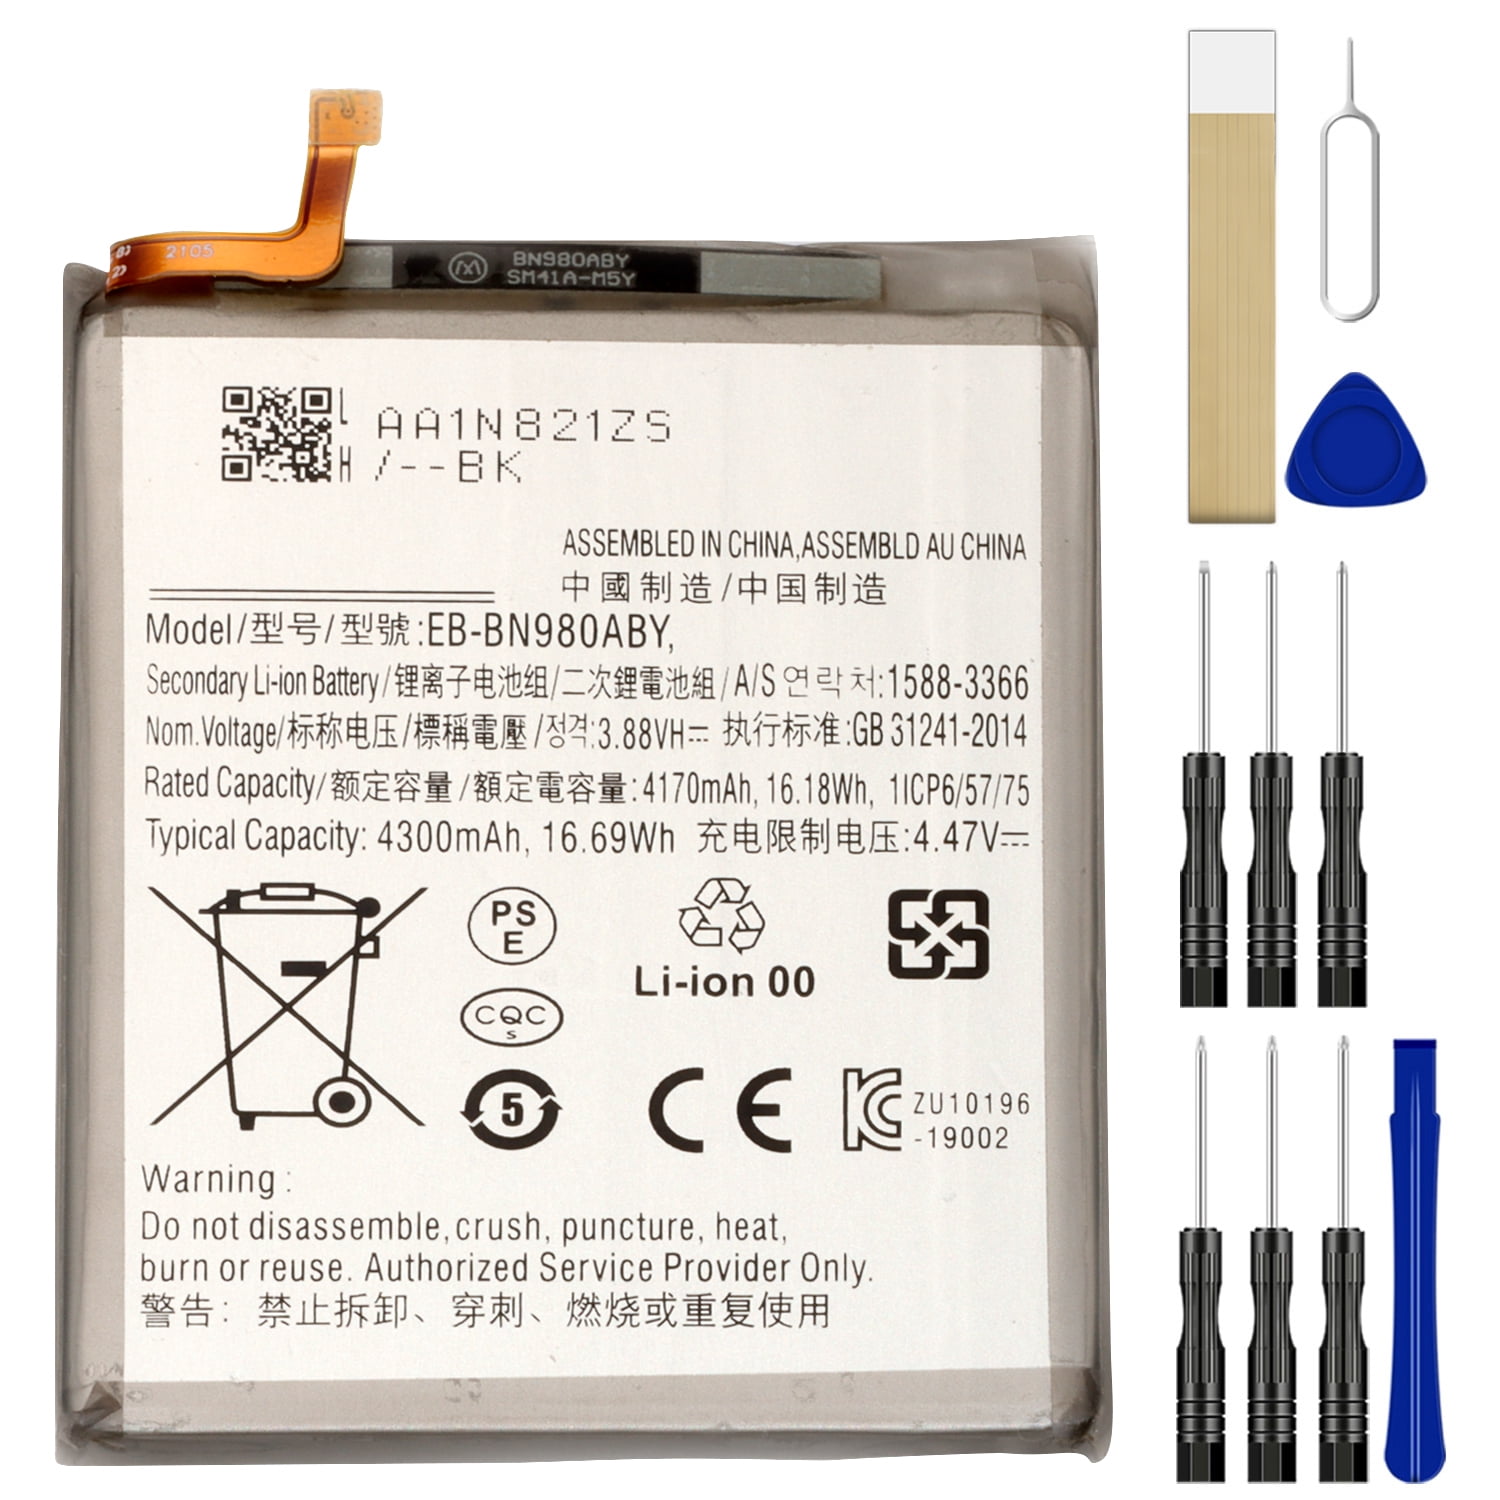
For your own good, make sure to let that battery chill below 25% before diving into your phone disassembly adventure!
Get ready to tackle the loudspeaker swap on your Samsung Galaxy Note20! Before diving in, make sure your battery is below 25%—it’s a smart move to keep things safe and sound. This way, we minimize the chance of any unexpected thermal drama if the battery gets a little too adventurous during the repair. And hey, if your battery looks like it’s been on a wild ride and is swollen, take the right precautions. If you need help, you can always schedule a repair.
Step 1

First things first, make sure your phone is completely powered down before diving into the disassembly. Safety first, right?
Feel free to use a hair dryer, heat gun, or hot plate to warm things up, but keep a close eye on the heat—those screens, batteries, and plastic backs can be a bit sensitive to the hot stuff. Let’s keep your device happy!
– Warm up an iOpener and place it on the left side of the back cover for about a minute.
Tools Used

Step 2


We don’t want you to go too far with that opening pick, keep it to just 5mm deep so you don’t accidentally harm any inner components. If you need help, you can always schedule a repair
Depending on the age of your phone, this might be a bit tricky. Don’t worry, we’ve got you! Just apply a little more heat to the edge and give it another go. If you’re still having trouble, you can always schedule a repair.
– Get ready to rock this repair! First, place a suction cup on the warmed-up edge of the back cover, right near the edge.
– Now, give that suction cup a good pull! You want to create a little space between the back cover and the frame. Get ready to slip in your trusty opening pick!
– Slide that opening pick into the gap you just created. You’re almost there!
Step 3


Alright, champ! As you’re carefully cutting through the adhesive, don’t go too deep with that pick. Keep it under 5 mm to avoid a trip to the hospital for those delicate internal bits. If you need help, you can always schedule a repair.
– Slide the opening pick along the left edge, like you’re giving the adhesive a little high-five, towards the bottom left corner. Keep sliding until you feel a little satisfying click.
– Leave the pick in the bottom left corner – it’s like a little party favor for the adhesive, keeping it from sticking back together.
Step 4