Samsung Galaxy Note20 Rear Cover Replacement: DIY Guide & Tutorial
Duration: 45 minutes
Steps: 5 Steps
Hey there! Just a quick heads-up: make sure your battery is below 25% before diving into your phone disassembly adventure for everyone’s safety.
Ready to dive into your Samsung Galaxy Note20? Let’s get that rear cover off! Before you start, make sure your battery is below 25% to keep things safe and sound. This little tip helps avoid any unexpected surprises if the battery happens to get a little too friendly during the disassembly. And hey, if you notice your battery is looking a bit puffy, don’t forget to take the right precautions. If you need help, you can always schedule a repair.
Step 1

First things first—let’s give your phone a little nap! Make sure it’s completely powered off before diving in for some disassembly fun.
Feeling a bit chilly? You can use a hair dryer, heat gun, or hot plate, but keep it cool! Remember, the screen, internal battery, and plastic rear cover are not fans of excessive heat. So, keep an eye on them to avoid any drama!
– Warm up your iOpener and give it a cozy hug on the left side of the rear cover for a solid minute.
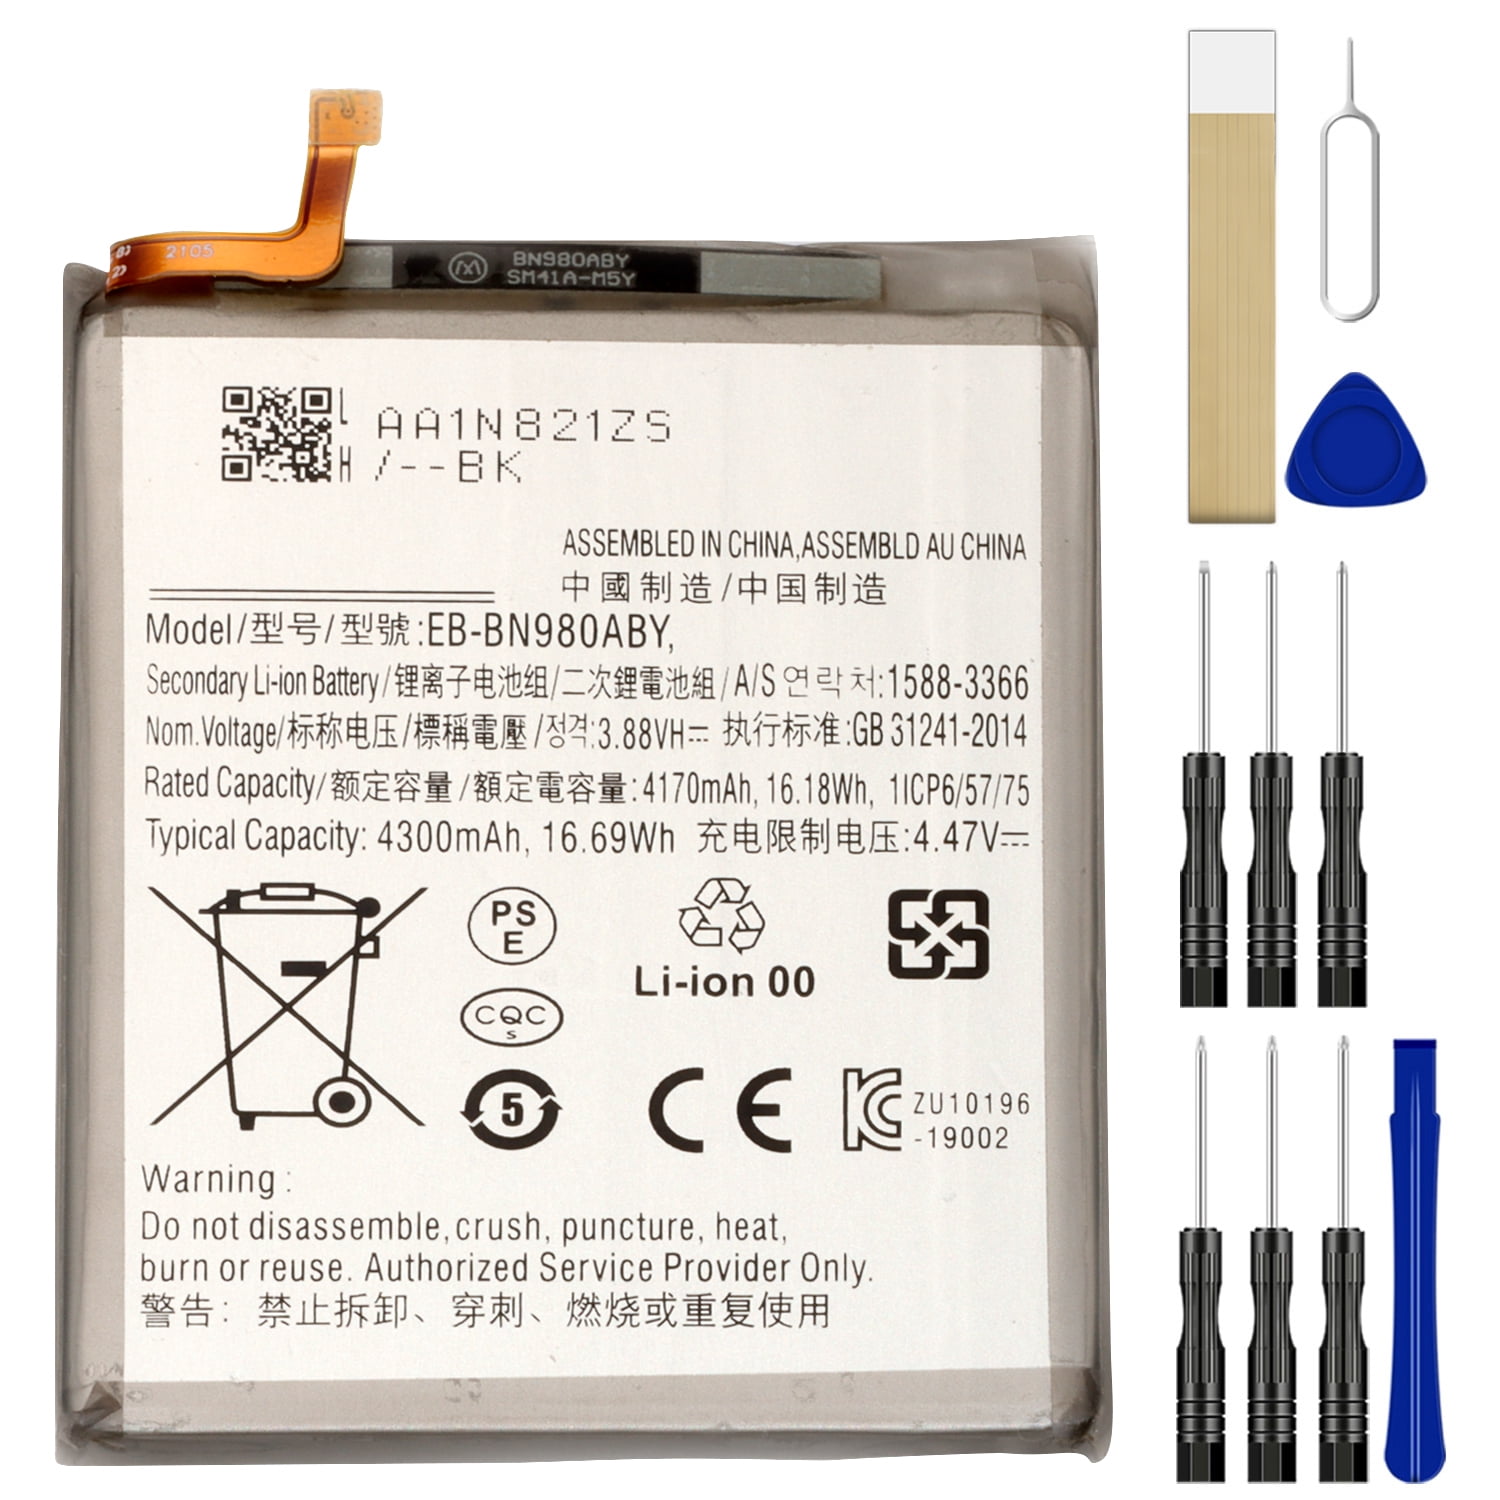
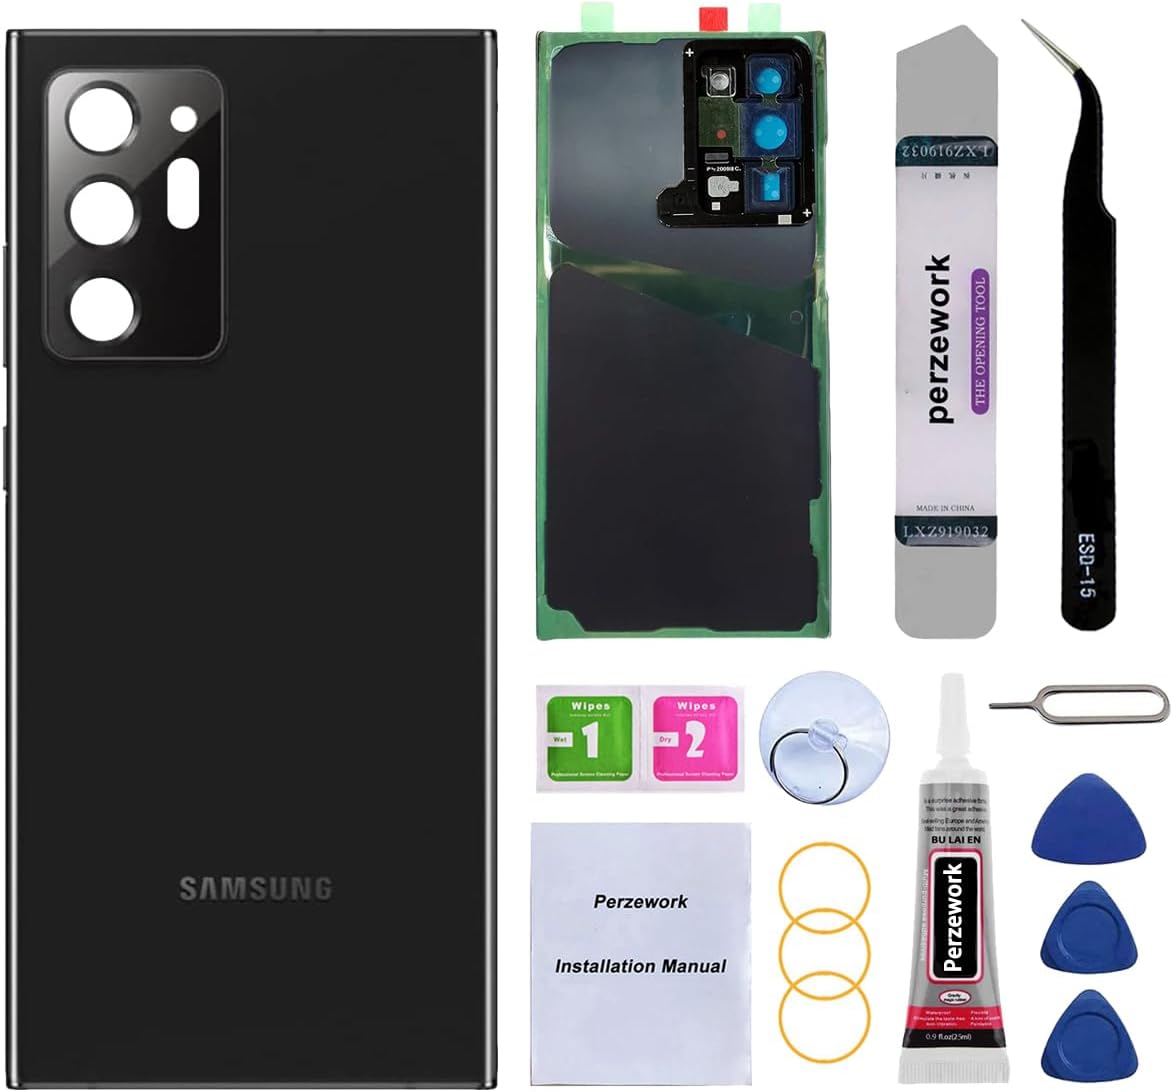
Tools Used

Step 2


Easy peasy, don’t go too deep with the opening pick! Just a gentle 5mm is all you need to get things going. Don’t wanna hurt those delicate inner workings, right? If you need a hand, you can always schedule a repair.
Depending on how old your phone is, this might be a bit tricky. If you’re running into some hiccups, just warm up the edge a little more and give it another go!
– First, attach a suction cup to the heated edge of the rear cover – get it as close to the edge as you can for the best results.
– Now, pull up on the suction cup with some steady force to create a gap between the rear cover and the frame. You got this!
– Next, take an opening pick and carefully insert it into the gap you just created. If you need help, you can always schedule a repair
Step 3


When you’re slicing through that sticky stuff around the edge of your phone, remember to keep the pick under 5 mm deep. We want to avoid any accidental encounters with those delicate internal parts!
– Gently glide the opening pick down the left edge, making your way to the bottom left corner to slice through that pesky adhesive.
– Keep the pick snugly in the bottom left corner to stop the adhesive from sticking back together.
Step 4


If the rear cover is still hanging on after you’ve made the rounds cutting through all four sides, give that adhesive another go with your trusty opening pick.
Feel free to slide in each new opening pick into the little gaps made by the ones you placed in each corner. You’re doing great!
– Now it’s time to heat and cut the adhesive on the other three sides of the rear cover – just repeat the process you’ve already mastered.
– As you make your way around, be sure to leave an opening pick in each corner to keep the adhesive from re-sticking. If you need help, you can always schedule a repair
Step 5


– Give that rear cover a gentle lift, straight up, and watch it pop right off!