Samsung Galaxy Note20 Ultra Battery Replacement Guide
Duration: 45 minutes
Steps: 27 Steps
Before you start disassembling your phone, make sure to discharge the battery to below 25% for your safety. If you need help, you can always schedule a repair
Let’s get this battery swap party started! First things first, make sure your Note20 Ultra’s battery is chillin’ below 25%. This helps keep things safe and sound during the repair. If your battery’s lookin’ a bit puffy, be careful, buddy. If you need help, you can always schedule a repair.
Step 1

Alrighty! Before diving into the disassembly, be sure to give your phone a full power-down. And just a heads-up, using a hair dryer or heat gun is cool, but watch out for those dainty screens and battery!
– Get your iOpener nice and toasty and apply it to the left side of the rear cover for a minute. You’ll be surprised how much a little warmth can help! If you need help, you can always schedule a repair
Tools Used

Step 2


Be careful not to insert the opening pick more than 5 mm into the phone, or you might accidentally damage the internal components. If you need help, you can always schedule a repair
Got a badly cracked back glass? No worries, just cover it with some clear packing tape and the suction cup should stick. If that doesn’t work, you can use some super strong tape instead. And if all else fails, a little superglue can save the day and help the suction cup stick to the broken panel.
Having trouble with this step? Don’t stress, it can be a bit tricky depending on your phone’s age. Just apply some more heat to the edge and try again. If you’re still having issues, remember that you can always schedule a repair with Salvation Repair for some expert help.
– Time to get this thing open! Grab a suction cup and press it firmly onto the heated edge of the rear cover. Make sure it’s as close to the edge as you can get.
– Now, give that suction cup a good yank! Pull up with a steady hand to create a tiny gap between the cover and the frame. You’re almost there.
– Slide an opening pick into that gap you just made. Keep it steady and don’t force it. You got this!
Step 3


– Let’s get this party started! Slide that opening pick along the left edge like you’re rockin’ a dance floor, heading towards the bottom left corner. This will cut through the adhesive, no sweat!
– Keep that pick chillin’ in the bottom left corner. It’s like a guardian angel keeping the adhesive from sneaking back together.
Step 4


Be careful when cutting through the adhesive – don’t push the opening pick more than 5 mm into the phone, or you might accidentally damage the internal components. If you need help, you can always schedule a repair
Just slide those opening picks in the gaps created by the ones already in the corners. You got this!
– Let’s get this party started by repeating the heating and cutting action on the remaining three sides of the rear cover. We’re almost there!
– As you work your way around, pop an opening pick into each corner to keep the adhesive from getting cozy. Think of it as a little party favor.
– Slide an opening pick around the entire perimeter, making sure you catch any stubborn adhesive. If needed, give it a little heat to loosen things up. You got this!
Step 5


– Time to give that rear cover a little lift! Just gently pull it straight up and watch it come right off. Easy peasy!
Step 6


Just be careful to pry only under the edge of the connector, okay? That way you won’t accidentally damage the socket or anything else around it. If you need help, you can always schedule a repair.
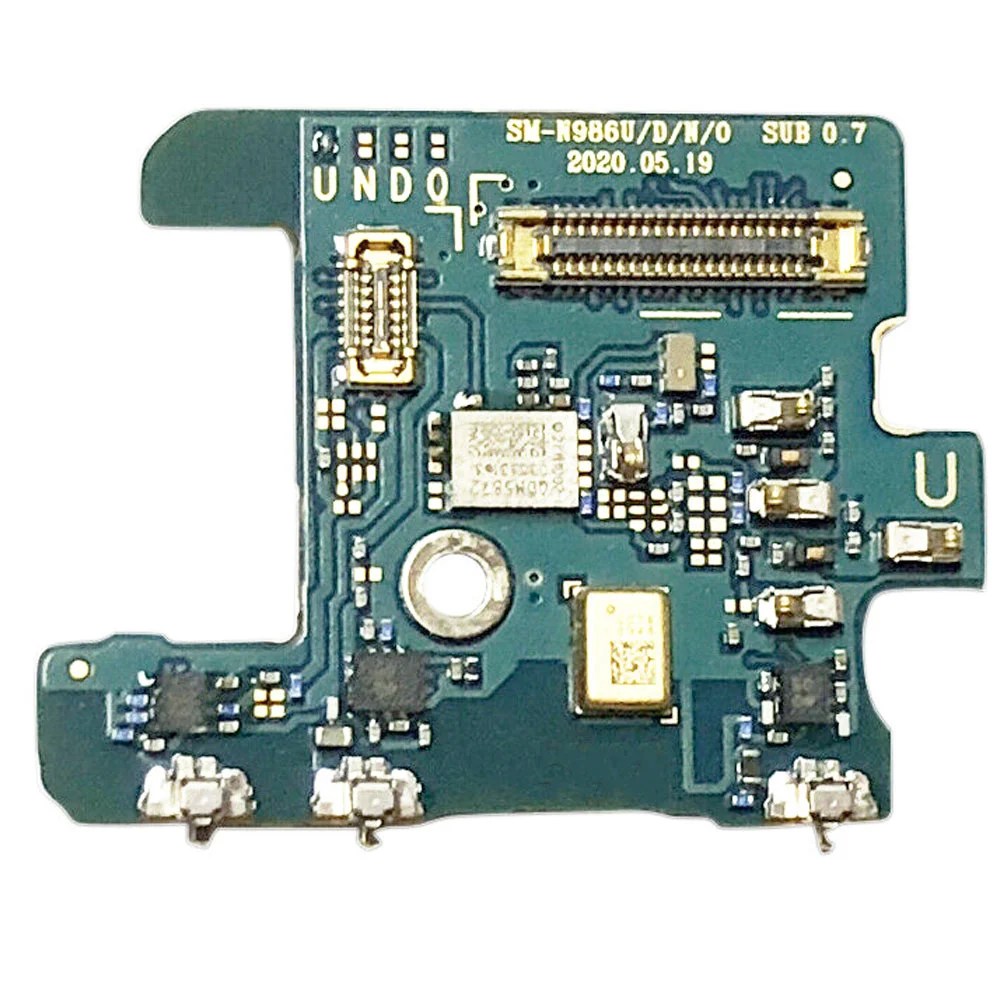
– Now, let’s get this wireless charging coil press connector back to its happy home! Gently re-align it and press down on both sides until you feel that reassuring click. Be careful not to do the sneak attack on the middle – we wouldn’t want any connectivity bullies in our device, now would we? If it’s being stubborn, try to repeat the process. If you’re hitting a wall, don’t stress! You can always schedule a repair to keeping those gadgets connected and happy!
Tools Used

Step 7


– Now, let’s tackle that little white connector in the bottom right corner of the motherboard shield. Grab your trusty spudger (the pointed end, of course!) and give it a gentle pry. That’ll disconnect the connector, and we’ll be one step closer to victory!
Tools Used
Step 8

Alright, these screws might be a little stubborn since they’ve got some threadlocker holding them in place. Just be patient and take your time!
Remember, you don’t want to mix up the screws, so keep track of each one and make sure it goes back in the same spot. We’ll make this a breeze together! If you need help, you can always schedule a repair
– Grab your trusty Phillips screwdriver and get ready to unleash your inner tech wizard! Remove those six 4.0 mm screws holding the motherboard shield in place, and let’s keep this repair journey rolling.
Step 9


Handle that motherboard shield with care! Its edges are as sharp as your wit, so watch those fingers while you’re at it.
– Time to get a little handy – use a pair of tweezers to carefully lift up the motherboard shield.
– Now, use your fingers to gently grip the motherboard shield, making sure you’ve got a good hold on it. If you need help, you can always schedule a repair
Tools Used

Step 10


That wireless charging coil is stuck on there with some gentle adhesive. It’s like a little hug, but for your device!
– Gently pry the wireless charging coil away from the device – it’s time to say goodbye to this little guy. If you need help, you can always schedule a repair
Step 11


– Let’s get started with the repair – use the pointed end of a spudger to carefully pry up the battery press connector, which will safely disconnect the battery. If you need help, you can always schedule a repair
Tools Used
Step 12

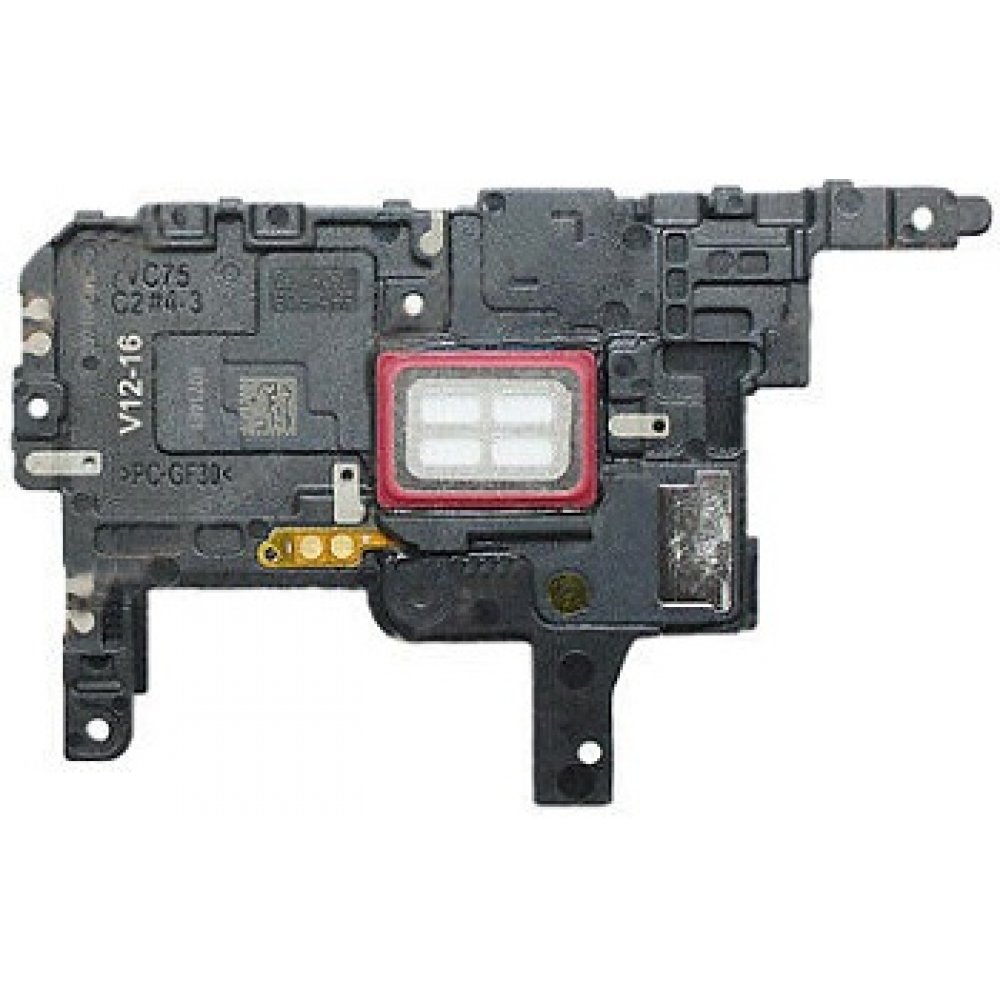
– Grab your trusty Phillips screwdriver and get ready to tackle those five 4.0 mm screws holding the loudspeaker snugly to the frame. You’ve got this!
Step 13


– Let’s get this party started! First, grab that trusty spudger and pop it into the little triangle hole you’ll find on the left side of the loudspeaker. You know, the one that’s looking a bit cramped.
– Now, with a gentle wiggle and a little pressure, give that loudspeaker a little nudge to loosen it up. Remember, we’re friends with the device, not enemies! We just want to give it a little freedom.
Tools Used
Step 14


The loudspeaker is held in place by some nifty clips along its bottom edge.
– Let’s give that loudspeaker a little wiggle room! Use the pointed end of a spudger to gently pry it up from the frame where it’s hiding, starting at the triangular mark on the right side of the loudspeaker.
– Now, give that loudspeaker some space – gently detach it from the frame using the spudger. You’ve got this!
Tools Used


Step 18


– Grab your trusty spudger and gently use its pointed end to unplug the display cable from the motherboard. You’ve got this!
Tools Used
Step 19

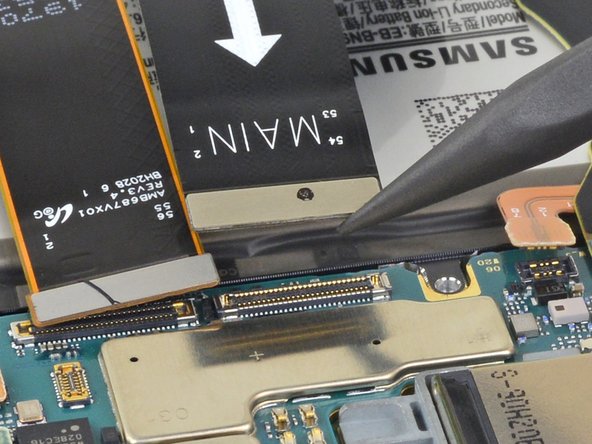
– Now it’s time to get connected – or rather, disconnected. Use the pointed end of a spudger to carefully release the main interconnect cable from the motherboard. If you need help, you can always schedule a repair
Tools Used
Step 20


– Grab your trusty spudger (that pointy-end tool) and gently disconnect the secondary interconnect cable from the motherboard. It’s like a little dance, just be careful not to break the beat! If you need help, you can always schedule a repair
Tools Used
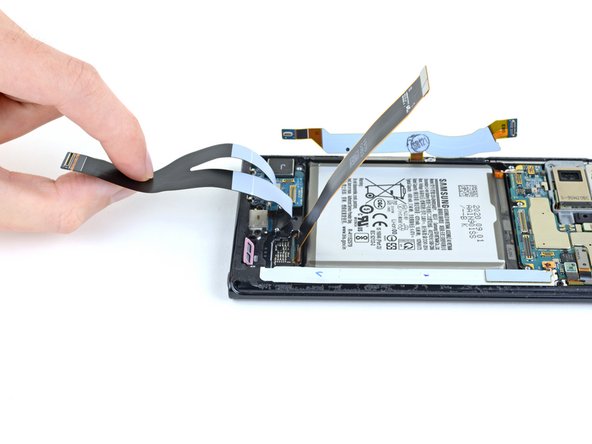
Step 21


Handle those ribbon cables with care! Give them just the right amount of bend—too much and they might not be happy campers anymore.
The secondary interconnect cable is still snugly connected to the phone with its trusty ribbon cable. Just give it a little nudge to make room for the battery, and you’ll be on your way!
– Gently swing the secondary interconnect cable away from the battery like you’re giving it a little wave goodbye.

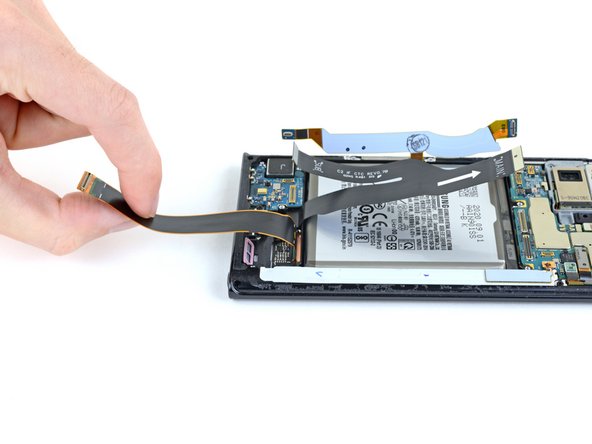
Step 23

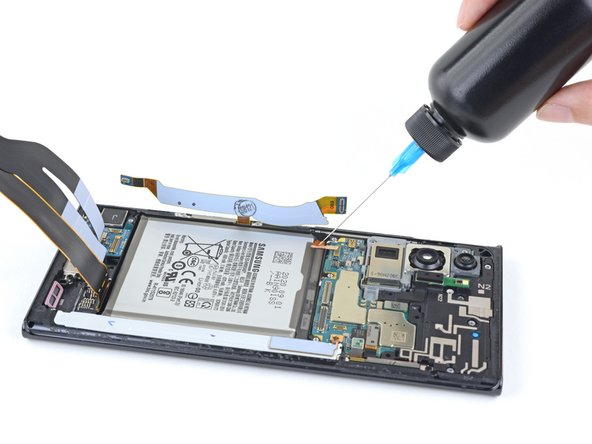
Be careful not to overdo it with the alcohol, or you might end up damaging that beautiful display. If you need help, you can always schedule a repair
– Let’s give those corners a little pep talk! Drop 1-2 drops of high-concentration (90% or higher) isopropyl alcohol into each corner where the battery meets the device.
– Now, let that alcohol do its magic for about two minutes. It’s working hard to loosen up that stubborn adhesive underneath the battery.
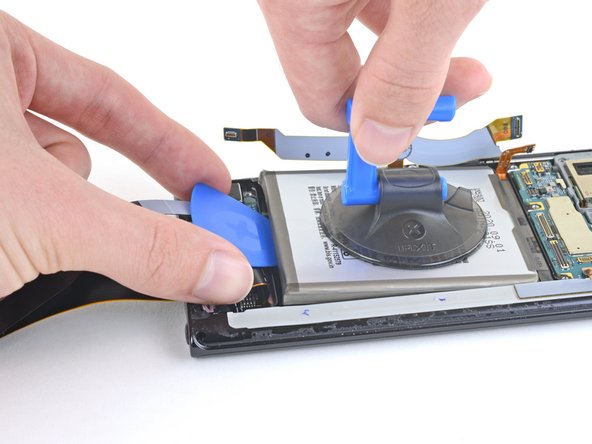
Step 24

– Grab a suction cup and place it right in the center of that battery like it’s the star of the show!
Step 25


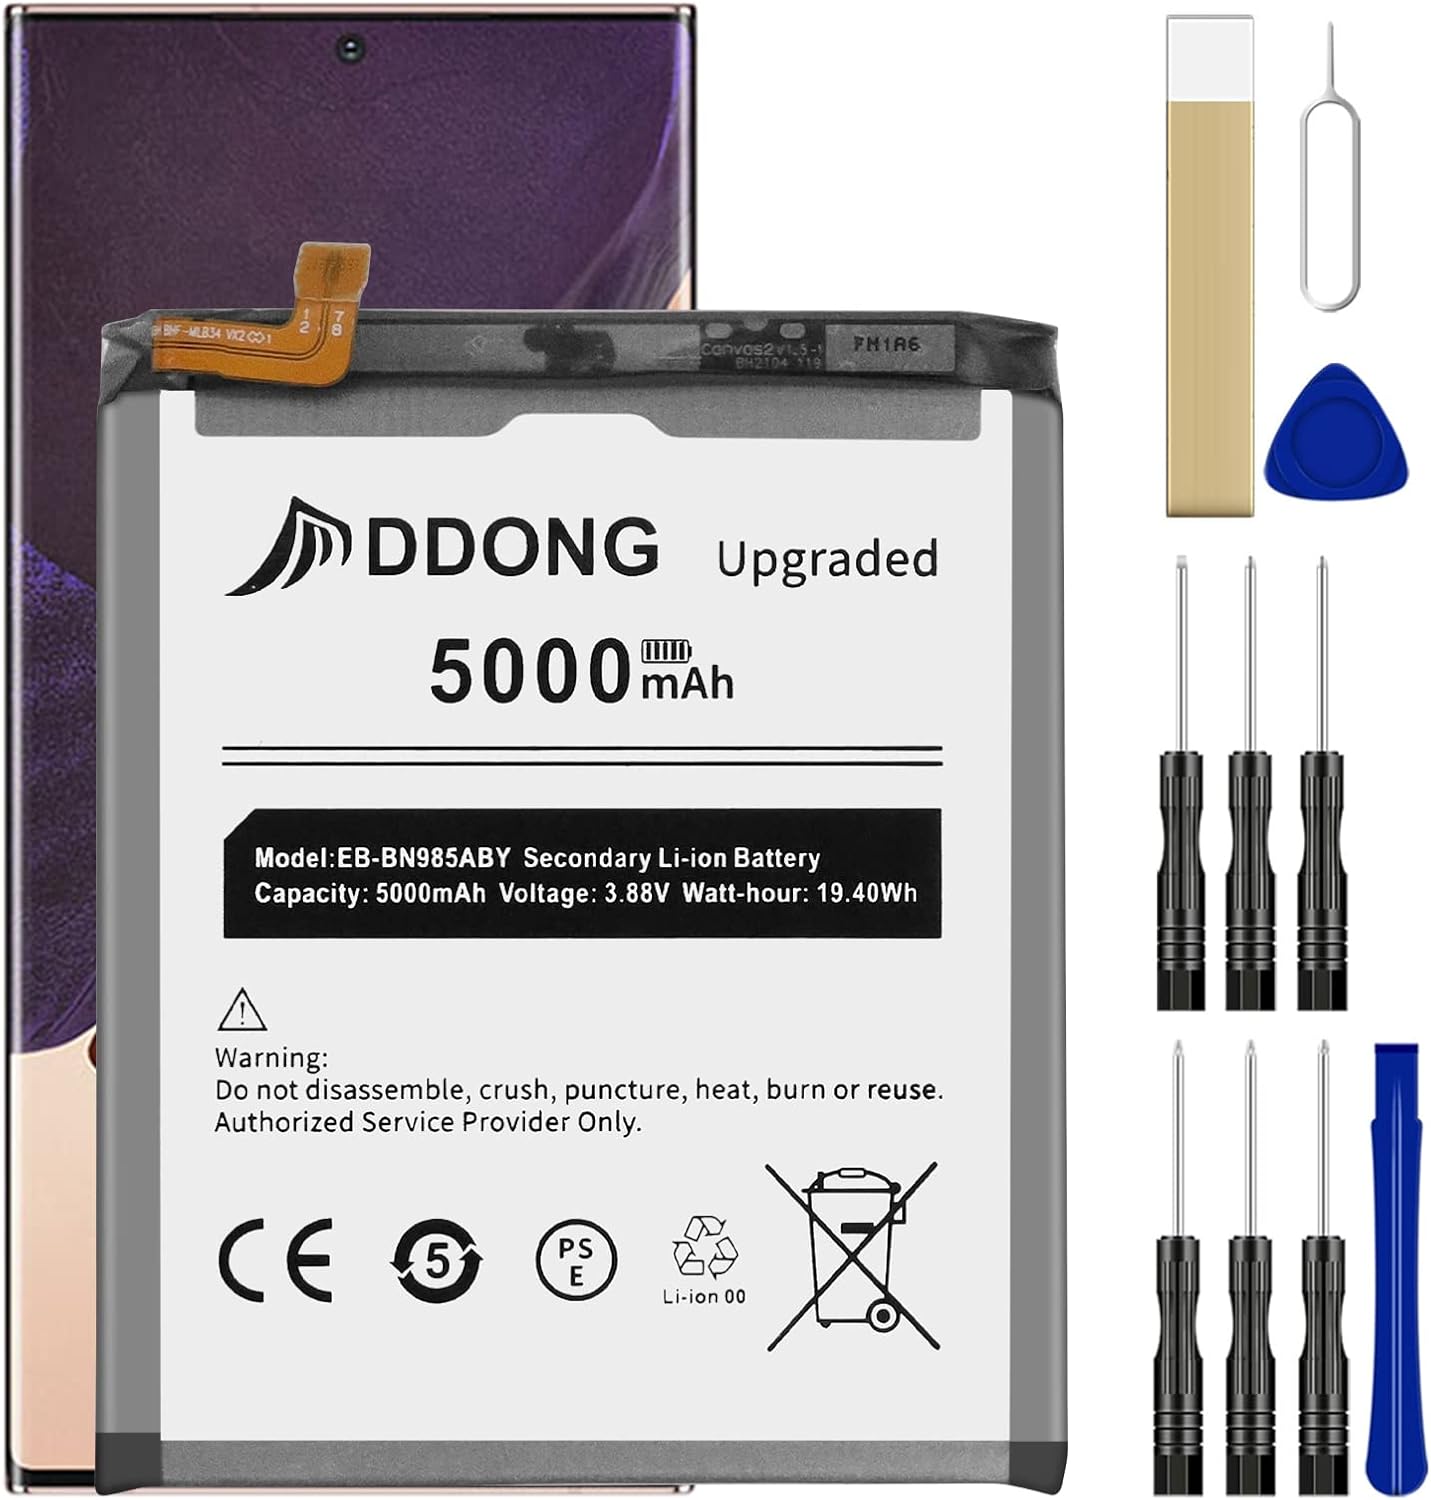
Handle the battery with care—bending it could lead to some serious chemical drama or even a thermal surprise!
If the battery seems to be playing hard to get and isn’t budging from the frame, just add a few more drops of isopropyl alcohol and give it a couple of minutes before you give it another go.
That adhesive under the battery is no joke! You might need to apply some isopropyl alcohol and give that suction cup a few good tugs to help loosen things up.
– Now, let’s get this battery out! Gently pull up on the suction cup with steady pressure. You’ll start to see a little gap between the bottom of the battery and the phone’s frame. Keep going, you’re doing great! If you need help, you can always schedule a repair
Step 26

Be careful not to insert the opening pick too far, or you might damage the fingerprint sensor hiding under the battery.
Don’t force the battery out – it’s not worth the risk. If it’s being stubborn, a few more drops of alcohol can help loosen the adhesive. Remember, no bending or poking the battery with your pry tool, okay? If you need help, you can always schedule a repair
– Slide the tip of your trusty opening pick into the little gap between the bottom edge of the battery and the frame. It’s like giving your device a gentle nudge!
– Now, gently push that pick underneath the battery to slice through the adhesive and set that battery free from the frame. You got this!
Step 27

Hey, don’t reuse that battery once it’s out! It’s just not cool. Safety first, always. If you need help, you can always schedule a repair.
With a little help from isopropyl alcohol, your battery will come out pretty easily! Just make sure the alcohol has soaked into the adhesive holding it in place, and then gently pull it out. If you need help, you can always schedule a repair.
– Let’s get this battery out! Gently pull up on the suction cup to give that battery a lift.
– Hey, if any of that alcohol solution is still hangin’ around, give it a quick wipe or let it air dry before you put your new battery in.
– Alright, time to get this thing back together. Remove any old adhesive and get ready to secure your fresh battery with some fancy new stuff. We’re talking stretch release