Samsung Galaxy Note20 Ultra Earpiece Speaker Replacement Guide
Duration: 45 minutes
Steps: 19 Steps
Before you start disassembling your phone, make sure to discharge the battery to below 25% for your safety. If you need help, you can always schedule a repair
Follow this guide to swap out the earpiece speaker on your Samsung Galaxy Note20 Ultra. Before diving in, make sure to charge that battery down to below 25%—this keeps things safe and sound by minimizing the chance of an unexpected thermal surprise if the battery gets a little too cozy during the process. And if you notice any swelling, be sure to take the necessary precautions.
Step 1

Before you start, make sure to completely power down your phone – it’s time to get started on this repair journey.
You can use a hair dryer, heat gun, or hot plate to get the job done, just be careful not to overheat your phone – the screen and battery are sensitive to heat, so let’s keep things cool.
– Grab your trusty iOpener, heat it up, and give the left side of the rear cover a warm hug for a minute.
Tools Used

Step 2


Whoa there! Keep the opening pick under 5 mm deep – anything more and you might accidentally mess up the phone’s insider parts. Feel free to reach out to our pals at Schedule a Repair if you need a hand!
If your phone’s back glass is looking like a shattered dreamscape, don’t worry! A little bit of clear packing tape can be your new best friend. Just lay it over the cracks like a superhero cape and your suction cup will be happy as a clam. If the tape doesn’t work, try using a super strong adhesive instead of the suction cup. If it’s still being stubborn, don’t fret! We got you.
Sometimes phones get a little grumpy when they get older. So if you’re having trouble getting that edge nice and warm, just keep applying a bit more heat and give it another try. And remember, if you’re feeling stuck, you can always schedule a repair.
– Grab your suction cup and stick it right on that heated edge of the back cover. Aim for the edge, nice and tight!
– Now, give that suction cup a good pull! You want to make a little space between the back cover and the frame. Steady as she goes!
– Time to slide in your opening pick. You got this!
Step 3


– Gently glide the opening pick down the left edge, making your way to the bottom left corner to slice through that pesky adhesive.
– Keep the pick snugly in the bottom left corner to stop the adhesive from sticking back together.
Step 4


Be careful when cutting through the adhesive – don’t push the opening pick more than 5 mm into the phone, or you might accidentally damage the internal components. If you need help, you can always schedule a repair
Now, slip those picks into those gaps, like you’re a magician pulling a rabbit out of a hat. Or maybe not a rabbit, but you get the idea. Keep going, you’re doing great!
– Keep the good vibes going by heating and slicing through the adhesive on the final three sides of the back cover.
– As you work your magic, stick an opening pick in each corner to keep that adhesive from reuniting.
– Give an opening pick a little shimmy around the whole edge of the phone to free any sneaky adhesive that might be hanging on. If you hit a stubborn spot, don’t hesitate to give it another heat-up!
Step 5


– Gently lift the rear cover straight up to pop it off.
Step 6


Be sure to gently pry just under the edge of the connector to keep the socket and nearby components safe and sound!
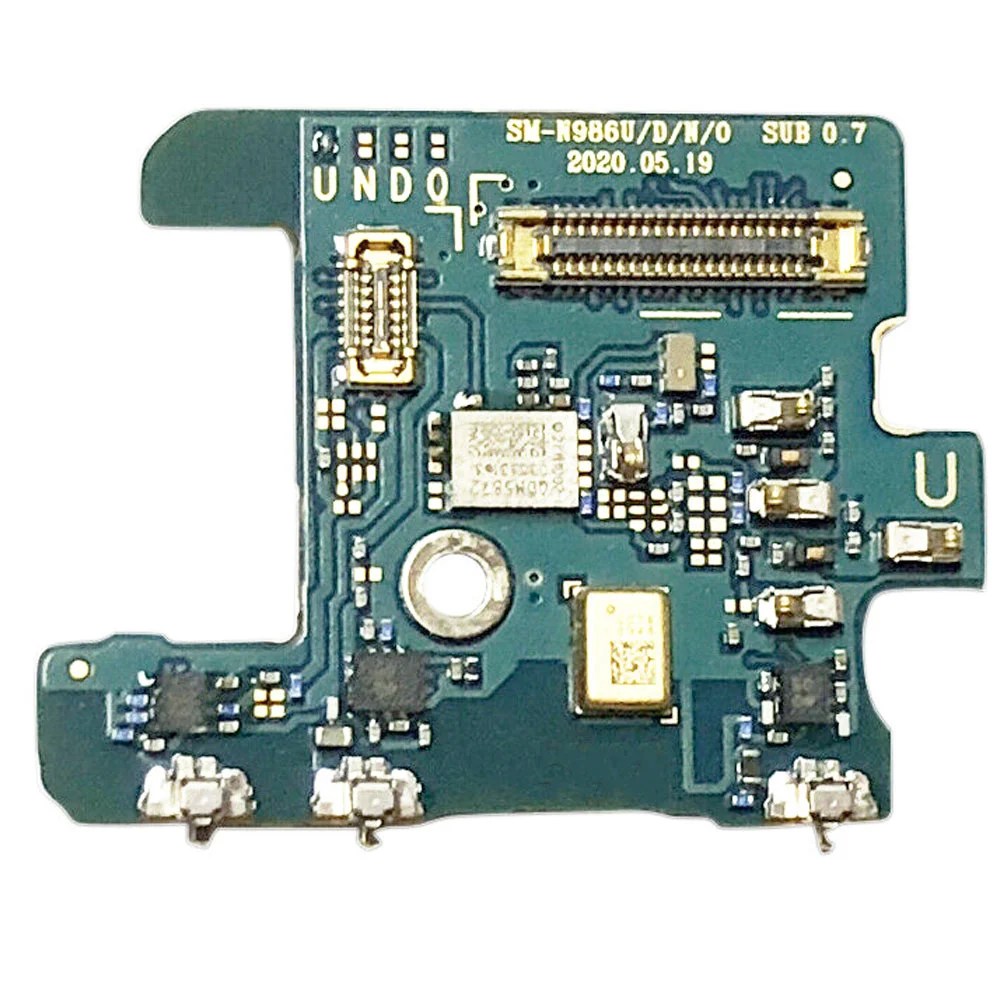
– Take your trusty spudger and use the sharp end to gently lift up and unplug the wireless charging coil press connector.
– When you’re ready to reattach connectors like this one, just align one side and give it a soft press until you hear that satisfying click, then do the same on the other side. Remember, avoid pressing in the middle! If it’s not lined up just right, the pins might bend, and we definitely don’t want that. Keep it cool and steady!
Tools Used

Step 7


– Now it’s time to get a little tricky – use the pointed end of a spudger to carefully pry up and disconnect the white press connector located at the bottom right of the motherboard shield. Take your time and be gentle, and remember, if you need help, you can always schedule a repair
Tools Used
Step 8

Whoa, these screws are a tricky bunch! They’ve got that threadlocker working overtime, so it might take some barbecue and axle grease to unstump ’em. Stay tuned, though – we’ll get through this together!
Don’t be a scatterbrain! Make sure you’ve got all your bolts and doodads accounted for, and line ’em up just right for your tech time machine to zip ’em back to where they belong! If you get stuck, remember that the Salvation Repair squad is here to help. Just ‘schedule a repair‘ and we’ll put your tech through a full spa treatment!
– Grab a Phillips screwdriver and unscrew those six 4.0 mm screws holding the motherboard shield in place. You’ve got this!
Step 9


Heads up! The motherboard shield has some sharp edges, so be a little careful when handling it.
– Grab those tweezers, and give that motherboard shield a little lift. Or if you’re feeling brave, go ahead and use your fingers. We believe in you! If you need help, you can always schedule a repair.
Tools Used

Step 10


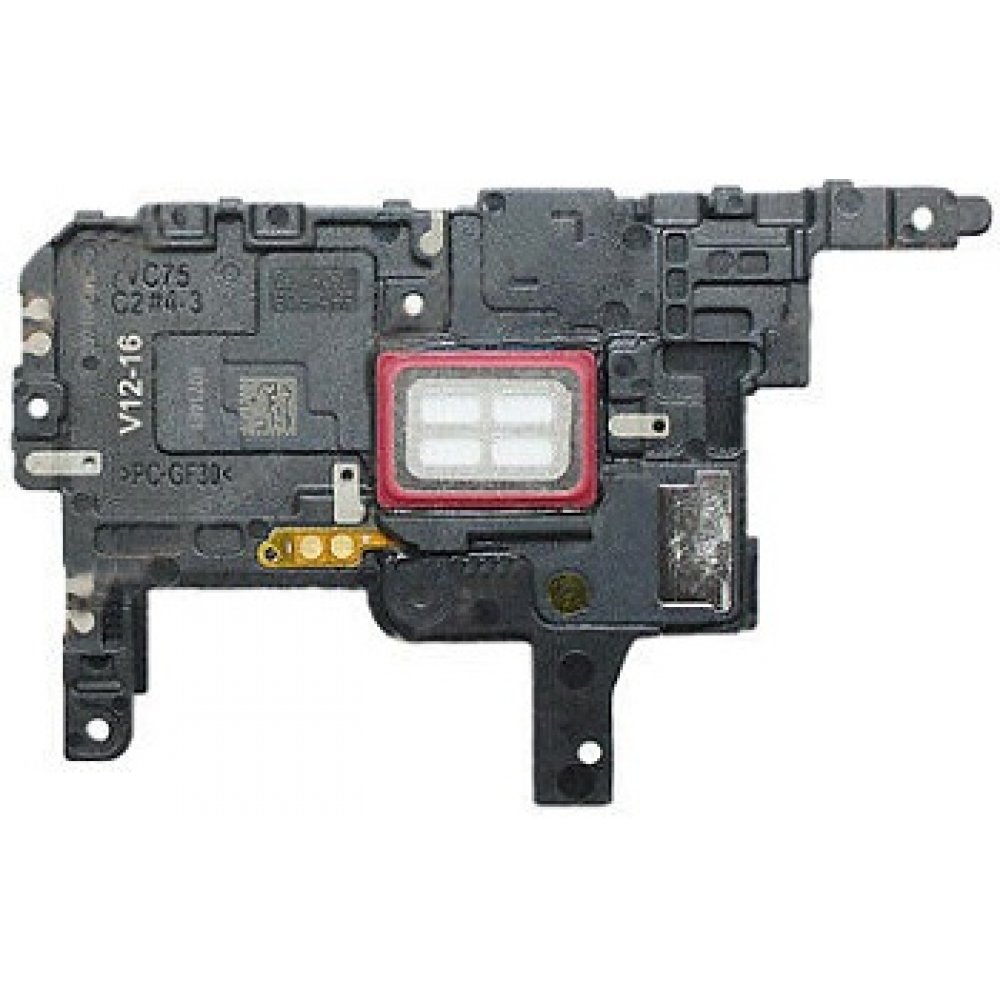
That wireless charging coil is stuck on there with some gentle adhesive. Don’t worry, it’s not a big deal to remove! Just be careful and you’ll be good to go.
– Gently lift the wireless charging coil away from the device like you’re peeling off a sticker—easy does it!


Step 13

– Let’s get started by removing the four 4.0 mm screws that hold the earpiece speaker in place – just grab a Phillips screwdriver and you’re all set. If you need help, you can always schedule a repair
Step 14


The earpiece speaker is attached to the frame along the top edge, so let’s take a closer look at how it’s secured. If you need help, you can always schedule a repair
– Alright, let’s get this party started! Find the tiny triangle on the right side of your earpiece speaker. That’s where you’ll insert the pointed end of your spudger.
– Now, gently pry up and loosen the earpiece speaker from the frame. It’s like giving it a little wiggle room. You got this!
Tools Used


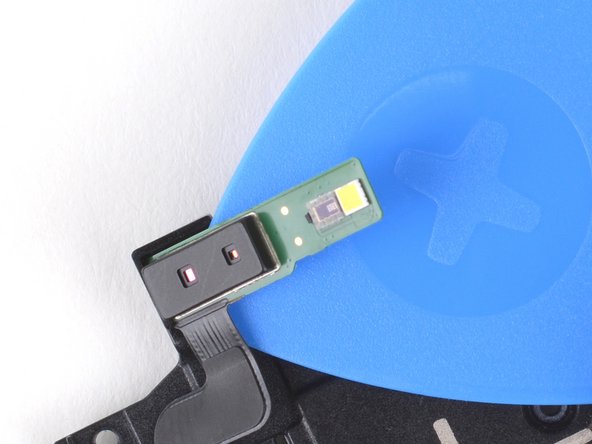
Step 16


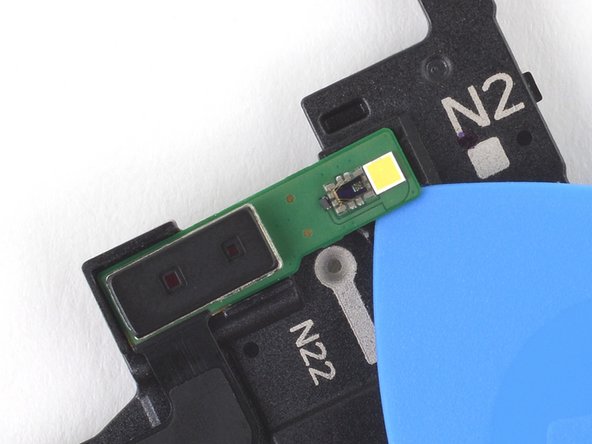
The laser AF sensor is snugly attached to the earpiece speaker with a bit of light adhesive magic.
– Let’s get started by inserting an opening pick into the gap under the right side of the laser AF sensor – it’s the first step to freeing your device from its adhesive.
– Now, gently slide the opening pick upwards towards the top of the laser AF sensor. This will help you begin cutting through the adhesive, and you’ll be one step closer to a successful repair. If you need help, you can always schedule a repair
Step 17


– Slide the opening pick under the top of the laser AF sensor to slice through that pesky adhesive.
Step 18

– Time to say goodbye to that laser AF sensor! Let’s get it removed.
– When you’re putting everything back together, just a friendly reminder: if you’re using a pre-cut adhesive card to attach the new laser AF sensor to the earpiece speaker, follow this guide for a smooth reassembly!