Samsung Galaxy Note20 Ultra Screen Replacement Guide: DIY Tutorial
Duration: 45 minutes
Steps: 33 Steps
Be careful not to damage the display panel during this step – it’s pretty fragile and can break easily if you’re not gentle.
Before you start disassembling your phone, make sure to discharge the battery to below 25% to avoid any safety risks. If you need help, you can always schedule a repair
Ready to rock your Samsung Galaxy Note20 Ultra screen? This guide will help you swap out that display like a pro! Heads up, the fingerprint sensor is part of the screen, so if your scanner’s on the fritz, you’ll need a whole new screen. Be super careful when you’re prying things apart – these displays are delicate like a newborn kitten’s sleep. If you’re reusing the old screen, heat it up like a pizza and be extra cautious. For safety’s sake, make sure your battery is charged to less than 25% before you start. This helps prevent any unexpected explosions (we’re just kidding, but it is a good safety tip!). If your battery is looking a little swollen, handle it with care. Need a little extra help? You can always schedule a repair.
Step 1

Before you start, make sure to completely power down your phone – it’s time to get started on this repair journey.
You can use a hair dryer, heat gun, or hot plate to get the job done, just be careful not to overheat your phone – the screen and battery are sensitive to heat, so let’s keep things cool.
– Get your iOpener nice and toasty! Heat it up and apply it to the left side of the rear cover for about a minute. You got this!
Tools Used

Step 2


Hey, careful with that pick! Don’t push it in more than 5mm, or you might make your phone’s insides a bit grumpy. If you need help, you can always schedule a repair
Got a back glass that’s looking like it’s been through a rough patch? No worries! Slapping on some clear packing tape can help the suction cup stick like a champ. If you’ve got some heavy-duty tape lying around, that could work too instead of the suction cup. And if all else fails, a little superglue on the suction cup might just do the trick to keep it secure on that shattered panel.
Now, if your phone’s been around the block a few times, getting that back glass off might be a tad tricky. If you’re running into some resistance, just heat things up a bit more at the edges and give it another go. You’ve got this!
– First, attach a suction cup to the heated edge of the rear cover – get it as close to the edge as you can for the best results.
– Now, pull up on the suction cup with some steady force to create a gap between the rear cover and the frame. You got this!
– Next, take an opening pick and carefully insert it into the gap you just created. If you need help, you can always schedule a repair
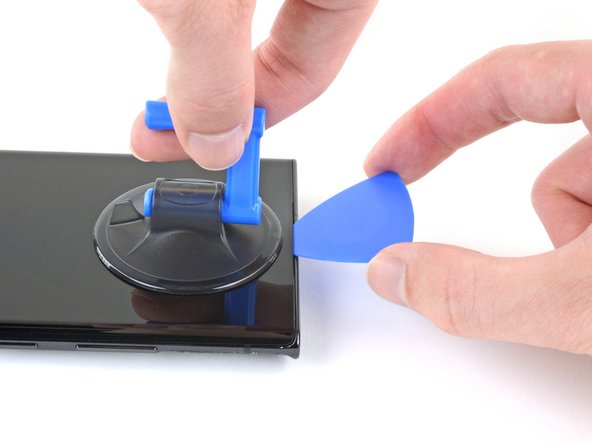
Step 3


– Gently slide the opening pick along the left edge, making your way to the bottom left corner to slice through that stubborn adhesive.
– Keep the pick snugly in the bottom left corner to ensure that pesky adhesive doesn’t seal back up on you.
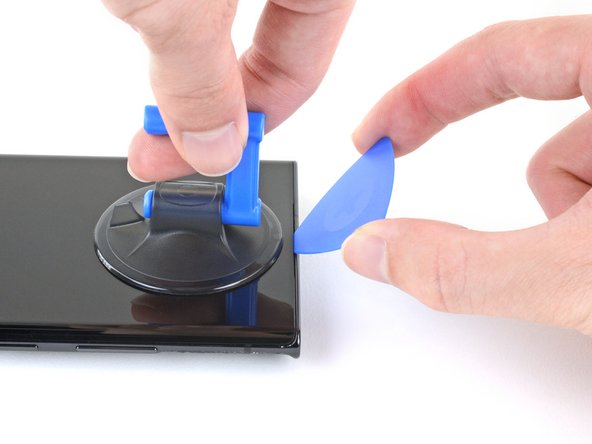
Step 4


When you’re slicing through that sticky stuff, remember to keep your opening pick to less than 5 mm deep. Go too far and you might poke something important inside the phone!
Alright, let’s keep this moving! Slip each new opening pick into the gaps created by the ones already in place. You’ve got this!
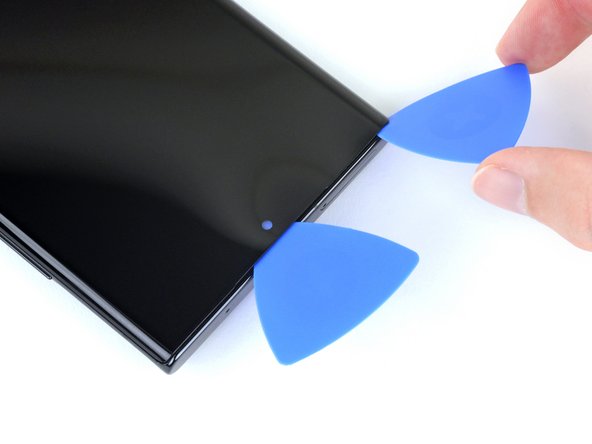
– Let’s keep going! Repeat the process of heating and cutting the adhesive along the three remaining sides of the rear cover.
– As you work your way around, stick an opening pick in each corner to stop the adhesive from sticking back together.
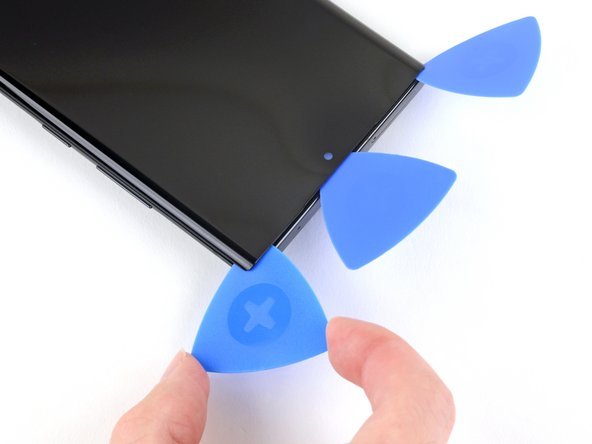
– Now, slide an opening pick back and forth around the whole phone to make sure every bit of adhesive is loose. If you see any stubborn bits, just reheat them. You got this!
Step 5


– Let’s give that rear cover a little lift and pop it right off. It’s like giving your device a little high five!
Step 6


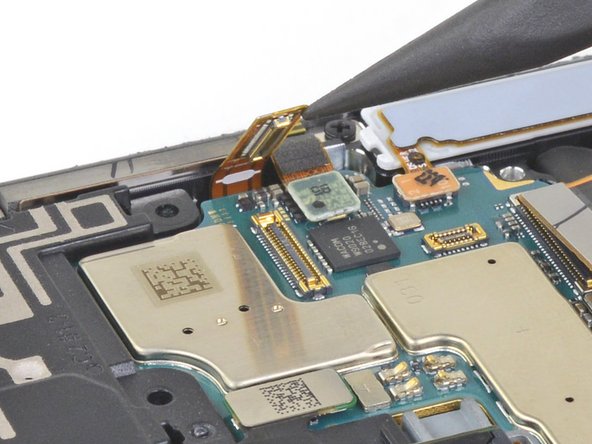
Be gentle as you pry just under the edge of the connector—it’s like a delicate dance! We want to keep the socket and its buddies safe and sound, so proceed with care.
– Grab your spudger, the handy tool that looks like a tiny spatula, and use the pointy end to gently pry up the wireless charging coil connector. It’s like giving it a little nudge to say ‘hello’!
– Now, let’s put that connector back in its happy place! Carefully line up the connector and press down on one side until you hear a satisfying click. Repeat on the other side, but don’t press down in the middle. Imagine it’s a two-step handshake! If you get the connector a little confused, don’t worry – gently wiggle it to find its sweet spot. We’re all about keeping those pins happy, so no pressing down on the middle. If you need help, you can always schedule a repair.
Tools Used

Step 7


– Grab your trusty spudger and use its pointed end to gently pry up and disconnect the white press connector tucked away in the bottom right corner of the motherboard shield. You’ve got this!
Tools Used
Step 8

Alright, those screws might be a bit stubborn if you haven’t taken them out before – they’re glued in place with threadlocker, the little glue that loves to hold on tight.
Just remember, like a good puzzle, each screw has its own special spot. Keep track of where they came from so you can put them back just right – think of it like a mini-treasure hunt for your phone!
– Alright, grab your trusty Phillips screwdriver and give those six 4.0 mm screws securing the motherboard shield a little twist. You’ve got this!
Step 9


Handle the motherboard shield with care – those edges can be super sharp and thin, so be gentle to avoid any accidents.
– Grab your trusty tweezers and carefully lift the motherboard shield – you got this!
– Now, use your fingers to get a good grip on the motherboard shield, and you’re one step closer to fixing your device. If you need help, you can always schedule a repair
Tools Used

Step 10


The wireless charging coil is held in place by a bit of light adhesive magic.
– Gently pry the wireless charging coil away from the device – it’s time to set it free. If you need help, you can always schedule a repair


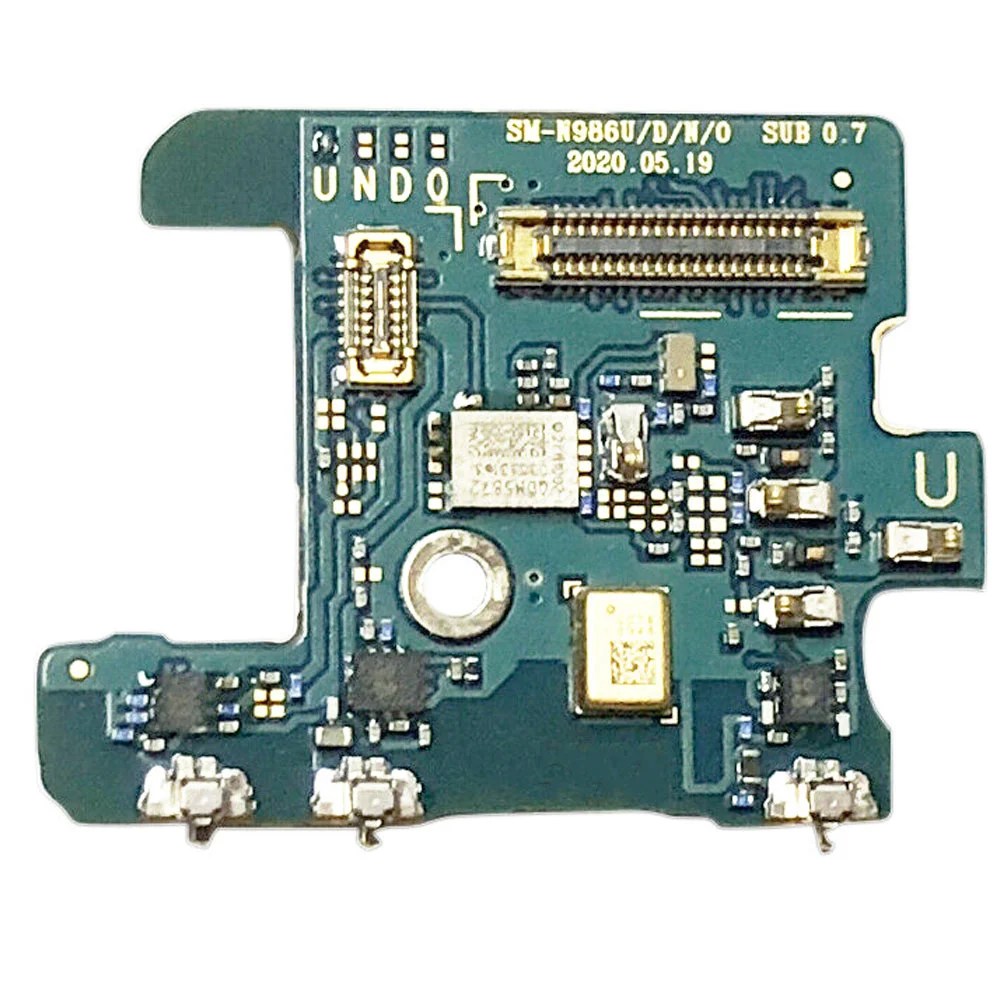
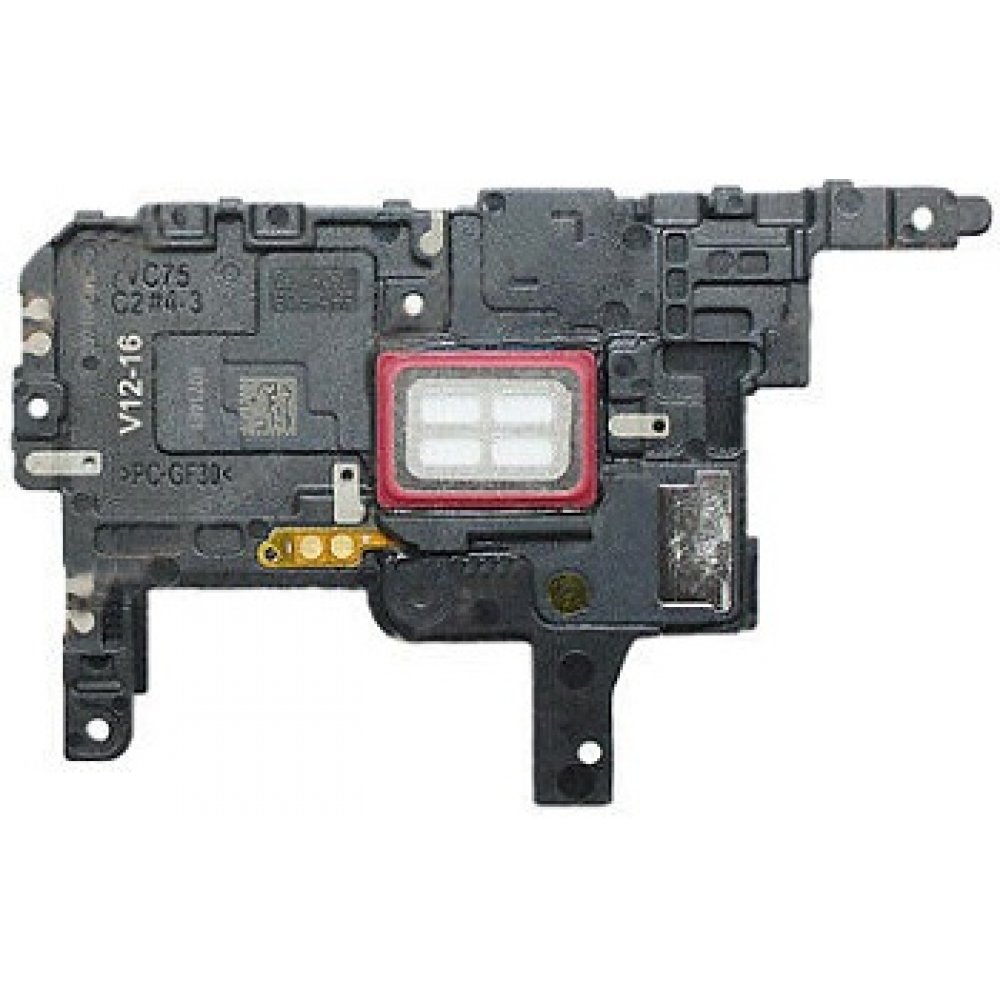
Step 12

– Let’s get started by removing the five 4.0 mm screws that hold the loudspeaker in place. Grab your trusty Phillips screwdriver and get to work – you’ve got this! If you need help, you can always schedule a repair
Step 13


– Time to get started. Insert the pointed end of a spudger into the hole marked by a triangle on the left side of the loudspeaker – it’s a great first step in getting your device back up and running.
– Now, use that trusty spudger to pry up and loosen the left side of the loudspeaker. Remember, if you need help, you can always schedule a repair with the experts at Salvation Repair.
Tools Used
Step 14


The loudspeaker is held tightly to the frame with some nifty clips along its bottom edge.
– Alright, let’s get that speaker out! Take your spudger, find the little triangle on the right side of the speaker, and gently insert the pointed end of the spudger into that hole.
– Now, using the spudger, carefully pry up the speaker – think of it like you’re giving it a little hug and lifting it up at the same time. Once you’ve got it free, the speaker will come right off the frame.
Tools Used
Step 15

– Time to get a little handy – use a pair of tweezers to carefully lift and remove the loudspeaker. If you need help, you can always schedule a repair
Tools Used
Step 16


– Alright, time to disconnect that display cable! Grab your spudger (that handy little tool) and carefully use the pointed end to gently disconnect the cable from the motherboard. You got this!
Tools Used
Step 17

– Grab your spudger and use the pointy end to gently disconnect the touch layer cable connector from the motherboard. It’s like giving the connector a little high-five, but with a tool instead of your hand!
Tools Used
Step 18

Hey there, champ! Be careful when you’re using those opening picks – don’t go overboard! If you dig too deep, you could accidentally hurt some of the inner workings of your device. Just be cool and take it slow. If you’re not sure what you’re doing, you can always schedule a repair.
Here’s a peek at the phone with its screen taken off! Pretty cool, right?
To get that screen off, you’ll want to take it easy and gently loosen up the adhesive that’s holding it snugly to the frame.
Oh, and don’t forget about the extra adhesive hanging out around the front-facing camera and fingerprint sensor!
Step 19

Keep that iOpener toasty for about 10 minutes, but don’t overdo it! No need to overheat things.
You can use a hair dryer, heat gun, or hot plate to help out, but make sure to keep the heat in check! Both the screen and the internal battery can be a bit sensitive to high temperatures, so let’s avoid any ‘oops’ moments.
– Warm up your trusty iOpener and set it gently on the top of your screen for a solid two minutes.
Tools Used
Step 20

Be careful when using the opening pick – make sure it glides smoothly over the front-facing camera without putting any pressure on it. If you need help, you can always schedule a repair
If your screen is looking like a spider web, slapping on a layer of clear packing tape might just do the trick to help that suction cup stick. If you’re feeling extra adventurous, you can totally use some strong tape instead of the suction cup. And if that doesn’t work, a little superglue on the suction cup can help it cling to that cracked screen like it’s best friends forever!
Now, depending on how old your phone is, this part might test your patience. If you’re struggling to create a gap for your opening pick, just heat things up a bit more at the edge and give it another go. You might need to repeat this little dance a few times, but hey, persistence pays off!
– Stick a suction cup to the warm top edge of the screen, getting as close to the edge as you can.
– Gently pull up on the suction cup with a consistent force to create a nice little gap between the screen and the frame.
– Slide the tip of an opening pick into that gap at a sharp angle. Push it down until it’s nice and level with the screen.
– Keep that opening pick in the gap to stop the adhesive from sealing back up. You’re doing great!
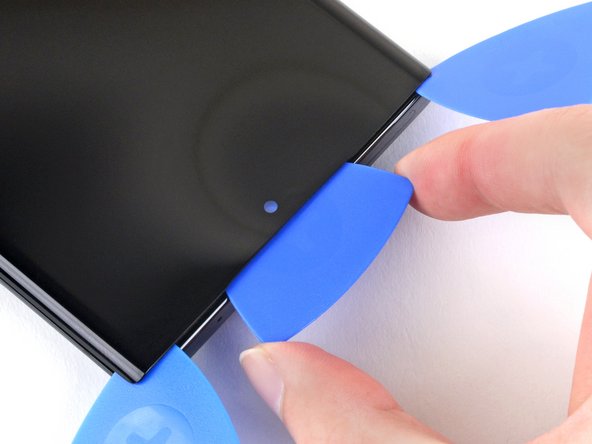
Step 21

– Alright, let’s get that second opening pick in there! We’re going to slide it up to the top left corner of the screen to cut that sticky stuff holding it in place.
– Leave that opening pick chillin’ in the top left corner, like a cool dude guarding the entrance. We don’t want that adhesive sticking back together, do we?
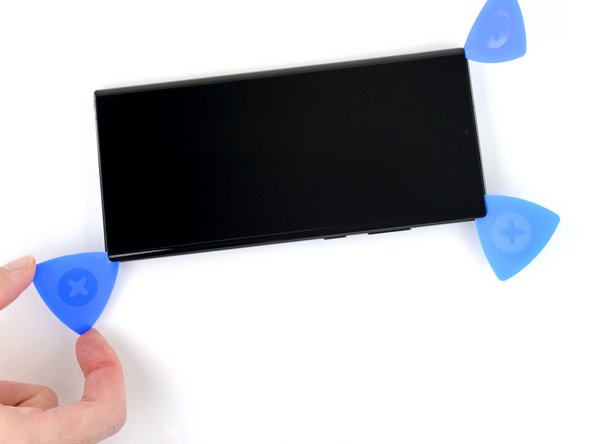
Step 22

– Let’s get that phone open! Stick a third opening pick into the little gap you already made.
– Slide it up towards the top right corner, like you’re drawing a diagonal line. You’ll be cutting through that sticky stuff holding things together.
– Leave that pick in the top right corner to stop the adhesive from sticking back together. You got this!
Step 23

Alright, let’s be careful here! Don’t go too deep with that opening pick under the screen – you wouldn’t want to lose it in there, right? If you need help, you can always schedule a repair.
– Let’s get this party started! Gently push the center opening pick deeper into the phone to carefully separate the adhesive around the earpiece speaker and front-facing camera. Don’t be shy, you got this!
– Alright, take out the center opening pick. We’re makin’ progress!

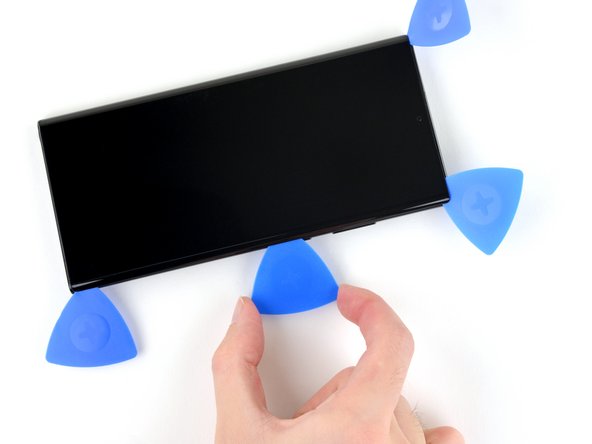
Step 25

– Pop another opening pick into that little gap in the top right corner of your screen.
– Gently slide the pick down to the bottom right corner to slice through that sticky adhesive.
– Keep the opening pick in the bottom right corner to stop that adhesive from sealing up again.
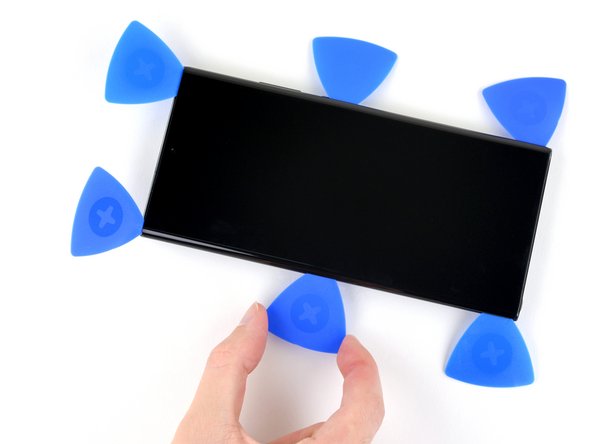
Step 26

– Let’s get this show on the road! Start by gently inserting an opening pick into the gap at the top right corner.
– Slide the pick smoothly towards the center of the right side, like you’re dancing with the phone!
– Keep the pick right under the center of the right edge of the screen. This little move helps keep the adhesive from getting too cozy and re-sealing itself. If you need help, you can always schedule a repair

Step 28


– Let’s get this party started! Take your trusty opening pick and slip it into the gap at the top left corner of your screen.
– Now, slide that pick down to the bottom left corner, cutting through that sticky adhesive like butter.
– Leave your opening pick in its new home at the bottom left corner. This will keep the adhesive from sticking back together and making a mess.
Step 29

Now, it’s time to gently coax the screen away from the frame! If you’re feeling some stubborn resistance at the edges, don’t sweat it—grab an opening pick and give that adhesive another little nudge.
– Let’s get this party started by sliding an opening pick into the gap in the top left corner.
– Slide the opening pick along the left side until it reaches the center.
– Keep that opening pick holding the center of the left edge to prevent the adhesive from sealing itself back up. If you need help, you can always schedule a repair
Step 30


Gently position the isopropyl alcohol applicator towards the top of the inner adhesive zone, steering clear of that sensitive fingerprint sensor. We want it to stay happy and functioning!
Feel free to drizzle a bit of isopropyl alcohol onto the area without having to stick the applicator inside the phone if that’s what you prefer.
– Grab your phone and turn it so the right edge is pointing up like a little tower.
– Next, let’s sprinkle a few drops of high-concentration (90% or higher) isopropyl alcohol right into the gap between the screen’s right edge and the frame. This will help loosen that stubborn adhesive around the fingerprint sensor.
– Now, tilt your phone a smidge so the isopropyl alcohol can do its magic and flow right over to the adhesive.
– Alright, it’s time to chill for two minutes while the alcohol works its wonders and softens the adhesive. Grab a snack or take a lil’ break!
Step 31

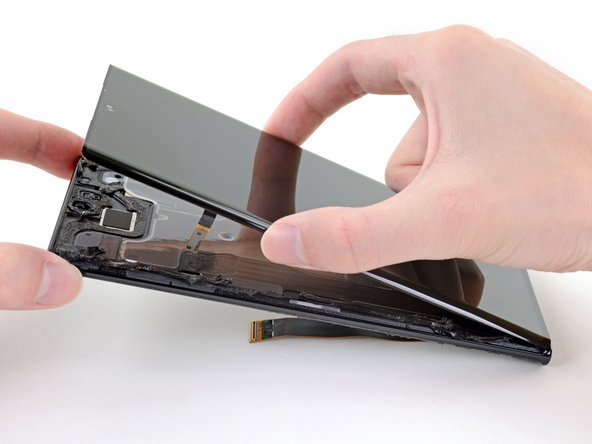
Be careful not to completely remove the screen just yet – there are still a couple of cables running through the frame that you don’t want to damage.
When lifting the screen, keep it at a gentle angle, about 30 degrees above the frame. This will help you avoid putting any unnecessary strain on the display cable. If you need help, you can always schedule a repair
If the screen isn’t budging, don’t fret! You might need to give that adhesive a little more love. Try carefully cutting through more of it, or give it a good soak with some isopropyl alcohol. It’ll come loose eventually. And if you’re feeling overwhelmed, you can always schedule a repair.


Step 33

Don’t let any sticky residue hang around before putting in that new screen! Give it a good wipe down and send those last bits of adhesive packing.
If there’s any cleaning solution still hanging out in your phone, just give it a quick wipe or let it air dry. No need to rush into the new screen installation.
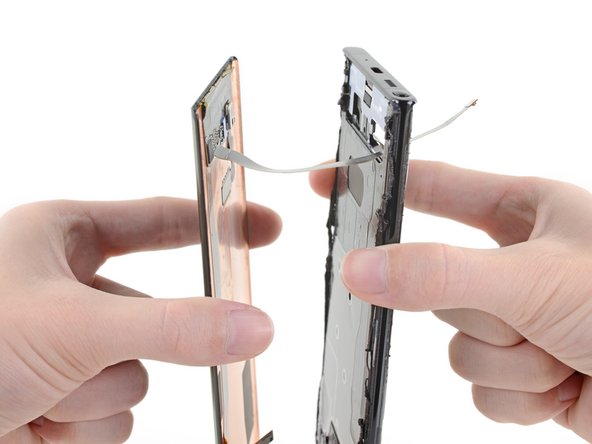
– First things first, gently take off the screen. You’ve got this!
– Before you go all in with those new adhesives, it’s a good idea to test your repairs. Better safe than sorry!
– Using a custom-cut adhesive? No problem! Check out our guide on how to apply that adhesive to your shiny new replacement screen.
– Got yourself a pre-cut adhesive card? Just follow our guide, and you’ll be on your way to a smooth repair!