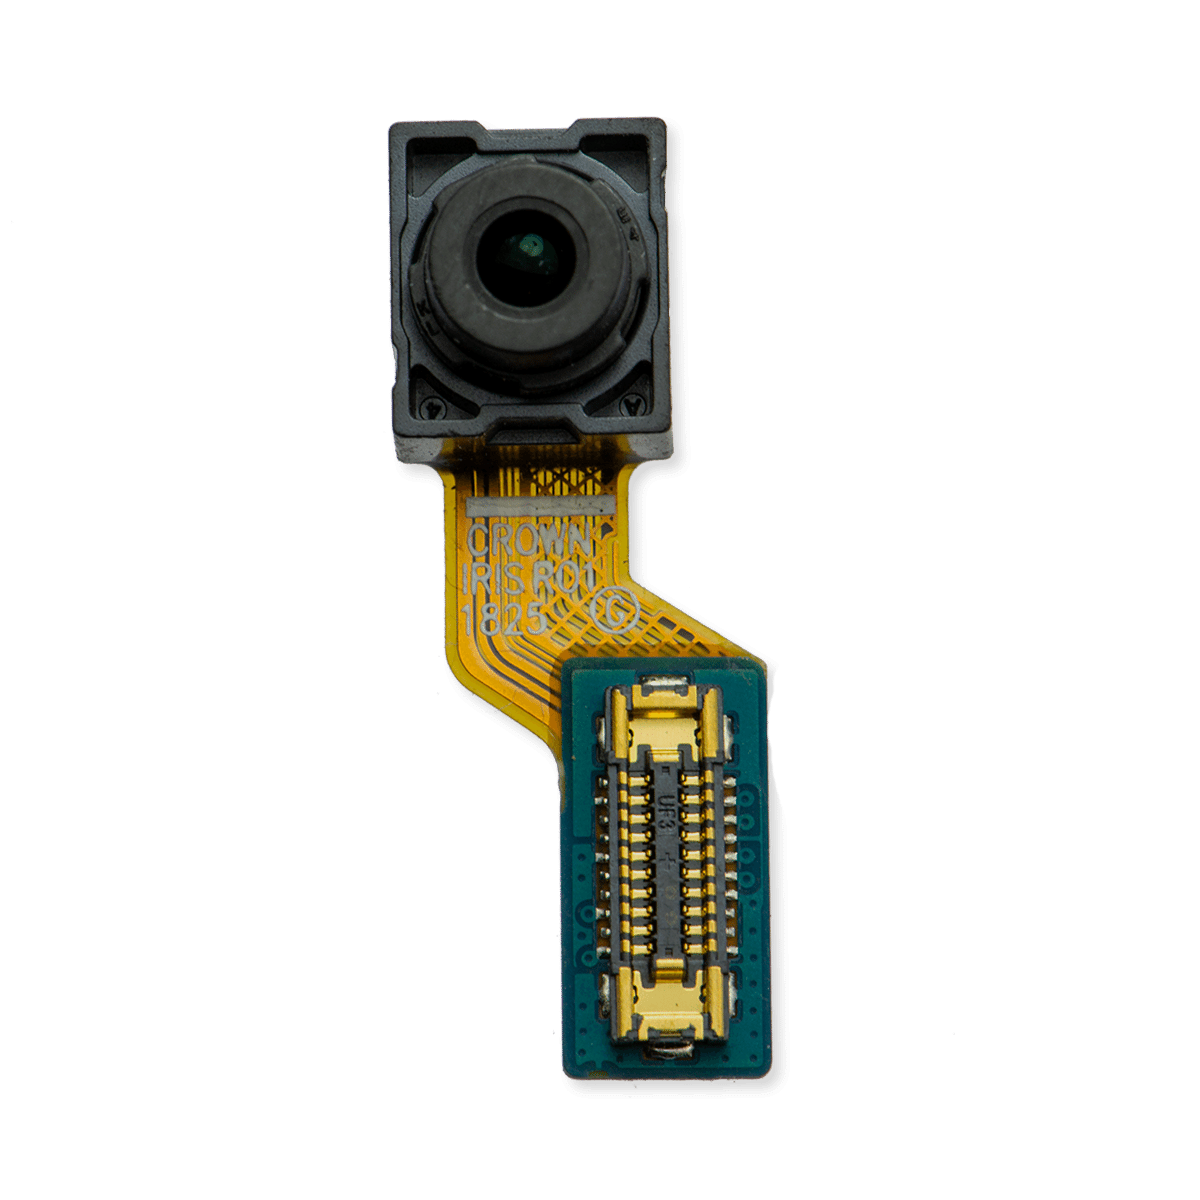
Samsung Galaxy Note9 Iris Scanner Replacement Guide
Duration: 45 minutes
Steps: 16 Steps
Ready to give your Samsung Galaxy Note9’s iris scanner a fresh start? This guide will walk you through the process step-by-step, making it easy to replace the scanner and keep your phone rocking!
Step 1
– Before you start, make sure to power off your phone – it’s an important safety step. Now, let’s get started on this repair journey!
– Time to loosen things up. Use a hairdryer, a heatgun, or an iOpener to warm up the adhesive on the right edge of the back of your phone for about a minute. If you need help, you can always schedule a repair
Tools Used
Step 2
If the adhesive is putting up a fight, don’t sweat it! Just add a bit more heat and keep the brute force at bay. Too much muscle could send the glass packing!
If your glass is looking like it’s had a rough day, go ahead and cover it with some packing tape. This’ll give our suction cup friend a little something to grab onto and help things along.
– Grab your trusty suction handle and give the back cover a friendly hug.
– Gently lift with the suction handle to create a little breathing room between the back cover and the phone’s frame.
– Slip an opening pick into the gap, like you’re sliding into first base!
Tools Used
Step 3
– Be careful when prying around the top edge and camera bezel – there’s extra adhesive in these areas, so take your time.
– When cutting around the left edge, be gentle near the fingerprint sensor to avoid damaging the ribbon cable inside. If you’re not feeling confident, don’t worry – you can always schedule a repair and let the pros handle it.
If you find the glue being tough to work with, don’t get mad, just give it some more love with that handy-dandy heat tool. That’s right, we’re talking about that magic heat breath we described earlier. So, let it breathe on the glue a bit longer until it’s ready to do its job. Check this step out here if you need a little extra help. And remember, if you’re feeling super stuck, just book a session with one of our friendly professionals. You got this, champ!
Step 4
Keep that pick no deeper than halfway into the phone when you’re working around the fingerprint sensor or cameras—going too far could put a damper on those internal components. Stay safe and keep your repair journey smooth!
– Alrighty, let’s crack this baby open! Start by finding the center of your device and work your way along the right side. Trust us, your tool is your new best friend here. We promise it’s a piece of cake! If you need help, you can always schedule a repair
Step 5
Heads up! That corner is a little fragile. Don’t worry, just give it some extra heat if things get sticky. You got this!
– Pop an opening pick into the upper-right corner to get started.
– Grab another opening pick and gently slice through the adhesive at the bottom-right corner.
– Keep that first opening pick in place while you work your magic!
Step 6
– Time to get this repair started. Apply some heat to the left side of the rear panel using a heat gun, hair dryer, or a heated iOpener for about three minutes. This will help loosen the adhesive underneath, making the next steps a breeze. If you need help, you can always schedule a repair
Tools Used
Step 7
Watch out for those corners, the glass can be a little fragile there.
Don’t go too deep with your opening pick on the left edge, near the fingerprint sensor. You might befriend a ribbon cable if you’re not careful!
No need to worry if your opening picks fall out as you separate the back cover – it’s all part of the process. If you need help, you can always schedule a repair
– Let’s get this party started by sliding an opening pick into the lower-left corner of the rear panel. It’s like a little dance move for your phone!
– Now, grab another opening pick and give that adhesive along the left edge of the rear panel a little slice. We’re getting closer to the good stuff!
Step 8
Grab your trusty iOpener, hair dryer, or heat gun to warm things up a bit more where you’re working on cutting that adhesive. A little heat can go a long way!
– Now it’s time to get a little tricky – use that opening pick you inserted to carefully slice through the adhesive around the upper-left corner of the rear panel. Take your time, you got this!
– Almost there! Cut through the last bit of adhesive along the top of the phone. If you need help, you can always schedule a repair
Tools Used
Step 9
Hold your horses! Don’t pull out the fingerprint sensor ribbon cable just yet. We’ll get to that in a bit. 😉
The fingerprint sensor cover might still be stuck to the midframe, so be prepared to gently coax it loose.
– Let’s start by gently separating the right side of the rear cover. You got this!
– Now, tilt the cover up along the left edge to peek at the fingerprint sensor ribbon cable. You’re doing great!
Step 10
– Use the tip of a spudger to carefully pop the fingerprint sensor ribbon cable up and out of its socket. It’s like giving it a little high-five to say goodbye!
Tools Used
Step 11
– Let’s get started by removing the back cover.
– When you’re ready to put everything back together, follow these steps to re-install the back cover:
– Use tweezers to gently peel away any remaining adhesive from the phone’s chassis. Then, give the adhesion areas a good cleaning with some high-concentration isopropyl alcohol (at least 90%) and a lint-free cloth. This will help prep the surface for the new adhesive. Don’t worry about getting every last bit of adhesive off – just remove any larger pieces.
– Before you apply the new adhesive and seal up your phone, turn it on and test your repair to make sure everything is working smoothly.
– Now it’s time to apply the new adhesive to the back cover. Line up one edge of the glass against the phone chassis and firmly press it into place. If you need help or have any questions, you can always schedule a repair with Salvation Repair.
Tools Used
Step 12
– Alright, grab your trusty Phillips screwdriver and give those nine 4mm screws holding the upper midframe a little spin. See ya later, screws!
Step 13
Alright, this upper midframe is just a snap. Seriously, it pops in and out like a champ.
– Let’s get this party started! Slide the tip of your trusty spudger into the top-left corner of the upper midframe.
– Now, gently pry the upper midframe out of the phone – think of it like a little dance!
Tools Used
Step 14
The adhesive might be a bit on the lazy side, but no worries! Grab an opening pick and give it a little nudge to slice through if you need to.
– To get started, carefully peel the wireless charging coil away from the battery, beginning on the left side – it’s easier than you think, and you’re making great progress already.
– When it’s time to put everything back together, start by securely snapping the midframe into place, then gently adhere the wireless charging coil – if you need help, you can always schedule a repair
Step 15
– Now it’s time to carefully disconnect the orange ribbon cable that links the battery to the motherboard – simply use the tip of your trusty spudger to gently pry it loose. If you need help, you can always schedule a repair
Tools Used


