Samsung Galaxy Prevail Rear Speaker Replacement Guide: DIY Tutorial
Duration: 45 minutes
Steps: 5 Steps
Got audio issues like muffled sound, static, or poor call quality? Don’t worry, we’ve got you covered. This step-by-step guide from Salvation Repair will walk you through replacing your speaker in just 10-20 minutes. If you need help, you can always schedule a repair.
Step 1

– Using your trusty hands, gently pop off the back panel by nudging the opening near the headphone jack outward. You’ve got this!


Step 3

– Unscrew (6) 4mm screws with a Phillips #00 screwdriver and let’s get this party started!
Tools Used

Step 4

Heads up! The metal trim around the headphone jack might get a little loose during this step. Don’t worry, it’s totally normal. Just be careful not to lose it! If you need help, you can always schedule a repair.
– Grab your trusty black spudger and gently wiggle the secondary rear panel loose using those handy recessed tabs on the left and right sides.
– Now you’re in the motherboard zone! You’re doing great.
Tools Used
Step 5
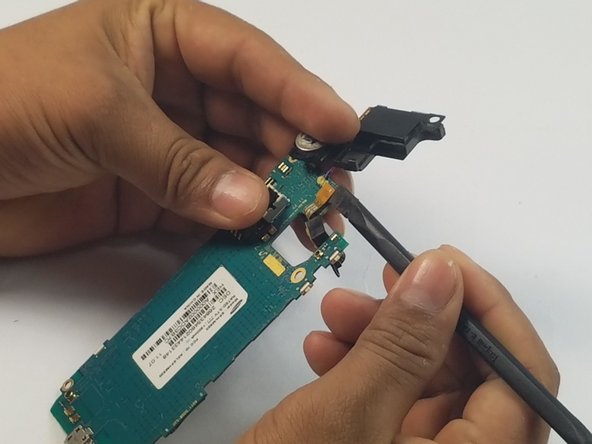

Be careful when removing the speaker assembly, as the battery is stuck to the motherboard with adhesive. You’ll need to use a bit of force, but don’t worry, you got this! If you need help, you can always schedule a repair
– Time to get that speaker assembly out. Use your trusty spudger to carefully pry it upward and set it free.
Tools Used