Samsung Galaxy R Motherboard Replacement Guide: DIY Step-by-Step Tutorial
Duration: 45 minutes
Steps: 6 Steps
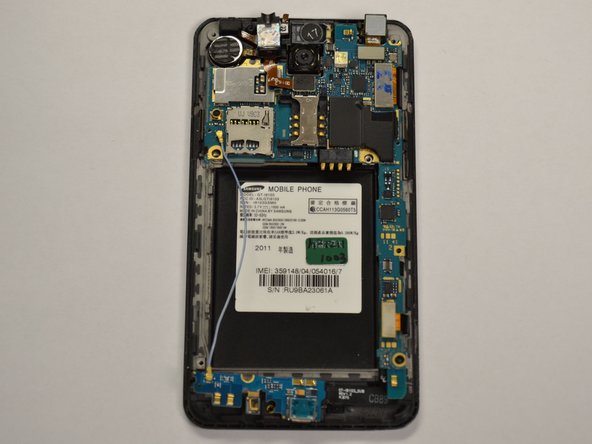
The motherboard is the phone’s brain, the command center, the big cheese! It’s in charge of all the phone’s heavy lifting, like making calls, sending texts, and keeping your apps running smoothly. You’ll only need to replace it if your phone’s having some serious issues, like dropping calls or having trouble connecting to the internet. Think of it as a bunch of little parts working together to make the phone tick. To get to the speaker and rear-facing camera, we need to give the motherboard a little lift. It’s like a puzzle piece that comes apart, so we’ll need to carefully remove some tiny screws and gently pull up the motherboard sections. If you’re feeling a little nervous, don’t worry! You can always schedule a repair with us. We’re here to help.
Step 1


– Wedge your fingernail or a plastic tool into the slot near the headphone jack at the top of your phone.
– Carefully separate the back cover from the midframe and lift it off.


Step 3

– Get ready to crack open your device and let’s get to the fun part! Remove the 7 red 4.0 mm screws with your trusty Phillips head screwdriver. Once that’s done, use your finger or an opening tool to gently pry apart the midframe from your phone. If you need help, you can always schedule a repair
Step 4

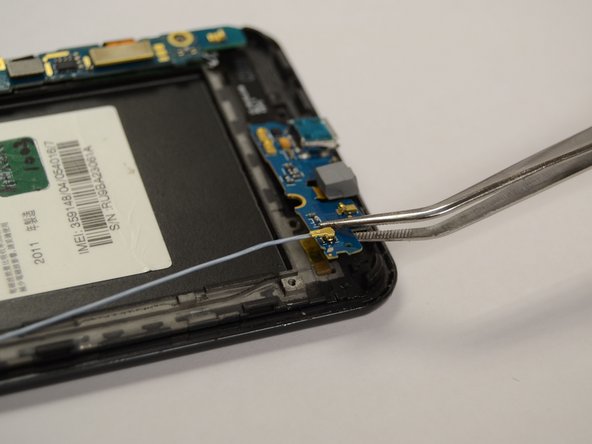
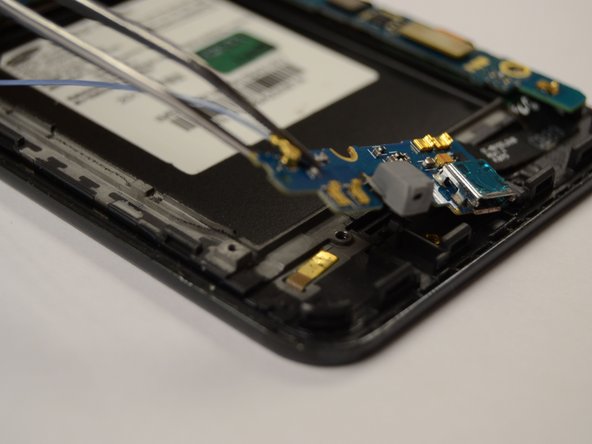
– Let’s get this party started! Slide an opening tool under the bottom panel near the bottom left side of the back of your phone.
– Now, give that panel a gentle nudge! Pry up the part of the motherboard shown in the picture to the left. It’s just hanging out under that part of your phone.
– Alright, it’s time to lift that bottom panel off the back of the phone. You’re doing great! If you need help, you can always schedule a repair.
Step 5
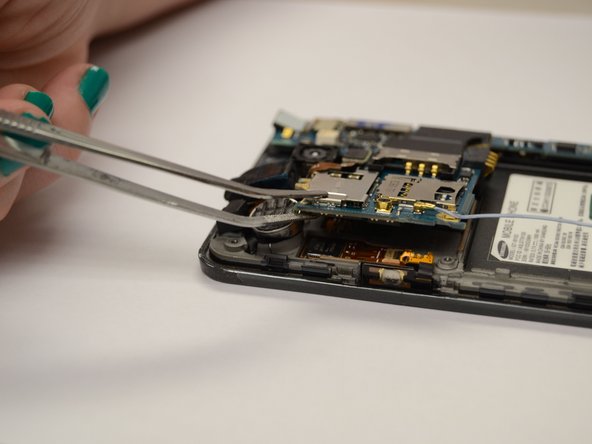

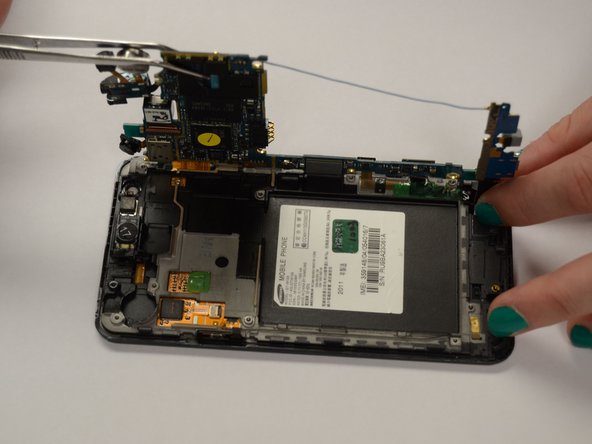
– Grab that shiny circular metal piece with your trusty tweezers and give it a gentle tug to break the glue bond. You got this!
– Slide your opening tool underneath the top panel, near the top left corner of the back of your phone. It’s like a little dance.
– Now, lift that panel up gently, like you’re revealing a secret treasure. It’s almost there!
Tools Used

Step 6

The parts highlighted in red are glued onto the back of the phone, so you’ll need to apply a bit more elbow grease to get these sections off.
– To swap out the motherboard, just give it a gentle tug and pull it away from the back of the phone. You’ve got this!