Samsung Galaxy R Speaker Replacement Guide: DIY Tutorial
Duration: 45 minutes
Steps: 6 Steps
The speaker assembly is the heartbeat of your phone’s sound system. Whether you’re jamming out to music or catching up with a friend, it’s essential to have speakers that sound great. If your audio is coming out grainy or distorted, it might be time to swap out the speaker. Before you do, you’ll need to lift the motherboard – don’t worry, it’s easier than it sounds. Just lift the small flap on the side and you’re good to go. If you need help, you can always schedule a repair.
Step 1


– Time to get started. Insert your fingernail or a trusty plastic tool into the opening near the headphone jack on top of the phone – it’s the perfect spot to begin prying it open.
– Now, gently pry the rear case away from the midframe. Once you’ve got it loose, you can remove it completely. If you need help, you can always schedule a repair
Step 2


– Time to get started. Insert your fingernail or a trusty plastic tool into the crevice on the lower left side of the back of your phone – it’s the perfect spot to begin.
– Now, gently pry the battery away from the back of the phone. Remember to take your time and be patient – you’ve got this. If you need help, you can always schedule a repair
Step 3

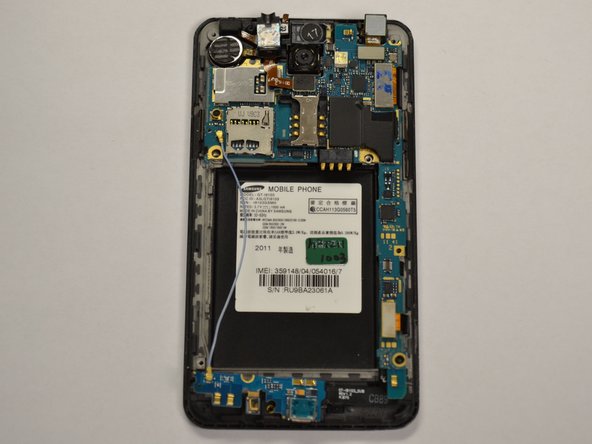
– Alright, grab that trusty Phillips head screwdriver and pop off those seven little 4.0 mm screws. They’re the ones marked in red. You got this! 😎
– Now, slide your finger or a tool underneath the midframe and give it a gentle wiggle. You’ll see the phone start to separate like magic. 🪄
Step 4

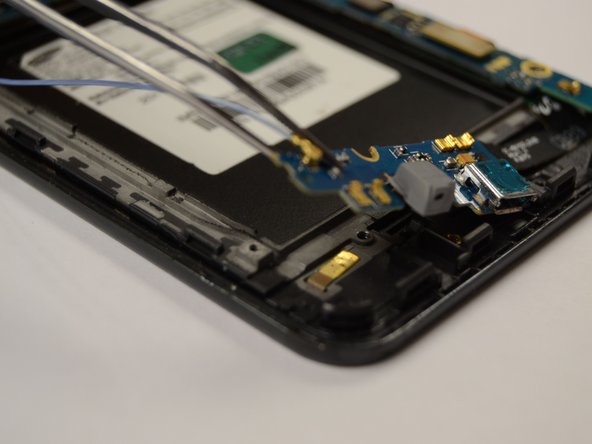
– Alright, let’s get this party started! First, we’re gonna slip that opening tool under the bottom panel near the bottom left side of the back of the phone. You know, just like sliding a pizza under a door.
– Now, we’re gonna give that little motherboard piece a gentle pry, from the underside. You’ll see exactly where to go in the picture to the left. Just like a little nudge.
– Time to lift that bottom panel off the back of the phone. Easy peasy, lemon squeezy! It’s like taking off your shoes after a long day.
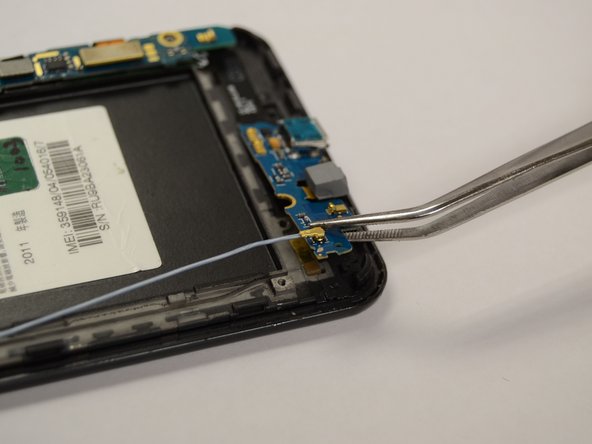
Step 5

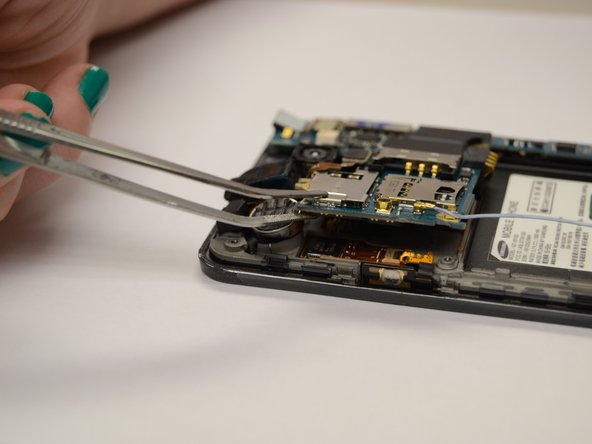
– Grab those tweezers and hold onto the vibrator piece with a confident grip. Give it a solid pull away from the top panel, just enough to break that glue bond. You’ve got this!
– Slide in an opening tool right underneath the top panel on the top left side of the back of the phone. Nice and easy.
– Now, gently lift that panel off from the back of the phone. You’re on a roll!
Tools Used

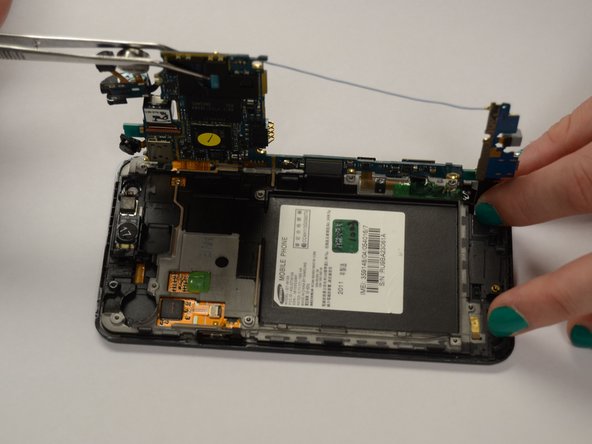
Step 6
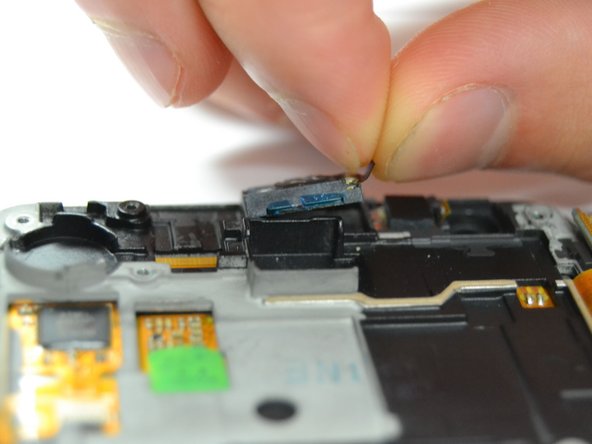
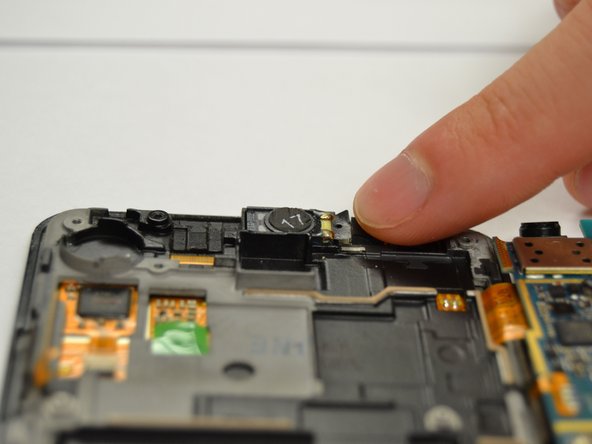

– Alright, let’s get that speaker outta there! You’ll find it hangin’ out near the top of your phone, under the motherboard. It’s circled in red so you can’t miss it!
– Now, gently grab that little strap attached to the speaker and give it a little tug. It’ll pop right out, no problem! Just be careful not to yank too hard, okay?