Samsung Galaxy Rush Camera Replacement Guide: DIY Tutorial
Duration: 45 minutes
Steps: 9 Steps
Step 1


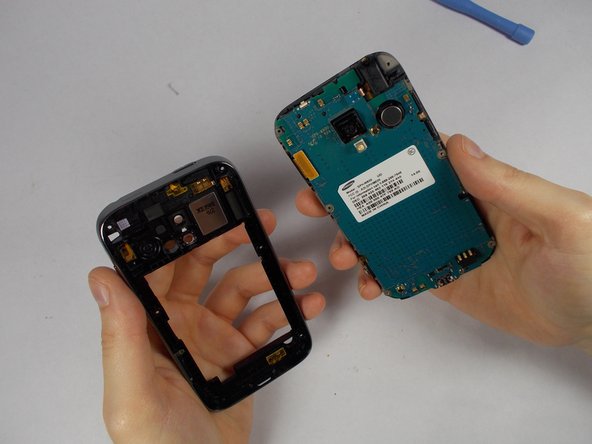
– Alright, let’s make this happen! Head to the back of your device and give that back cover a gentle nudge with your finger. It’ll slide off with a little finesse. If you need help, you can always schedule a repair!


Step 3

– Let’s get started by removing the six screws that hold the back panel in place – grab a small Phillips-head screwdriver and get to work! If you need help, you can always schedule a repair

Step 5
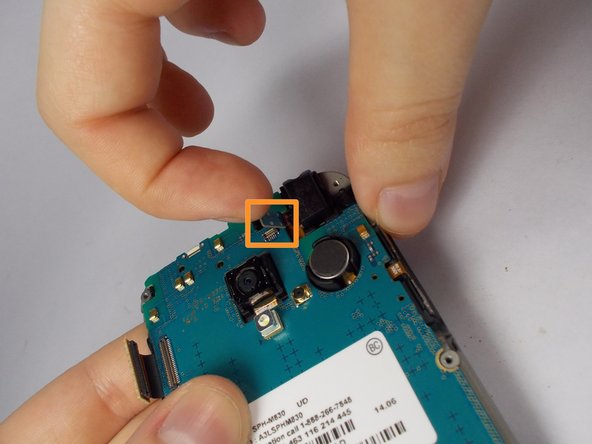

– Grab your trusty tweezers and gently lift those connectors off the motherboard like a pro!
– Keep an eye out for the first connector, it’s hanging out on the upper left side.
– Now, let’s find the second connector—it’s chilling towards the top of the phone, just above the camera, and it’s super easy to remove.
Step 6
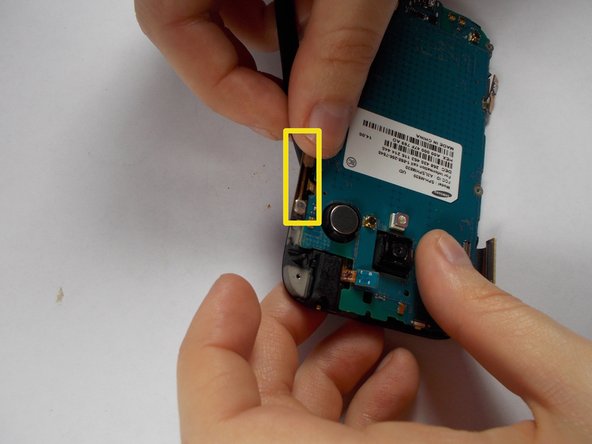

– Time to get a little delicate – use your trusty tweezers to carefully pluck out the 2 adhesive orange ribbons.
– Remember, these ribbons are still attached to the motherboard, so be gentle to avoid any damage.
– You’ll find them hanging out on the side of the phone. If you need help, you can always schedule a repair
Step 7

– Alright, let’s get this show on the road! Grab your trusty Philips-head screwdriver and give that single screw on the bottom of the phone a little spin. You’ll find it hanging out to the right of the charging port. Easy peasy, right?
Step 8

– Gently lift the motherboard upwards, letting it leave its cozy spot next to the screen. You’re on your way to a successful repair!
Step 9
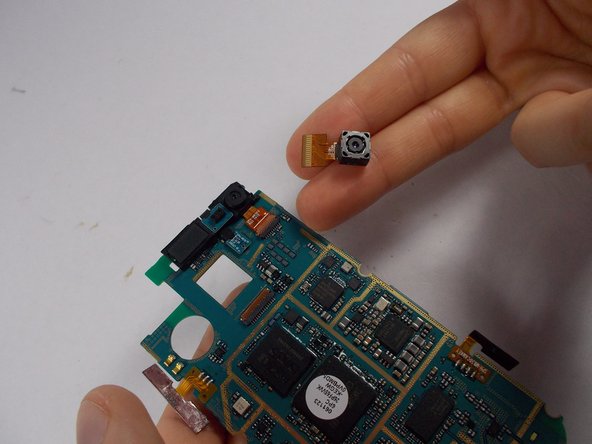

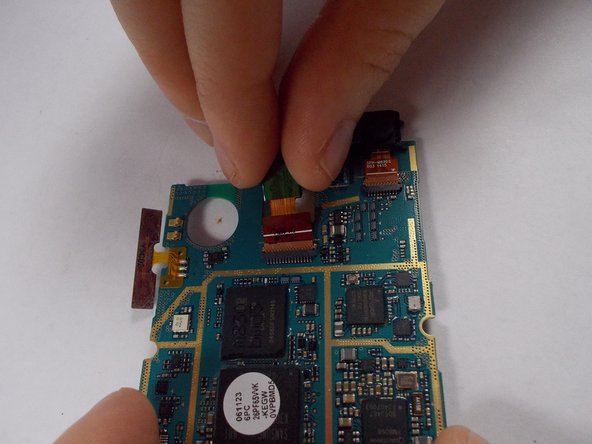
– Keep that motherboard steady, circuits facing your way, and give that back camera a gentle lift with two fingers. A little wiggle might do the trick. And if you need help, you can always schedule a repair.

