Samsung Galaxy S Front Facing Camera Replacement Tutorial Guide
Duration: 45 minutes
Steps: 7 Steps
Ready to give your device a little facelift? This guide will walk you through swapping out the front-facing camera. Just like the back-facing one, this adventure will involve a bit of pre-op dismantling. If you need help, you can always schedule a repair
Step 1


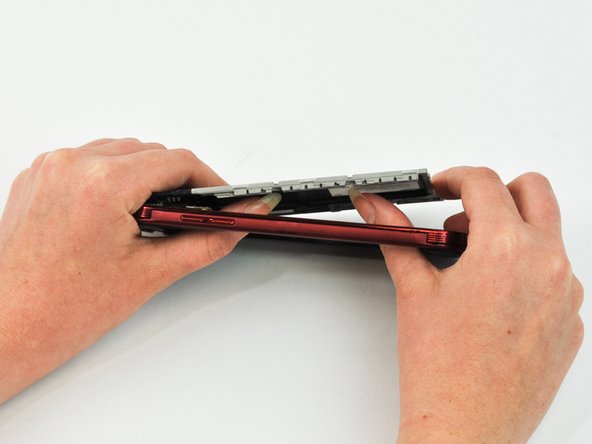
– Gently pop off the back casing of the phone using the handy notch at the top. You’ve got this!
Step 2


Be careful with the battery! Mishandling it might lead to some serious boo-boos for both you and your device.
– Get your hands under the battery with a plastic spudger or your trusty fingernail and give it a lift.
Tools Used

Step 3


When it comes to handling electronics, make sure to rock an ESD-safe tool to keep your devices safe and sound. The metal spudger brings the prying power, while the trusty black nylon spudger or a plastic opening tool are your go-to pals for a smooth repair journey.
– Grab a plastic opening tool or spudger and lift the screen gently once the adhesive has softened.
– Since this phone is water-resistant, trying to take apart the screen without breaking it is a no-go.
Tools Used
Step 4


Keep your distance from the screen! Tiny glass bits might pop out or the metal tool could slip. If you need help, you can always schedule a repair.
Hey there! Take a look at the upper right corner of the LCD screen. You’ll spot a connecting ribbon. Remember, handle it with care to avoid accidentally disconnecting it from the motherboard.
– If the plastic cover of your phone decides to break free from the LCD screen, no worries! Just take your trusty nylon spudger and gently pry off the LCD screen as well. You’ve got this!
Tools Used
Step 5


– Go ahead and unscrew those little guys around the plate


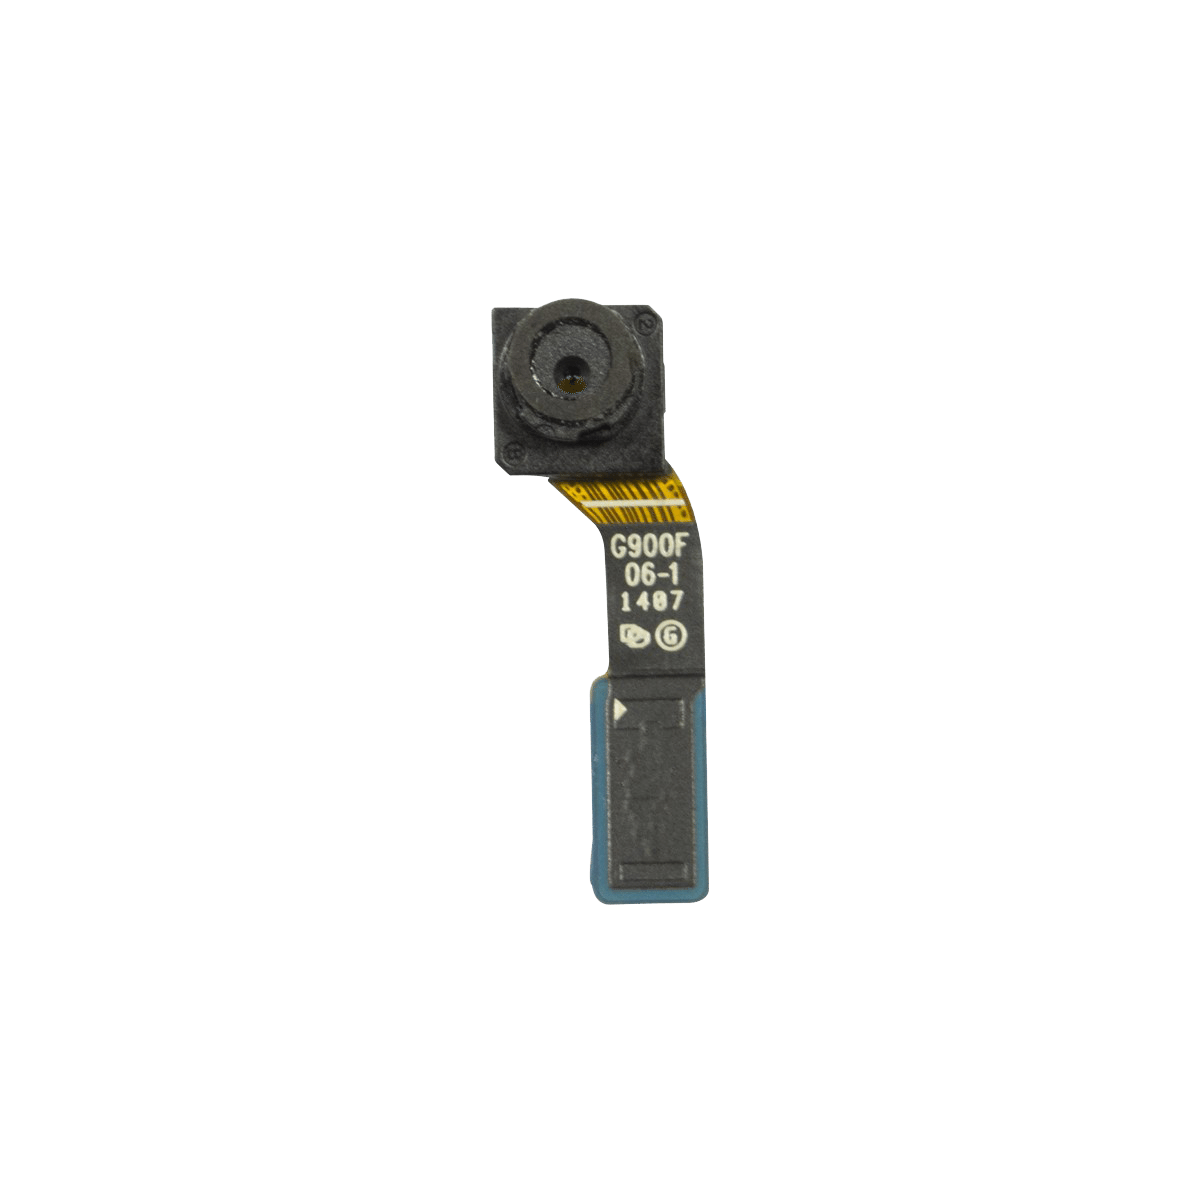
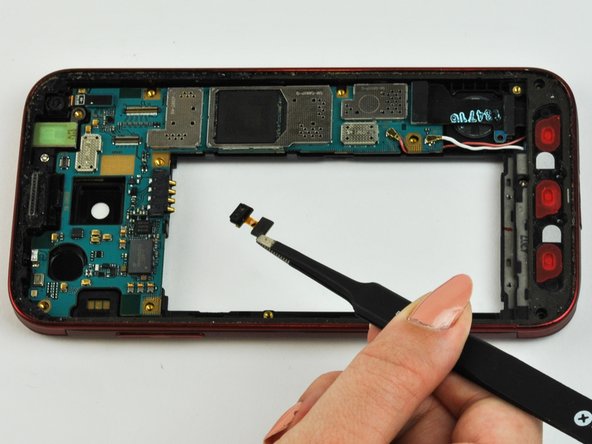
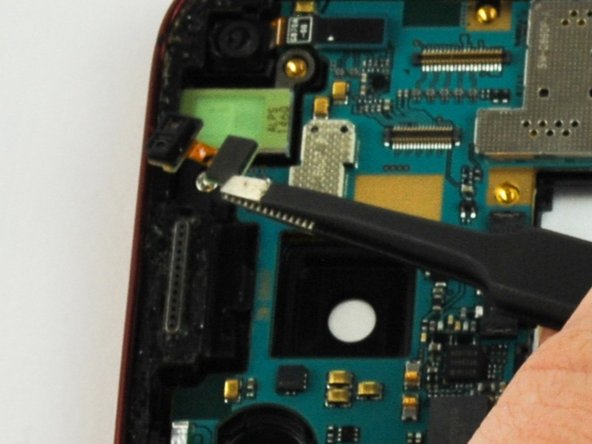
Step 7

– Grab your tweezers and pop that camera out of the plug at the top of your phone. It should come out with no fuss. If you need help, you can always schedule a repair.