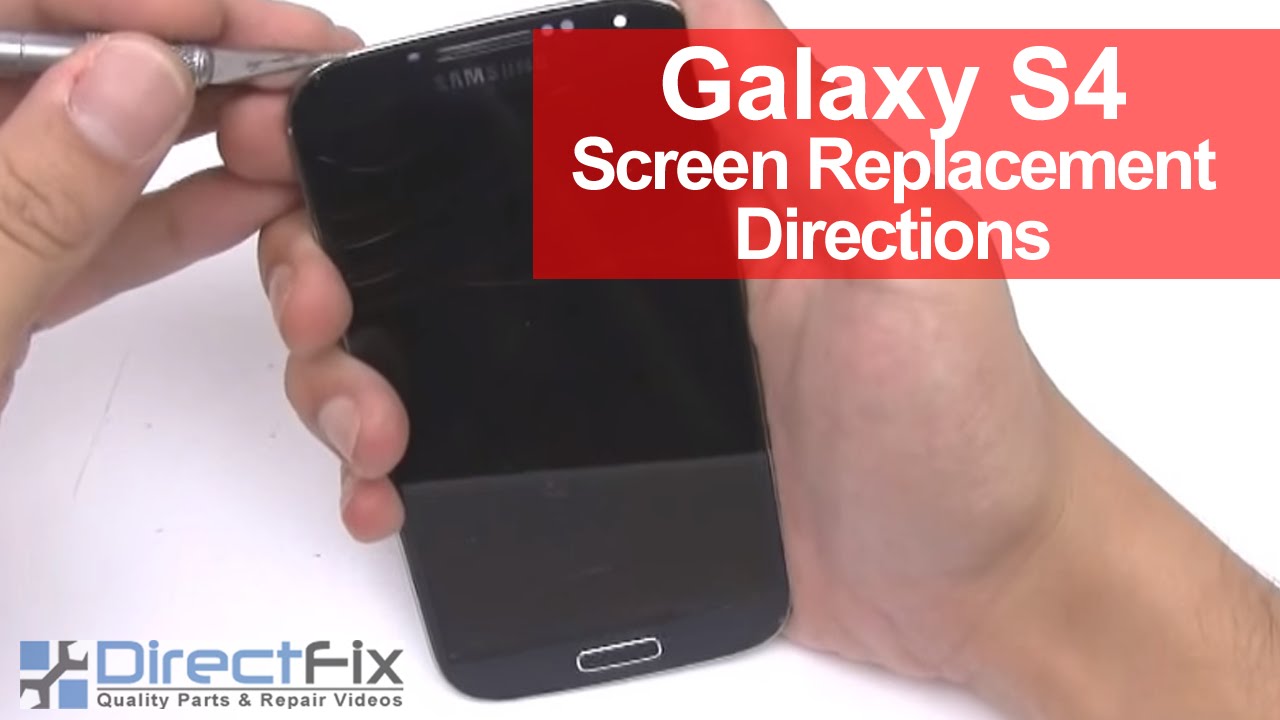
Samsung Galaxy S One Cracked Glass Replacement Guide
Duration: 45 minutes
Steps: 14 Steps
Heads up! Make sure to handle the components gently. They’re more sensitive than a teacup at a metal concert!
Step 1
– Your S4 might be in a similar state to the one in the photo, or maybe it’s holding up a bit better.
– Apologies for some portrait photos—looks like we had to crop them to fit!
Step 4
– Warm up the glass for a cozy 3-5 minutes, I find the sweet spot is right around 4 minutes.
– A low setting on your heat gun should do the trick! A hair dryer might leave you cold, as it’s not quite hot enough for this task.
– Handle that heat gun with care to avoid a meltdown. Overheating could turn your device into a sad, discolored mess. Spot any funky colors? Turn off that heat gun pronto!
– This little warm-up session helps loosen the glue holding your screen’s glass in place, making your repair a bit breezier.
Tools Used


