Samsung Galaxy S One Display Replacement Guide: DIY Step-by-Step
Duration: 45 minutes
Steps: 5 Steps
Heads up, tech whiz! Make sure to double-check your tools and workspace before diving into the repair. A tidy space is your best pal for a smooth fix!
Is your Samsung Galaxy S Blaze screen giving you the cold shoulder and not responding to your touches? Let’s kick things off by checking if your phone is juiced up! If it’s charged and still playing dead, it might be playing tricks with the charger, port, or battery. Once you rule those suspects out, it’s time to eye the display assembly. Fear not! This guide will show you how to swap out the display assembly on your Samsung Galaxy S Blaze, step by step. If you need help, you can always schedule a repair.
Step 1


– Kick things off by popping off the back plastic cover. Start at the cheeky little notch on the left side and lift it up like you’re peeling a banana!
Step 2

– Pop out the battery and grab a small Phillips-head screwdriver to tackle those marked screws. You’ve got this!
Step 3

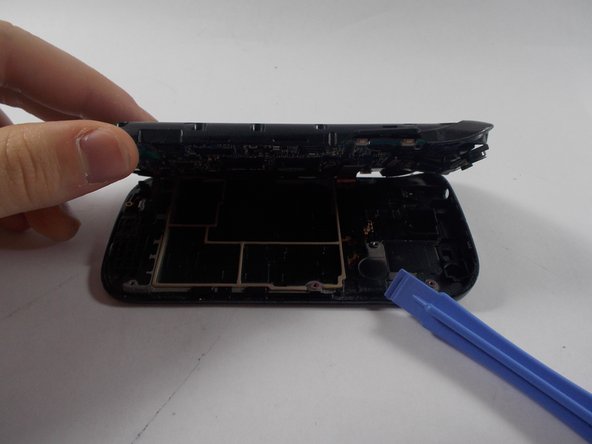
Those latches are tough cookies, so feel free to give it some muscle!
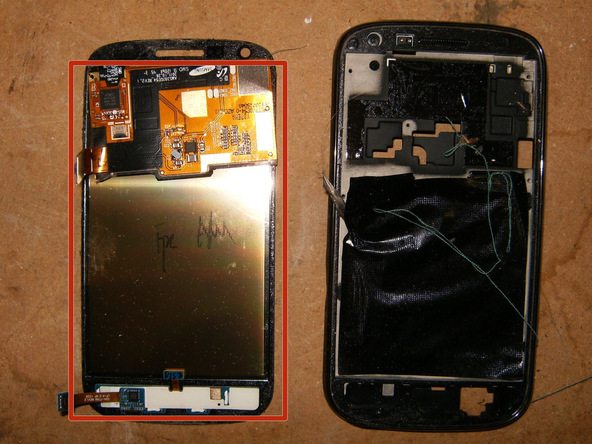
– Grab a flat tool and let’s have some fun prying those plastic cases apart!
Step 4
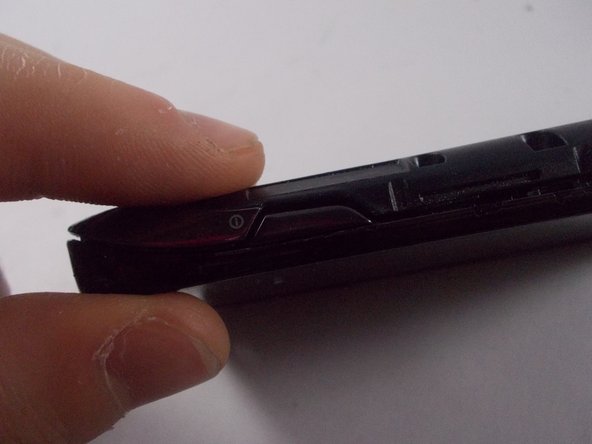
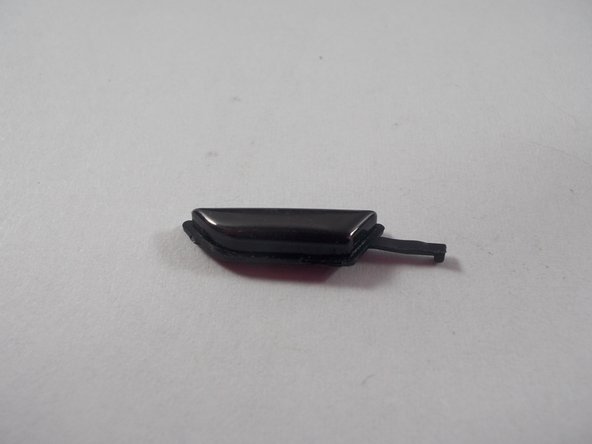

– Spot the spot where that sneaky button used to be.
– Pop in the new button and snap the plastic house back together. It’s like playing with Legos, but way cooler!
– Boom! The button’s back in action. If you need to backtrack, just reverse the moves we just did.
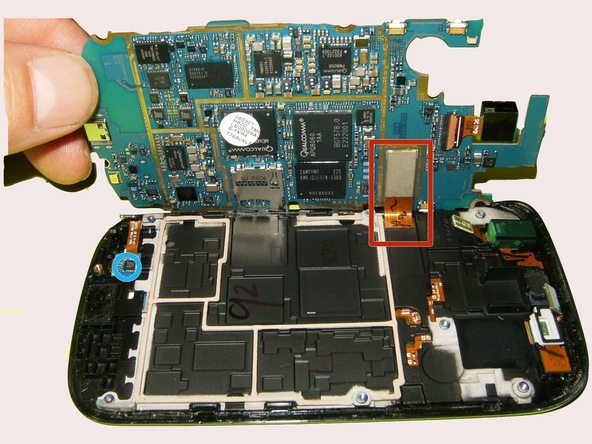
Step 5

Watch those ribbon cables like a hawk! A single bend or crimp could totally cramp your repair style. Keep it smooth, keep it cool.
– Carefully slide out those two ribbon cables like a pro.
– Hook up your shiny new screen to the motherboard, just like the old one was—snap and go!