Samsung Galaxy S One Display Replacement Tutorial: Step-by-Step Guide
Duration: 45 minutes
Steps: 7 Steps
Heads up, tech whiz! Make sure you’ve got your tools ready and you’re in a groovy workspace. It’s time to bring some life back to your gadget. If you hit a snag, don’t sweat it—help is just a click away at schedule a repair.


Step 2


– Unscrew the eight Phillips head screws that are partying around the edges.
– No need to sort these identical 4mm party crashers, they all play nice together!
– Grab a plastic opening tool and gently persuade the frame to take a break from the phone.
Step 3


– Keep on cruising around the frame, you’re doing great!
– Feel free to switch it up with different sizes of plastic opening tools if you need a change.
– Now, gently part ways with the frame.
Step 4
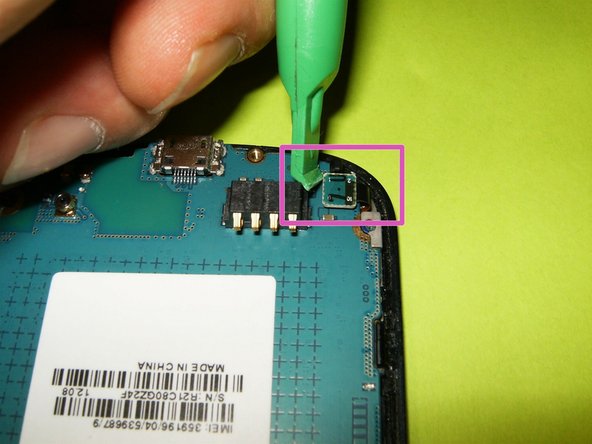

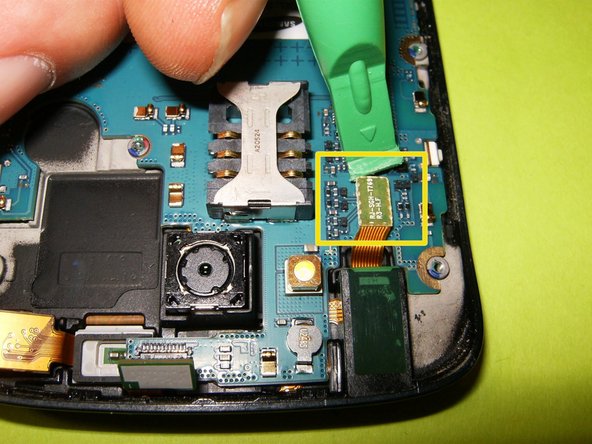
– Unplug the front camera flex with style!
– Give the audio jack flex a gentle goodbye tug.
– Wave farewell to the control button flex.
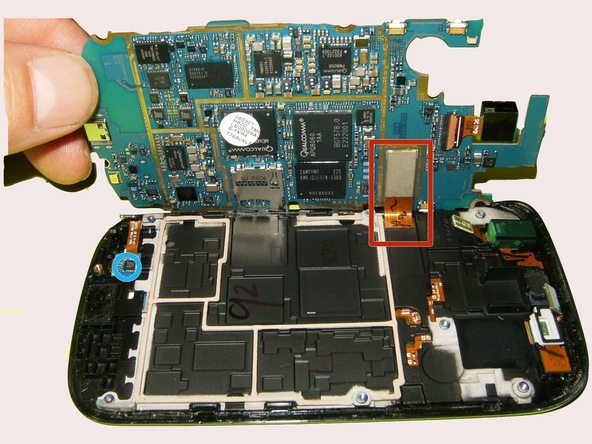
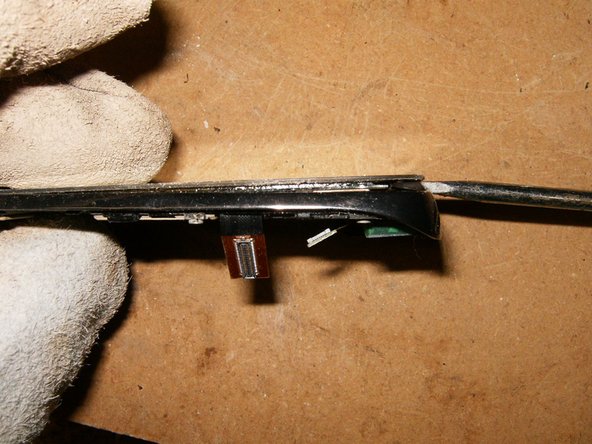
Step 5

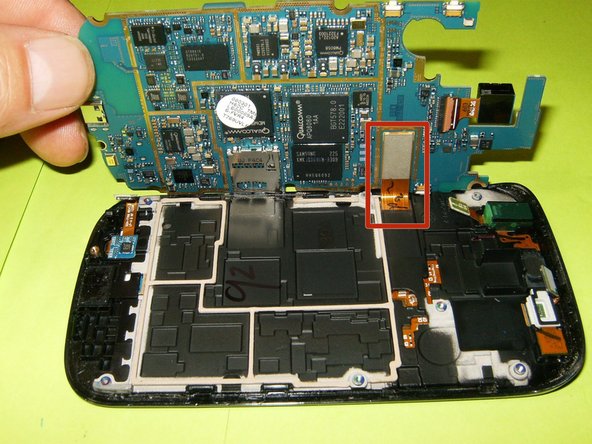
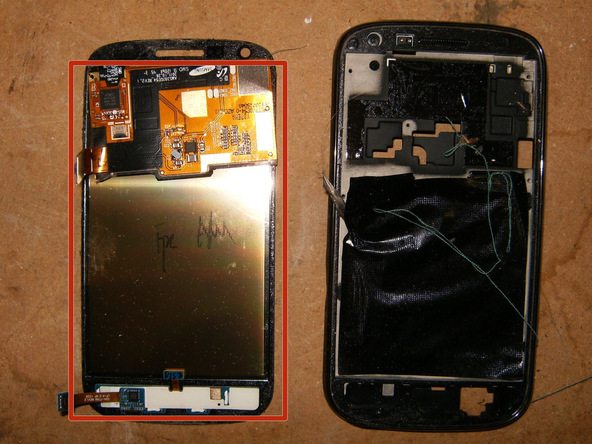
– Carefully hoist the logic board out of the frame,
– then swivel it to the side. Time to disconnect the LCD flex!
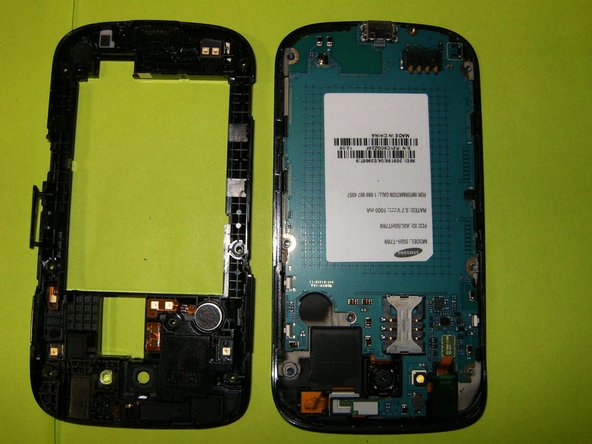
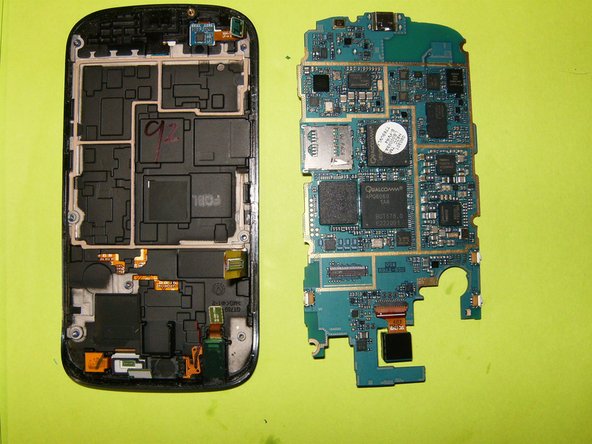
– Alright, the logic board is all clear to be taken out. Awesome job!
Step 6
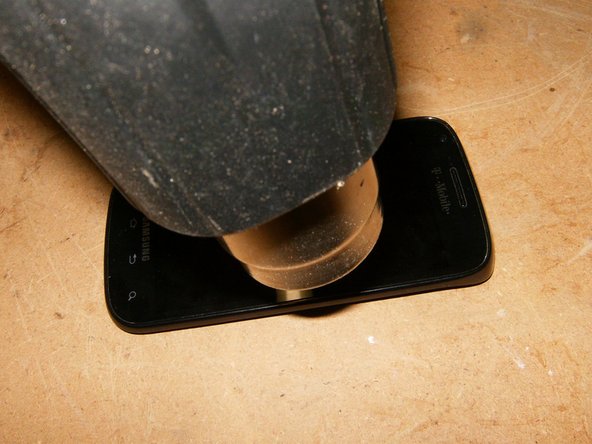

– Your screen is stuck like last year’s gum under the desk! Time to warm things up with a heat gun set to low, or if you’re in a pinch, a good ol’ hairdryer will do the trick to melt that stubborn glue.
– Wave the heat like you’re fanning yourself on a hot day—around the edges of the display. Keep it moving to avoid cooking any one spot too long!
– Once the glue feels like marshmallow fluff, slide in a small spatula or screwdriver to gently coax the display away from the frame. It’s like finding the edge of a page in a sticky note pad!
Step 7

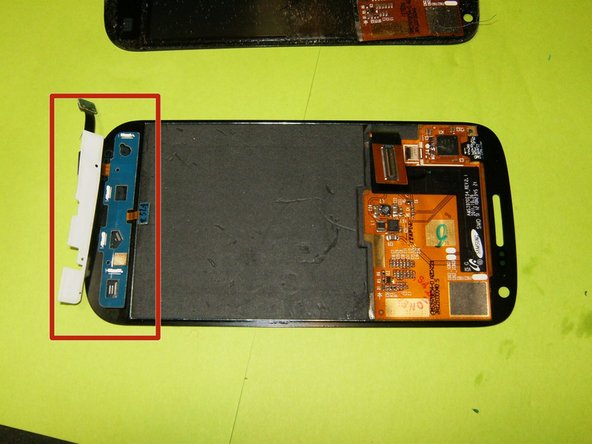
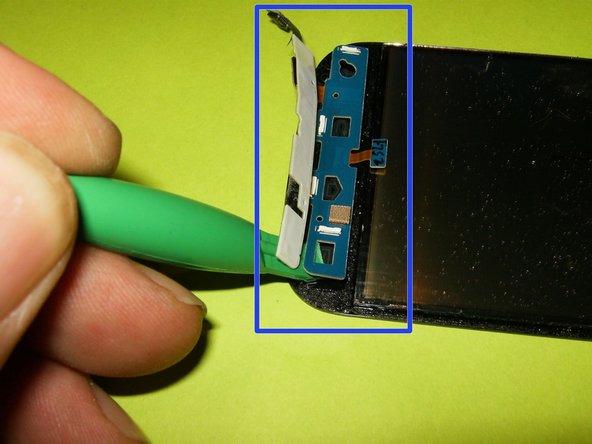
– The LCD has successfully parted ways with the frame!
– Careful there! The PCB for the buttons is cozying up to the bottom of the LCD. Ease it off gently with an opening tool—it’s your best buddy here.
– No need for new adhesive! The button PCB should stick to the new LCD just fine with the existing sticky stuff.