Samsung Galaxy S One Motherboard Replacement Tutorial
Duration: 45 minutes
Steps: 6 Steps
Hey there, awesome DIYer! Let’s dive into this repair with some good vibes. Remember, if things get a bit tricky, you can always schedule a repair with the pros!

Step 3

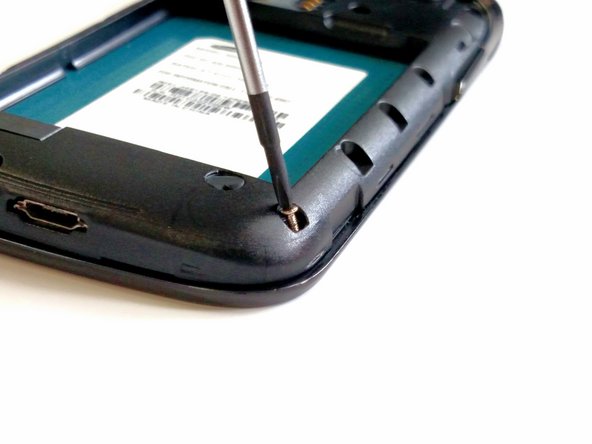
All eight screws are buddies in size! They’re totally identical, so no favorites here!
– Grab your trusty Phillips head screwdriver, size 00, and let’s get to work!
– Twist out those 4mm screws from the frame. Feel free to unscrew them in any order you like.
Step 4

You might have to channel a bit of superhero strength to pop the frame off the device!
– Grab the blue plastic opening tool to pop off the frame from your gadget.
– Slide the tool around the edges until the frame lifts away completely.
Step 5

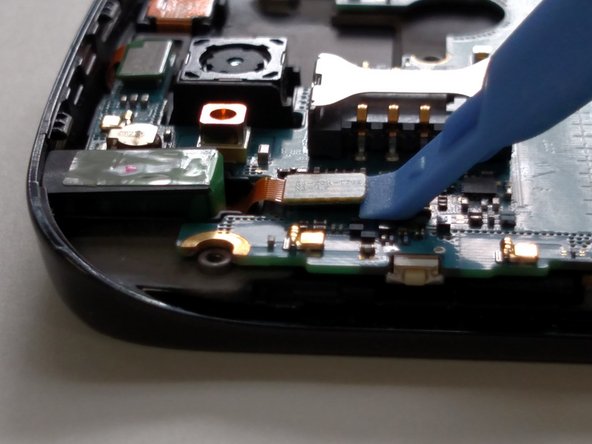
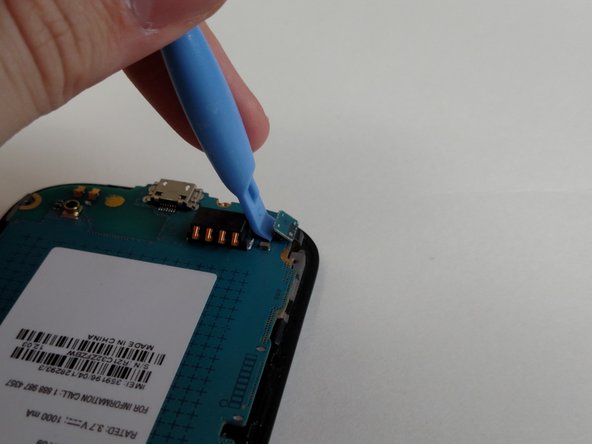
The motherboard is snug as a bug, held in place by 4 ribbon cable connectors. Check it out, the first 3 are all hanging out on the same side!
– Pop open the first three ribbon cable connectors using the peppy blue plastic opening tool.
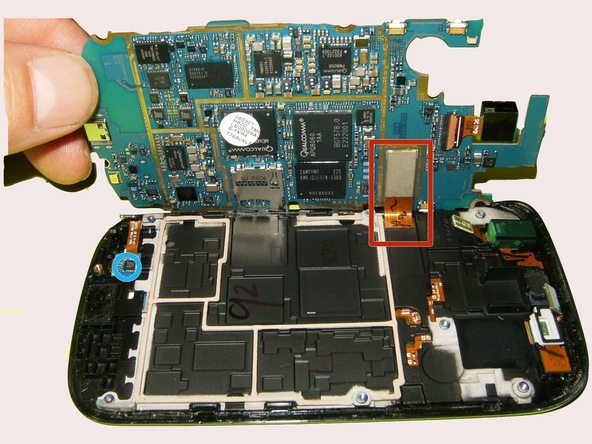
Step 6

Flip the motherboard around to uncover the final ribbon cable connector. Almost there, champ!
– Pop off that last ribbon cable connector using the nifty blue plastic opening tool.
– Gently lift the motherboard away from the device. Freedom!