Samsung Galaxy S One Power Button Replacement Guide: DIY Step-by-Step Tutorial
Duration: 45 minutes
Steps: 4 Steps
Hey there, awesome DIY enthusiast! Ready to give your device a new lease on life? Let’s dive into this step with all the gusto of a kid in a candy store. Remember, if you need a hand, you can always schedule a repair. Let’s get this party started and bring your gadget back to its glory days!
Step 1


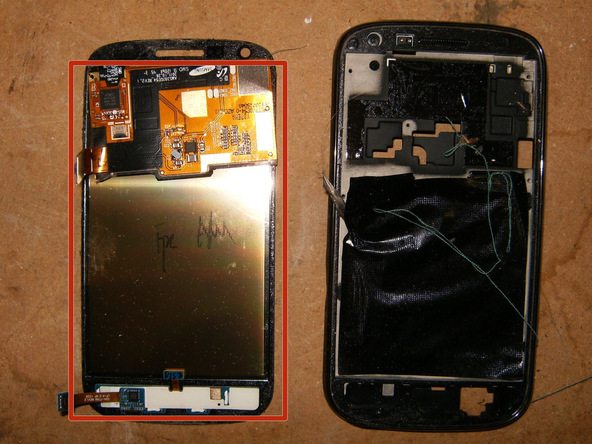
– Kick things off by popping off the back plastic cover. Just give it a little nudge at the notch on the left side and lift away!
Step 2

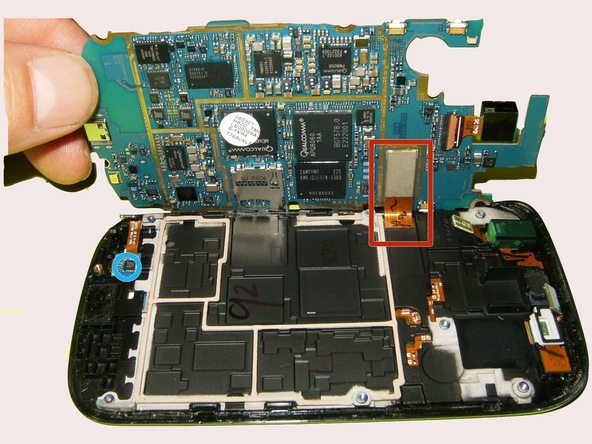
– Pop out that battery and grab your trusty Phillips-head screwdriver to whisk away those marked screws.
Step 3

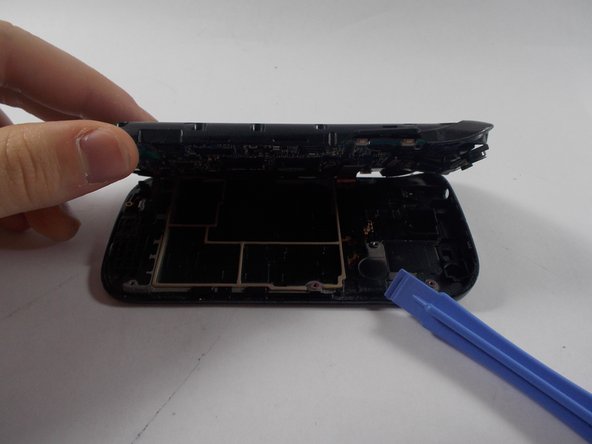
Those latches are super tough—don’t hesitate to show them who’s boss!
– Grab a flat tool and let’s pop those plastic cases apart like a pro!
Step 4
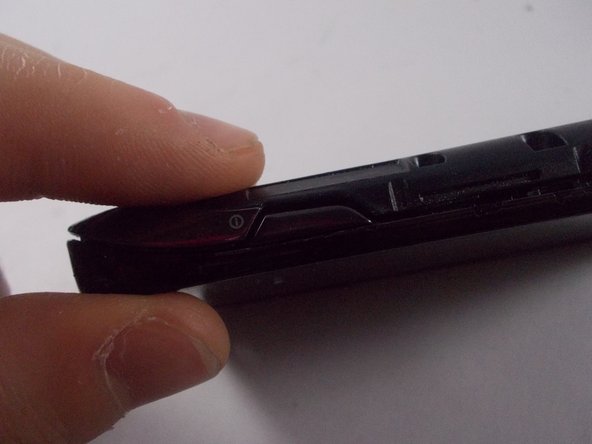
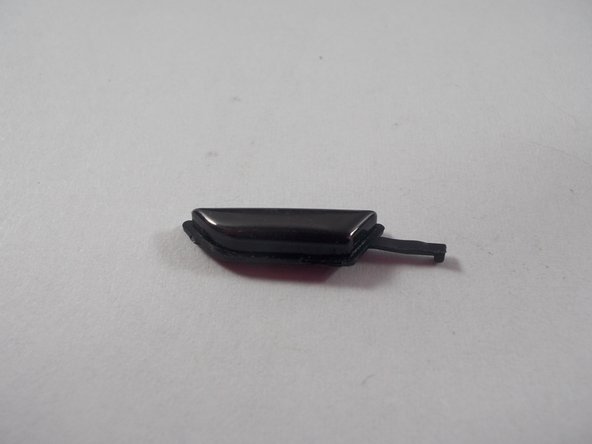

– Spot the gap where that pesky button used to be.
– Pop in the new button and snap the plastic cover back into place like a pro.
– Voilà! The button is ready to rock and roll. Follow the previous steps in reverse to put your phone back together.