Samsung Galaxy S10 Battery Replacement
Duration: 45 minutes
Steps: 15 Steps
Hey there! Just a friendly reminder to keep your battery below 25% before diving into the disassembly of your phone. Safety first, right?
Ready to tackle the battery swap on your Samsung Galaxy S10? Let’s dive in! First off, this battery is stuck in there pretty good with some strong adhesive. But don’t sweat it! Grab some adhesive remover or high-concentration (over 90%) isopropyl alcohol to make things a bit breezier. Make sure you have some replacement adhesive or Tesa tape handy to stick that battery and back cover back on when you're done. If your battery looks like it's been to a balloon party, take care and skip the heat—it’s not needed. Oh, and for your safety, drain your battery below 25% before you start taking things apart. It’s a smart way to prevent any thermal surprises if you accidentally poke the battery. Some steps might show the lower midframe or loudspeaker assembly taken out, but don’t worry—you can keep that in place for this battery adventure!
Step 1


Feel free to use a hair dryer, heat gun, or hot plate to warm things up a bit. Just remember, we don't want to turn your phone into a hot mess—both the display and internal battery can get a bit cranky with too much heat. Keep it cool and smooth!
- First things first, unplug your phone and power it down. Safety first, right?
- Grab your trusty iOpener, heat it up, and give some love to the right edge of the back cover for about two minutes.
- While you're waiting, check out the picture of the removed back cover and keep an eye on where the adhesive is hanging out.
Tools Used

Step 2


- Set the warmed-up right edge of your phone on something about 0.5 inches (13 mm) thick. This will give your phone a nice angle for the opening tool to slip in.
- Support the left edge of the phone with your fingers to keep it steady. Now, give that suction cup a good tug with some solid pressure.
- Gently press the edge of your opening tool into the crack between the back cover and the frame. You're doing great!
- With the tool snugly in the seam, slide it back and forth to help loosen that back cover. Keep it smooth and steady!
Step 3


Be gentle with the pick—too much force could turn your back cover glass into a puzzle piece!
Because the fit is snug and the adhesive is strong, you might need to give it a few tries to wiggle that opening pick in there. Keep at it!
- Warm up your iOpener and stick it on the same edge of your phone for a cool two minutes. Trust us, it helps!
- Get a suction cup and place it on the back of the phone, ideally close to the center of the right edge where the adhesive is thinnest. This is where the magic happens!
- Now, give that suction cup a good, steady pull to create a little gap between the back cover and the frame. You got this!
- Once you've got a gap, slide the tip of your opening pick into it. Easy peasy!
- If you're struggling to make the gap, it might mean the adhesive is still feeling a bit too cozy. Make sure you’ve heated that edge until it’s just shy of too hot to touch, and give it another go!
- For an extra boost, you can drop a few drops of high concentration (over 90%) isopropyl alcohol into the seam to help loosen that stubborn adhesive.
Tools Used
Step 4


Hold off on trying to slice through the adhesive at the corners before warming things up. Go for the heat first, or you might just end up with a cracked back cover.
- Gently glide the opening pick along the phone's edge, cutting through that adhesive like a pro.
- Pop a pick into the seam to keep the adhesive from sealing up again on you.
Step 5


If the cutting feels tough, don't worry! Just re-apply some heat to the edge and you'll be back on track in no time.
- Warm up your iOpener and give the bottom edge of your phone a cozy two-minute hug.
- Gently slide an opening pick into the right edge, right by the bottom corner. You've got this!
- Carefully maneuver that pick around the corner and keep slicing along the bottom edge, wrapping around to the bottom left corner like a pro.
- Pop an opening pick into the seam to keep that pesky adhesive from getting too clingy.
Tools Used
Step 6


When you're trimming those corners, make sure to give them a good heat-up first!
- Keep that heat going and glide your tool along the remaining edges of your phone. You've got this!
Step 7


Feel free to pop the back cover back on without swapping out the adhesive if you don't want to! Just make sure to clear away any big adhesive blobs that could keep the cover from lying flat. Once you've got it on, give it a little warmth and press down to make sure it's nice and snug!
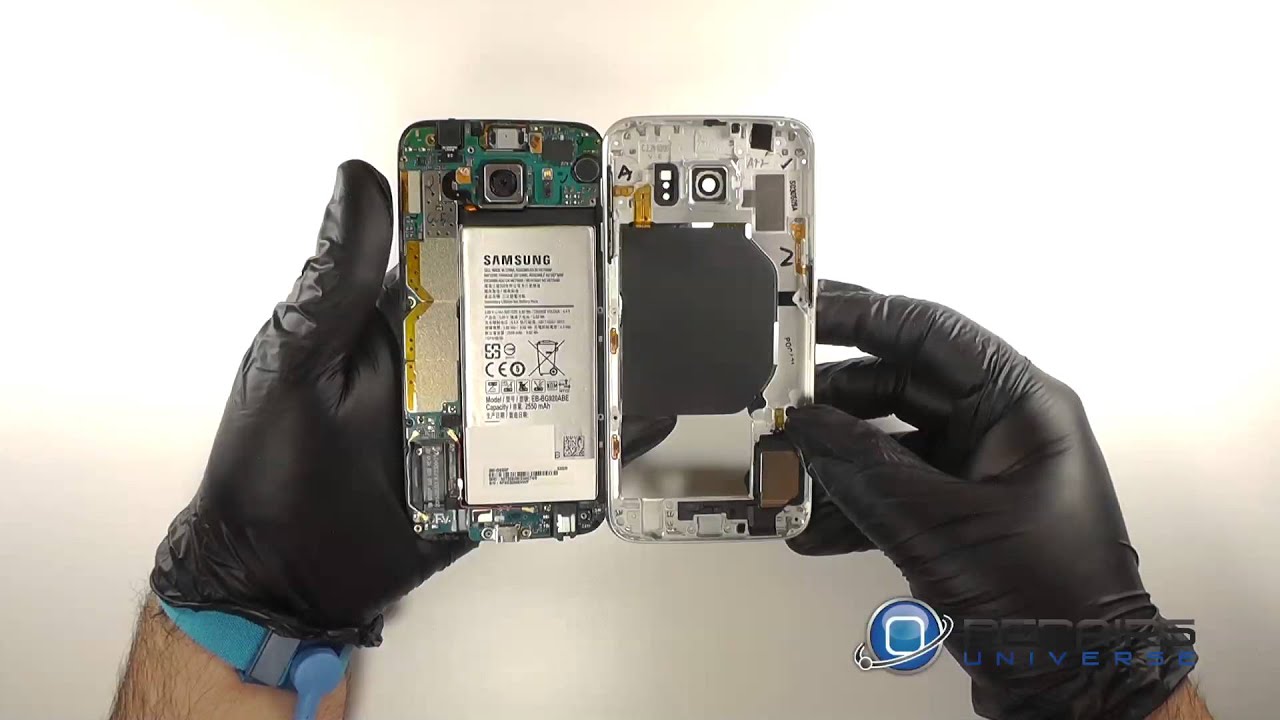
- Once you've cut around the phone, grab an opening pick and gently twist it into one of the edges to start loosening the back cover from the frame. Take your time and work around the edges. Carefully lift the back cover, using opening picks to slice through any stubborn adhesive along the way. When removing the back, be gentle to avoid any damage. Before sealing everything back up, it's a good idea to power on your phone and give all functions a quick test—just to make sure everything’s working smoothly. Remember to fully power down before continuing. When you're ready to put it back together, follow this guide to reinstall the back cover, transfer and install the camera bezel, and reapply the adhesive. If you need help at any point, you can always schedule a repair.
Step 8

- Let's get started by unscrewing those eight 4 mm Phillips screws that are holding the top midframe snugly in place. You've got this!
Step 9


- Alright, folks! The midframe is still hanging on tight with a few plastic clips around the edge. No worries, we've got this!
- Grab your trusty spudger and gently slide the point into the notch on the right edge of the midframe, right by the volume up button.
- Now, give it a little pry to help loosen the midframe from the phone. You're doing great!
Tools Used

Step 10


The top midframe might just decide to cling to the lower midframe at its bottom right corner. If it does, just take your time and gently peel it away.
- Gently coax the midframe away from the top corners and lift it off your phone. You're doing great!
- Ready to give that top midframe a new home? Let's do this:
- First, bring the top edge of the midframe in line with your phone and carefully lay it down in place.
- Now, use your fingers to press along the edges of the midframe. Listen for that satisfying snap as the clips lock back into position. Make sure the edges are flush against the phone. You've got this!
Step 11


Be gentle when disconnecting connectors, as the tiny surface-mounted components around the socket can be easily dislodged. Let's take it one step at a time and get that repair done with care!
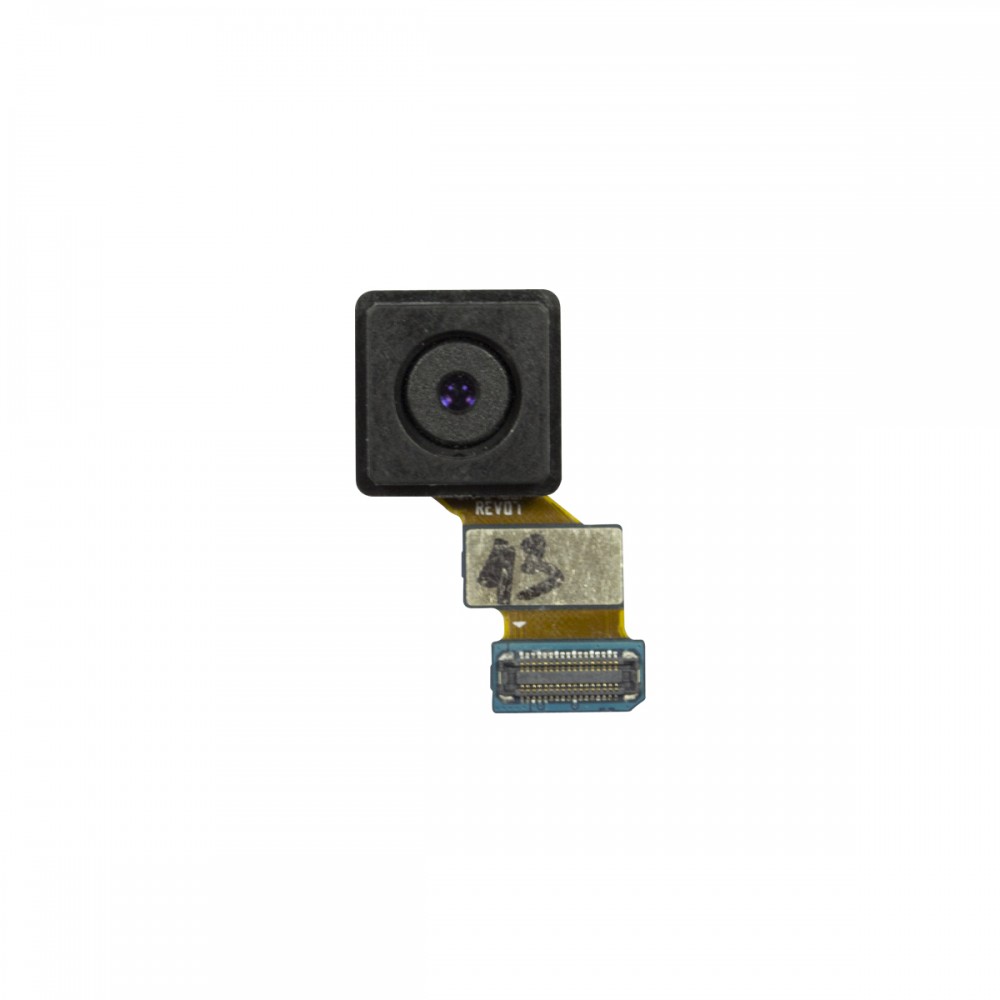
- Slide the flat end of your trusty spudger right under the battery connector, which is chilling out just below the rear-facing camera on the motherboard.
- Give a gentle upward pry to disconnect that connector from its cozy socket.
- Carefully nudge the battery's flex cable away from the motherboard socket to avoid any accidental run-ins.
Tools Used
Step 12


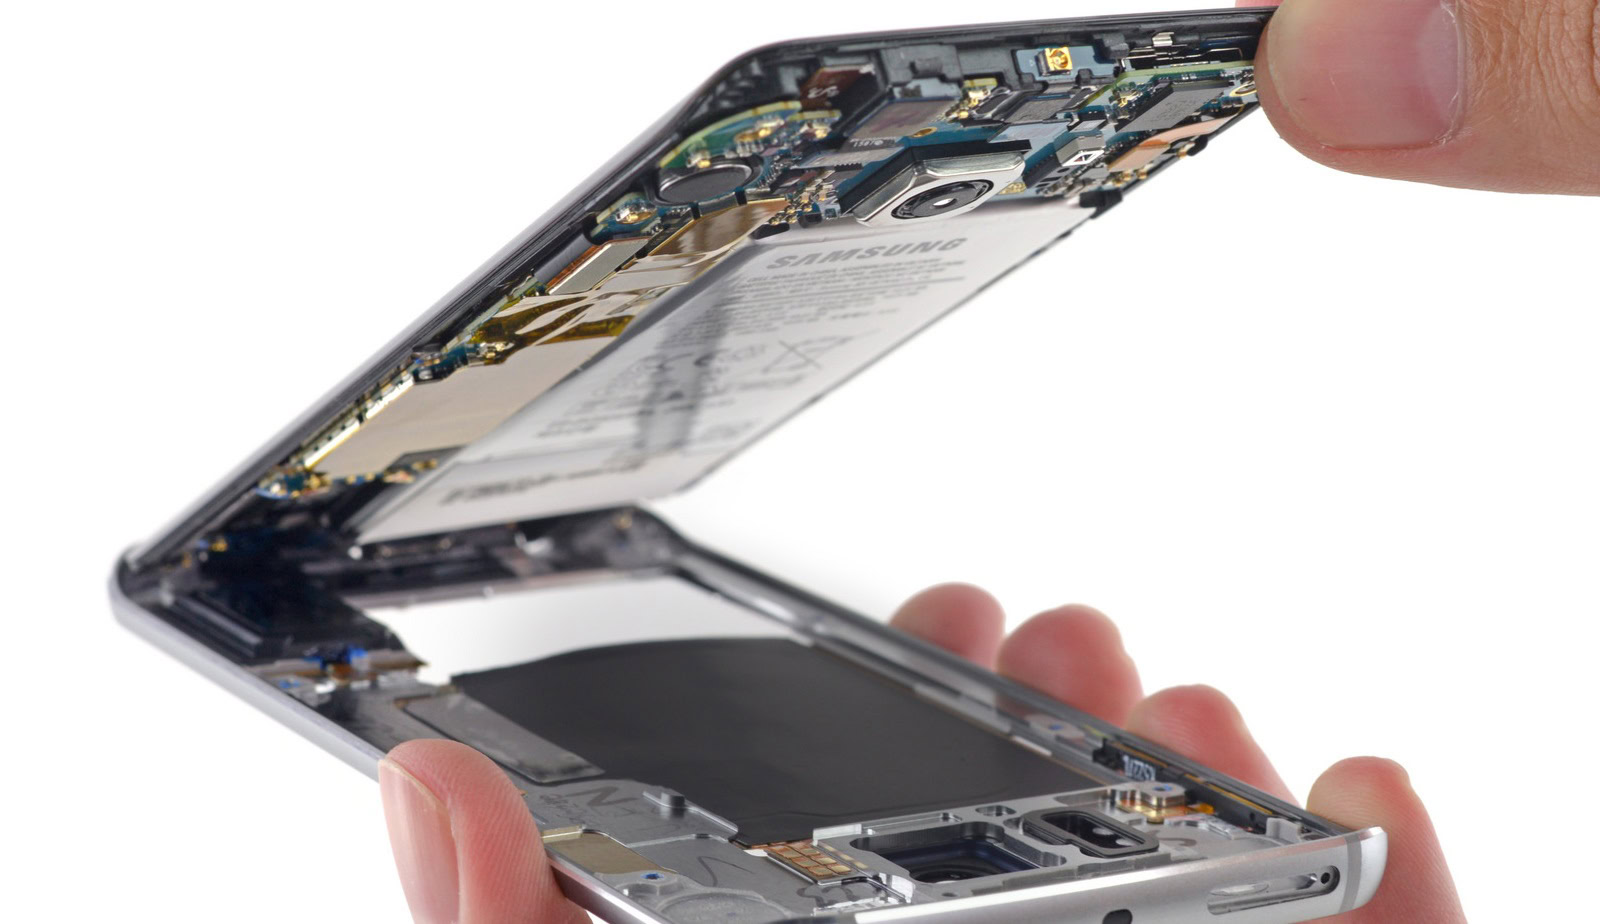
- The battery is really stuck in there! Check out the highlighted areas beneath it:
- The frame, where that battery is held tight with some serious sticky stuff.
- A little cutout in the frame that reveals the delicate display sitting just below. Tread carefully when you're prying in this spot, or you might end up giving that display a surprise!
Step 13


Take it easy with the liquid! Just a few drops at a time, please. Too much can sneak into the frame cutout under the battery and cause some serious display drama.
No direct heating on the battery, okay? Only warm up the front side of the display where the battery is hiding underneath. We want to keep things safe and avoid any fiery situations!
Using adhesive remover or a potent mix of isopropyl alcohol (over 90%) will really lighten the load when it comes to battery removal. It's like giving your battery a little vacation before it leaves!
- Alternatively, warm up that iOpener and give it a cozy hug on the right side of the phone's front for about two minutes, or until the battery feels nice and toasty from the heat transfer.
- If you’re going the adhesive remover route, make sure to kick things off with these prep steps first.
- Drop a couple of drops of adhesive remover or isopropyl alcohol in each corner of the battery. Just a tiny splash!
- Take a breather and let the liquid work its magic for a minute, softening that stubborn adhesive.
Tools Used
Step 14


If the battery refuses to move, it means the adhesive isn't quite loosened enough yet. Give it another go, and try a bit more patience!
- Slide the corner of your opening card into the gap between the battery and the bottom midframe like a pro!
- With a steady hand, pry that battery out of its cozy little recess. Firm and consistent pressure is your best friend here.
- If you're feeling adventurous, grab an opening pick, an opening tool, or a spudger to help coax the battery out. Just remember, no metal tools allowed!
- If things aren't budging, don’t worry! Just repeat that adhesive remover or isopropyl alcohol application and give it another go.
- And hey, if the going gets tough, try applying a bit more heat with your iOpener to soften things up.
Step 15


Hey there! Once you take that battery out, it's a no-go to put it back in. Safety first, my friend! Grab a shiny new battery instead.
- Ready to put your device back together? Just retrace your steps, and you'll be golden!
- To get the best out of that snazzy new battery, give it a little calibration love after you're done.
- Got some old tech? Make sure to drop it off at an R2 or e-Stewards certified recycler.
- If things didn't go as smoothly as planned, don't fret! Our Answers community is here to help you troubleshoot.
- Remember, if you need a hand, you can always schedule a repair.