Samsung Galaxy S20 Android Recovery Menu Guide
Duration: 45 minutes
Steps: 3 Steps
Let’s get started on this repair adventure! First, gather all the tools and parts you’ll need. Don’t worry, if you need help, you can always schedule a repair. Now, let’s dive in and get that device working like new again. Keep your cool, take your time, and remember—patience is key. You got this!
Step 1


– Hey there! Want to power down your device? Just give those volume down and power buttons a good squeeze to bring up the Power off menu.
– Let’s turn off the device now.
Step 2


– Plug your device into the PC and let the magic begin!
– Just a quick heads up: Connecting your device to a PC or Mac is a must only if you’re planning to update via ADB or transfer some files onto it.
Step 3

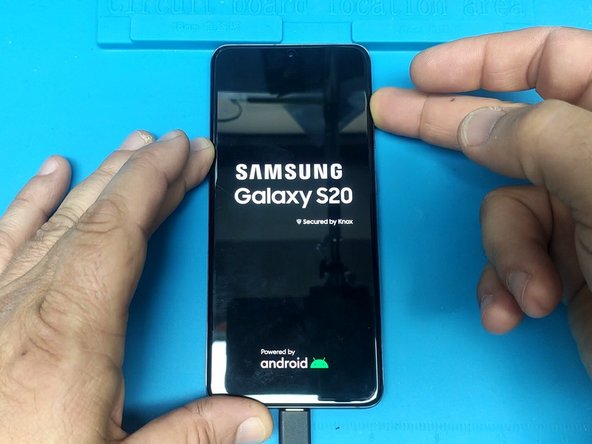

– Get ready to bring some magic into your device repair journey by pressing and holding the Volume up and power on buttons.
– When the Samsung logo makes its grand entrance, gracefully release only the Power button.
– To dance through the Android Recovery menu, let the Volume Up/Down buttons be your partners in navigation, while the Power On button takes center stage for selection.