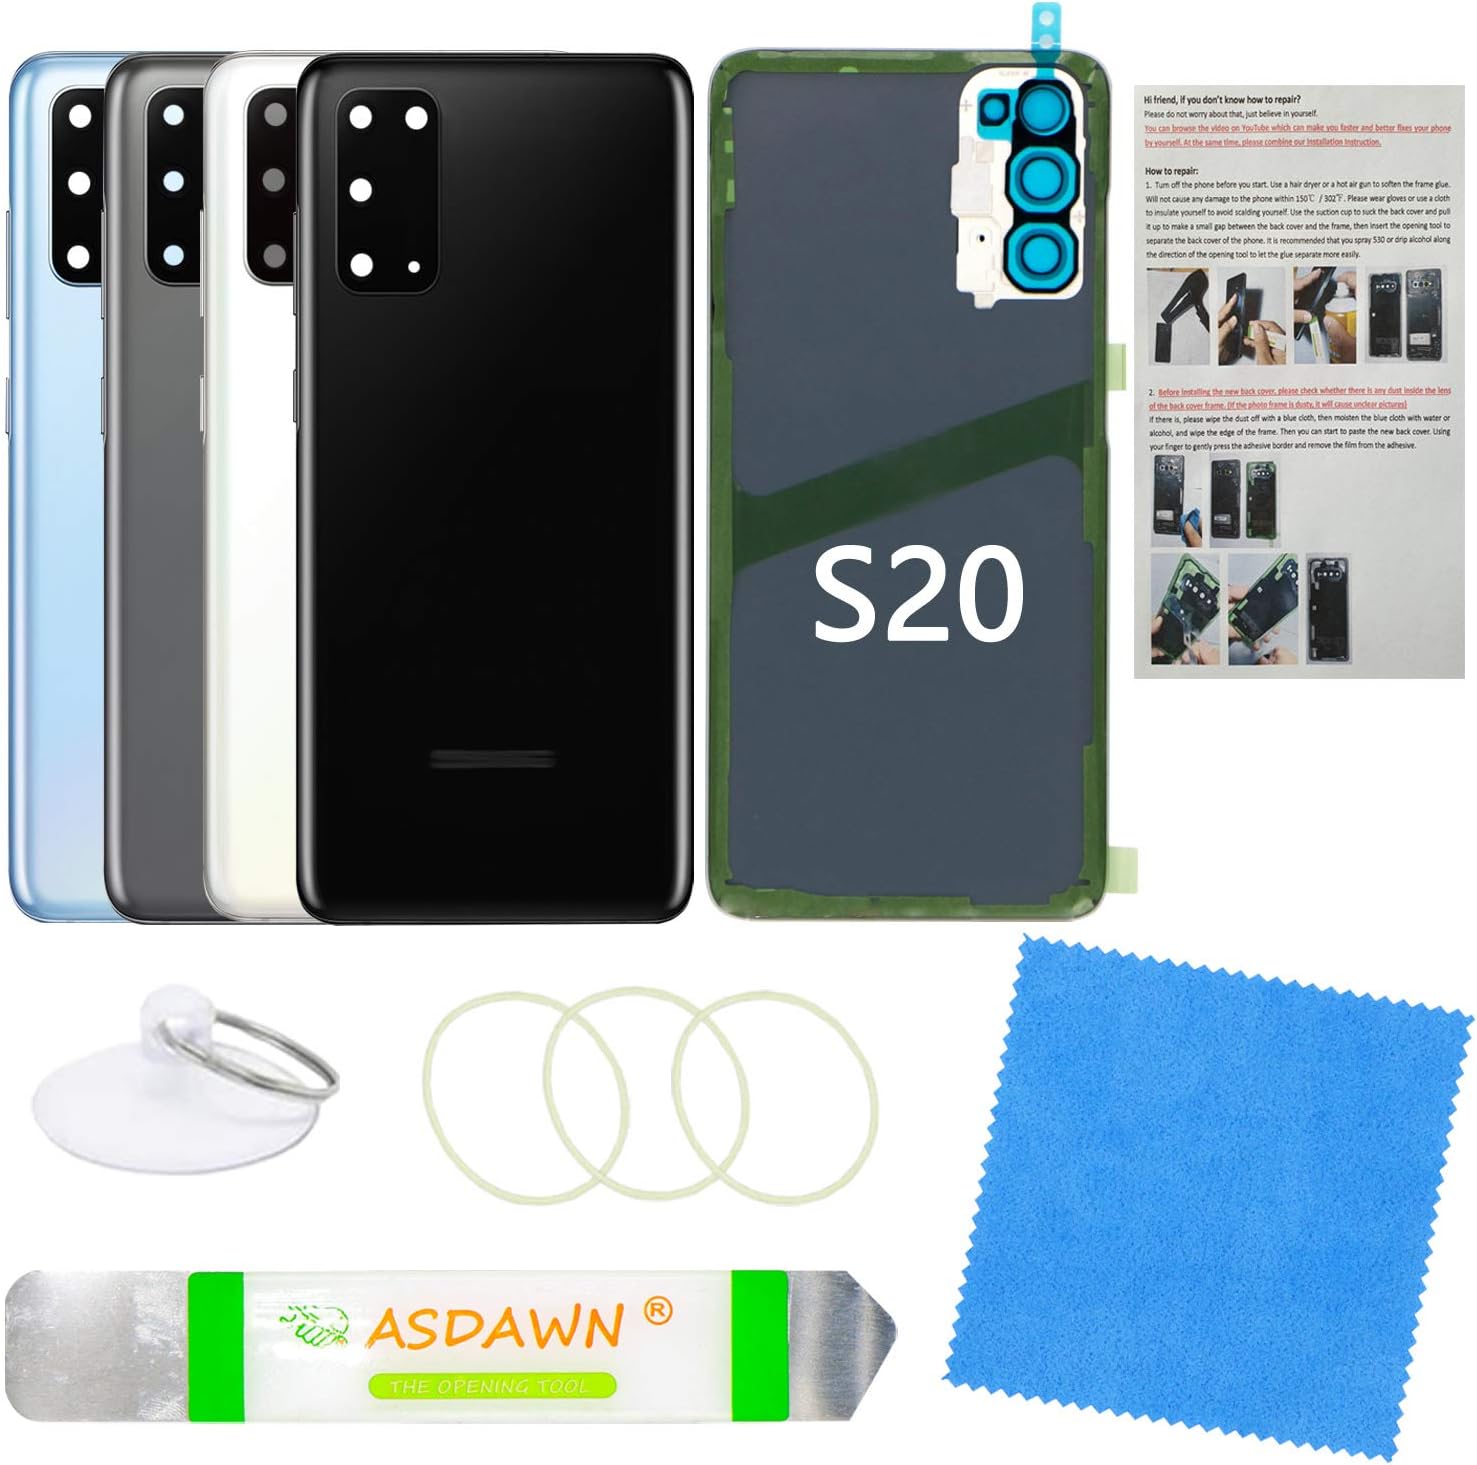
Samsung Galaxy S20 Back Cover Replacement Guide
Duration: 45 minutes
Steps: 13 Steps
Get ready to dive into your Samsung Galaxy S20! This guide is your ticket to popping off that glass back cover, whether you’re swapping it out or just want to peek inside. Just a heads up: keeping your device’s water resistance intact after the fix depends on your adhesive skills, so put on your best repair hat! Remember, your IP (Ingress Protection) rating might take a little vacation after this adventure. If you need help, you can always schedule a repair.
Step 1

Before diving in, make sure to unplug and switch off your phone. Safety first, pals!
Feel free to use a hair dryer, heat gun, or hot plate if you need a little extra warmth. Just keep an eye on things and avoid overheating the phone—both the display and internal battery can be a bit sensitive to heat. If you need help, you can always schedule a repair.
– Warm up your iOpener and press it gently against the bottom edge of the back cover for a cozy two minutes.
Tools Used

Step 2


Be gentle with that pick! Too much pressure and you might just crack that beautiful back cover glass.
Got a nasty crack in your display? No worries! Slapping on a layer of clear packing tape might just do the trick to help that suction cup stick. If you’re feeling adventurous, super strong tape can also step in for the suction cup. And if things get really sticky, a little superglue on the suction cup could save the day!
Remember, things can be a bit snug, so you might need to reheat with the iOpener and give that suction cup another go a couple of times to get it just right.
If you’re struggling to create a gap, just add a little more heat at the edge and give it another shot. You’ve got this!
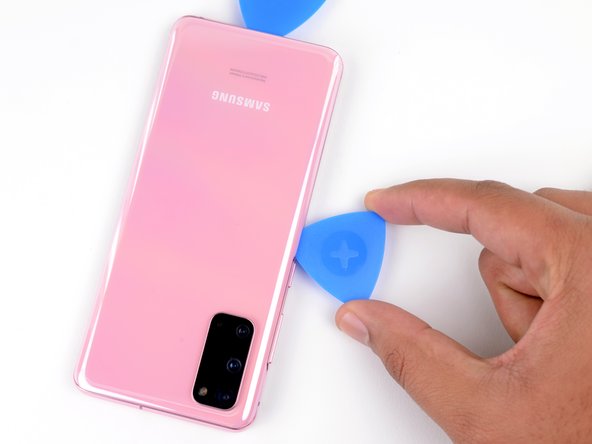
– Grab a suction cup and gently stick it to the back of the phone, aiming for the sweet spot near the center of the bottom edge.
– Now, give that suction cup a good, steady pull to work some magic and open up a gap between the back cover and the frame.
– Slip the tip of an opening pick into that gap and get ready to dive into the repair!
Tools Used
Step 3


Avoid trying to slice the adhesive around the curved corners of your phone’s glass. It could lead to a cracked panel, and we definitely don’t want that! If you need help, you can always schedule a repair.
– Gently glide the pick back and forth along the bottom edge to cut through that pesky adhesive.
– Keep your opening pick snug in the seam to stop the adhesive from sticking back together.
Step 4

– Warm up that iOpener and give the left edge of the back cover a cozy two-minute hug with it!
Tools Used
Step 5


Easy does it with that pick! Too much pressure could lead to a cracked back cover glass, and we don’t want that. If you need help, you can always schedule a repair.
Just a heads up, you might need to give this a few tries because of those snug tolerances!
Since the glass on this side is curved, you won’t be able to slide the pick in too deep. But don’t worry! If the tip is just under the glass’s edge, you’re good to go!
Having a bit of trouble making that gap? No sweat! Just add a little more heat to the edge and give it another shot.
– Grab a suction cup and stick it to the back of your phone, aiming for the center of the left edge to get a good grip.
– Give that suction cup a firm, steady pull to create a little gap between the back cover and the frame – you got this!
– Now, take an opening pick and gently slide it into that gap you’ve created.
– Want to make things even easier? Consider adding a few drops of high-concentration (over 90%) isopropyl alcohol into the seam to help loosen the adhesive.
Step 6


– Once you slide that handy pick under the glass’s edge, give it a little tilt downward and push it in a bit more to completely free the back cover’s adhesive.
Step 7


Be gentle when gliding over the ridge around the volume and power buttons—those glass cutouts can be a little fragile and might crack if you’re not careful.
– Gently slide your pick along the left edge of the phone to break free the back cover’s adhesive. Easy peasy!
– Keep that pick tucked under the left edge of the glass near the top left corner. This little trick will help stop the adhesive from sealing back up. You’re doing great!
Step 8

You can use a hair dryer, heat gun, or hot plate to help out, but keep an eye on the heat! Overheating can be a real bummer for your phone’s display and battery, which are both prone to heat damage. If you need help, you can always schedule a repair.
– Warm up your iOpener and gently press it against the right edge of the back cover for a cozy two minutes.
Tools Used
Step 9


Just like the last edge, give that opening pick a little tilt downwards to slide it right under the back cover like a pro.
– Grab a suction cup and stick it to the back of your phone, aiming for the center of the right edge.
– Give that suction cup a good pull! Use steady pressure to create a little gap between the back cover and the frame.
– Now, take your opening pick and gently slide it into that gap you just made.
Step 10


As you work your magic, the back cover might just let go of one or both of those other picks, and they could take a little tumble. If that happens, no worries! Just set those picks aside because the bottom edge isn’t going to reseal from here on out. Remember, if you need help, you can always schedule a repair.
– Gently glide your pick along the right edge of the phone to break free that stubborn back cover adhesive.
– Keep your pick tucked under the right edge of the glass near the top to stop that adhesive from sealing up again.
Step 11

– Warm up that iOpener and give the top edge of the back cover a cozy two-minute hug!
Tools Used
Step 12


The glass around the corners of your back cover is a bit curved and can be a bit fragile. So, take it easy during this step to keep your back cover safe and sound.
If you’re having a tough time with the slicing, just take a breather and warm things up a bit before you dive back in.
– Gently glide that pick from the right edge of your device, making your way around the top right corner like a pro.
– Keep on slicing along the top edge until you reach the top left corner, fully freeing the back cover from its adhesive embrace.
Step 13


– Gently lift the back cover. Use your trusty opening picks to cut through any stubborn adhesive still holding on.
– Carefully remove the back cover.
– As you put things back together:
– Now’s a perfect moment to power your phone on and test all the functions before sealing it up tight. Just make sure to shut it down completely before you dive back in.
– Use tweezers or your fingers to get rid of any adhesive bits. If things get sticky, a little heat can work wonders to help separate it.
– If you’ve got custom-cut adhesives, make sure to follow this handy guide.
– Using double-sided tape? Check out this guide for tips.
Tools Used


