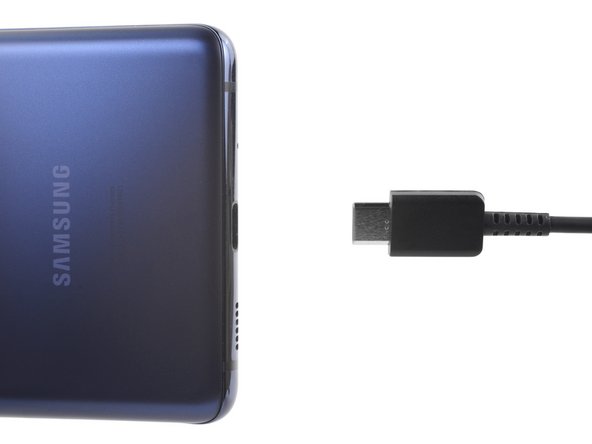
Samsung Galaxy S20 FE 5G Earpiece Speaker Replacement
Duration: 45 minutes
Steps: 21 Steps
connected to the motherboard cover
Wanna give your Samsung Galaxy S20 FE 5G some serious audio love? Tired of that broken earpiece speaker making you feel like you’re in a noisy crowd all day? Here’s a step-by-step guide to save your ears and make your calls sound crystal clear again! But hey, if you’re not in the mood for an DIY adventure, you can always schedule a repair and let the experts handle it. Don’t worry, we’ll be here to cheer you on either way!
Step 1

Hey there! Before diving in, make sure your battery is below 25%. A fully charged lithium-ion battery can be a bit of a wild card if it gets punctured accidentally. Stay safe and have fun with your repair!
– First things first, power down your phone and disconnect any cables. Let’s keep things safe and sound while we dive into this repair adventure!
Step 2

– Warm up an iOpener and gently apply it to the lower edge of the back cover for a couple of minutes.
Tools Used

Step 3


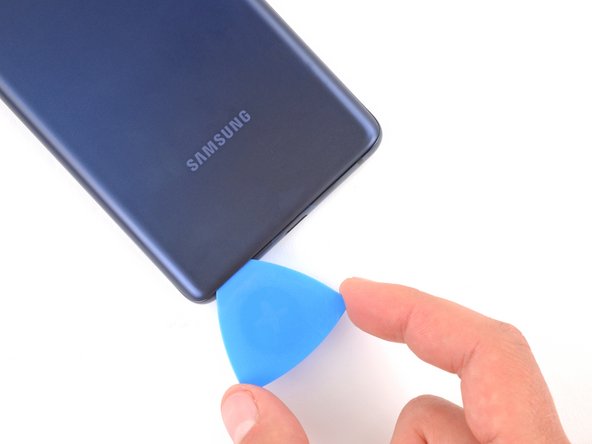
– Stick a cool suction cup right in the middle of the bottom edge of the back cover. Get it as close to the edge as you can.
– Put some muscle into pulling up on the suction handle. You want a clean gap between the cover and frame.
– Slide in an opening pick right into that gap.
Tools Used

Step 4


– Gently glide the opening pick along the bottom edge to break through the adhesive holding the back cover in place.
– Keep the opening pick tucked into the bottom right corner to stop that adhesive from sealing back up.
Step 5

– To kick things off, gently warm up the iOpener by applying it to the right edge of the back cover for a cool two minutes. Time to get that back cover loosened up and ready for action!
Tools Used
Step 6


– Gently slide the trusty opening pick around the bottom right corner with a confident flair, all the way up the right edge to expertly slice through the adhesive.
– Don’t forget to leave the opening pick inserted snugly in the top right corner for added precision.
Step 7

– Give that top edge of the back cover a cozy two-minute session with a heated iOpener.
Tools Used
Step 8


– Gently glide your opening pick along the top right corner and across the top edge to break that adhesive free. You’ve got this!
– Keep the pick snugly tucked in the top left corner. It’s your trusty sidekick now!
Step 9

– Warm up your iOpener and give it a cozy two-minute hug on the left edge of the back cover.
Tools Used
Step 10


– Gently glide the opening pick around the top left corner and smoothly down the left edge to cut through the remaining adhesive like a pro.
Step 11


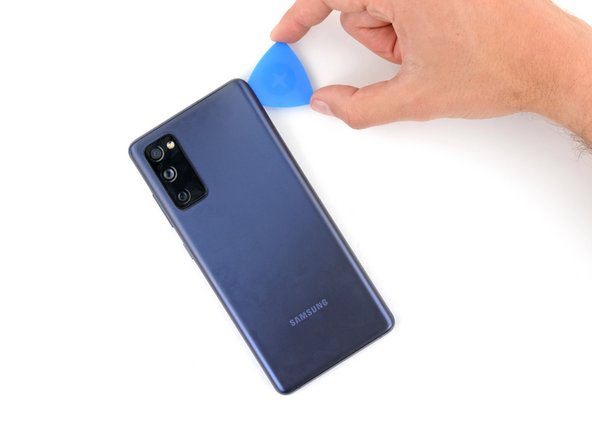
– Pop off the back cover with a little finesse!
Step 12


– Time to give your device a little electricalreetings! Power on and rock out with all the features until we hit the off switch – don’t let it cool you off. And hey, if your hands are full or tired, no worries, fam! If you need help, you can always schedule a repair.
Step 13

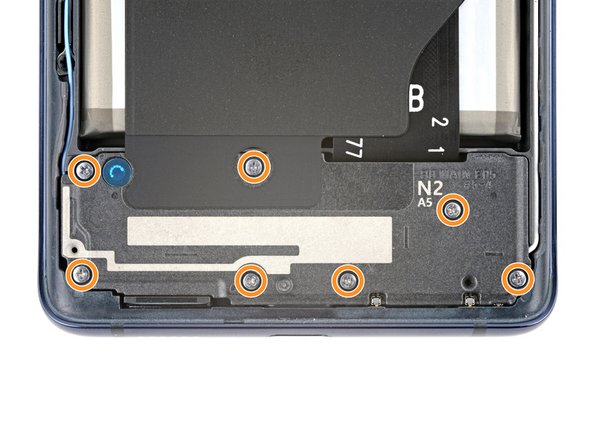
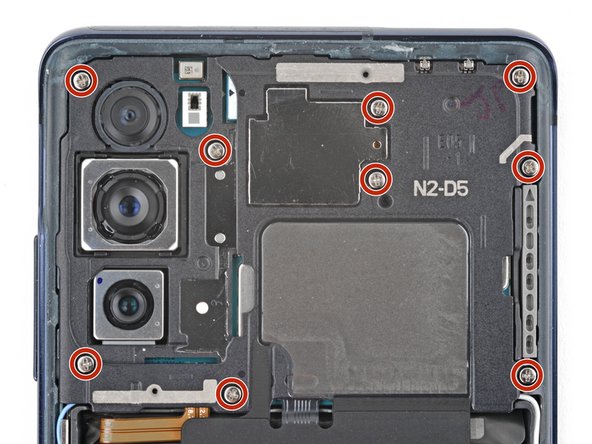
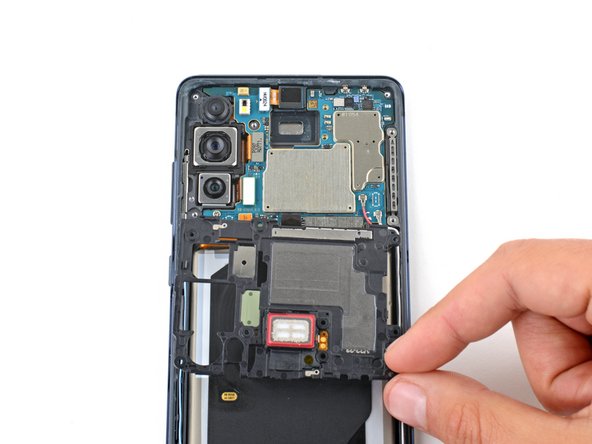
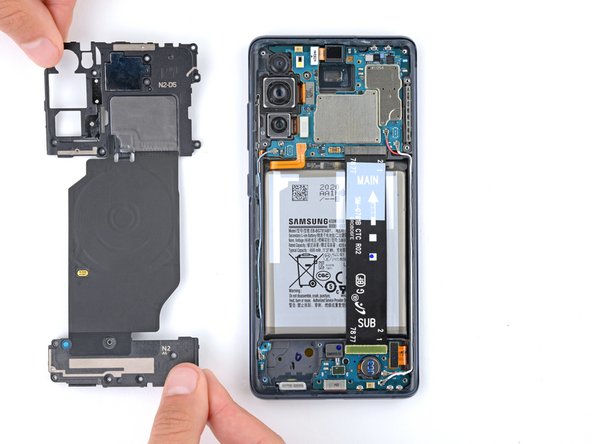
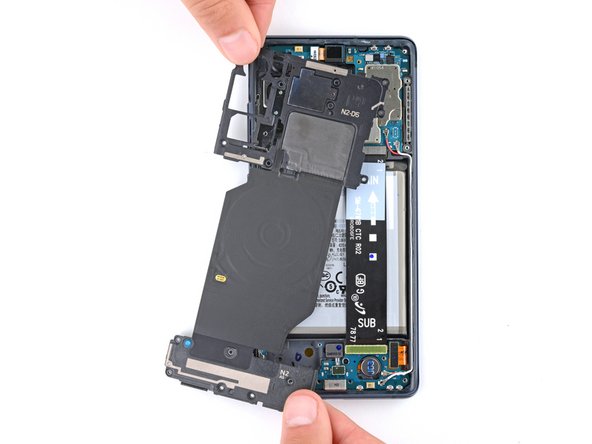
Get ready to rock and roll with the wireless charging assembly! This awesome kit includes the motherboard cover, wireless charging coil, and loudspeaker all held together with graphite tape. Remember, remove them as one groovy piece.
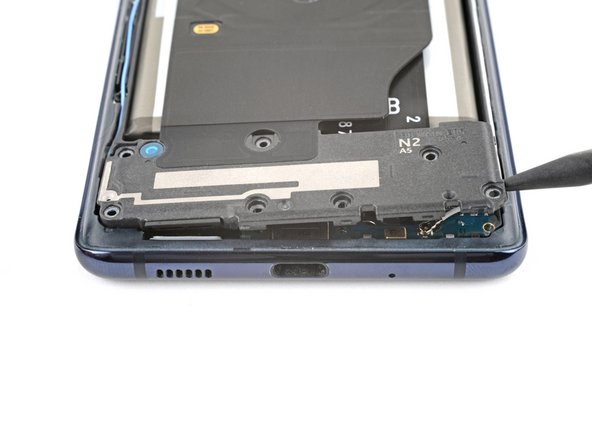
– Grab your Phillips screwdriver and get ready to bid farewell to the 16 screws holding tight the wireless charging assembly:
Step 14

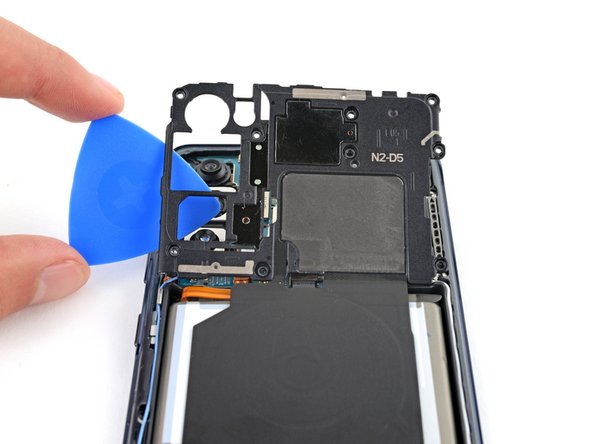
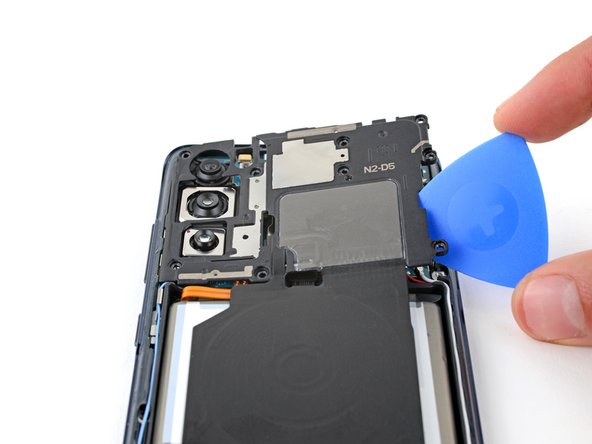
– Slide a pick under the bottom right edge of the motherboard cover and get ready to unleash those clips!
– Give that pick a little twist to pop free the clips holding the cover in place.
– Now, move to the bottom left edge and slide in another pick, twisting it gently to release the rest of those pesky clips.
– When you’re putting everything back together, don’t be shy—press down firmly around the edges of the motherboard cover to snap those clips back in action!
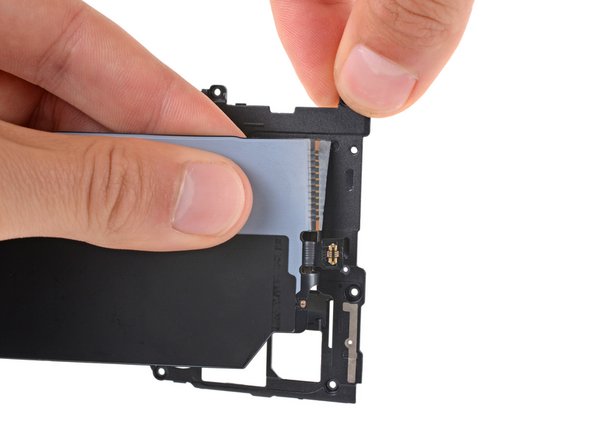
Step 15

– Lightly shimmy the motherboard cover into position for easy access to the battery and wireless charging press connectors waiting patiently on the bottom edge of the motherboard.
Step 16
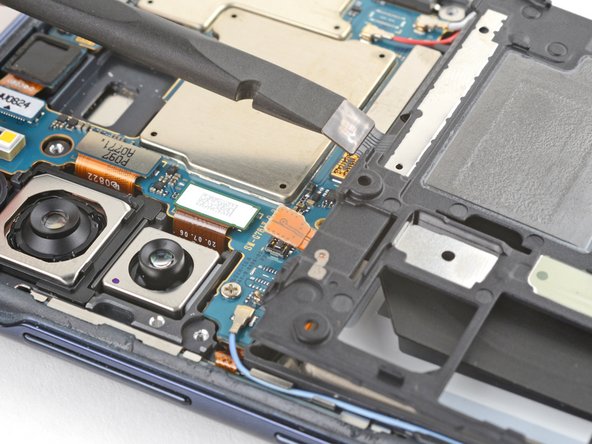

If you’re feeling a little lost, don’t worry! To re-attach those press connectors, gently line them up and press one side until it makes a satisfying ‘click’ sound. Then, do the same on the other side. Remember, avoid pressing down in the middle to prevent any mishaps. A slight misalignment could lead to bent pins and serious damage, so let’s get this sorted out smoothly.
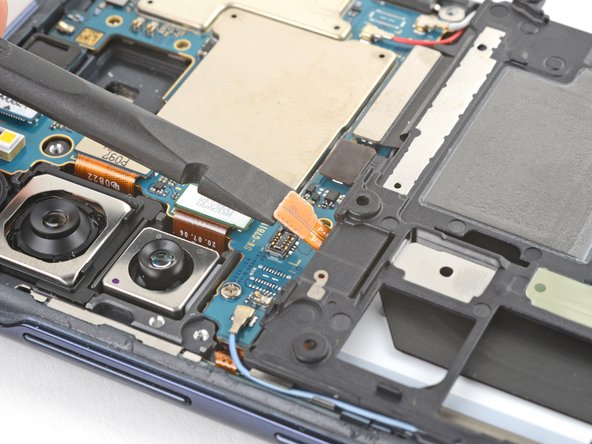
– Hey there! Let’s dive in with some spudger action. Use the flat end to gently lift and disconnect the battery and wireless charging press connectors from the motherboard.
Tools Used

Step 17

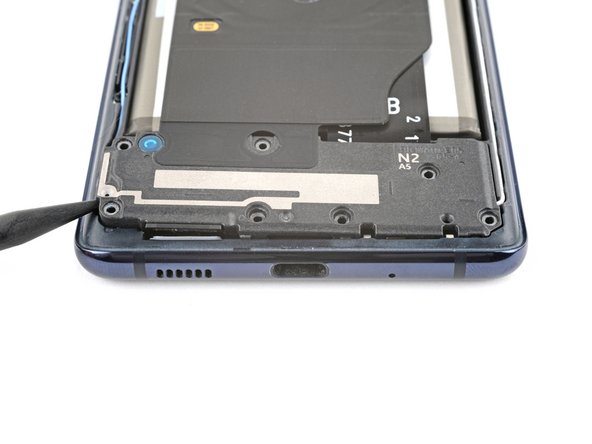
– Slide the spudger tip into the bottom left corner of the loudspeaker, right where it meets the frame.
– Gently pry it up to pop those clips loose on the left edge of the loudspeaker.
– Now, give the bottom right corner of the loudspeaker a little nudge to free the last of those pesky clips.
– When you’re putting it all back together, make sure to press down firmly around the edges of the loudspeaker to lock those clips in place!
Tools Used
Step 18

– Let’s put on our superhero capes and tackle this wireless charging assembly removal! Follow these awesome steps, and you’ll be well on your way to repairing your device in no time. If you need some extra help, you can always schedule a repair with our expert team of gadget savers!
Step 19
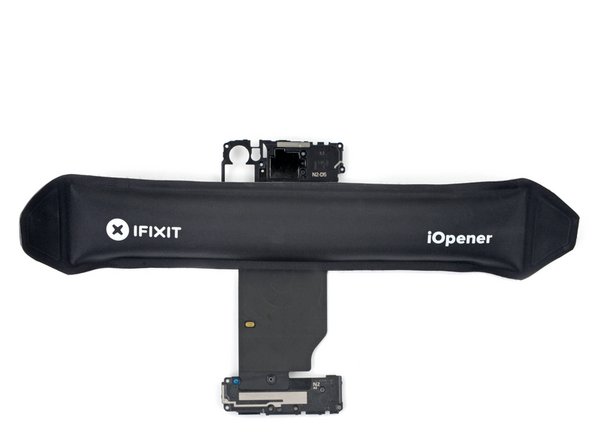

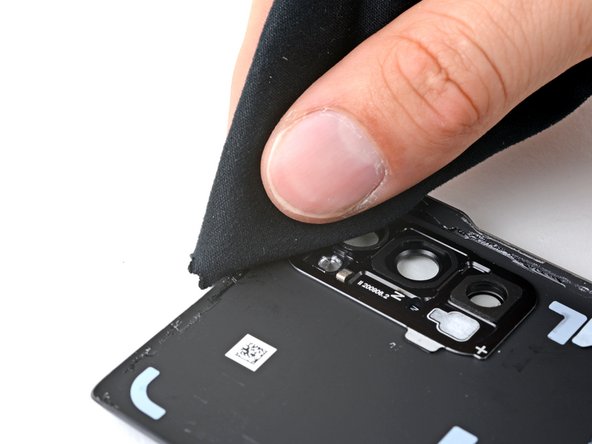
– Warm up your iOpener and give a little love to the graphite tape on the bottom edge of that motherboard cover.
Tools Used
Step 20


A sturdy adhesive keeps the wireless charging coil snugly attached to the motherboard cover, so it can keep doing its job without any hiccups!
– Gently lift the wireless charging coil off the motherboard cover, taking your time to avoid any mishaps.
Step 21

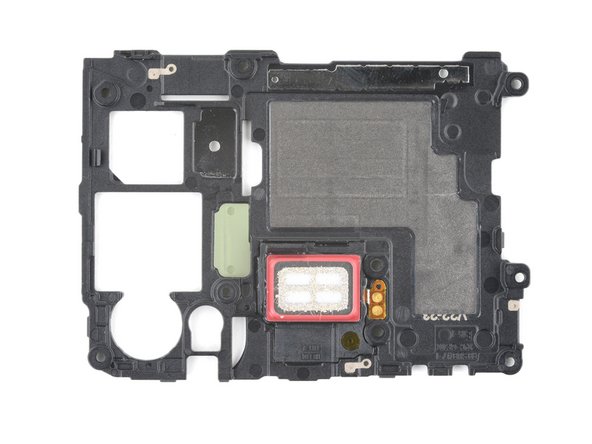
– Youve ended up with the earpiece speaker hooked up to the motherboard cover, right? Sway into gear and have a gander at your brand new replacement part to make sure its identical to the original. You might have to peel off some gooey backings on your new part before it’s ready to roost.