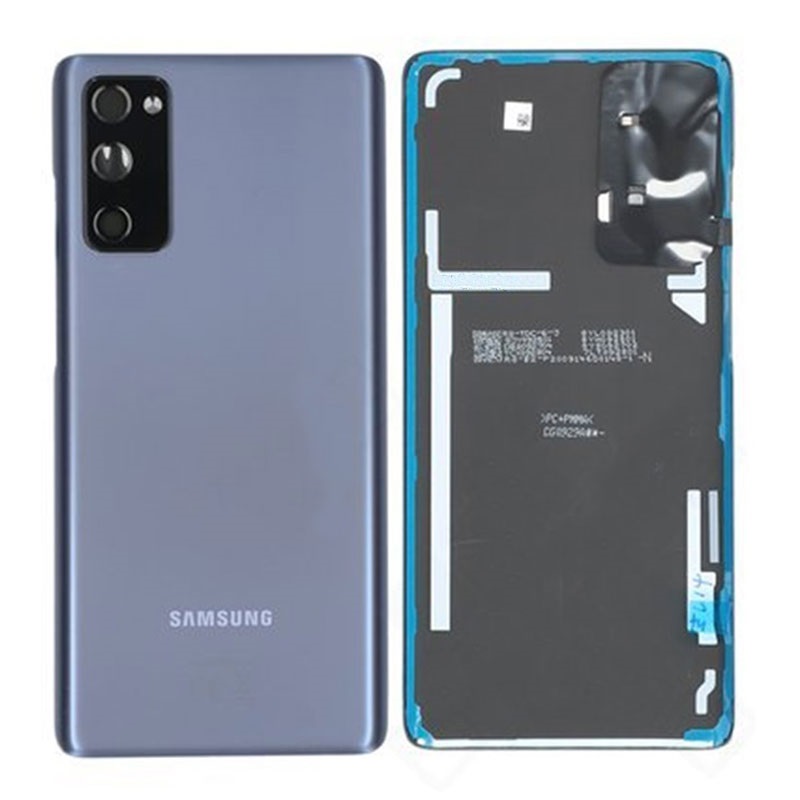
Samsung Galaxy S20 FE 5G Fingerprint Sensor Replacement
Duration: 45 minutes
Steps: 20 Steps
Ready to get your fingerprint sensor back in action on your Samsung Galaxy S20 FE 5G? This guide walks you through swapping out a sensor that’s no longer working or refusing to recognize your fingerprint. Don’t forget—you’ll need fresh adhesive for both the back cover and the sensor when putting everything back together. If things get tricky, you can always schedule a repair.
Step 1

Before diving in, make sure your battery is below 25%—a fully charged lithium-ion battery can be a bit of a wild card if it gets punctured. Safety first, folks!
- Power down your device and disconnect all cables before you start. No need to rush—just a quick shutdown keeps everything smooth for the repair. If you hit a snag or want to get it done professionally, you can always schedule a repair with Salvation Repair.
Step 2

A hair dryer works too, but be careful! Too much heat might make the back cover go all warped and weird.
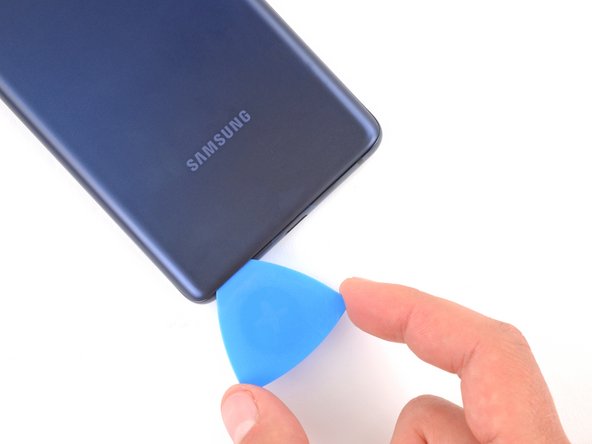
- Warm up an iOpener and gently press it against the bottom edge of the back cover for about two minutes to loosen things up.
Tools Used


Step 3


You'll need to put some muscle into this. If it's still stuck, hit it with more heat and give it another go.
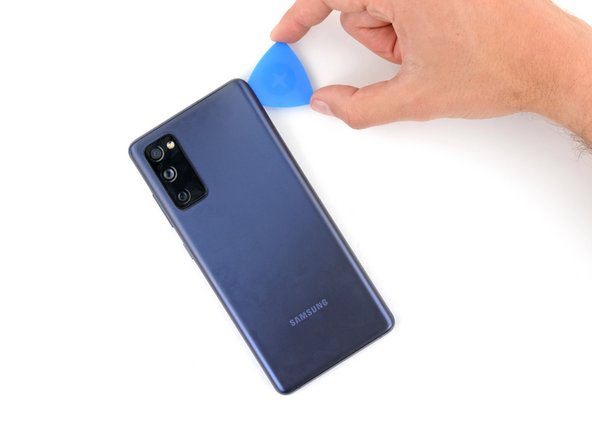
- Stick a suction cup onto the bottom center of the back cover, close to the edge. Keep it nice and snug for a good grip.
- Pull gently on the suction handle with steady, confident pressure to start prying the back away from the frame.
- Slide an opening pick into the gap you've created. Easy does it—you're opening the door to what's inside!
Tools Used

Step 4


- Gently slide your opening pick along the bottom edge to cut through the adhesive holding the back cover in place. Keep the pick in the bottom right corner to stop the adhesive from resealing as you work.
Step 5

Got a stubborn back cover? A hair dryer can help loosen things up—just watch out for the heat, as cranking it too high might warp the plastic. Keep it warm, not molten. If you need a hand with the process, you can always schedule a repair.
- Warm up the right edge of the back cover with a heated iOpener for about two minutes to loosen things up.
Tools Used
Step 6


- Glide your opening pick around the bottom right corner, cruising up the right edge to loosen that sticky adhesive.
- Let the pick chill in the top right corner—it’s holding things in place nicely.
Step 7

A hair dryer works in a pinch—just keep the heat on the lower side, or your back cover might end up looking like modern art!
- Place a heated iOpener on the top edge of the back cover and hold it there for about two minutes. This will help loosen things up and make the next steps smoother. If you need a hand, you can always schedule a repair.
Tools Used
Step 8


- Glide your opening pick around the top right corner and cruise along the top edge to cut through the adhesive.
- Let that pick chill in the top left corner for now.
Step 9

- Heat up an iOpener and press it gently against the left edge of the back cover for a solid two minutes. It's like giving your device a warm hug, just enough to soften things up and make them easier to work with.
If you need a quick heat boost, a hair dryer can do the trick—just keep the heat in check so you don’t warp the back cover. Use it on a low or cool setting, and keep the dryer moving to avoid concentrated heat in one spot. When in doubt, take your time and be gentle. If you need a hand, you can always schedule a repair.
Tools Used
Step 10


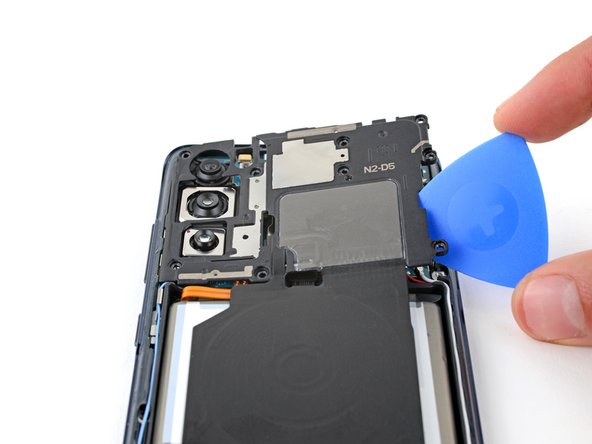
- Gently glide the opening pick around the top left corner and all the way down the left edge to cut through that stubborn adhesive like a pro!
Step 11


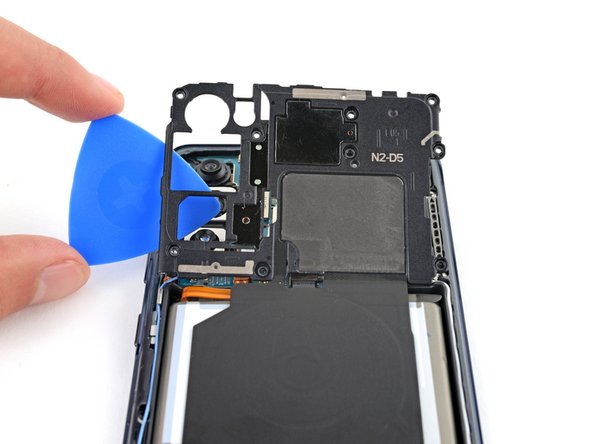
If that back cover is still holding on for dear life, grab your opening pick and gently slide it all the way around the edge to break up any stubborn adhesive.
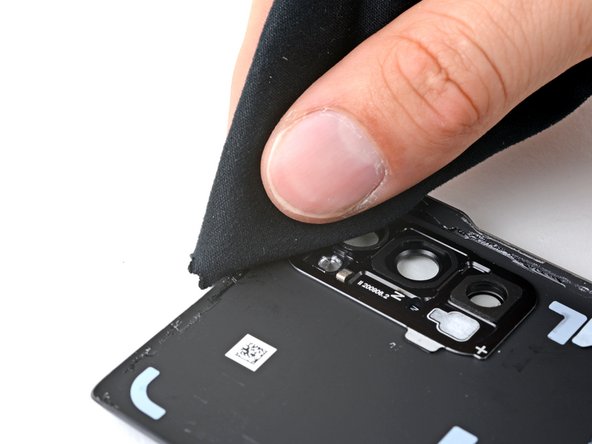
- Start by gently removing the back cover to get access to the inner parts. Take your time and keep track of any clips or screws—you’ll want to put everything back just right.
Step 12


- Now's a great time to power on your device and test all functions before sealing everything back up. Just remember to turn it off completely before you get back to work.
- If you're putting your old back cover back on:
- When installing a brand new back cover, peel off the liners and press down firmly along the edges to make sure it sticks to the frame.
- Grab some tweezers or your fingers to gently peel off the old adhesive from the back cover and frame.
- To clean up any leftover adhesive, use highly-concentrated isopropyl alcohol (90% or higher) and a microfiber cloth for a spotless finish.
- Follow this guide to apply the new custom-cut adhesive for a smooth, secure fit.
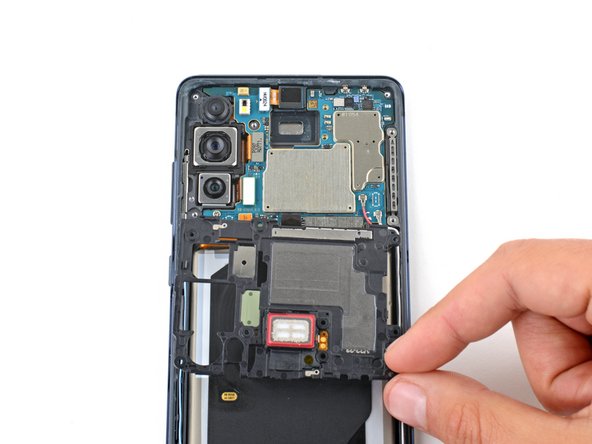
Step 13
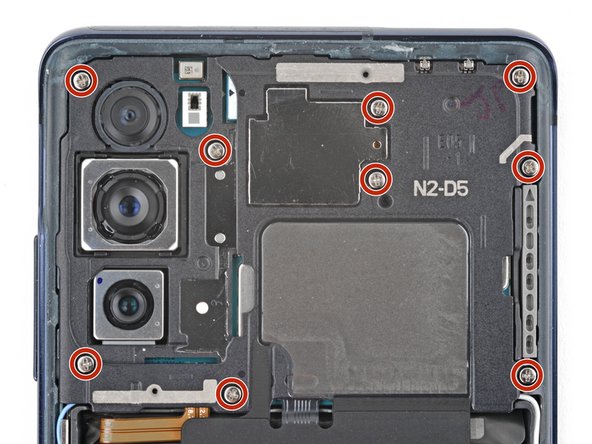
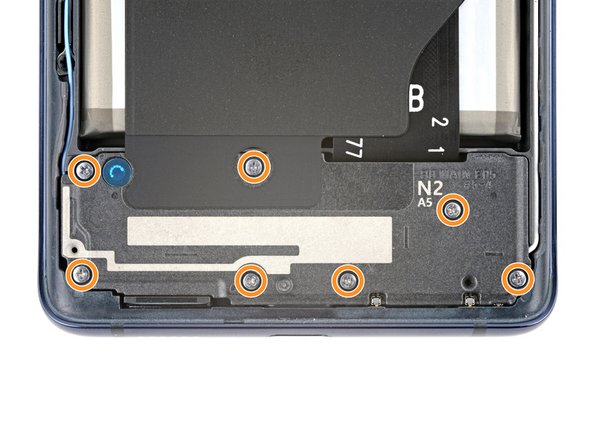

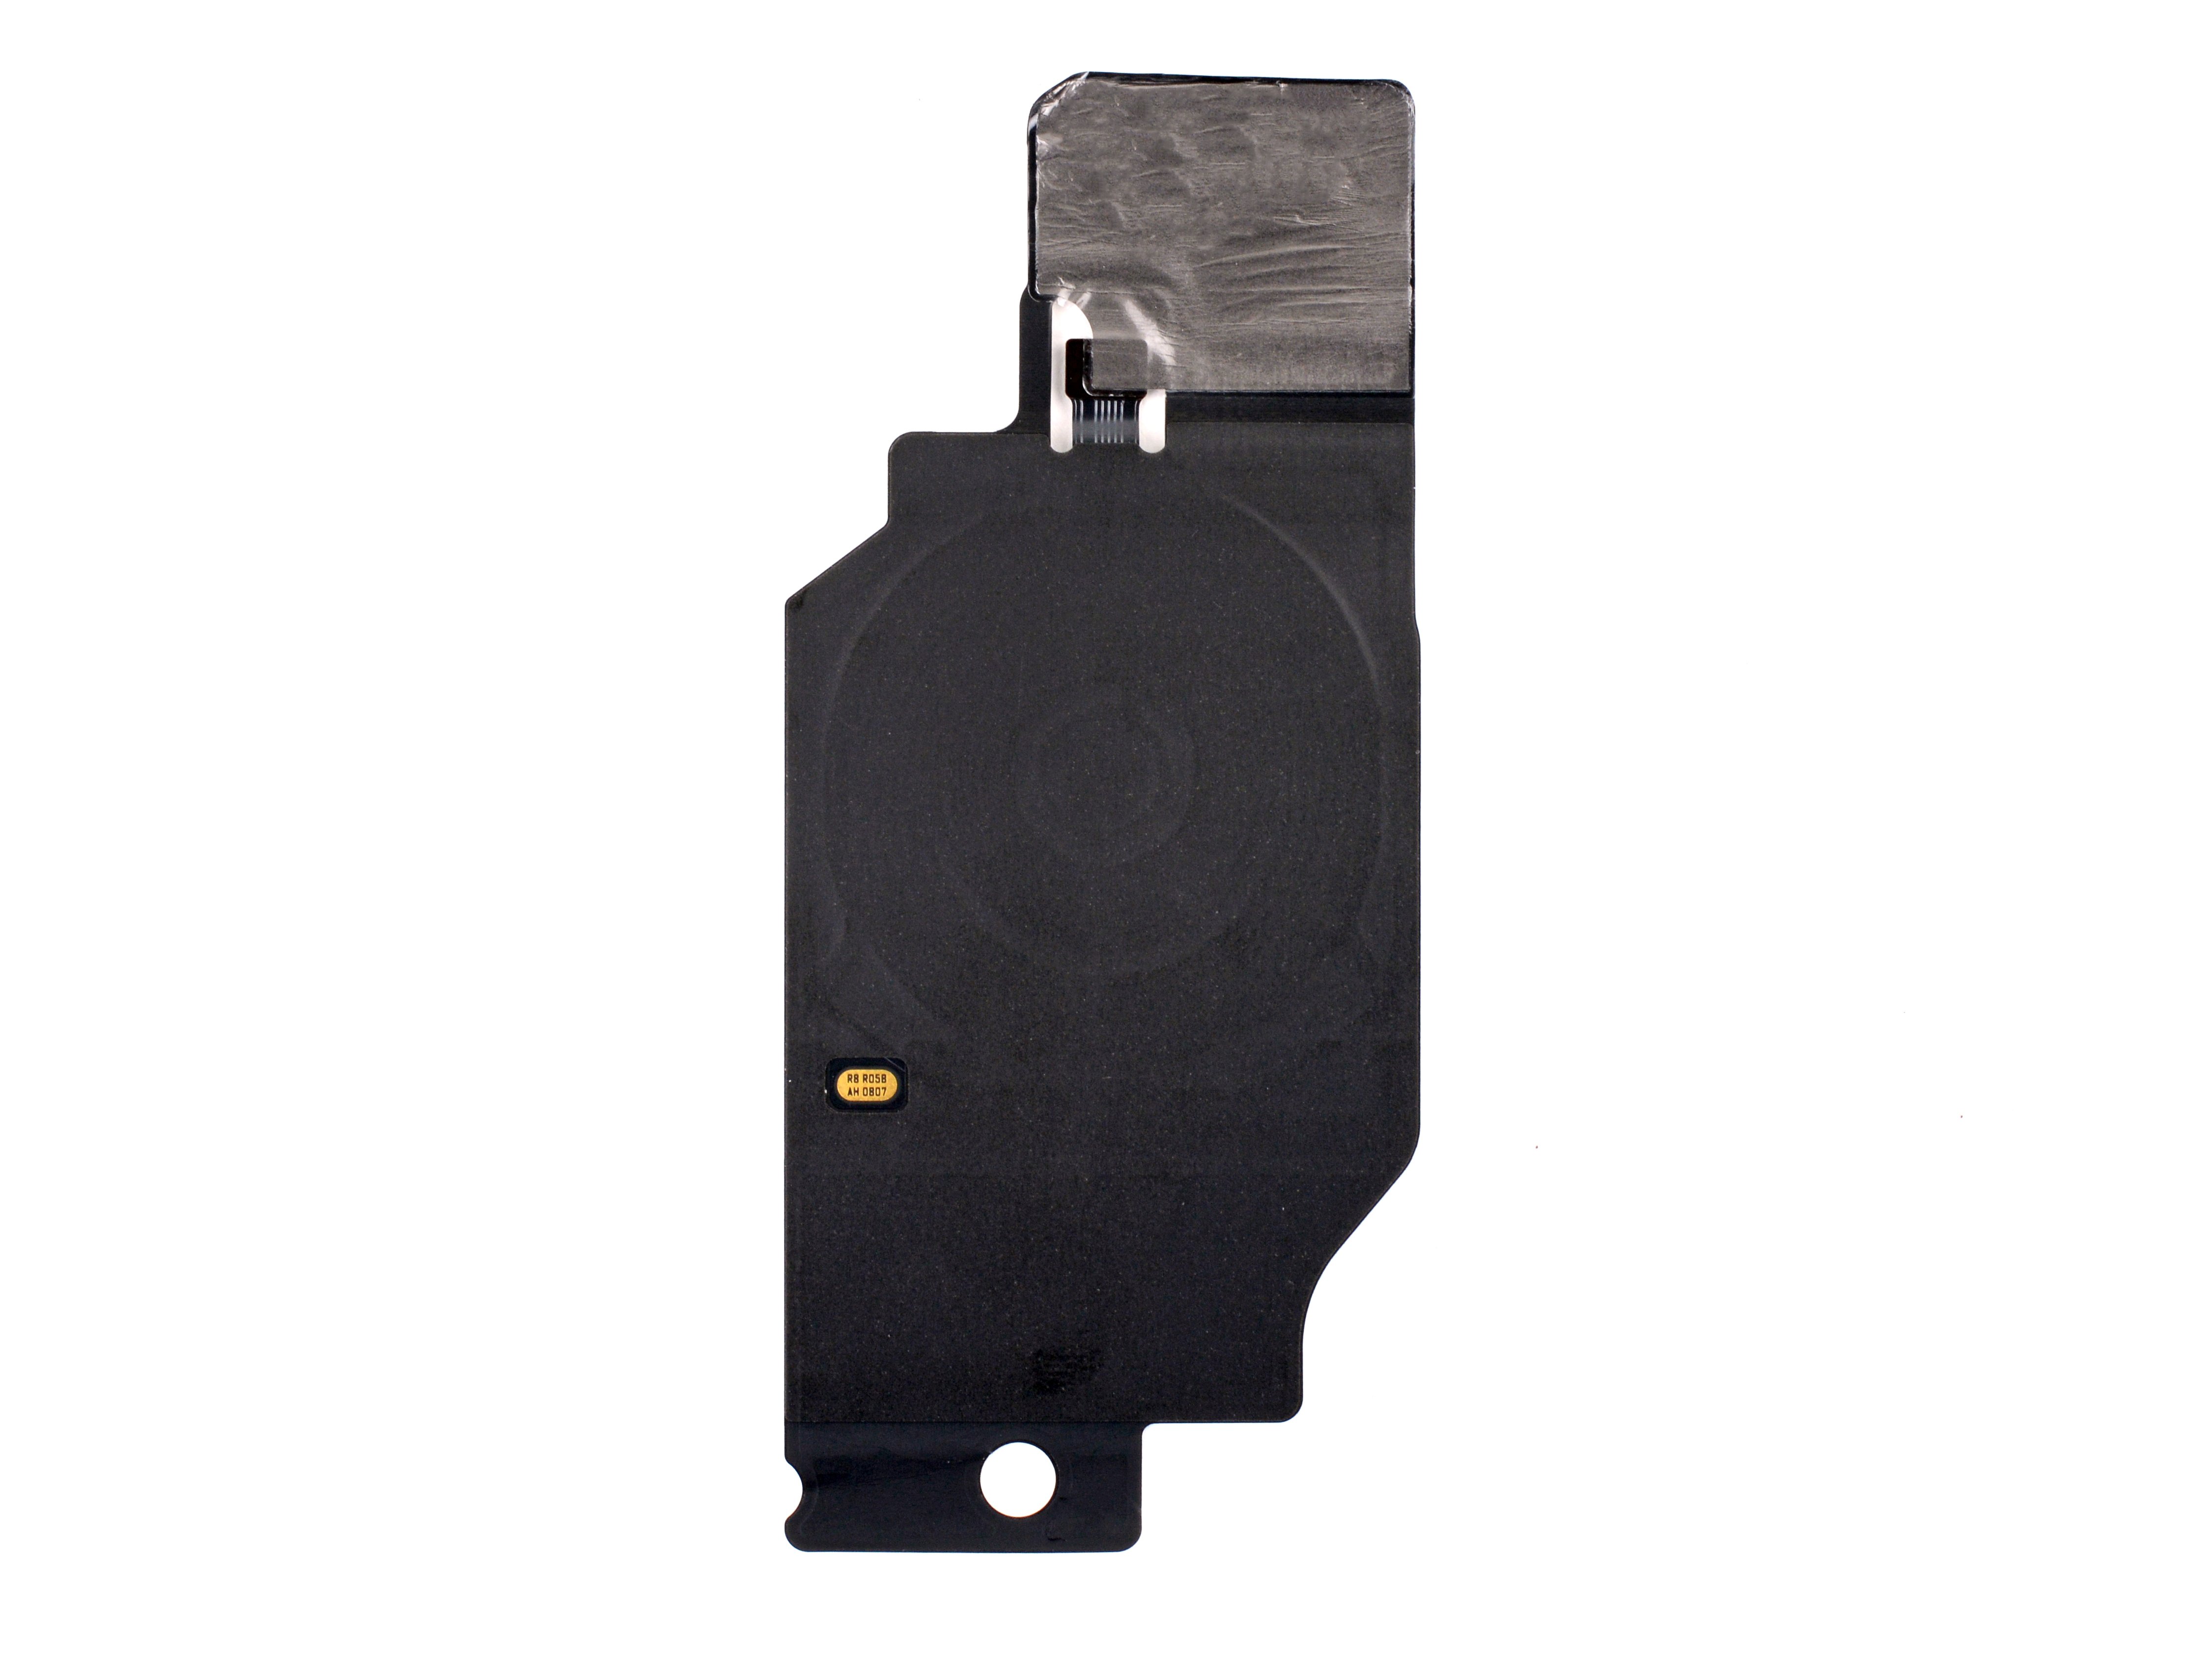
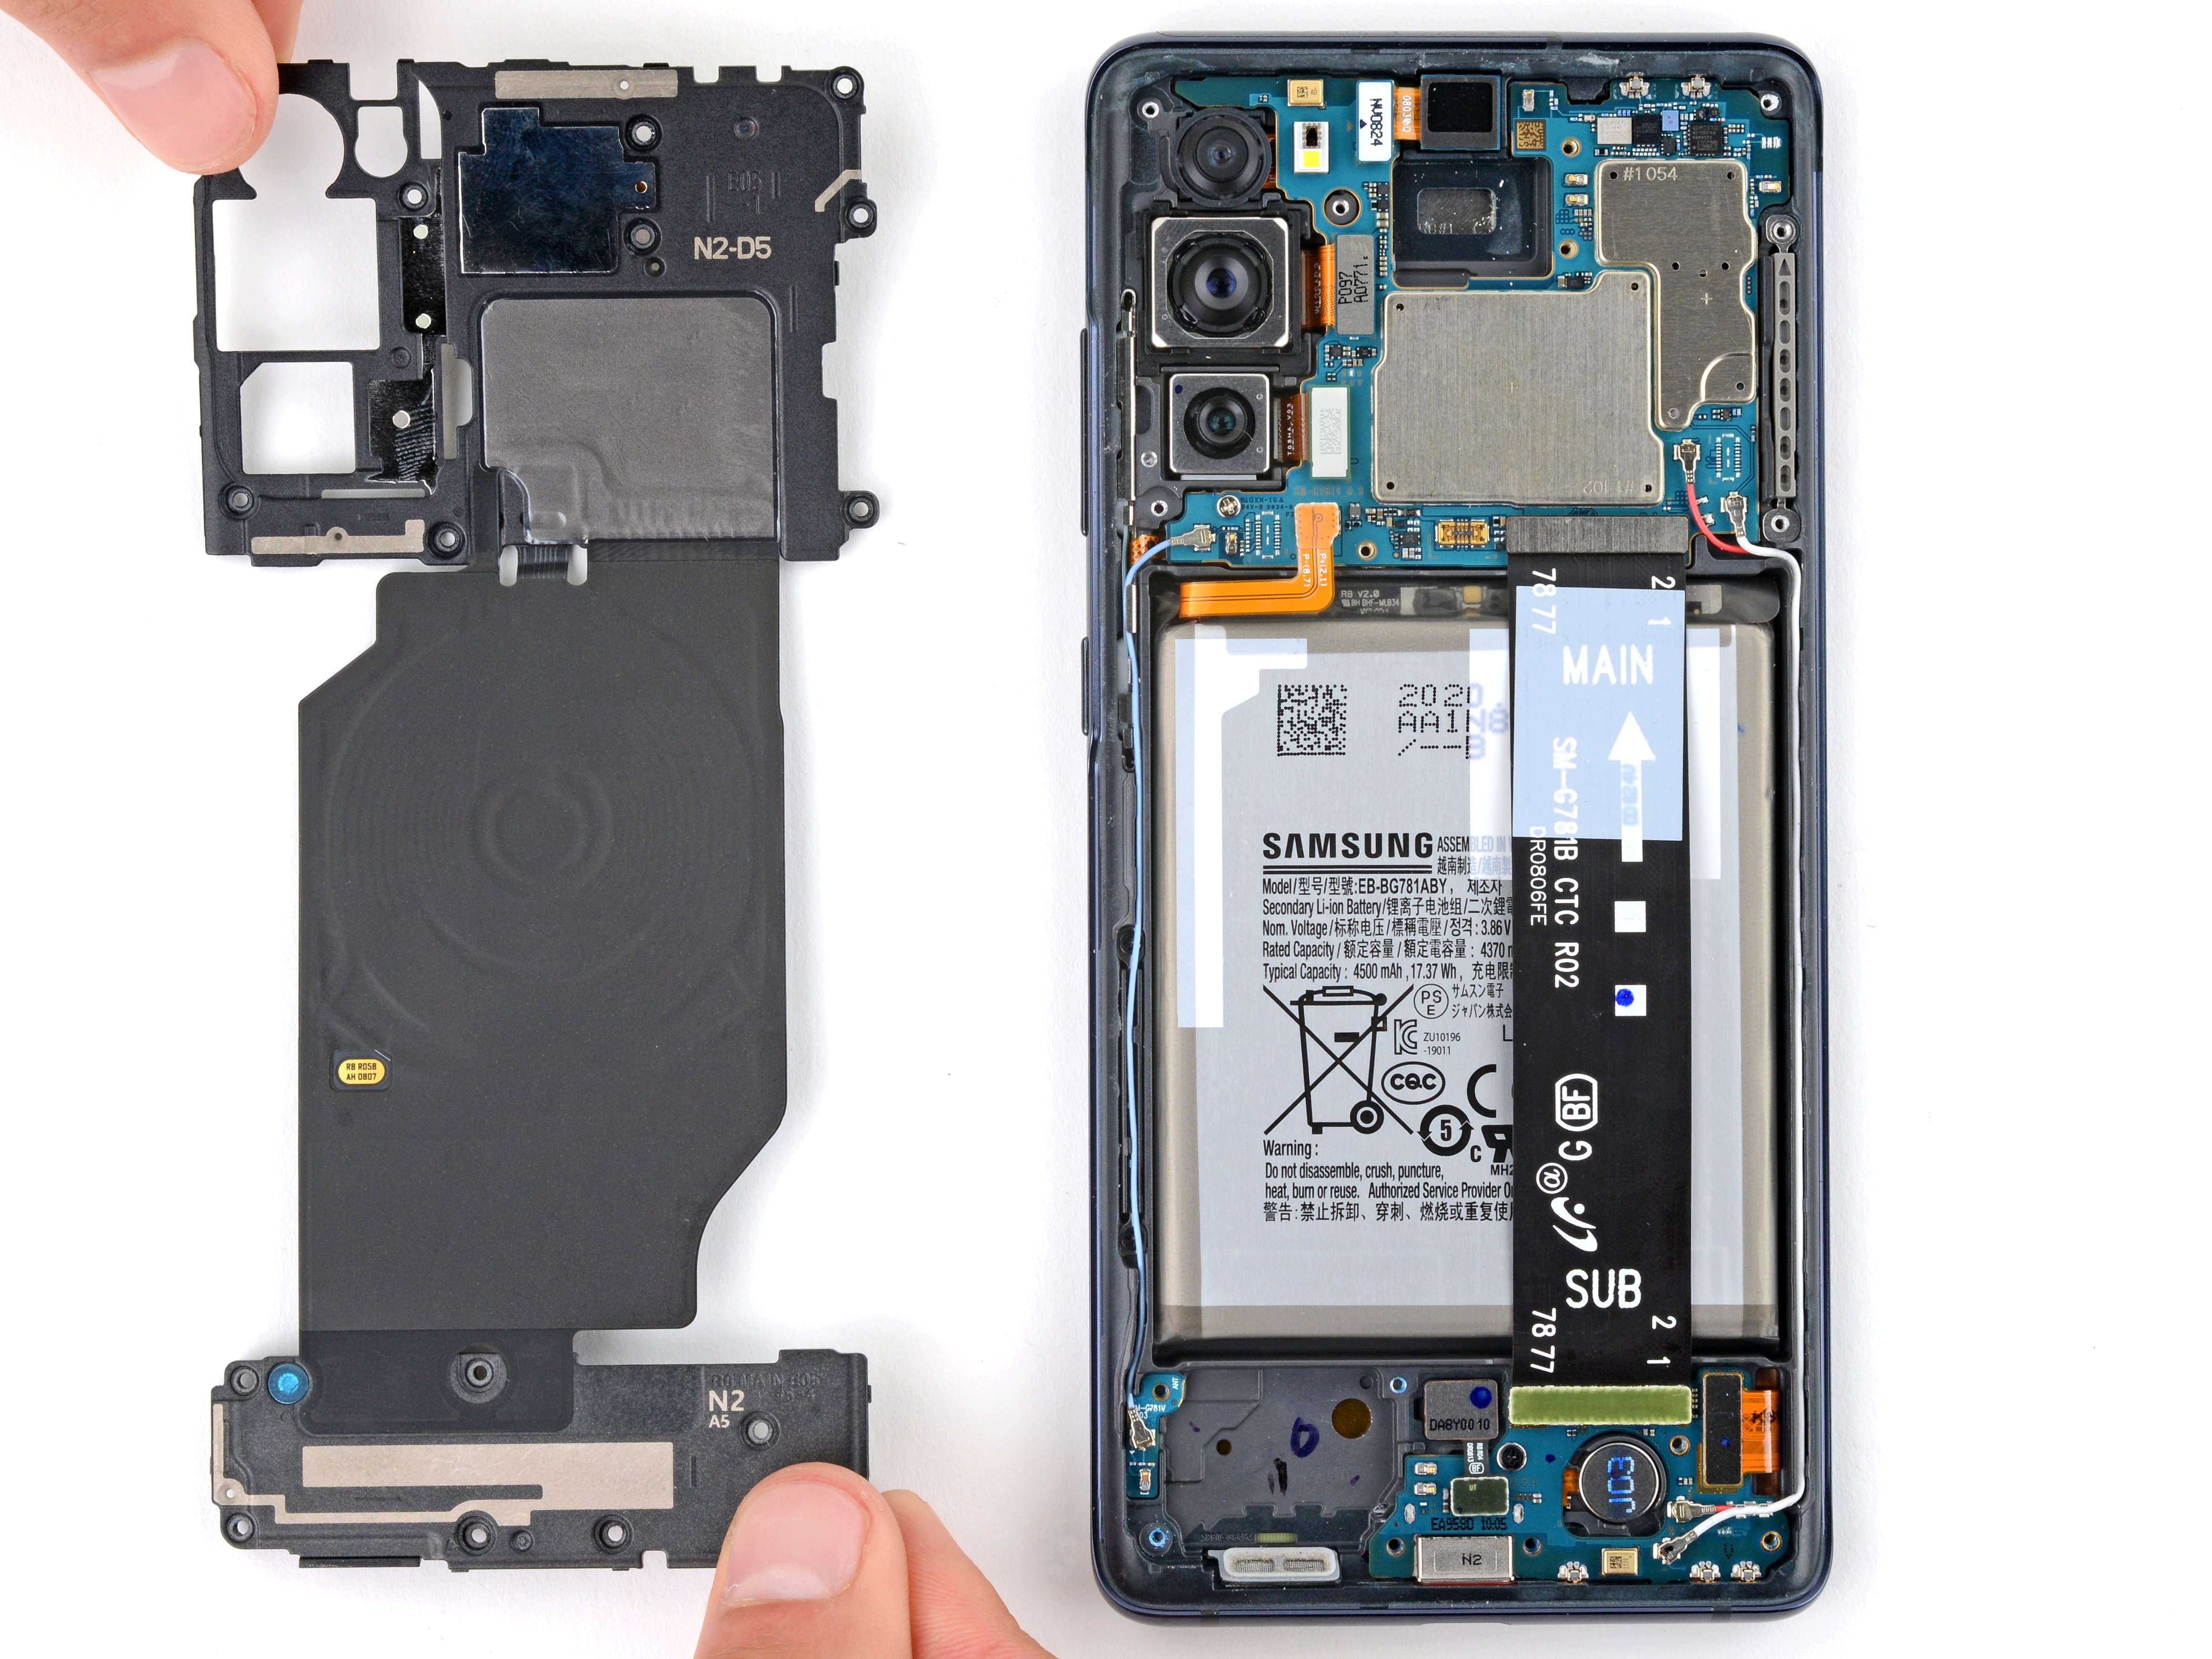
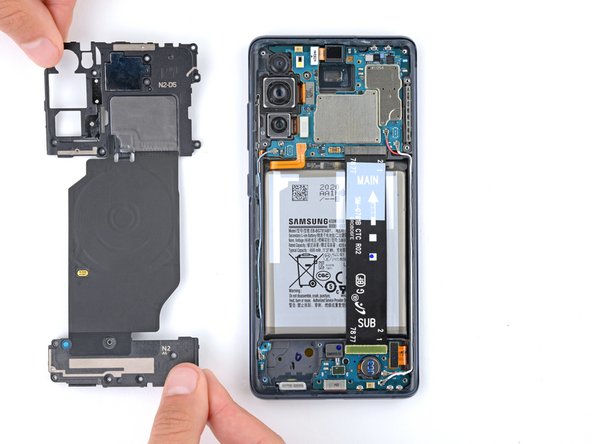
The wireless charging assembly is a neat little trio that includes the motherboard cover, the wireless charging coil, and the loudspeaker. These components are snugly held together with some graphite tape, so make sure to remove them all at once for a smooth sailing repair adventure!
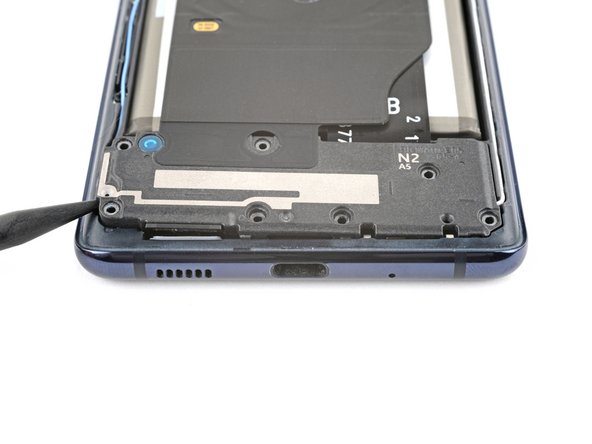
- Grab a Phillips screwdriver and gently remove the 16 screws holding down the wireless charging assembly. This includes nine 4mm screws securing the motherboard cover, and seven 4.5mm screws holding the loudspeaker in place. Take your time, stay organized, and if you need help, you can always schedule a repair.
Step 14

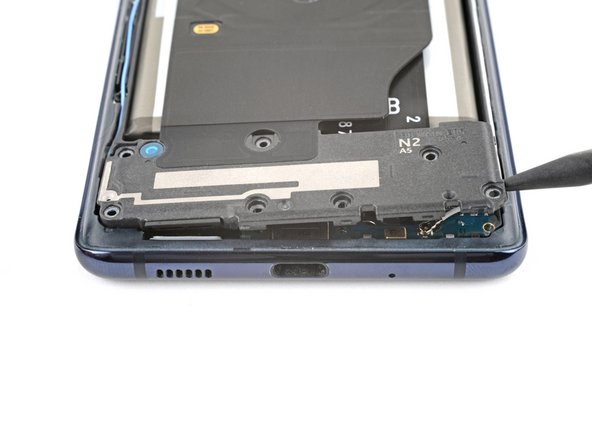
- Gently wedge a pick under the bottom right corner of the motherboard cover. Give it a twist to pop the clips loose. Then, slide the pick into the bottom left edge and turn to release the remaining clips. When putting everything back together, press down around the edges of the motherboard cover to click the clips into place. If you need a hand, you can always schedule a repair.
Step 15

- Shift the motherboard cover into a new position to reveal the battery and wireless charging press connectors nestled at the bottom edge of the motherboard. Let's get to it!
Step 16
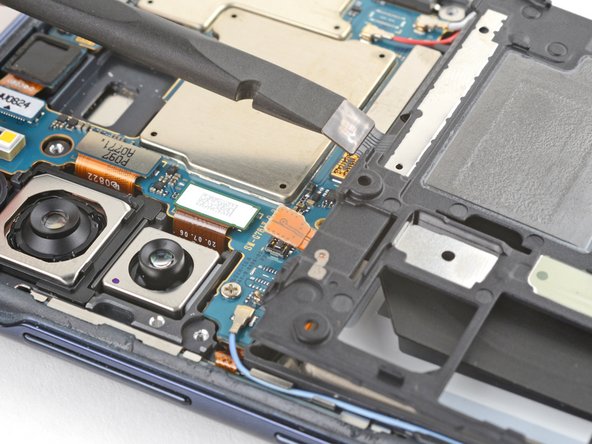

When popping press connectors back on, line them up and press one edge until you hear that satisfying click, then do the same on the other side. Skip pressing the middle—those pins are delicate! A crooked connector can bend the pins, and trust me, that’s not a mess you want to clean up.
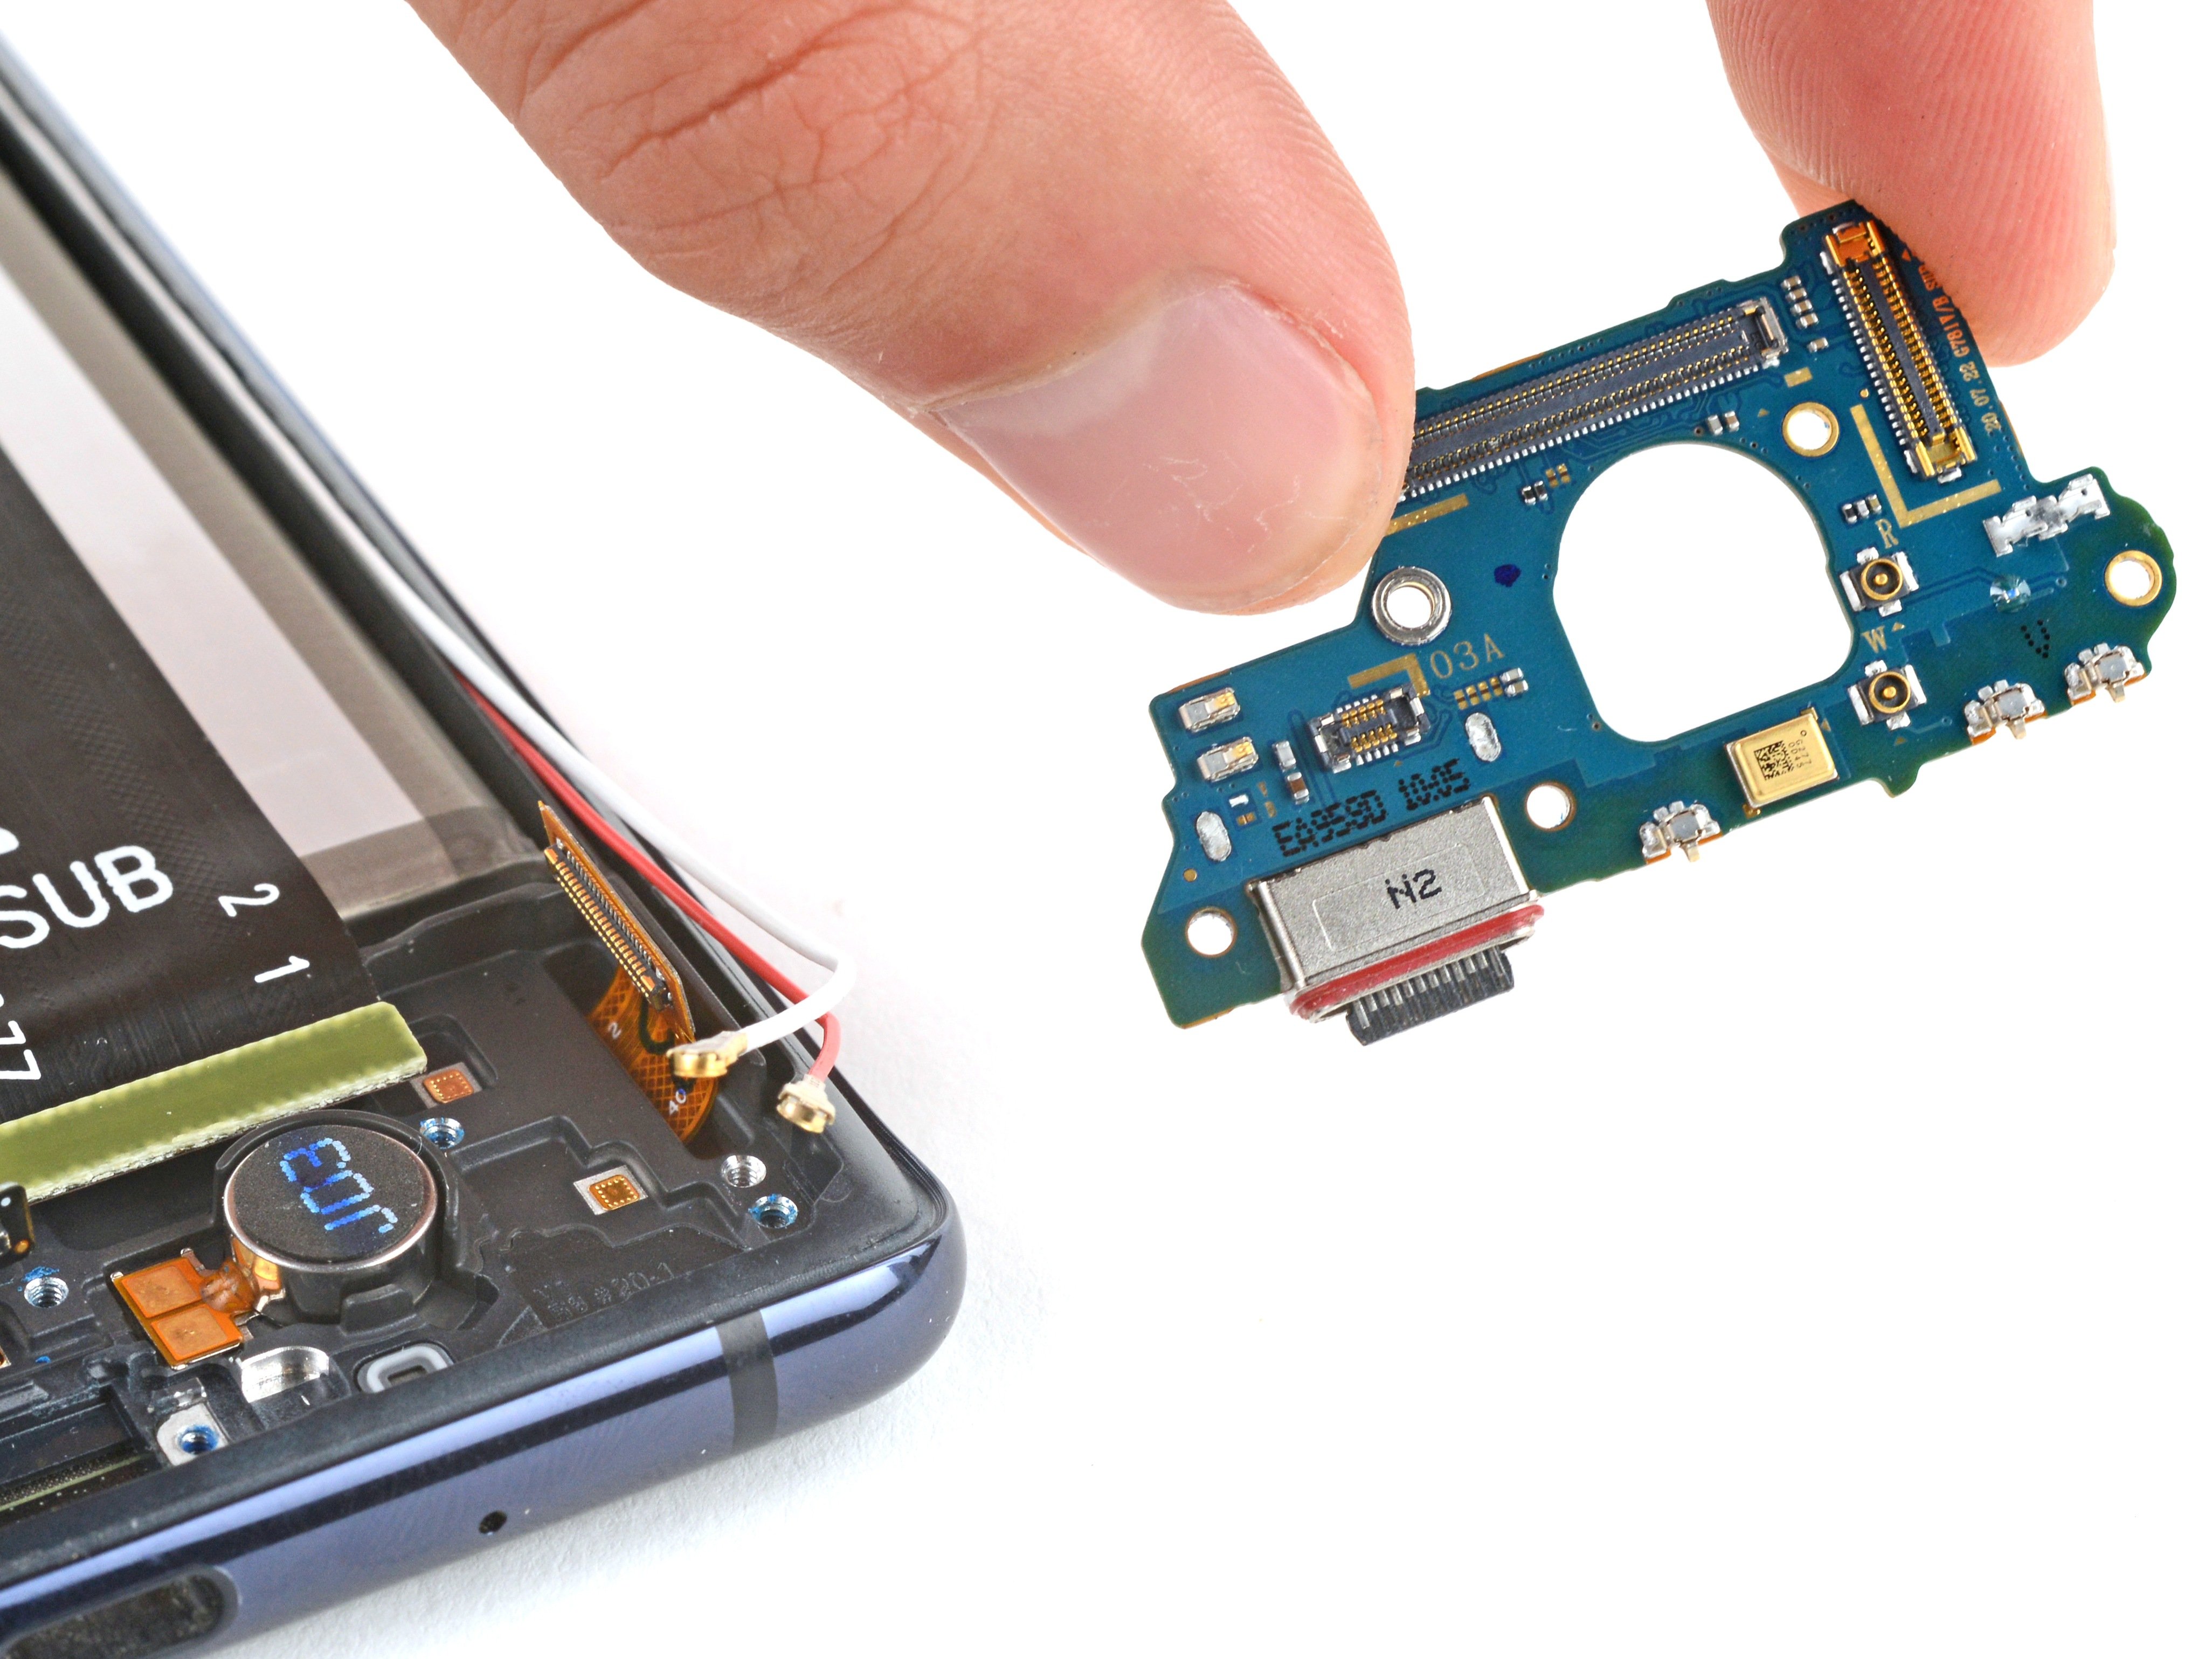
- Grab the flat end of a spudger and gently pry up the connectors for the battery and wireless charging press from the motherboard. Take your time—it's all about careful prying. If you need help along the way, you can always schedule a repair.
Tools Used

Step 17

- Slide the tip of your spudger into the bottom left corner where the loudspeaker meets the frame. Like a ninja, but with way less drama.
- Pop up the left edge of the loudspeaker—those clips won't know what hit 'em.
- Lift the bottom right corner to finish freeing the loudspeaker. Clips, begone!
- When you're putting things back together, give the perimeter of the loudspeaker a solid press to snap those clips right back in place.
Tools Used
Step 18
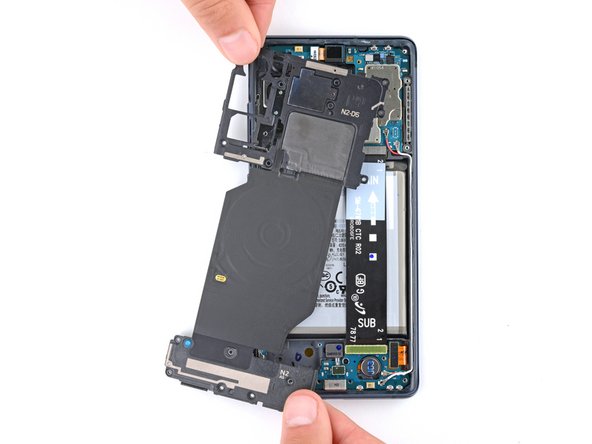

- Carefully disconnect and remove the wireless charging assembly to keep things moving smoothly. If you need help, you can always schedule a repair.
Step 19
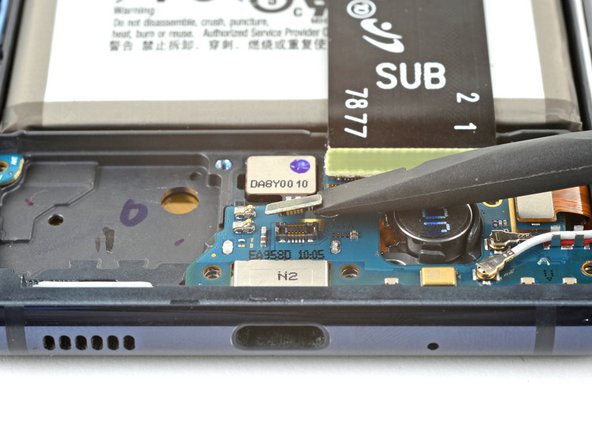

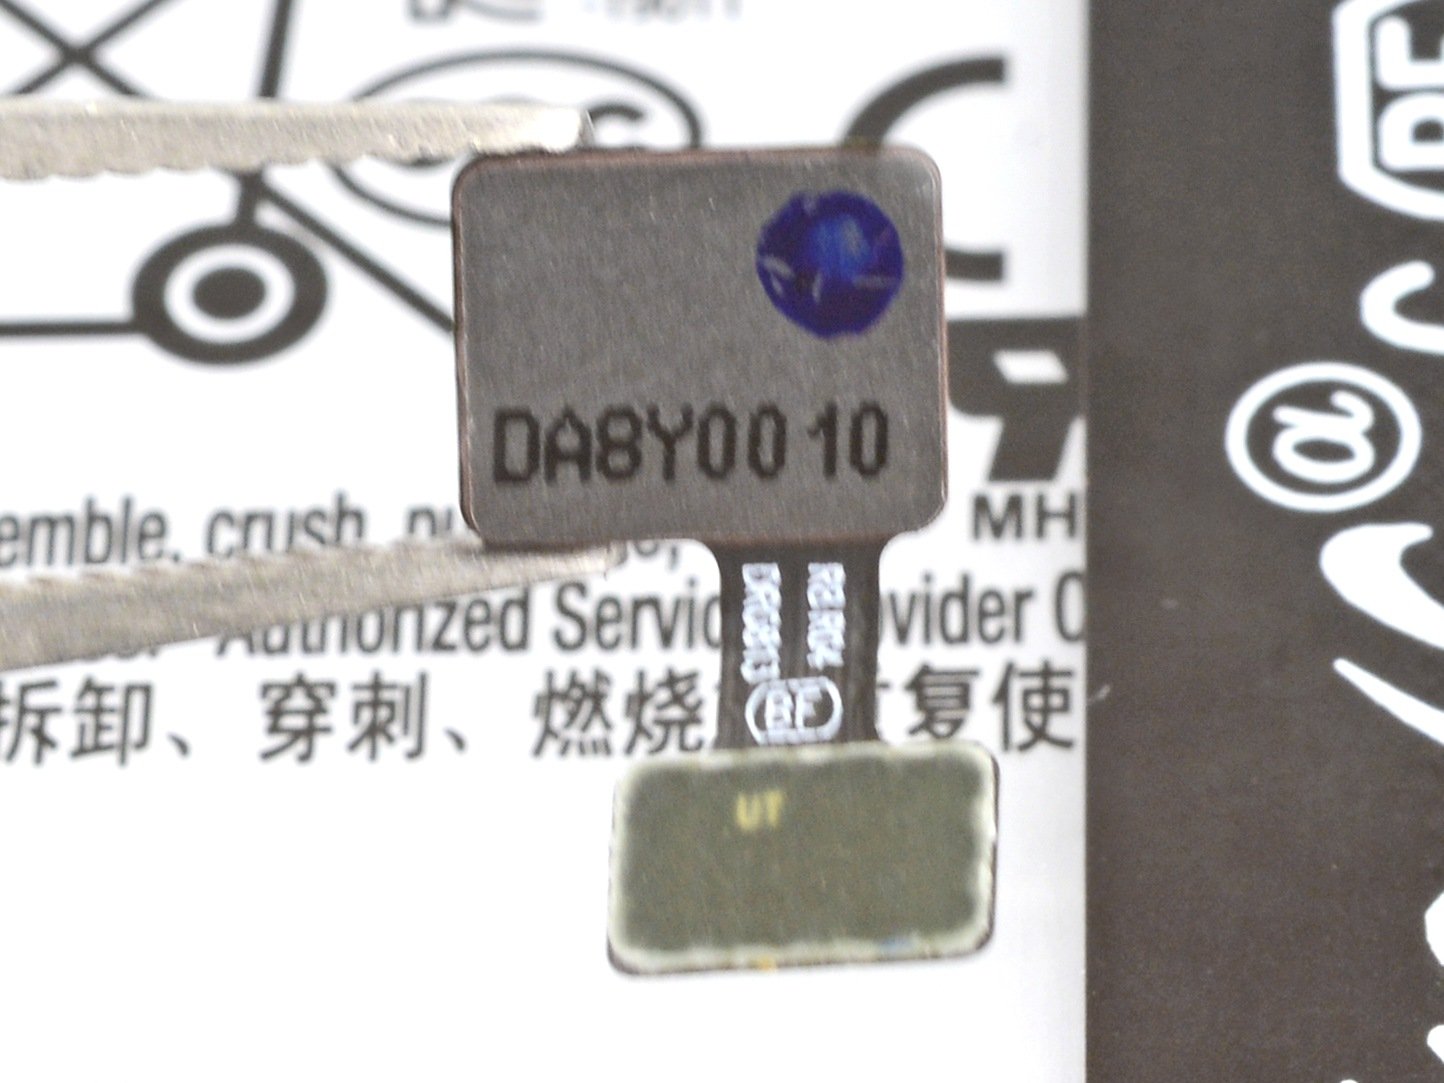
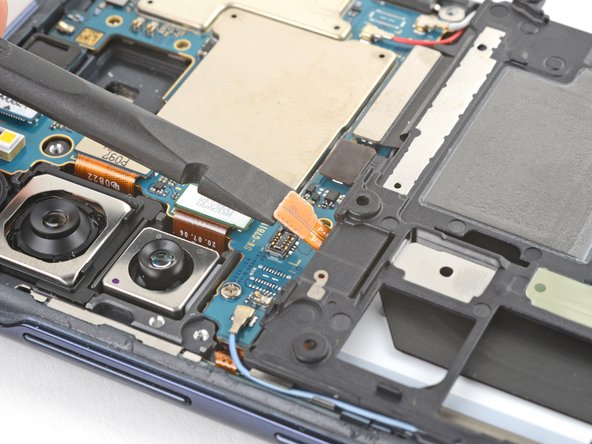
- Gently use the flat side of your spudger to lift and disconnect the fingerprint sensor press connector. A little nudge is all it takes!
Tools Used
Step 20


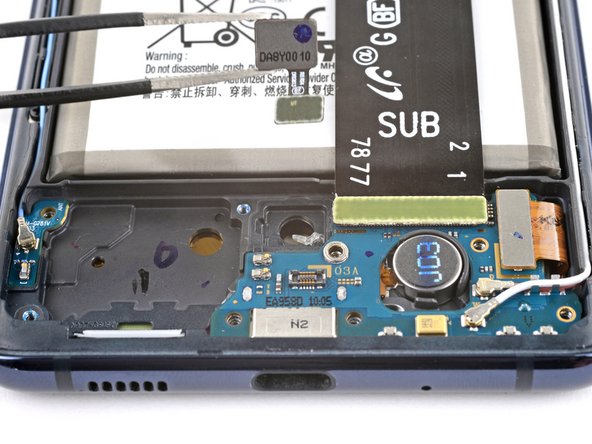
A light dab of adhesive holds the fingerprint sensor in place on the frame.
- Ready to put things back together? Just retrace your steps and give your device that finishing touch.
- Got old parts or tech clutter? Drop them off with an R2 or e-Stewards certified recycler—your future self will thank you.
- If things didn’t go as planned, don’t sweat it! Try a little troubleshooting or reach out to our Answers community for advice.
- Still stuck? You can always schedule a repair and let the pros handle it.