Samsung Galaxy S20 FE 5G Screen Replacement Guide: DIY Tutorial for Screen Repair
Duration: 45 minutes
Steps: 28 Steps
Hey there! Before getting started, double-check that your new screen is totally frameless. And no worries if you can’t get your old screen back after the removal process – it’s all part of the charm!
Ready to tackle that cracked or damaged screen on your Samsung Galaxy S20 FE 5G? You’ve come to the right place! If your screen isn’t responding to your touch, has some pesky dead pixels, or has taken a hit that left it cracked, it might be time for a new screen. Some screens come cozy in a new frame (also known as a chassis), which means you’ll need to move your device’s internals over instead of just swapping the screen out. That’s a whole different ball game than what we’re diving into here. Before you get started, make sure your new screen is frameless—trust us, it makes life easier! Keep in mind that the screen is super-glued to the frame with some seriously strong adhesive, so when you remove it, your old screen is going to be a goner. Don’t forget, you’ll need some replacement adhesive for the back cover and screen to get your device all put back together. If you need help, you can always schedule a repair.
Step 2

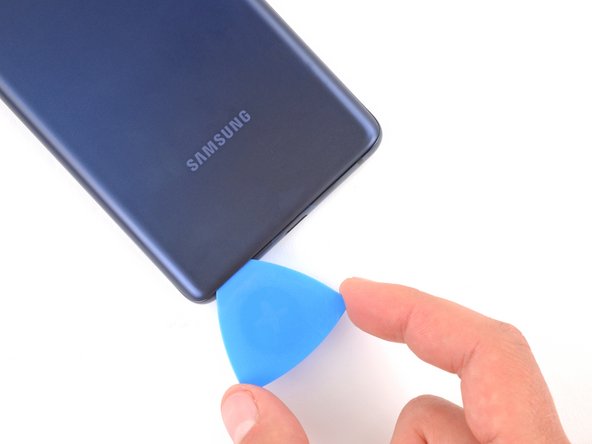
– Warm up your trusty iOpener and gently press it against the bottom edge of the back cover for a cozy two minutes.
Tools Used

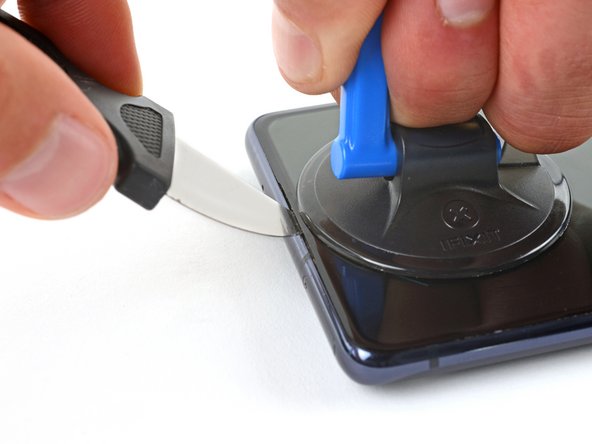
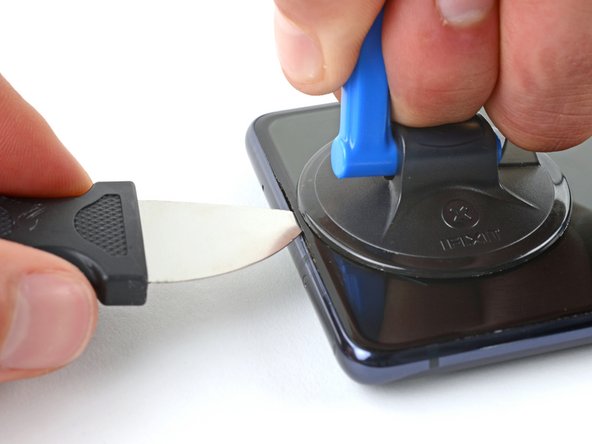
Step 3


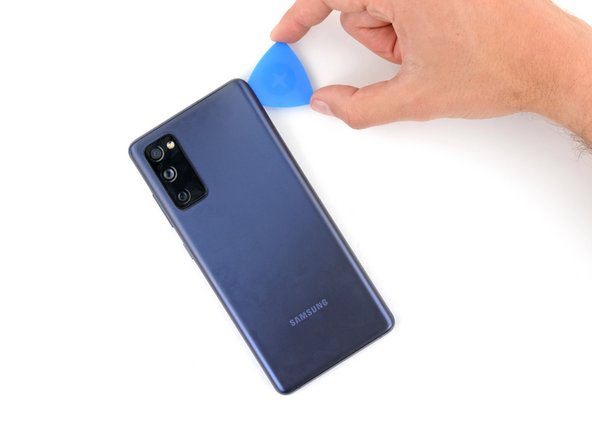
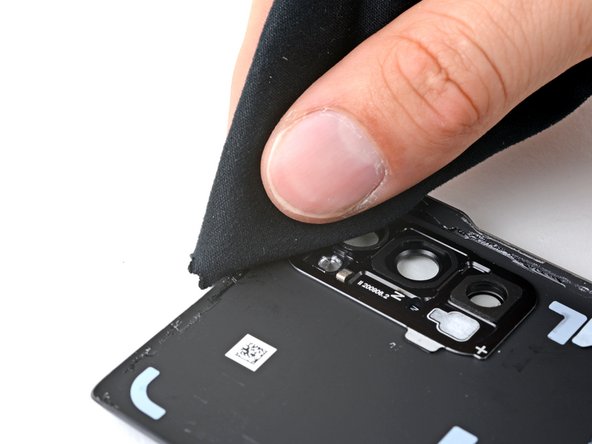
– Alrighty, let’s get your device back to tip-top shape! First, stick a little suction cup on that back cover, right at the bottom edge there, clicky-clicky. Give it a good yank, like you’re reeling in the big one! Then, slide that pick in, baby.
Tools Used

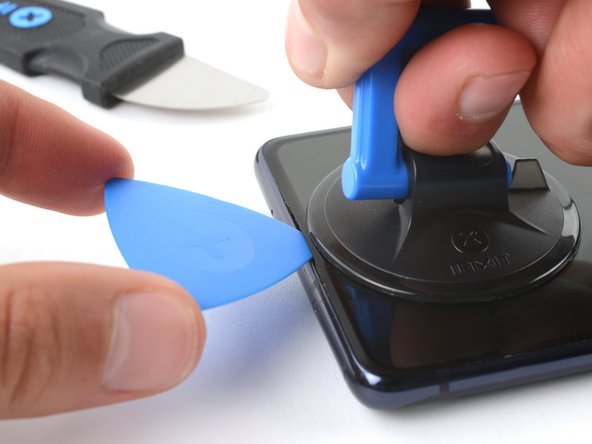
Step 4


– Glide the opening pick down the bottom edge to effortlessly slice through the adhesive holding the back cover in place.
– Keep the opening pick snugly nestled in the lower right corner to prevent the sticky stuff from sticking again.
Step 5

– Heat things up a bit by applying a warm iOpener to the right edge of the back cover for about two minutes. You’ll be on your way to a successful repair in no time!
Tools Used
Step 6


– Gently slide the opening pick around the bottom right corner and all the way up the right edge to smoothly slice through the adhesive.
– Don’t forget to leave the opening pick safely inserted in the top right corner for now.
Step 7

– Gently warm up the top edge of the back cover with a cozy iOpener for two minutes.
Tools Used
Step 8


– Gently glide the opening pick around the top right corner and along the top edge to gracefully cut through the adhesive.
– Feel free to leave the pick snugly nestled in the top left corner.
Step 9

– Heat things up a bit by applying a cozy iOpener to the left edge of the back cover for a solid two minutes. Let’s get that adhesive nice and toasty!
Tools Used
Step 10


– Gently glide the opening pick around the top left corner and all the way down the left edge to neatly slice through the remaining adhesive.
Step 11


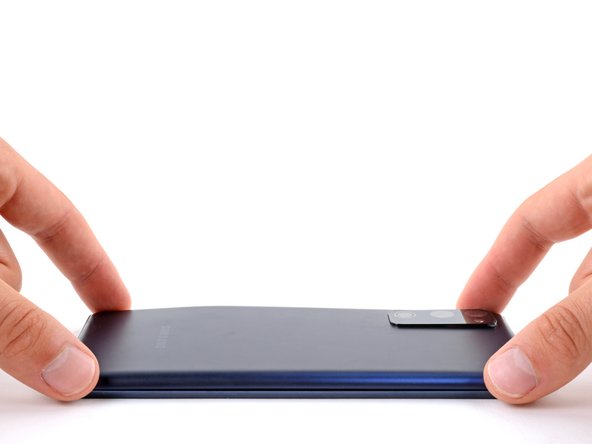
– Time to show that device’s back some love by gently removing its cover.
Step 12


– As you put everything back together, why not give your device a little power-up and check that everything’s working like a charm before you seal it up tight? Just remember to power it down completely before diving back in!
– If you’re putting your old back cover back on, let’s make sure it fits snugly!
– For those of you installing a shiny new back cover, peel off those liners and give it a good press around the edges to ensure it’s secured to the frame like a pro.
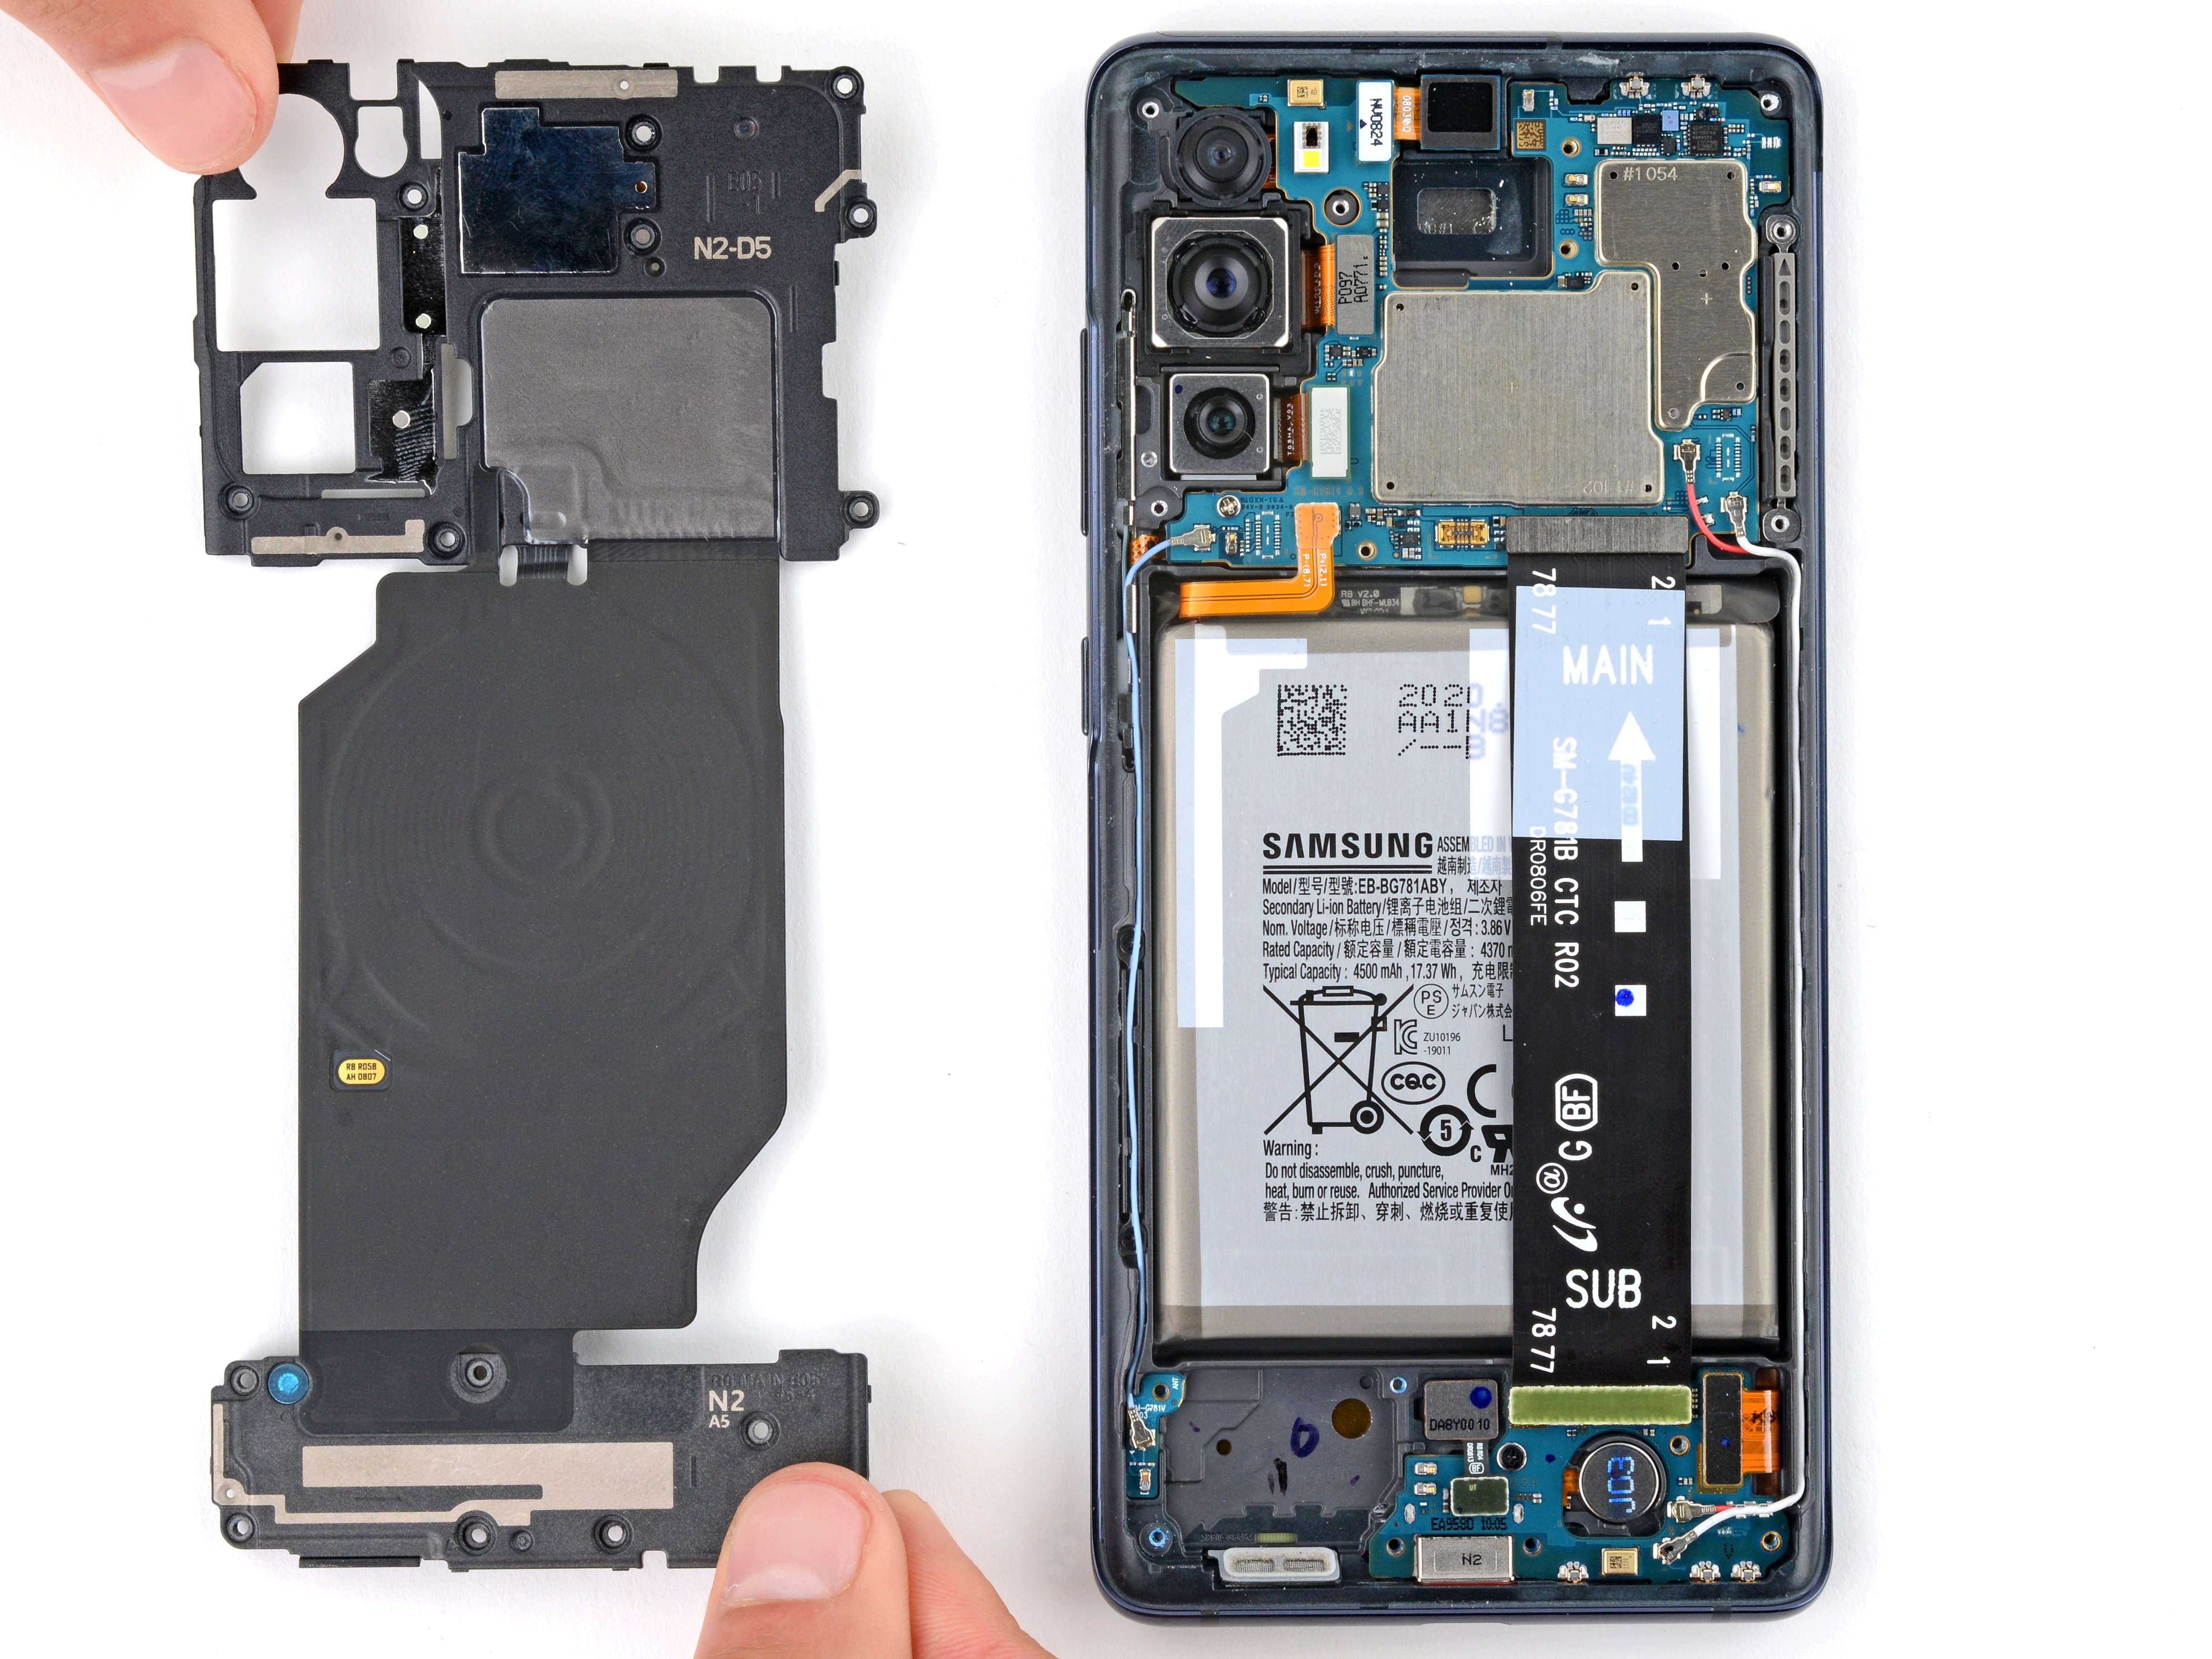
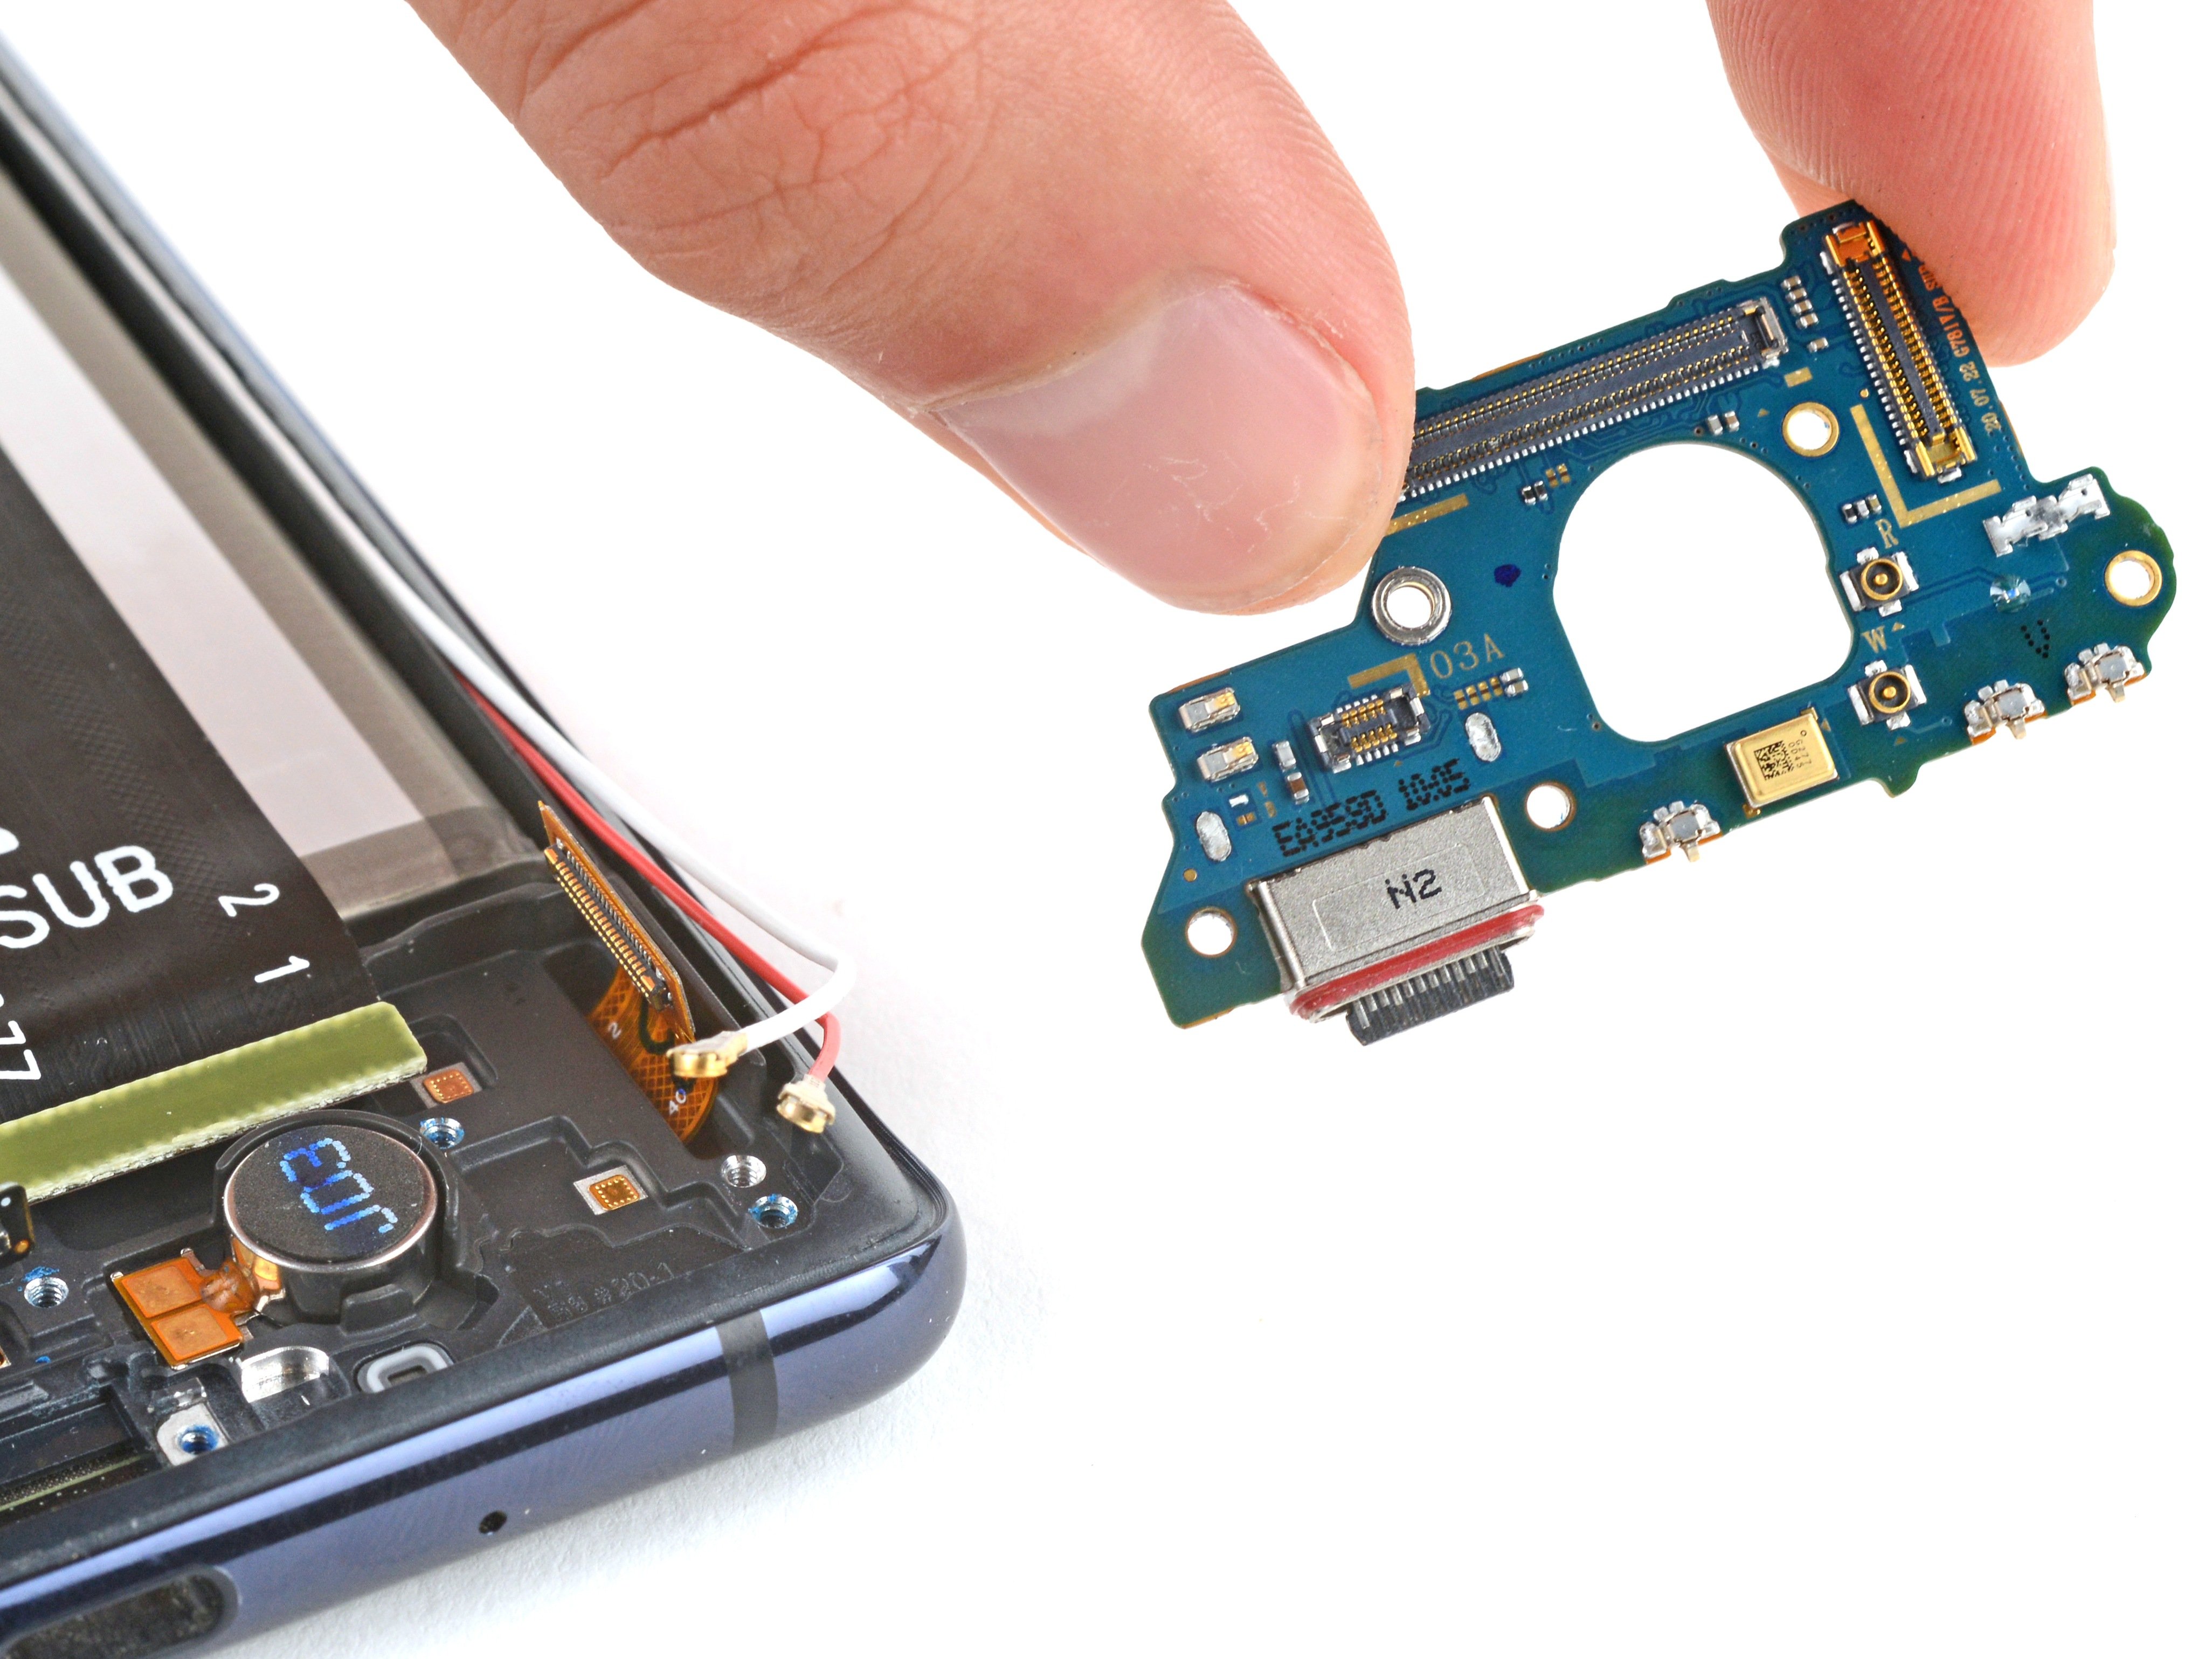
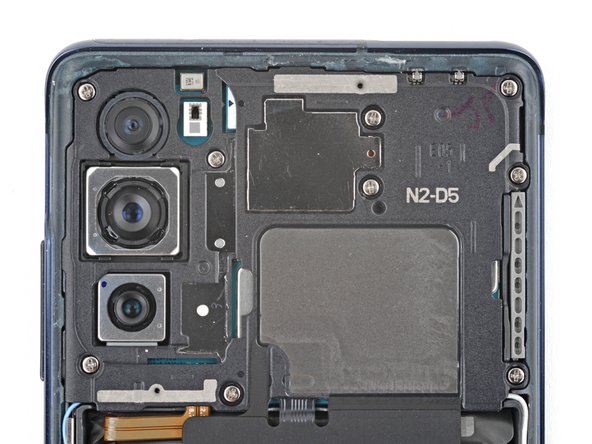
Step 13

– Grab your trusty Phillips screwdriver and tackle those nine 4 mm-long screws holding down the motherboard cover. You got this!
Step 14

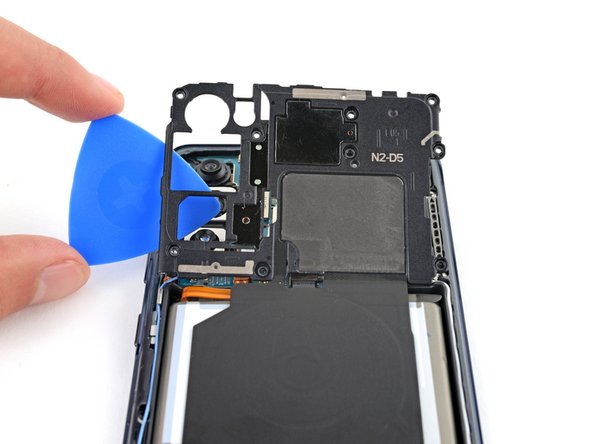
– Slide a pick under the lower right edge of the motherboard cover and give it a gentle nudge.
– Twist that pick to pop those little clips holding the cover in place. Teamwork makes the dream work!
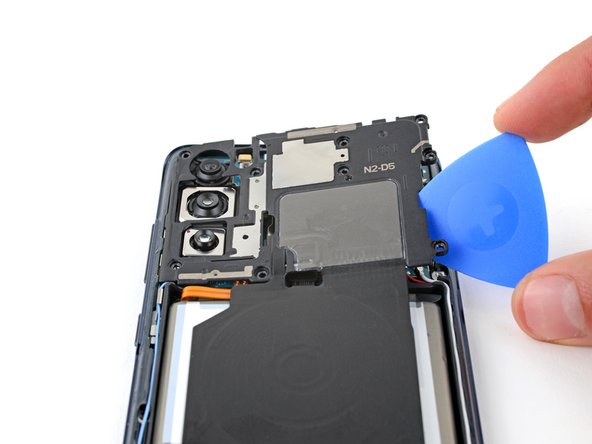
– Now, insert the opening pick on the bottom left edge of the cover and give it a twist to free the last clips. You’re doing great!
– When it’s time to put everything back together, press down confidently around the edges of the motherboard cover to lock those clips in. You’ve got this!
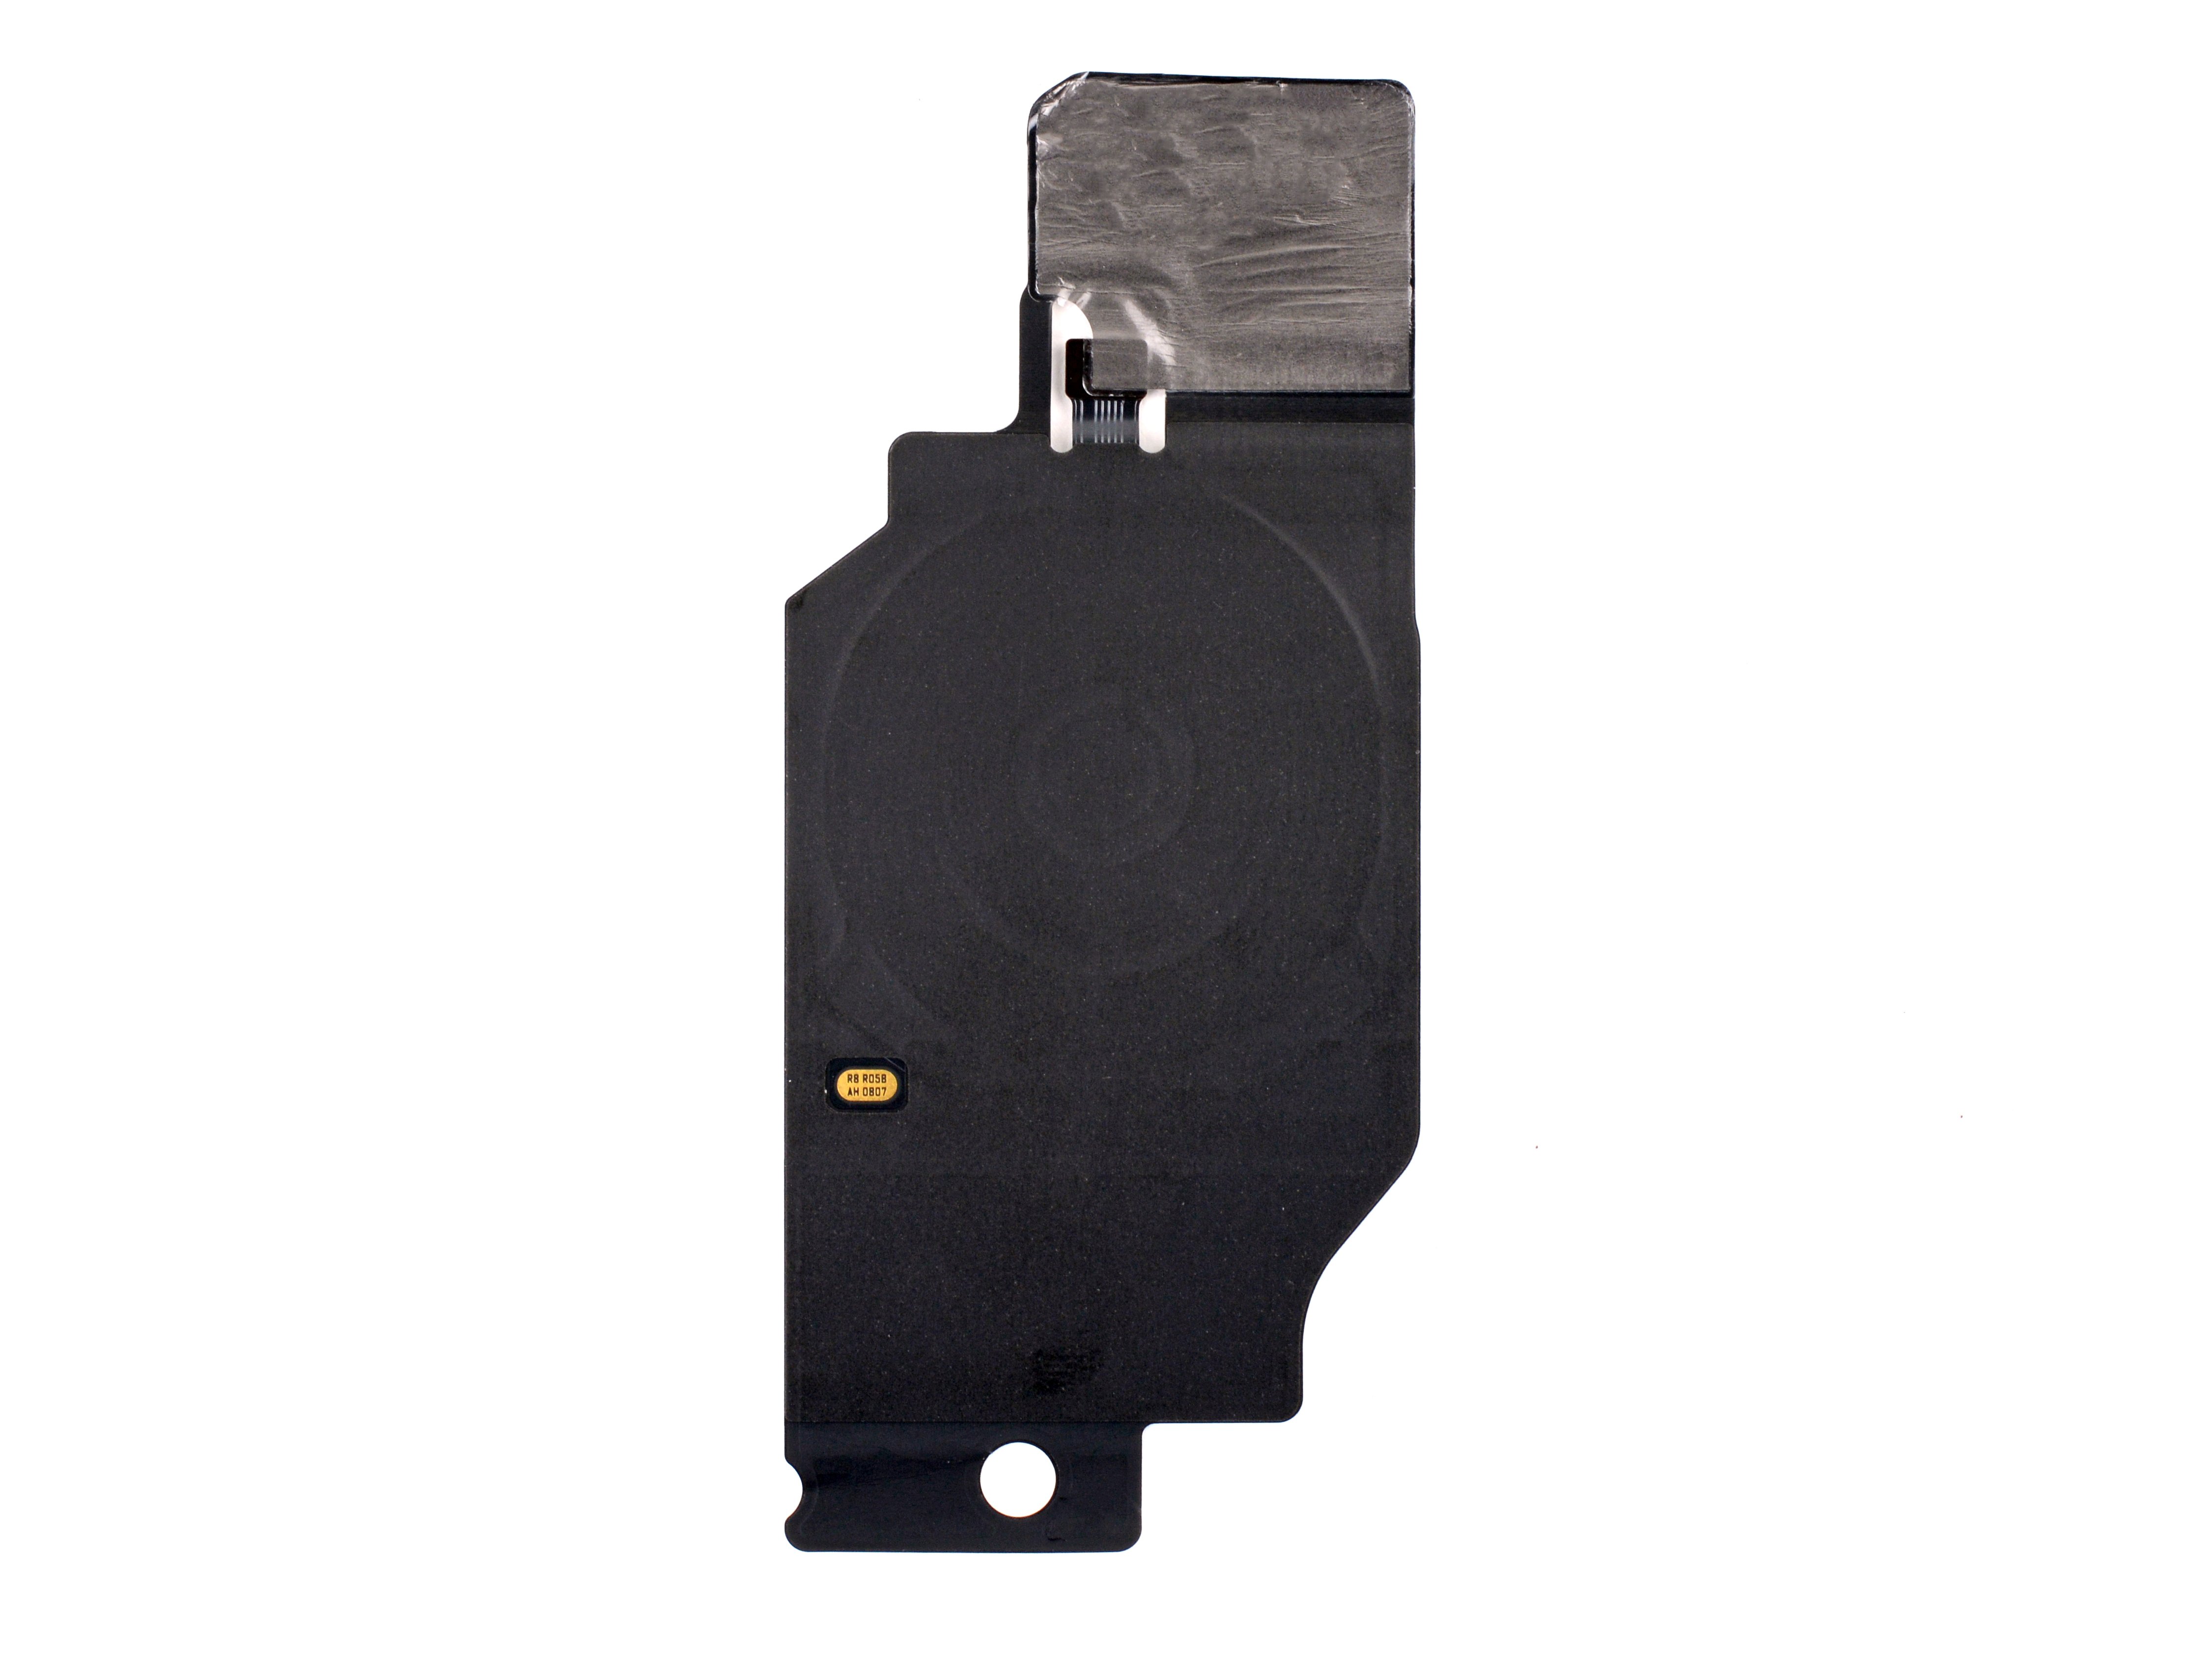
Step 15
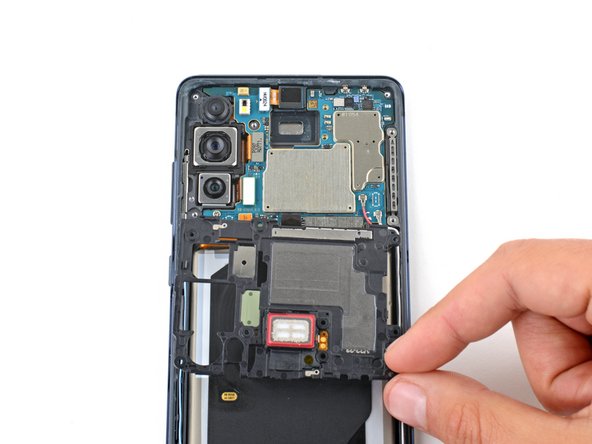

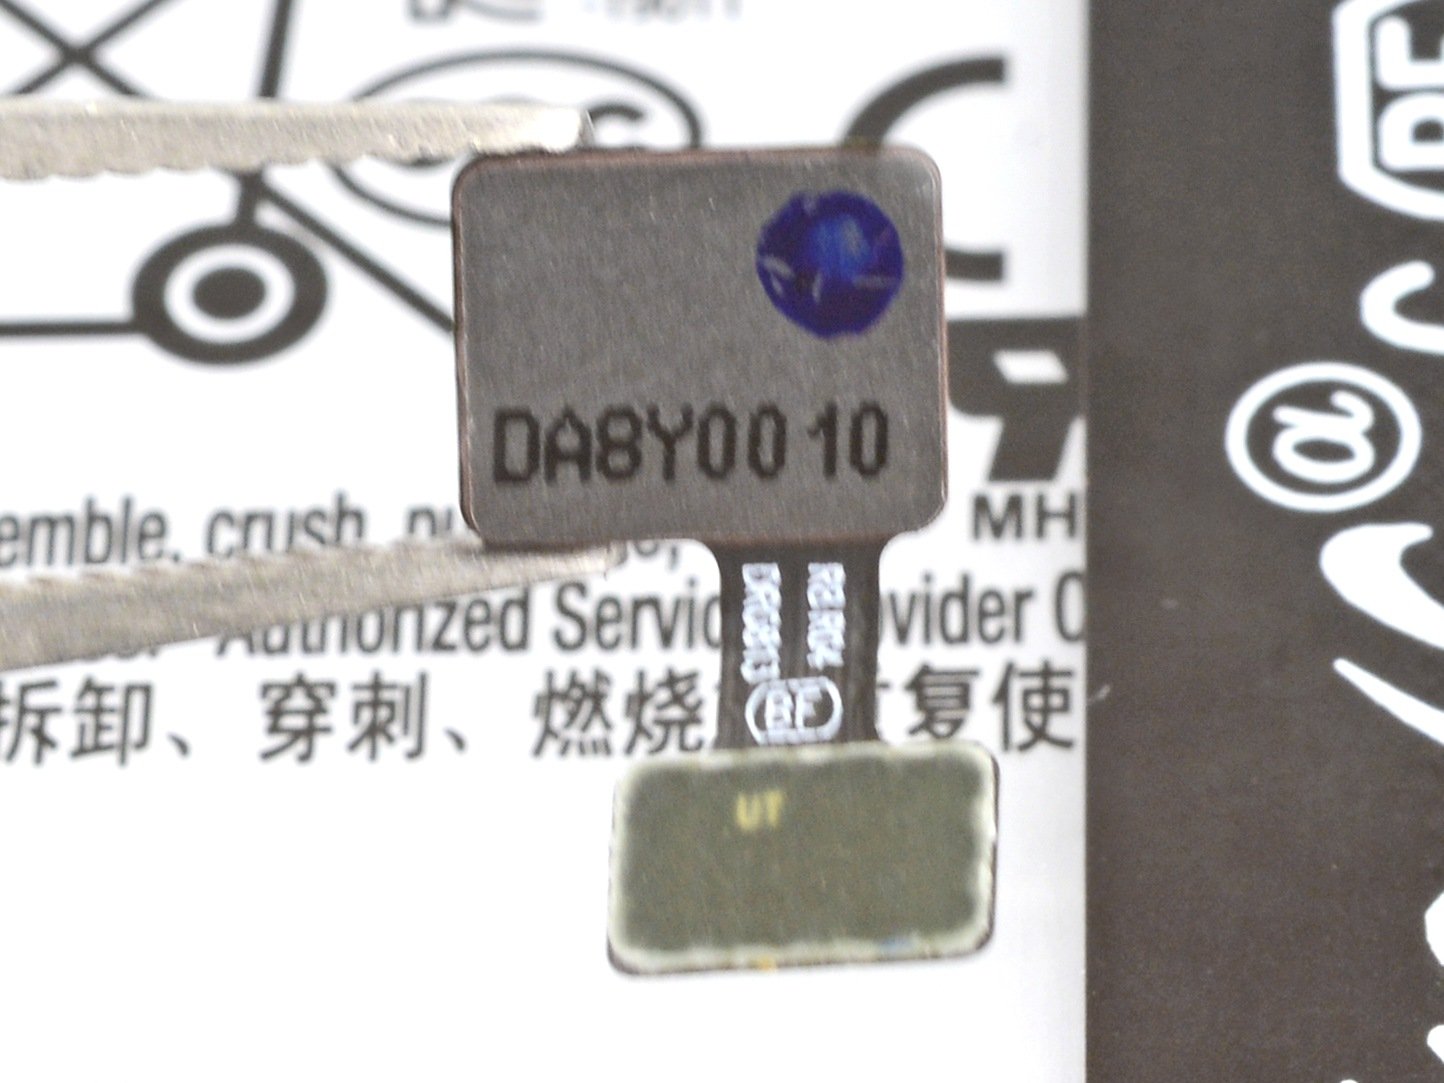
– Gently adjust the motherboard cover to uncover the battery press connector waiting for you at the base of the motherboard.
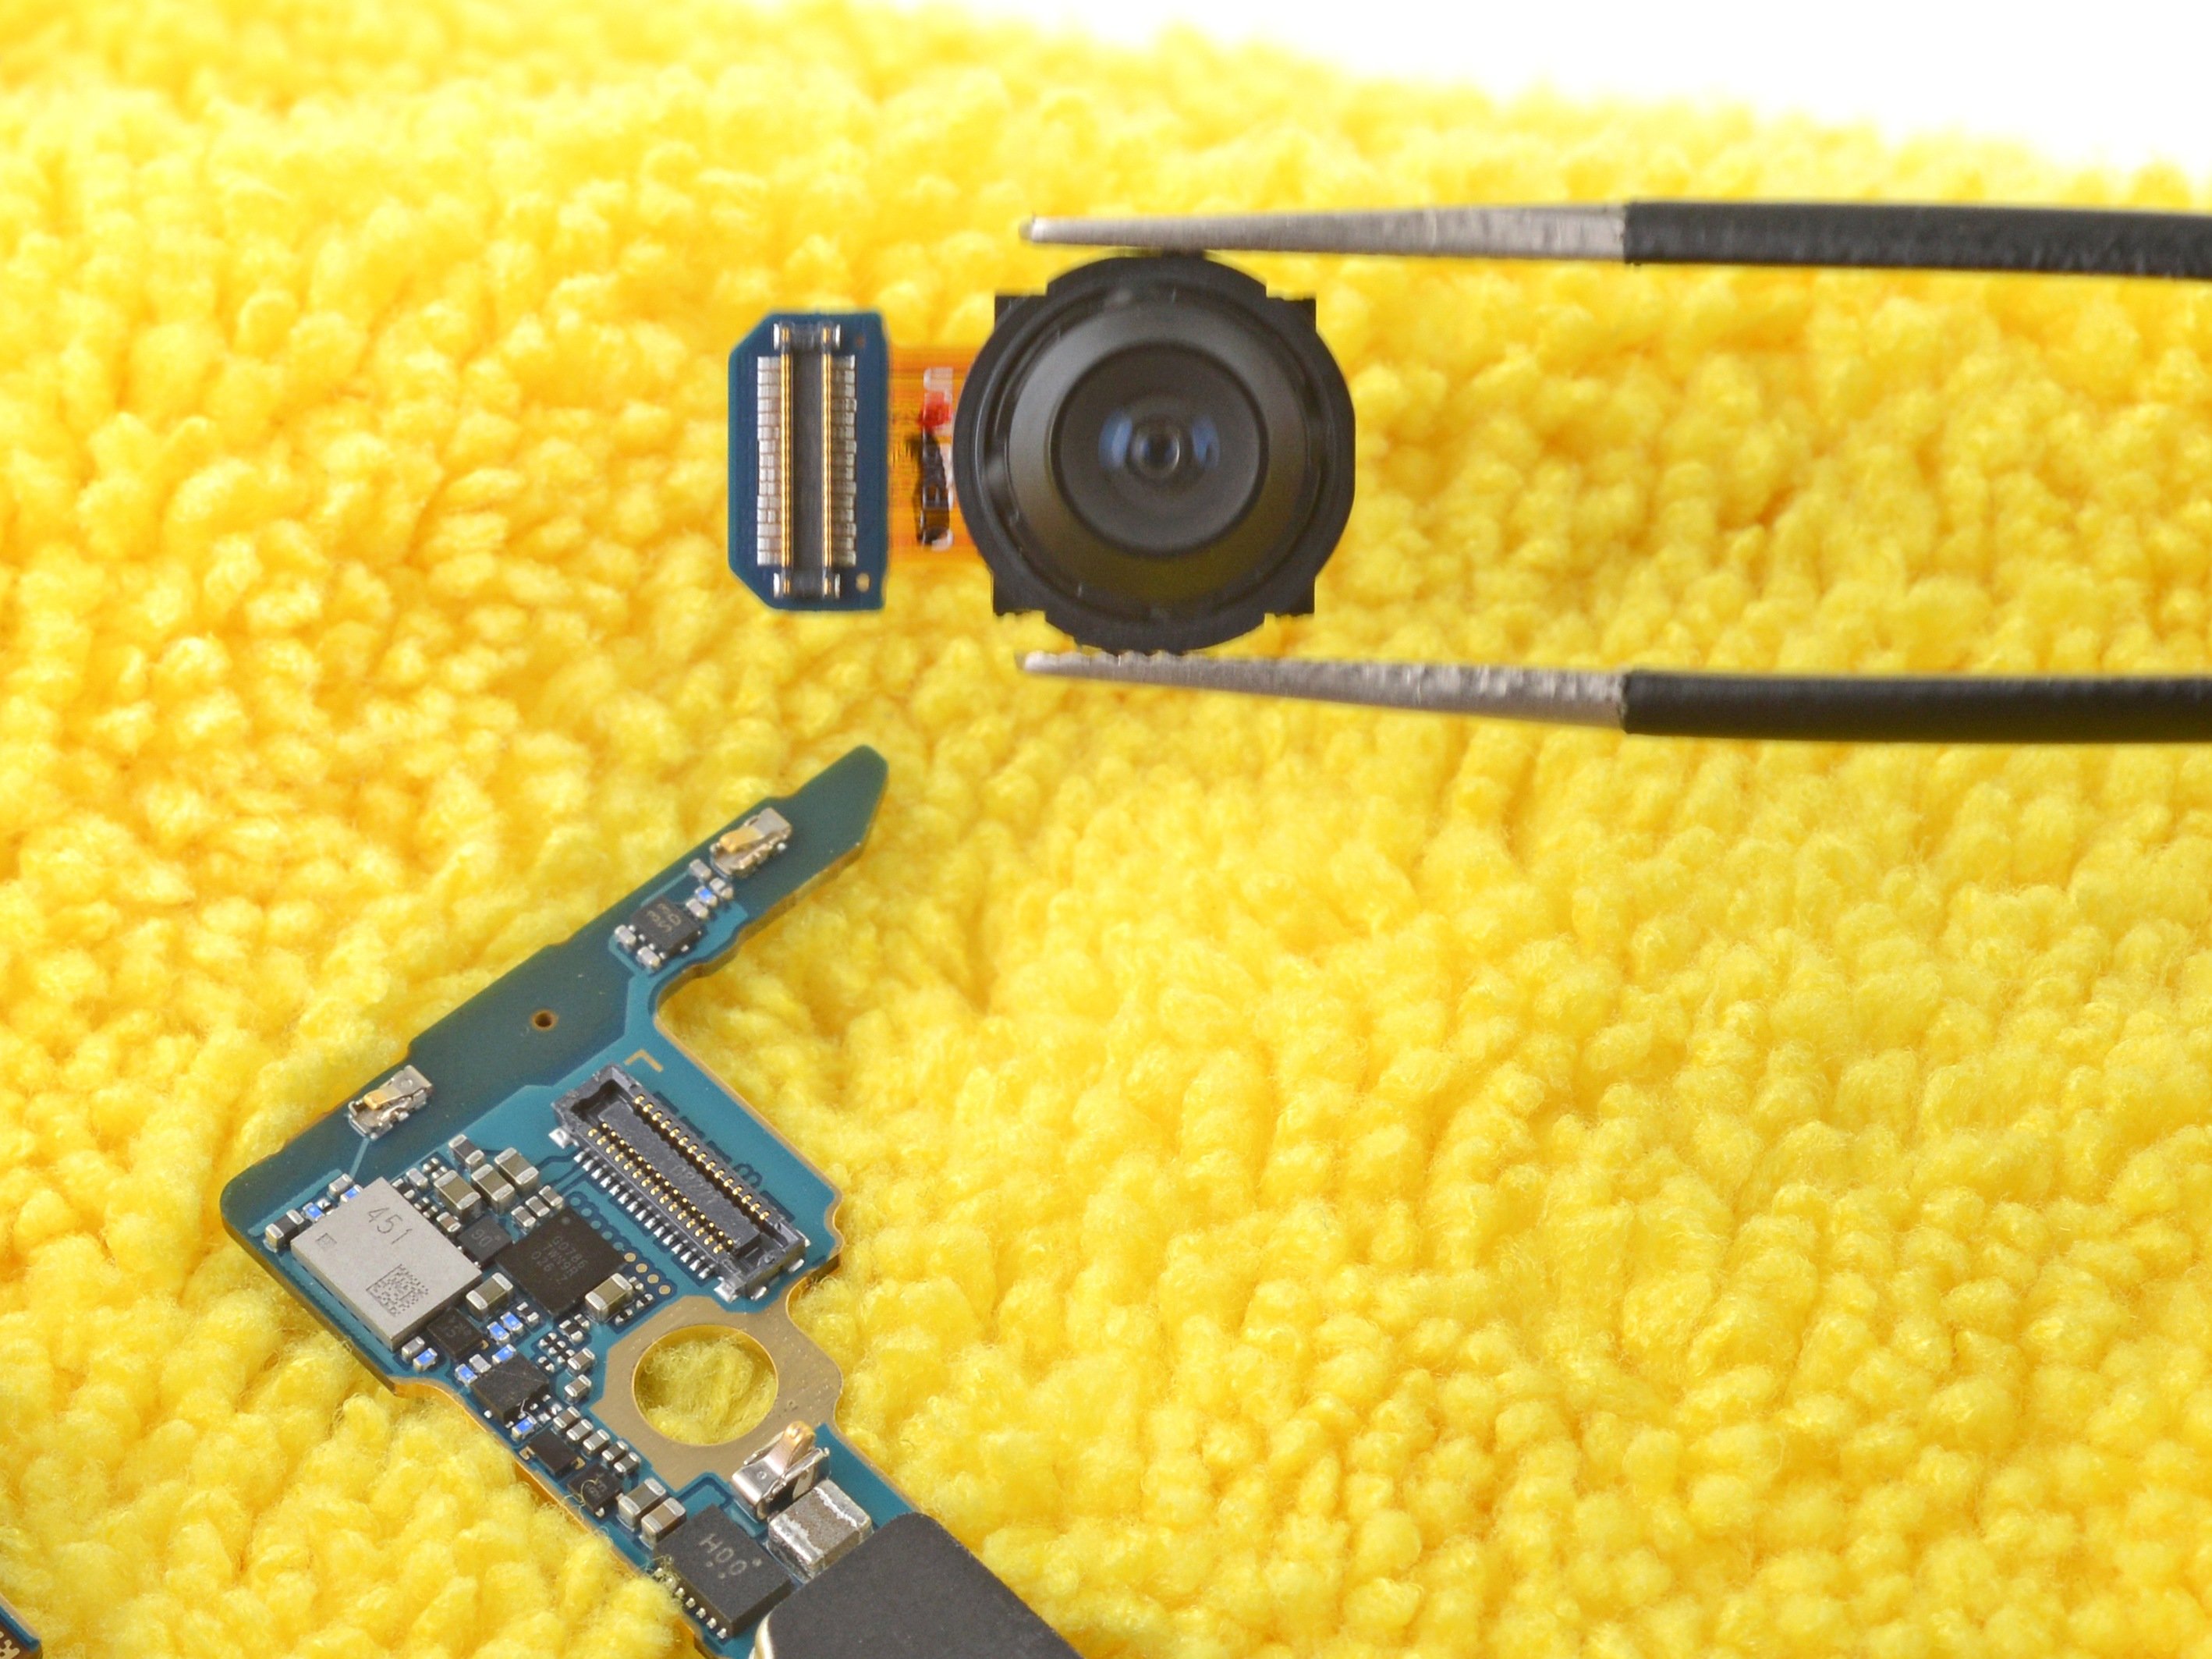
Step 16

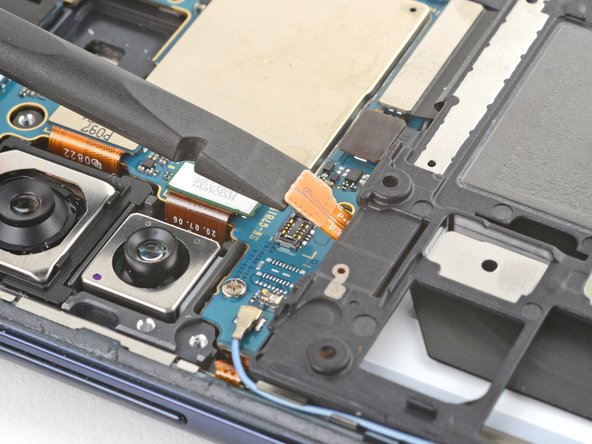
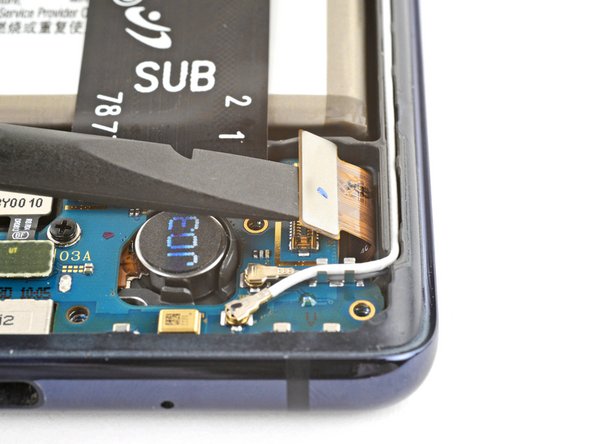
– Grab your trusty spudger and gently work the flat end under the battery press connector. Give it a little lift to disconnect it from the motherboard—you’re doing great!
Now, let’s get your connector back in action! Gently line up the edges and give it a little pressesy-push on each side till you hear that satisfying click. Skip the middle man, folks. And hey, if you’re feeling a bit lost, no worries! Just reach out to our pals at schedule a repair for some extra guidance.
Tools Used


Step 18

– Let’s put a bow on it and secure that back cover to keep your phone’s secrets safe while we work.
Step 19

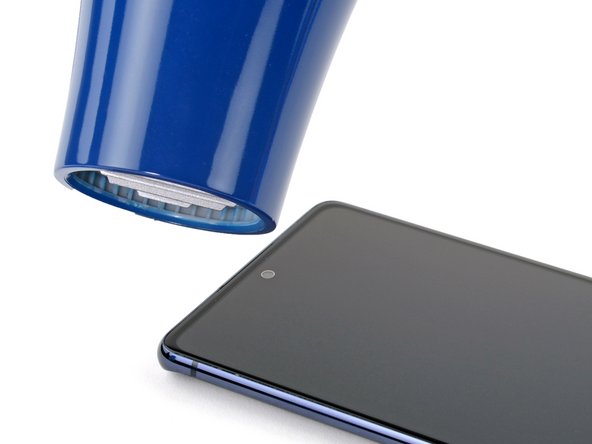
– Turn your phone upside down and grab a hair dryer to warm up the top edge of the screen. Let’s get that adhesive nice and cozy!
Tools Used

Step 20

– Alrighty, it’s time to get your repair on! Start by giving that suctions cup a gentle hug right by the top edge – you got this! Then, let’s unlock the secrets of mobile repair with a sly Jimmy move. Hold onto your digging destiny and guide that Jimmy downward. With all your courageous camaraderie, yank up that sucker with your suction-loving pal until Jimmy claims his honorable place under the display. And remember, if you need help, you can always schedule a repair!
Tools Used

Step 21

– Feelin’ like a pro? Time to get your pick in that tiny gap left by the trusty Jimmy. Once it’s in there, give that Jimmy a warm farewell!
Tools Used
Step 22
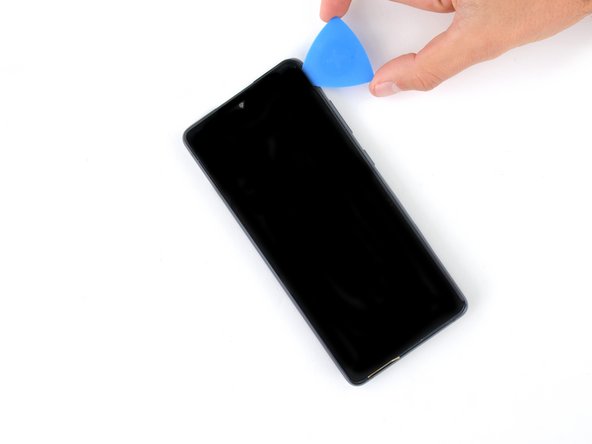
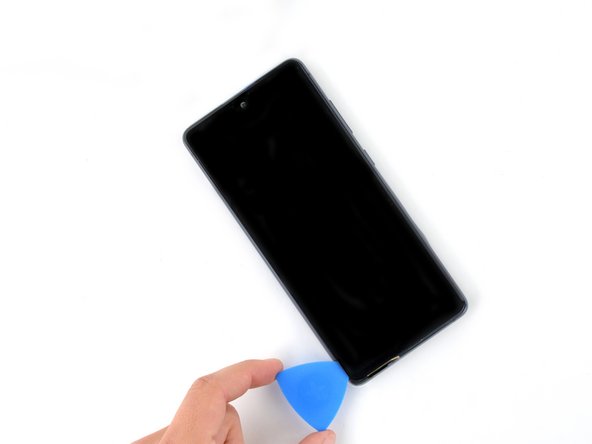

– Gently glide the opening pick around the edges of the phone to smoothly cut through the adhesive holding the digitizer in place.


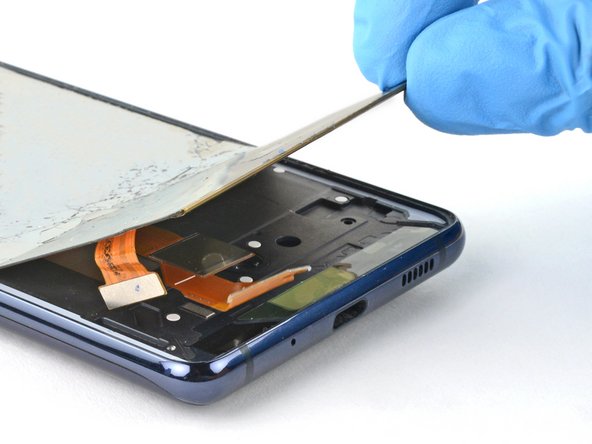
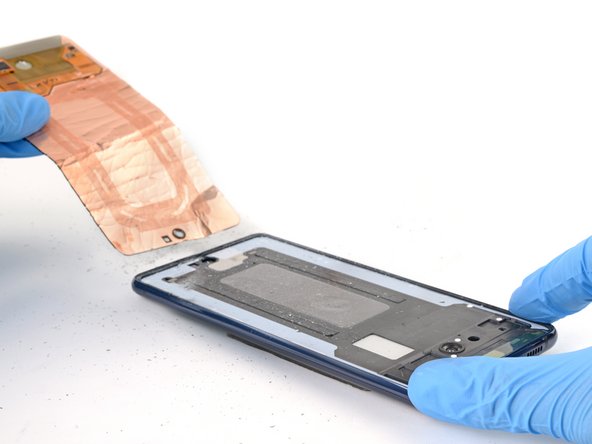
Step 25


Hey there! When removing the LCD panel, some glass shards may decide to take flight and join you in your workspace. To keep things lively and safe:


Step 28

– As you put everything back together, remember to take your time and enjoy the process! It’s like putting together a puzzle, but with a cool tech twist. Just make sure all the pieces fit snugly, and if something doesn’t seem right, double-check your steps. If you need help, you can always schedule a repair.