Samsung Galaxy S20 FE 5G Wide Angle Camera Replacement Guide – DIY Tutorial
Duration: 45 minutes
Steps: 17 Steps
Get ready to tackle the replacement of the wide-angle camera on your Samsung Galaxy S20 FE 5G! If your camera’s playing hard to get by refusing to focus, snapping blurry pictures, or delivering grainy shots, it might be time for a change. Before diving in, double-check that the issue is actually with the camera and not the rear lens cover. If the lens cover is the culprit, we’ve got a guide for that too! And don’t forget, you’ll want some replacement back cover adhesive to put everything back together once you’re done. If you need help, you can always schedule a repair.
Step 1

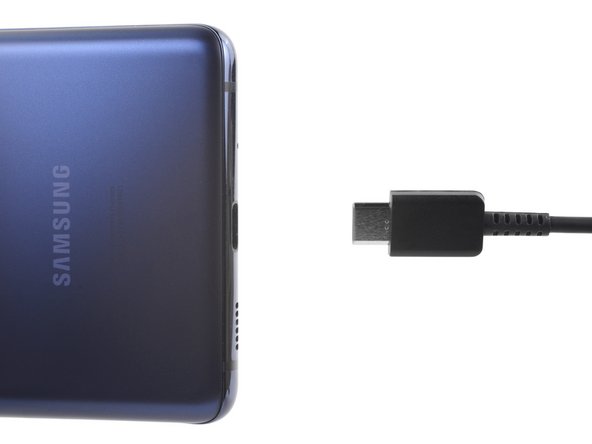
– First things first, power down your phone and disconnect any cables hanging around. Let’s keep things safe and sound while we dive into the repair process!
Step 2

– Get your iOpener nice and toasty, then gently press it against the lower edge of the back cover for a couple of minutes.
Tools Used

Step 3


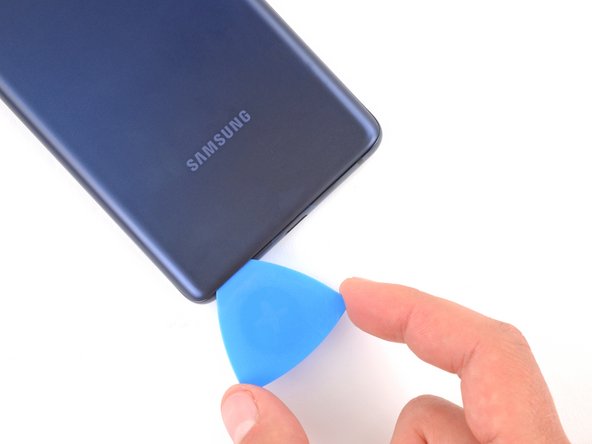
– Super cool! Now, place a suction cup near the bottom edge of your gadget’s back cover and give it a strong yank to loosen the cover!
– Great job! Carefully slide in an opening pick into the gap you’ve created. Slow and steady, now!
– Schedule a repair if you need help? No worries, we’re here for you!
Tools Used

Step 4


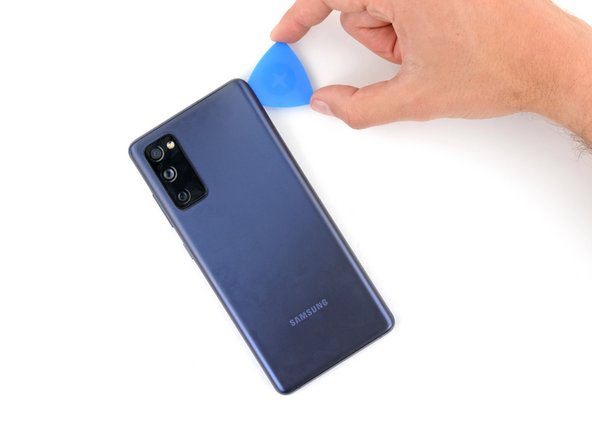
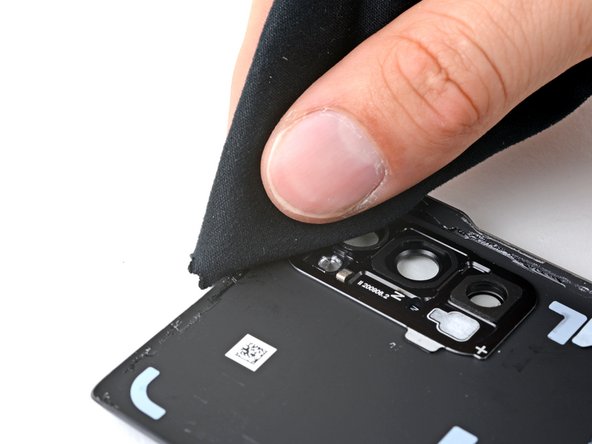
– Gently glide the opening pick along the bottom edge to smoothly slice through the adhesive holding the back cover in place.
– Keep the opening pick snug in the bottom right corner to prevent the adhesive from sticking back together.
Step 5

– Warm up your trusty iOpener and give the right edge of the back cover a cozy two-minute hug. You’ve got this!
Tools Used
Step 6


– Gently slide the opening pick around the bottom right corner and glide it all the way up the right edge to cut through the adhesive like a pro.
– Keep that opening pick snugly inserted in the top right corner for the next steps.
Step 7

– Let’s heat up that iOpener and apply some warm love to the top edge of your back cover for about two minutes. You’re doing great!
Tools Used
Step 8


– Gently maneuver the opening pick around the top right corner and glide it along the top edge to break that adhesive seal.
– Keep that pick snugly in the top left corner while you work your magic.
Step 9

– Gently warm up the left edge of the back cover with a cozy iOpener for a couple of minutes.
Tools Used
Step 10


– Gently glide the opening pick around the top left corner and all the way down the left edge to neatly slice through that pesky adhesive.


Step 12


– As you start putting everything back together, why not take a moment to power on your device and check if everything’s running smoothly? Just make sure to turn it off completely before diving back into the assembly.
– If you’re bringing back your old back cover:
– If you’re going with a brand new back cover, remove the liners and give it a good press all around the edges to make sure it sticks tight to the frame.
Step 13
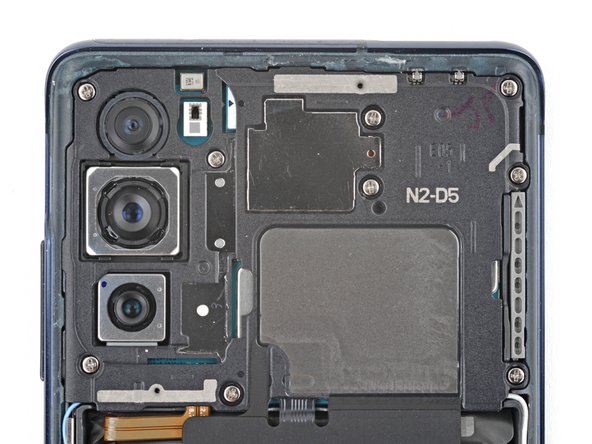

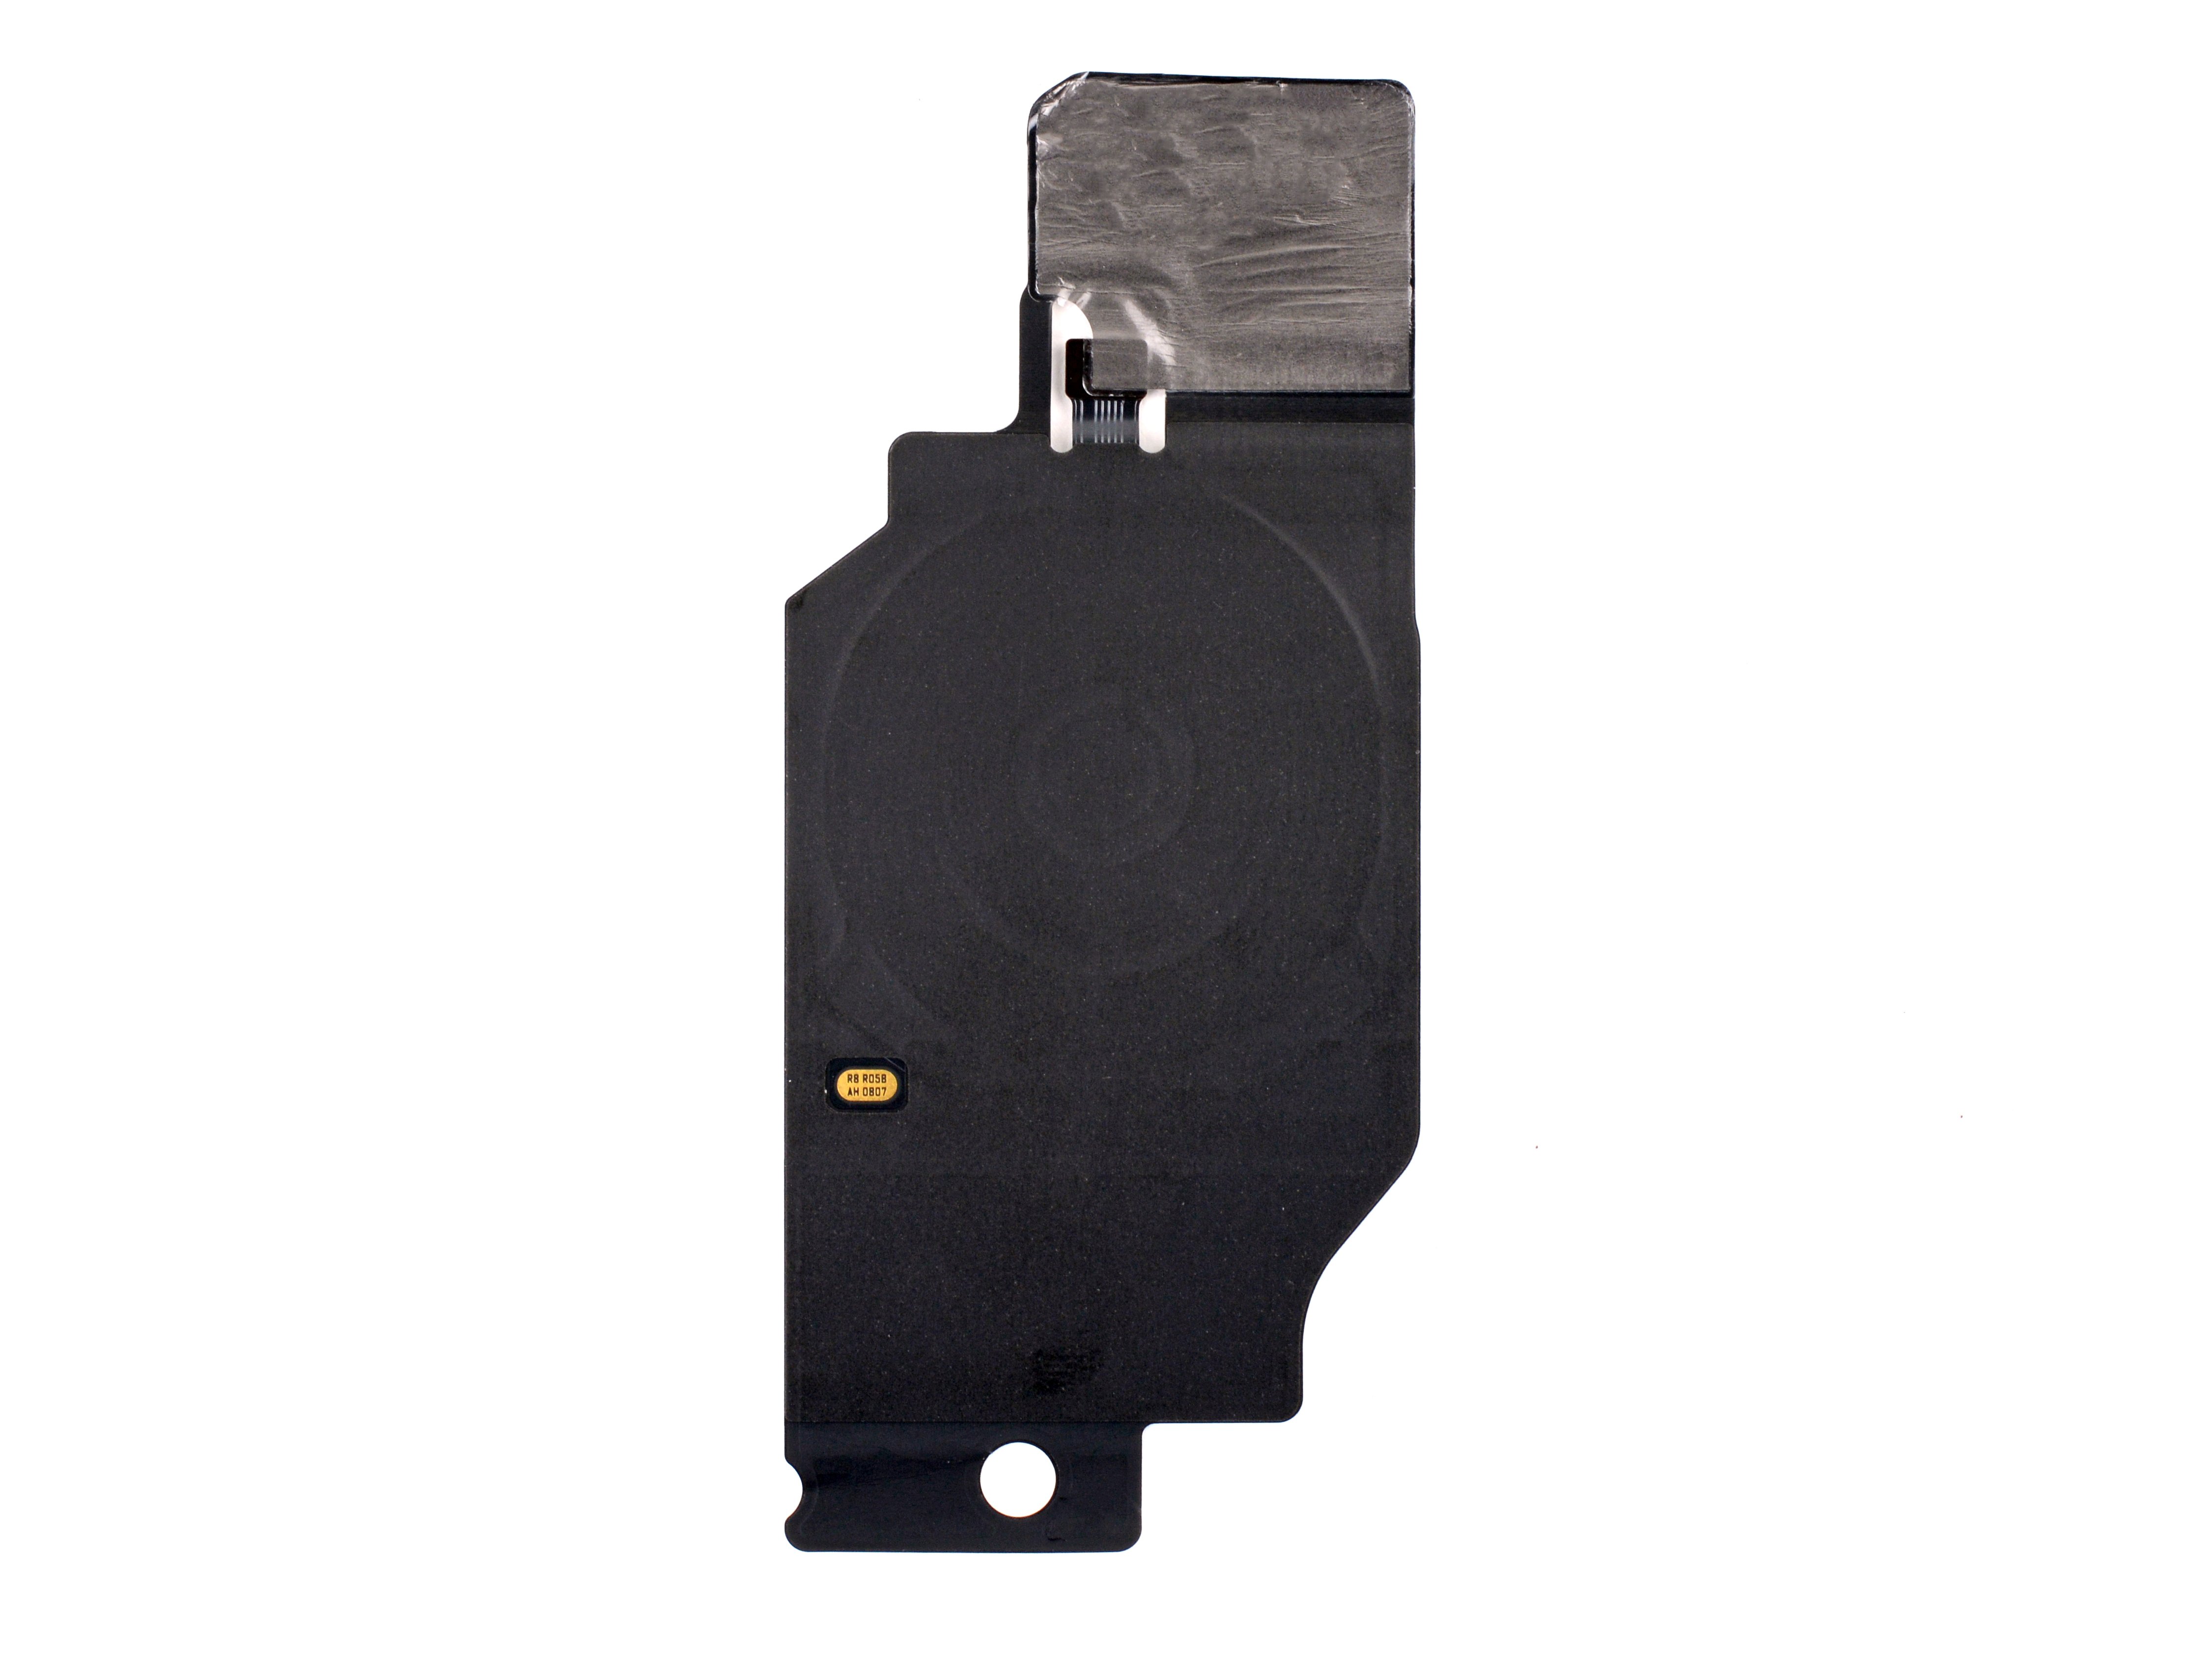
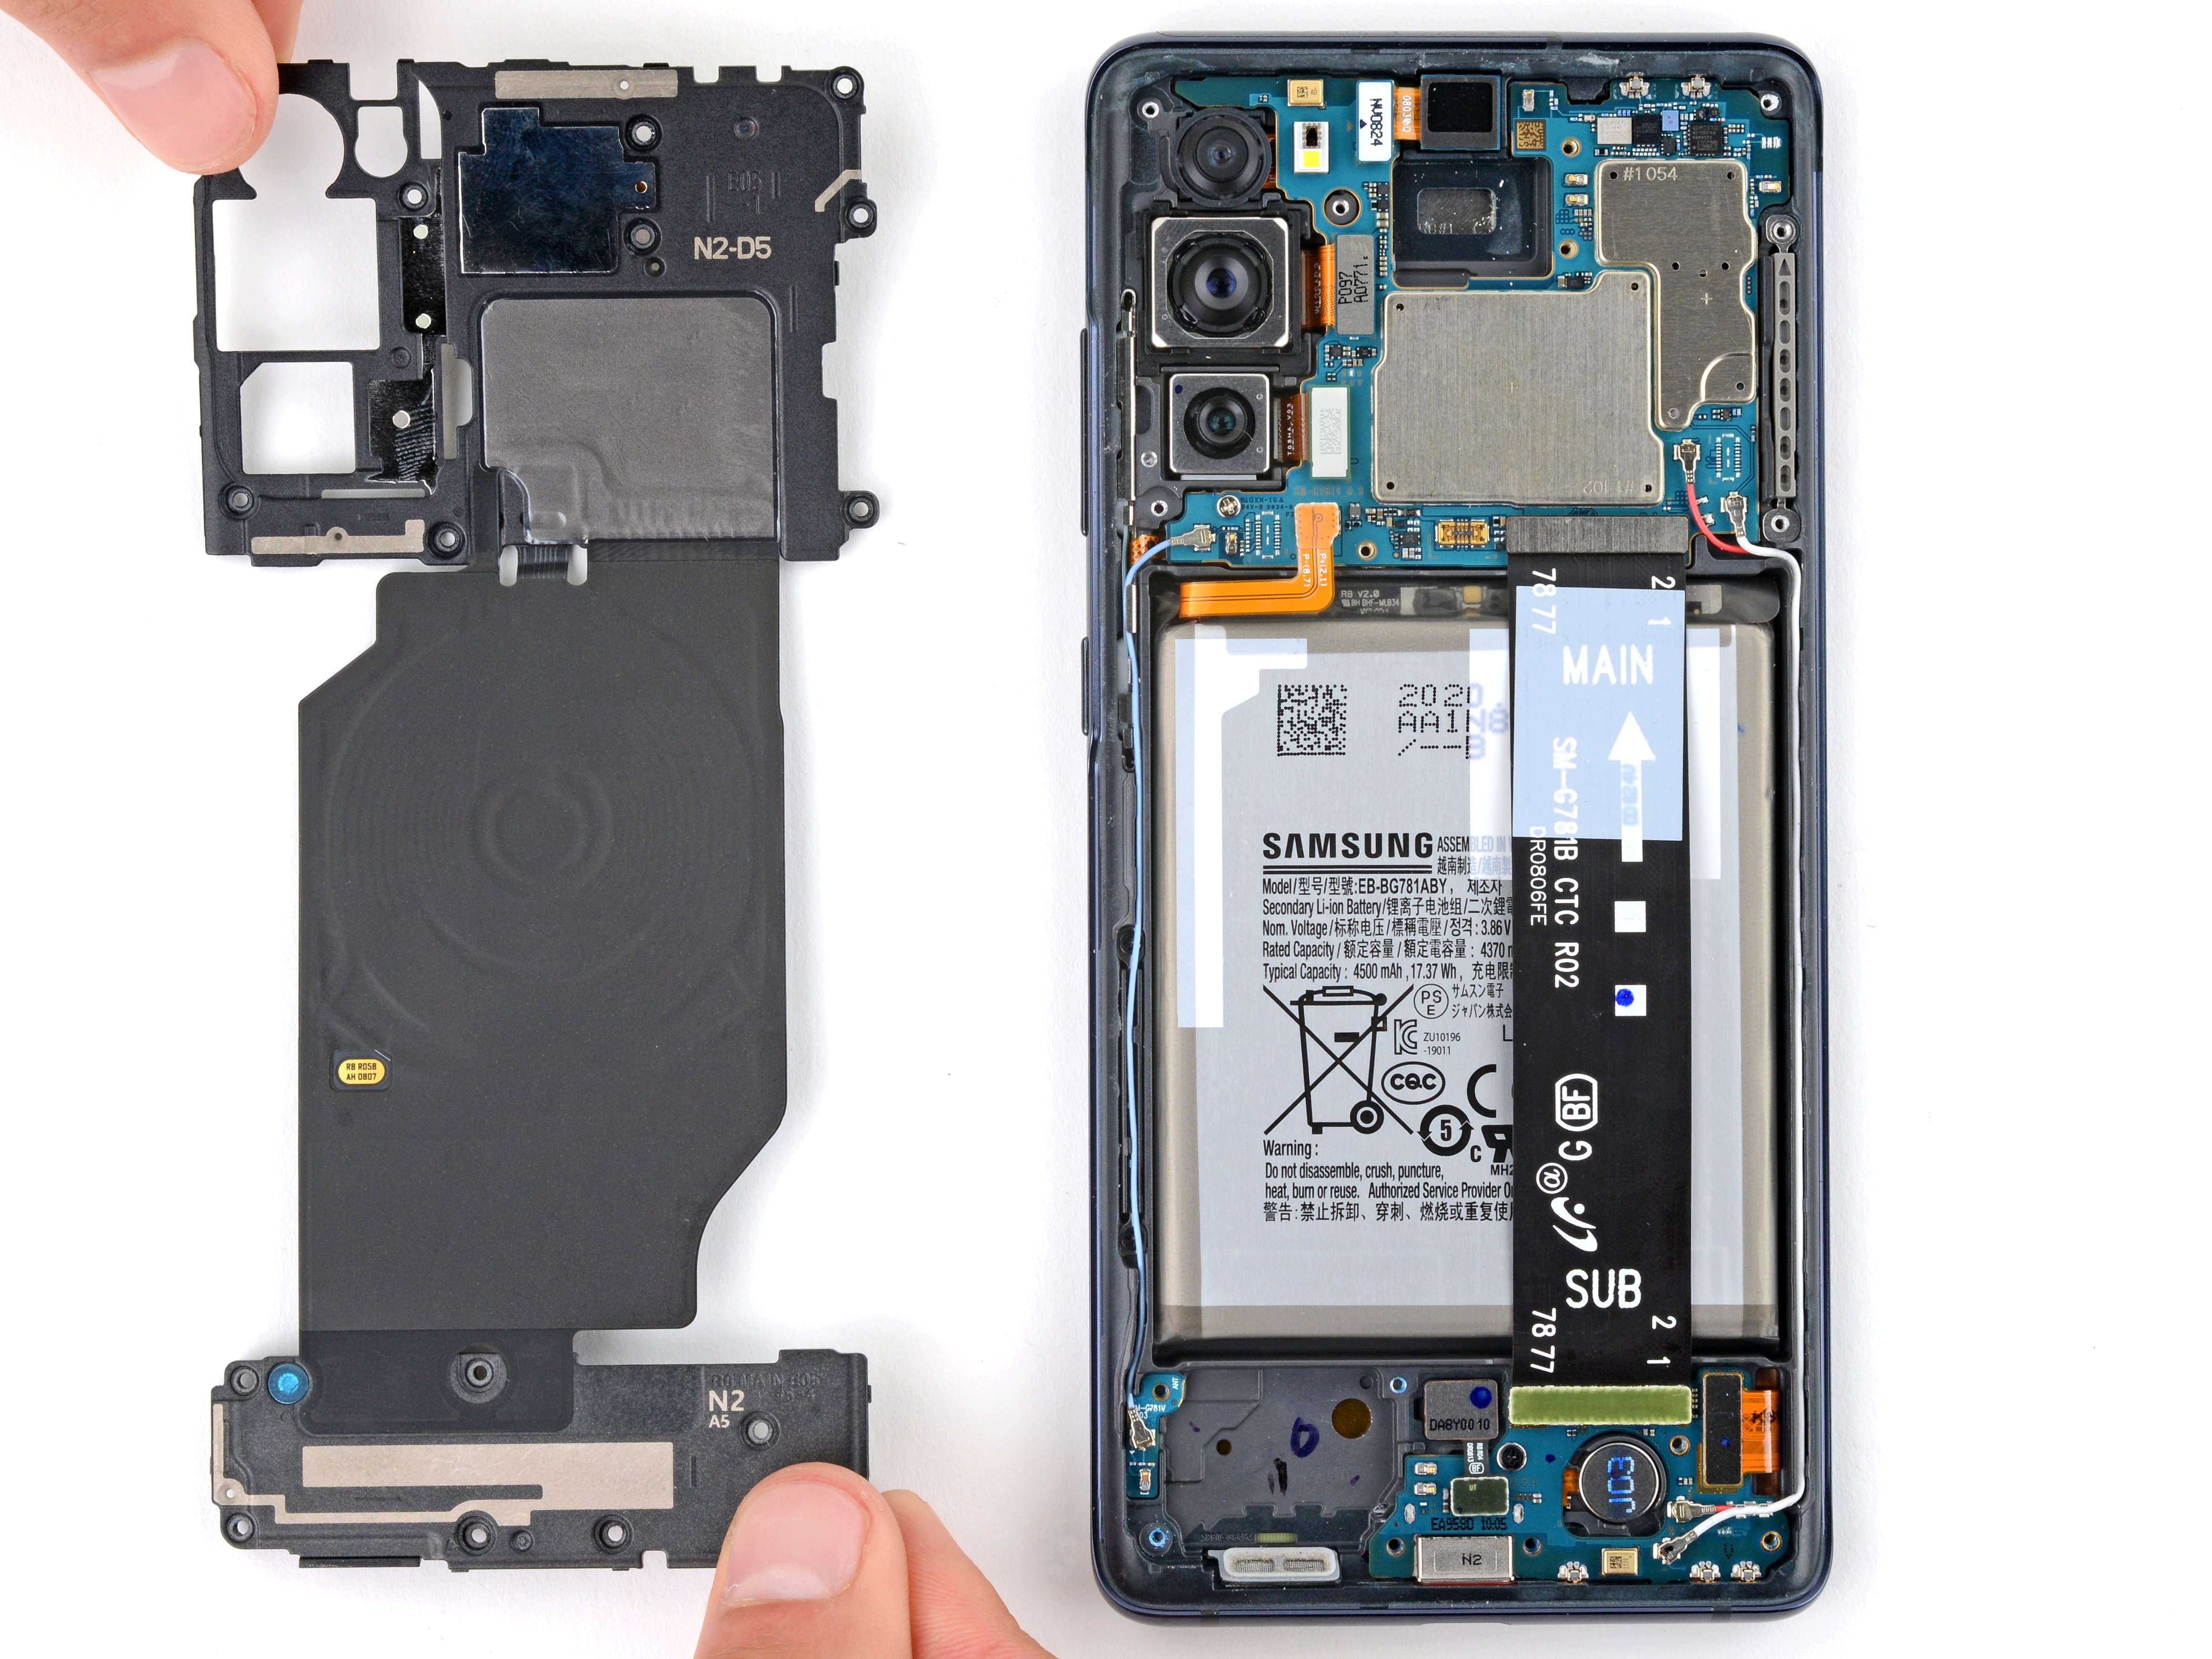
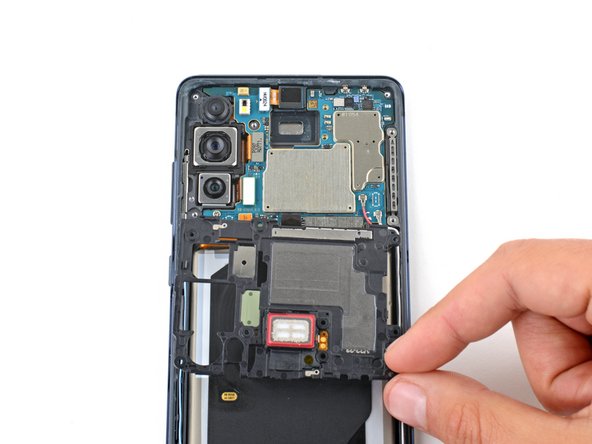
– Grab your trusty Phillips screwdriver and get ready to tackle the nine 4 mm-long screws that are holding down the motherboard cover. You’ve got this!
Step 14

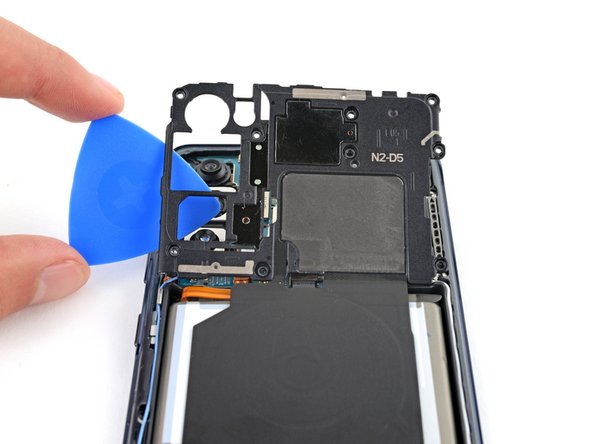
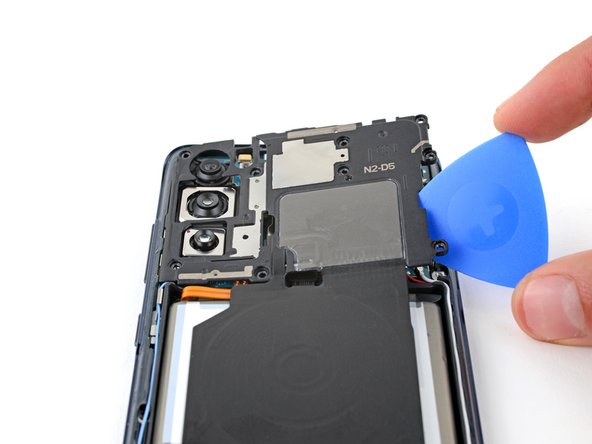
– Slide a pick under the bottom right corner of the motherboard cover.
– Give that pick a little twist to pop those clips loose and free the cover.
– Now, insert and twist your trusty opening pick at the bottom left edge to free any remaining clips.
– When it’s time to put everything back together, press firmly around the edge of the motherboard cover to snap those clips back into place. You’ve got this!
Step 15

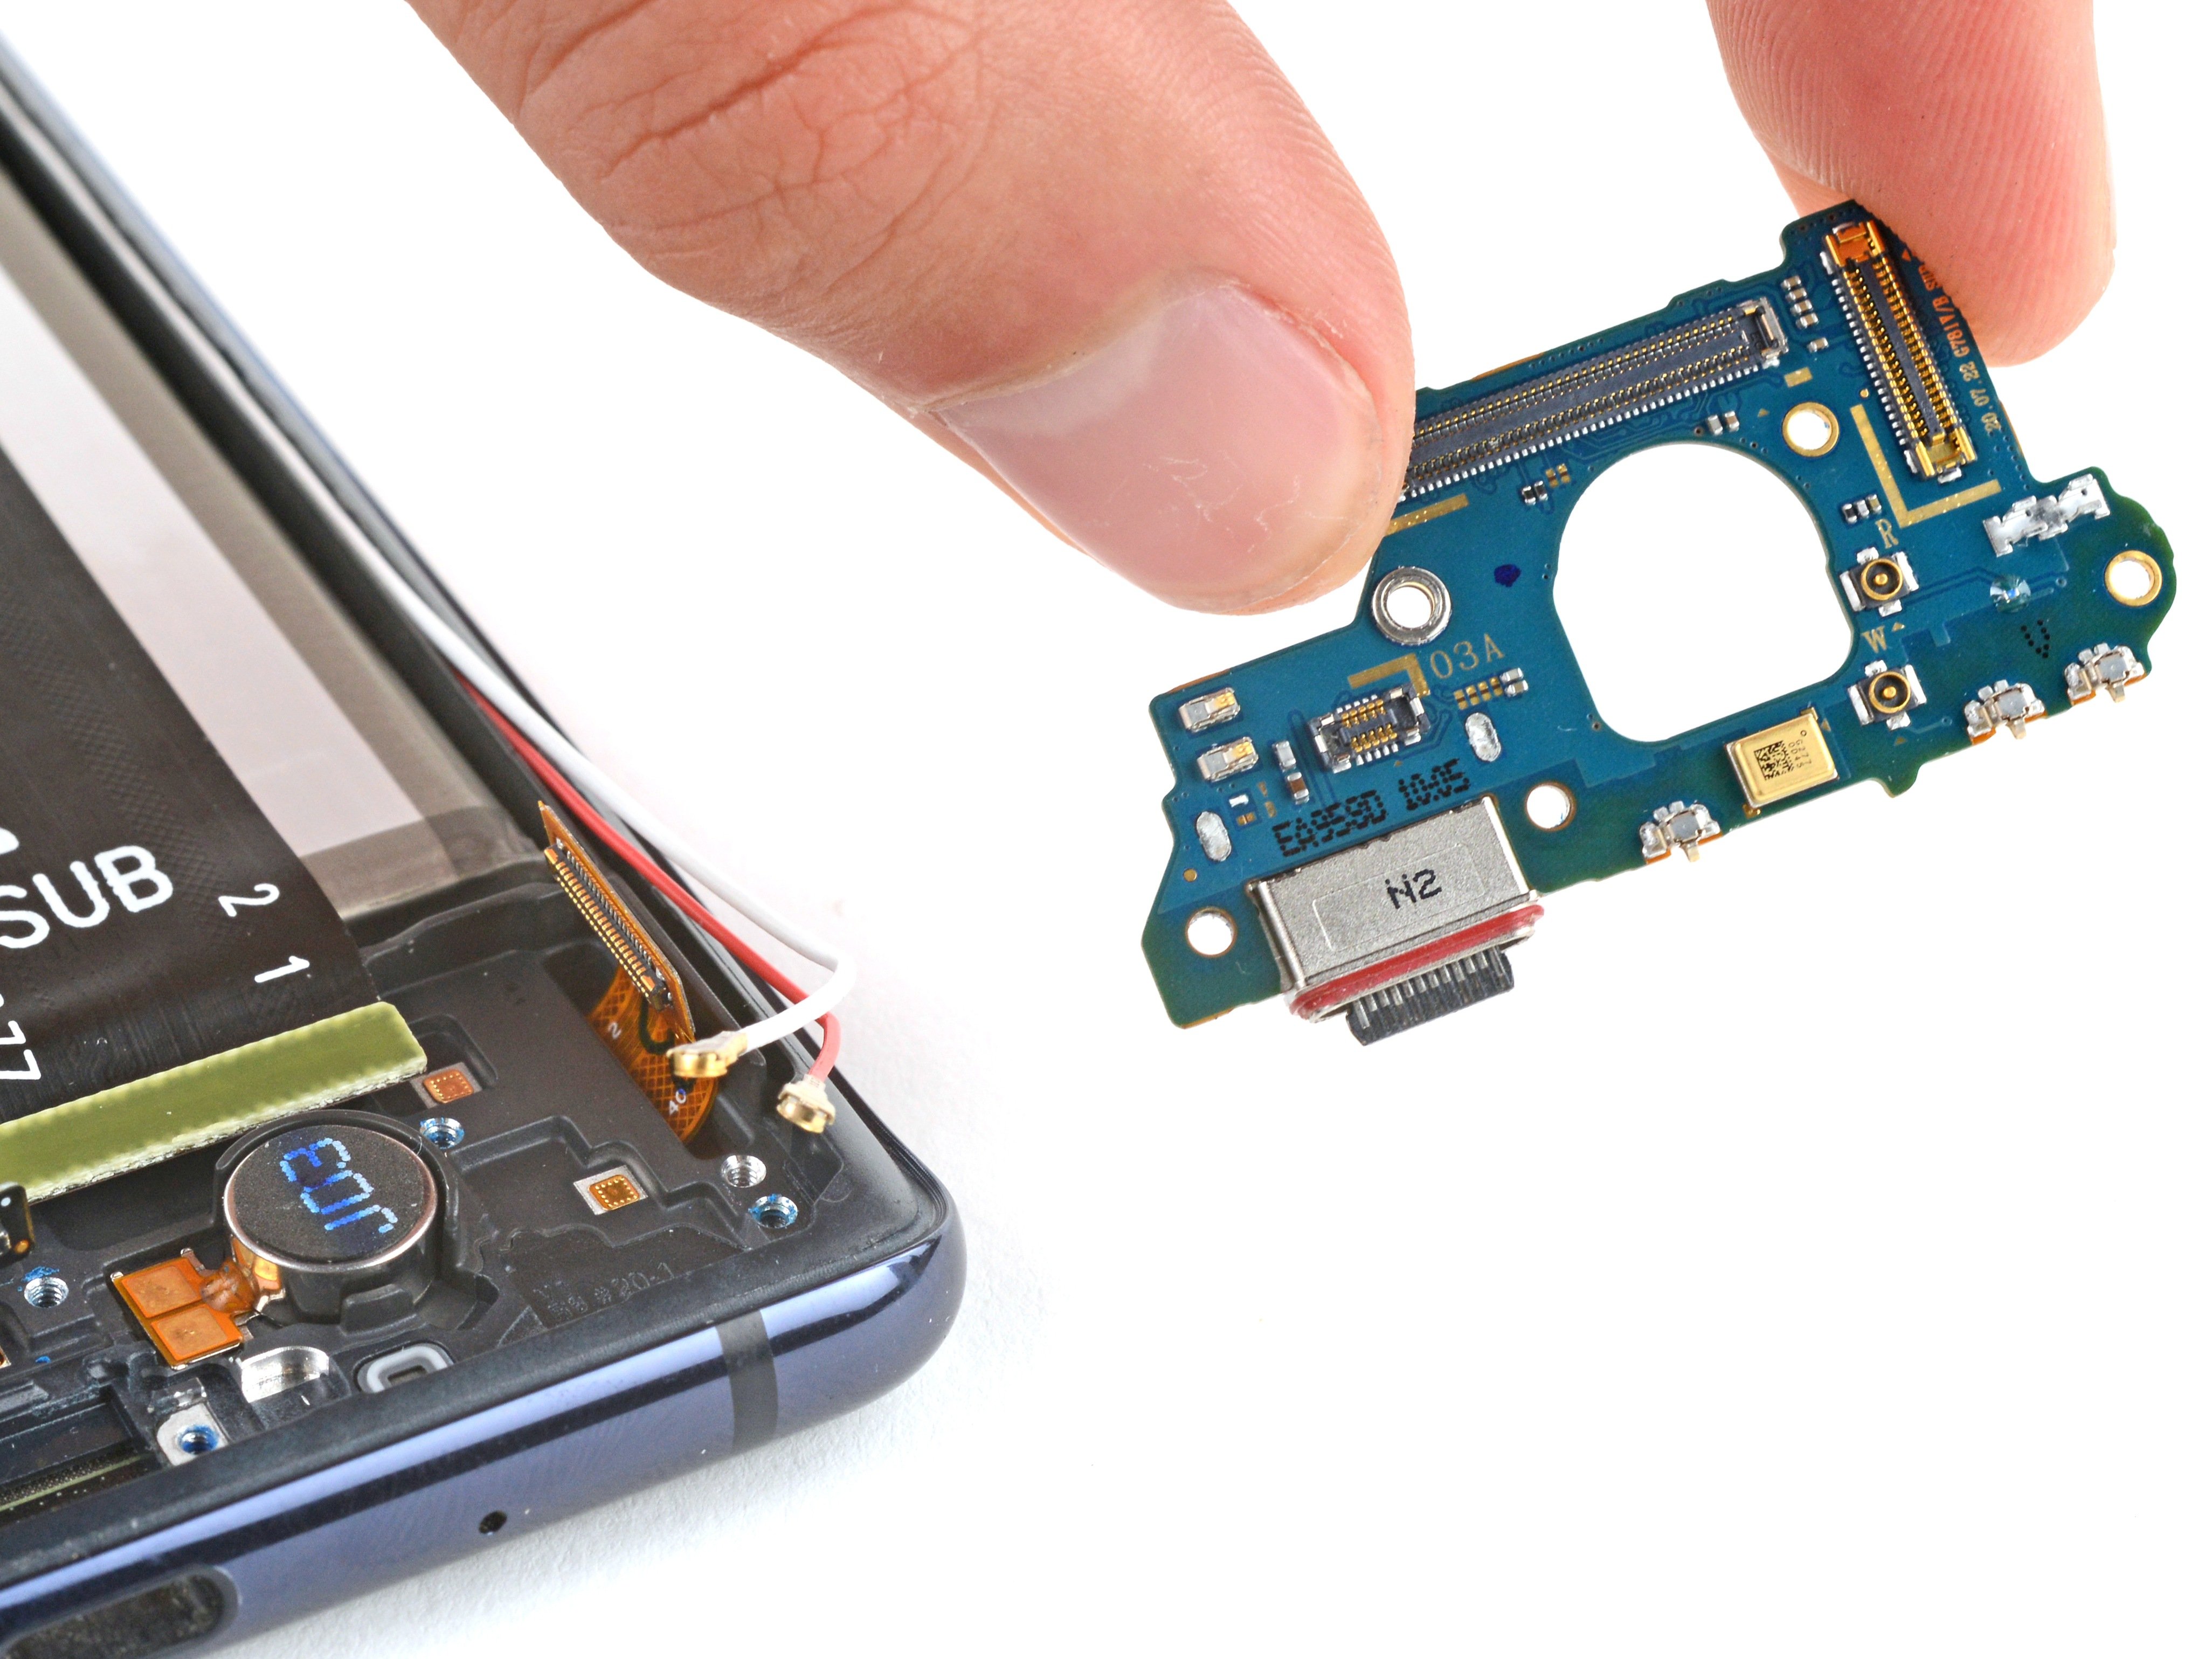
– Now, let’s give that motherboard cover a little dance and shuffle, so we can embrace the battery press connector on the bottom edge of the motherboard. If the mating jig’s got you feeling stuck, don’t forget you can always schedule a repair!
Step 16

Alrighty, to get those connectors back in place, let’s make sure they’re lined up just right. Give a gentle press on one side until it clicks, then do the same on the other side. Remember, no pressing in the middle! If things seem off, those pins can get into a funky dance and cause some serious trouble.
– Let’s dive in and gently use the flat end of a spudger to lift and disconnect the battery press connector from the motherboard.
Tools Used

Step 17

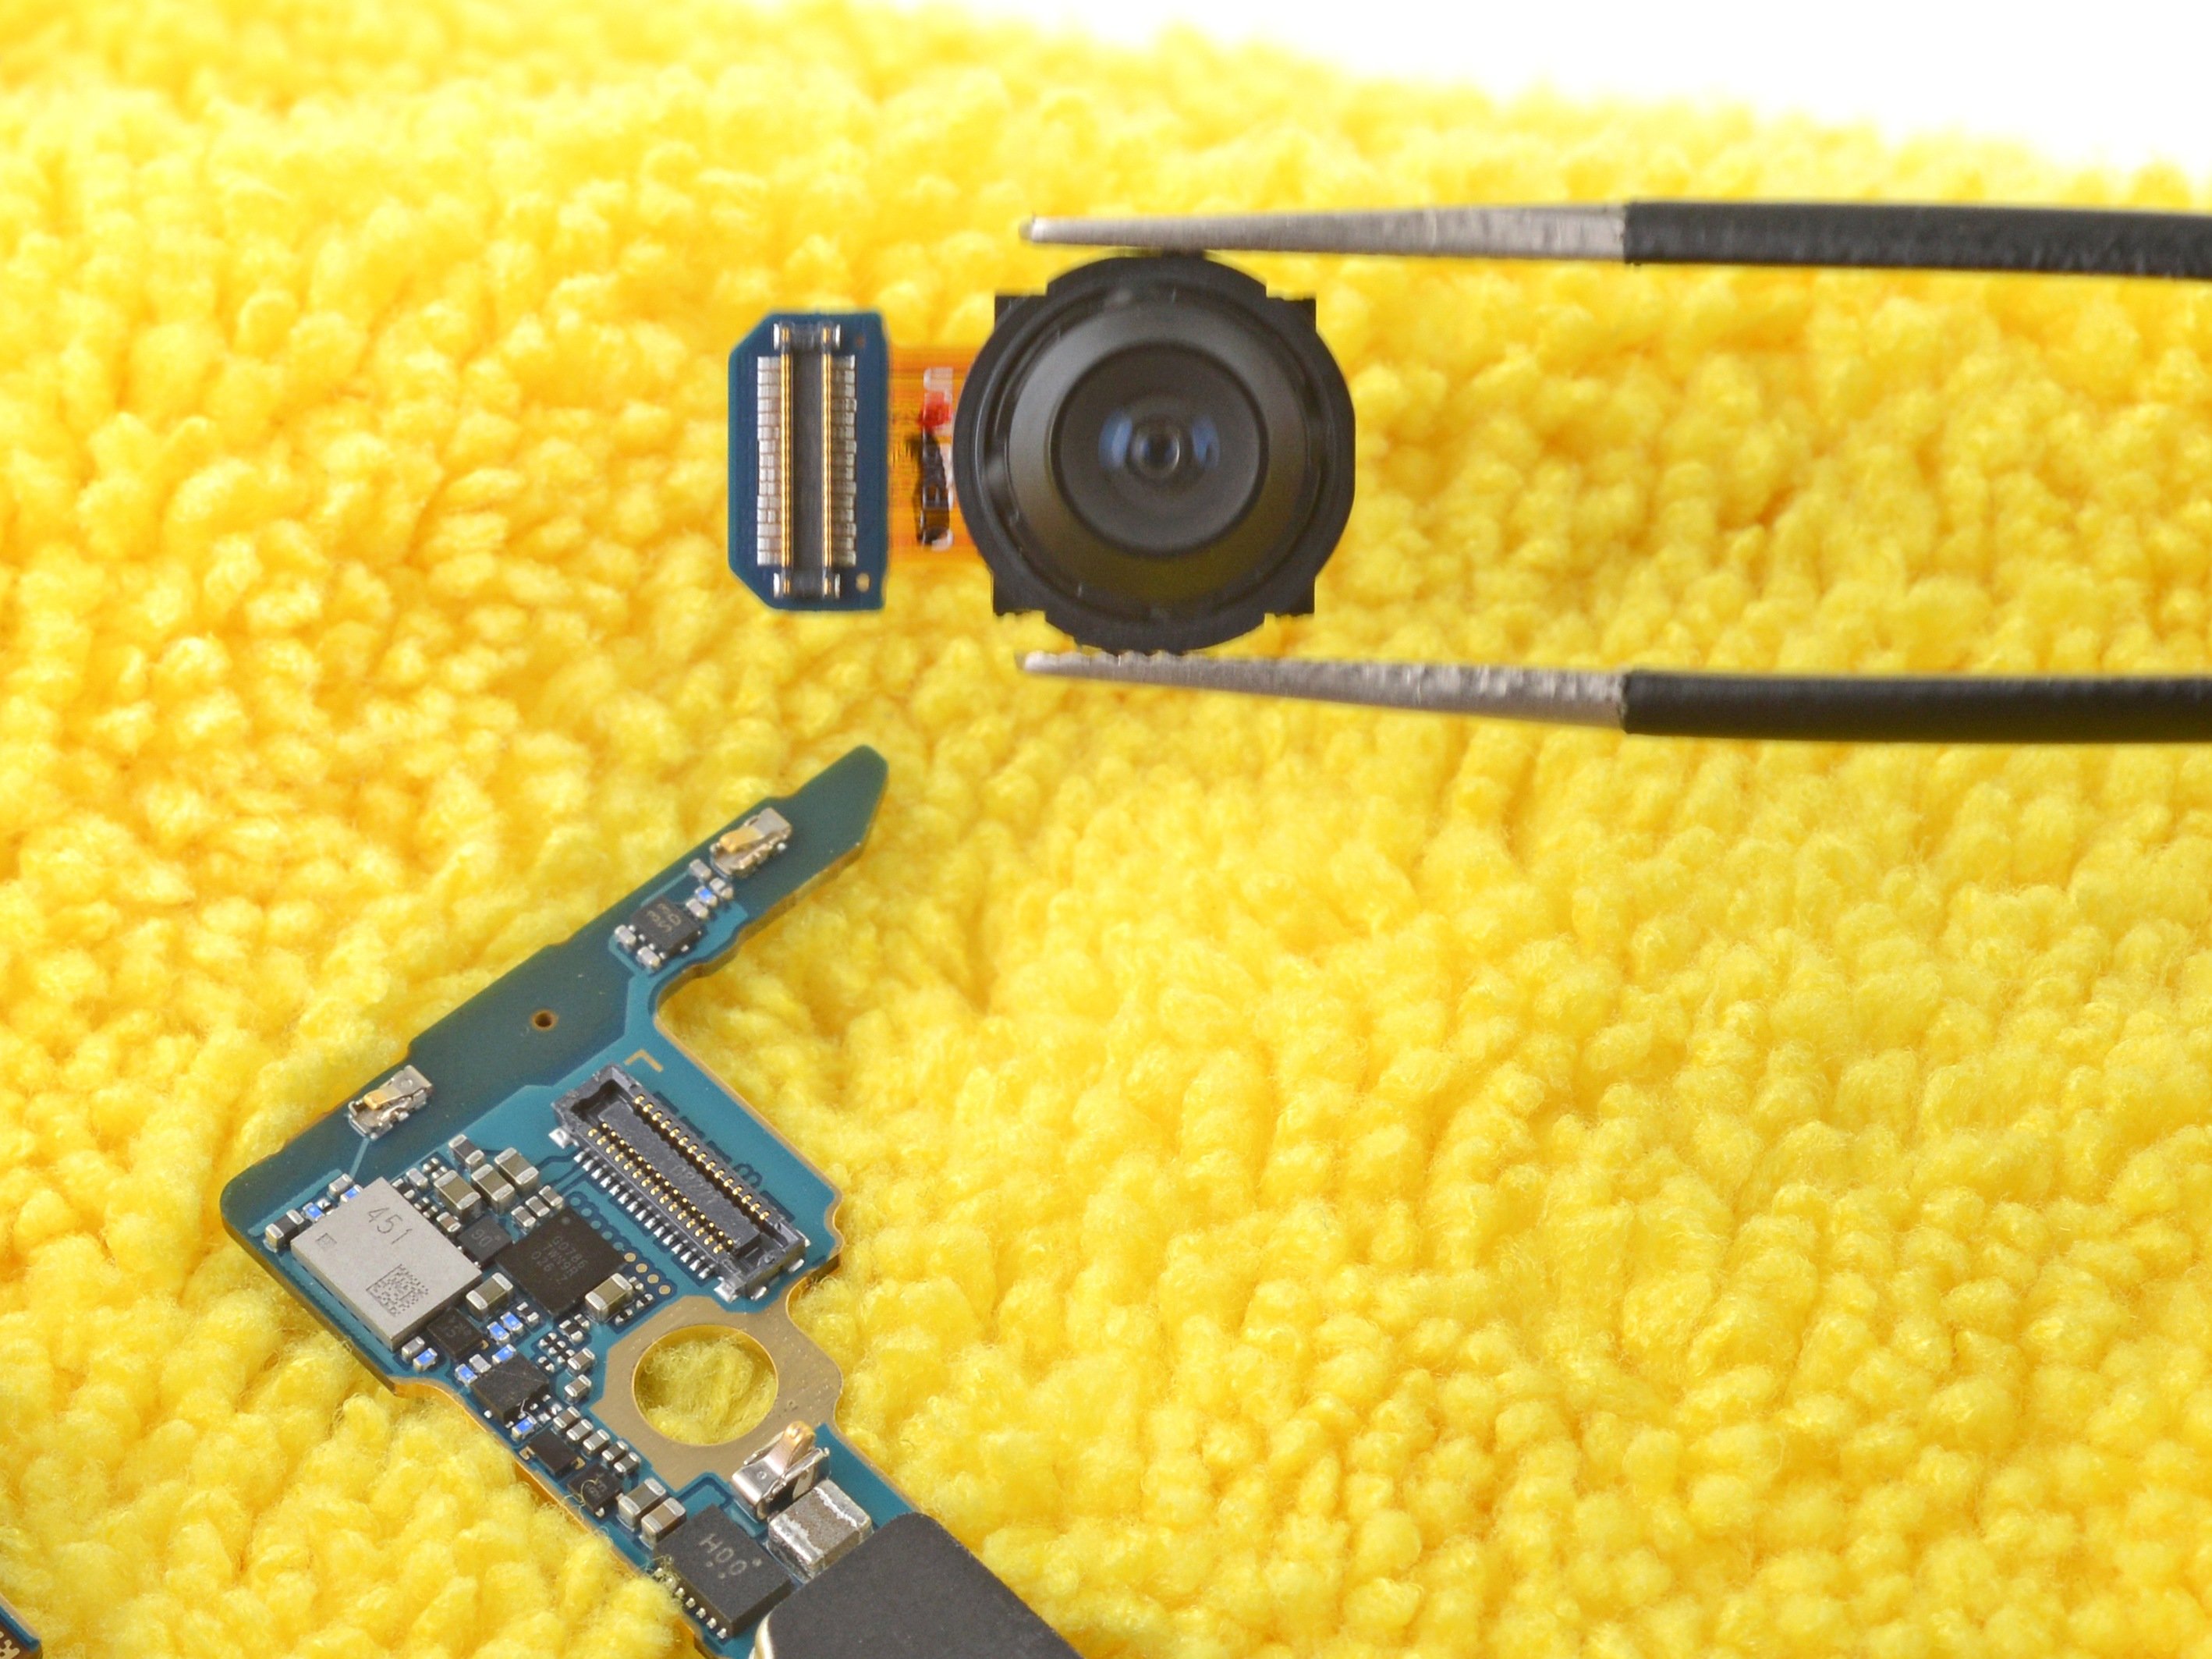
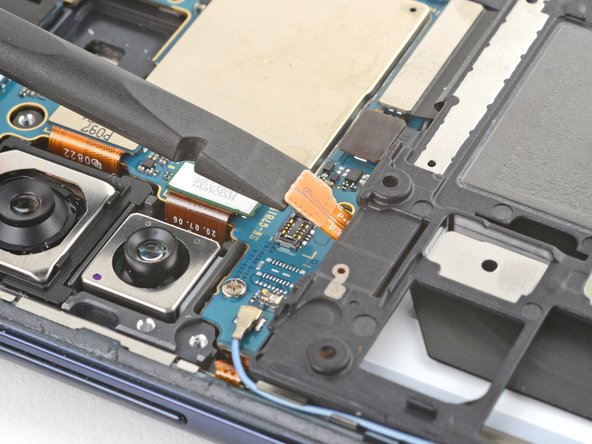
Take it easy when you’re disconnecting the front camera; it has a knack for popping out when you least expect it!
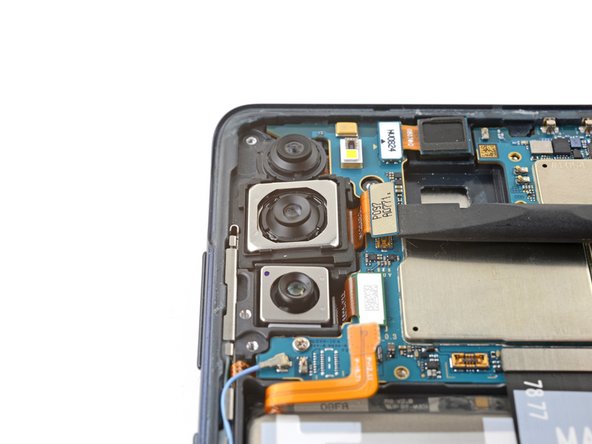
– Get your spudger ready to rock and roll as you gently pry up and disconnect that wide-angle camera press connector.
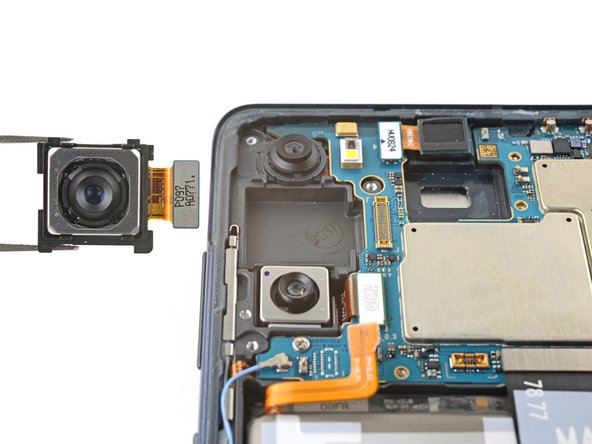
– It’s time to bid farewell to the wide-angle camera – gently remove it like a pro.
Tools Used