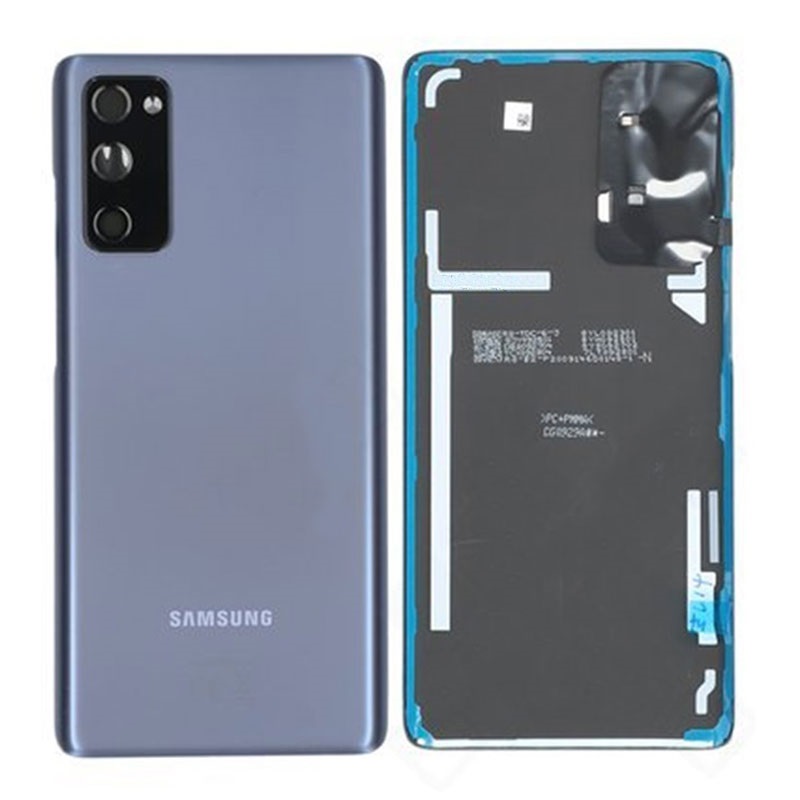
Samsung Galaxy S20 FE 5G Wireless Charging Coil Replacement
Duration: 45 minutes
Steps: 23 Steps
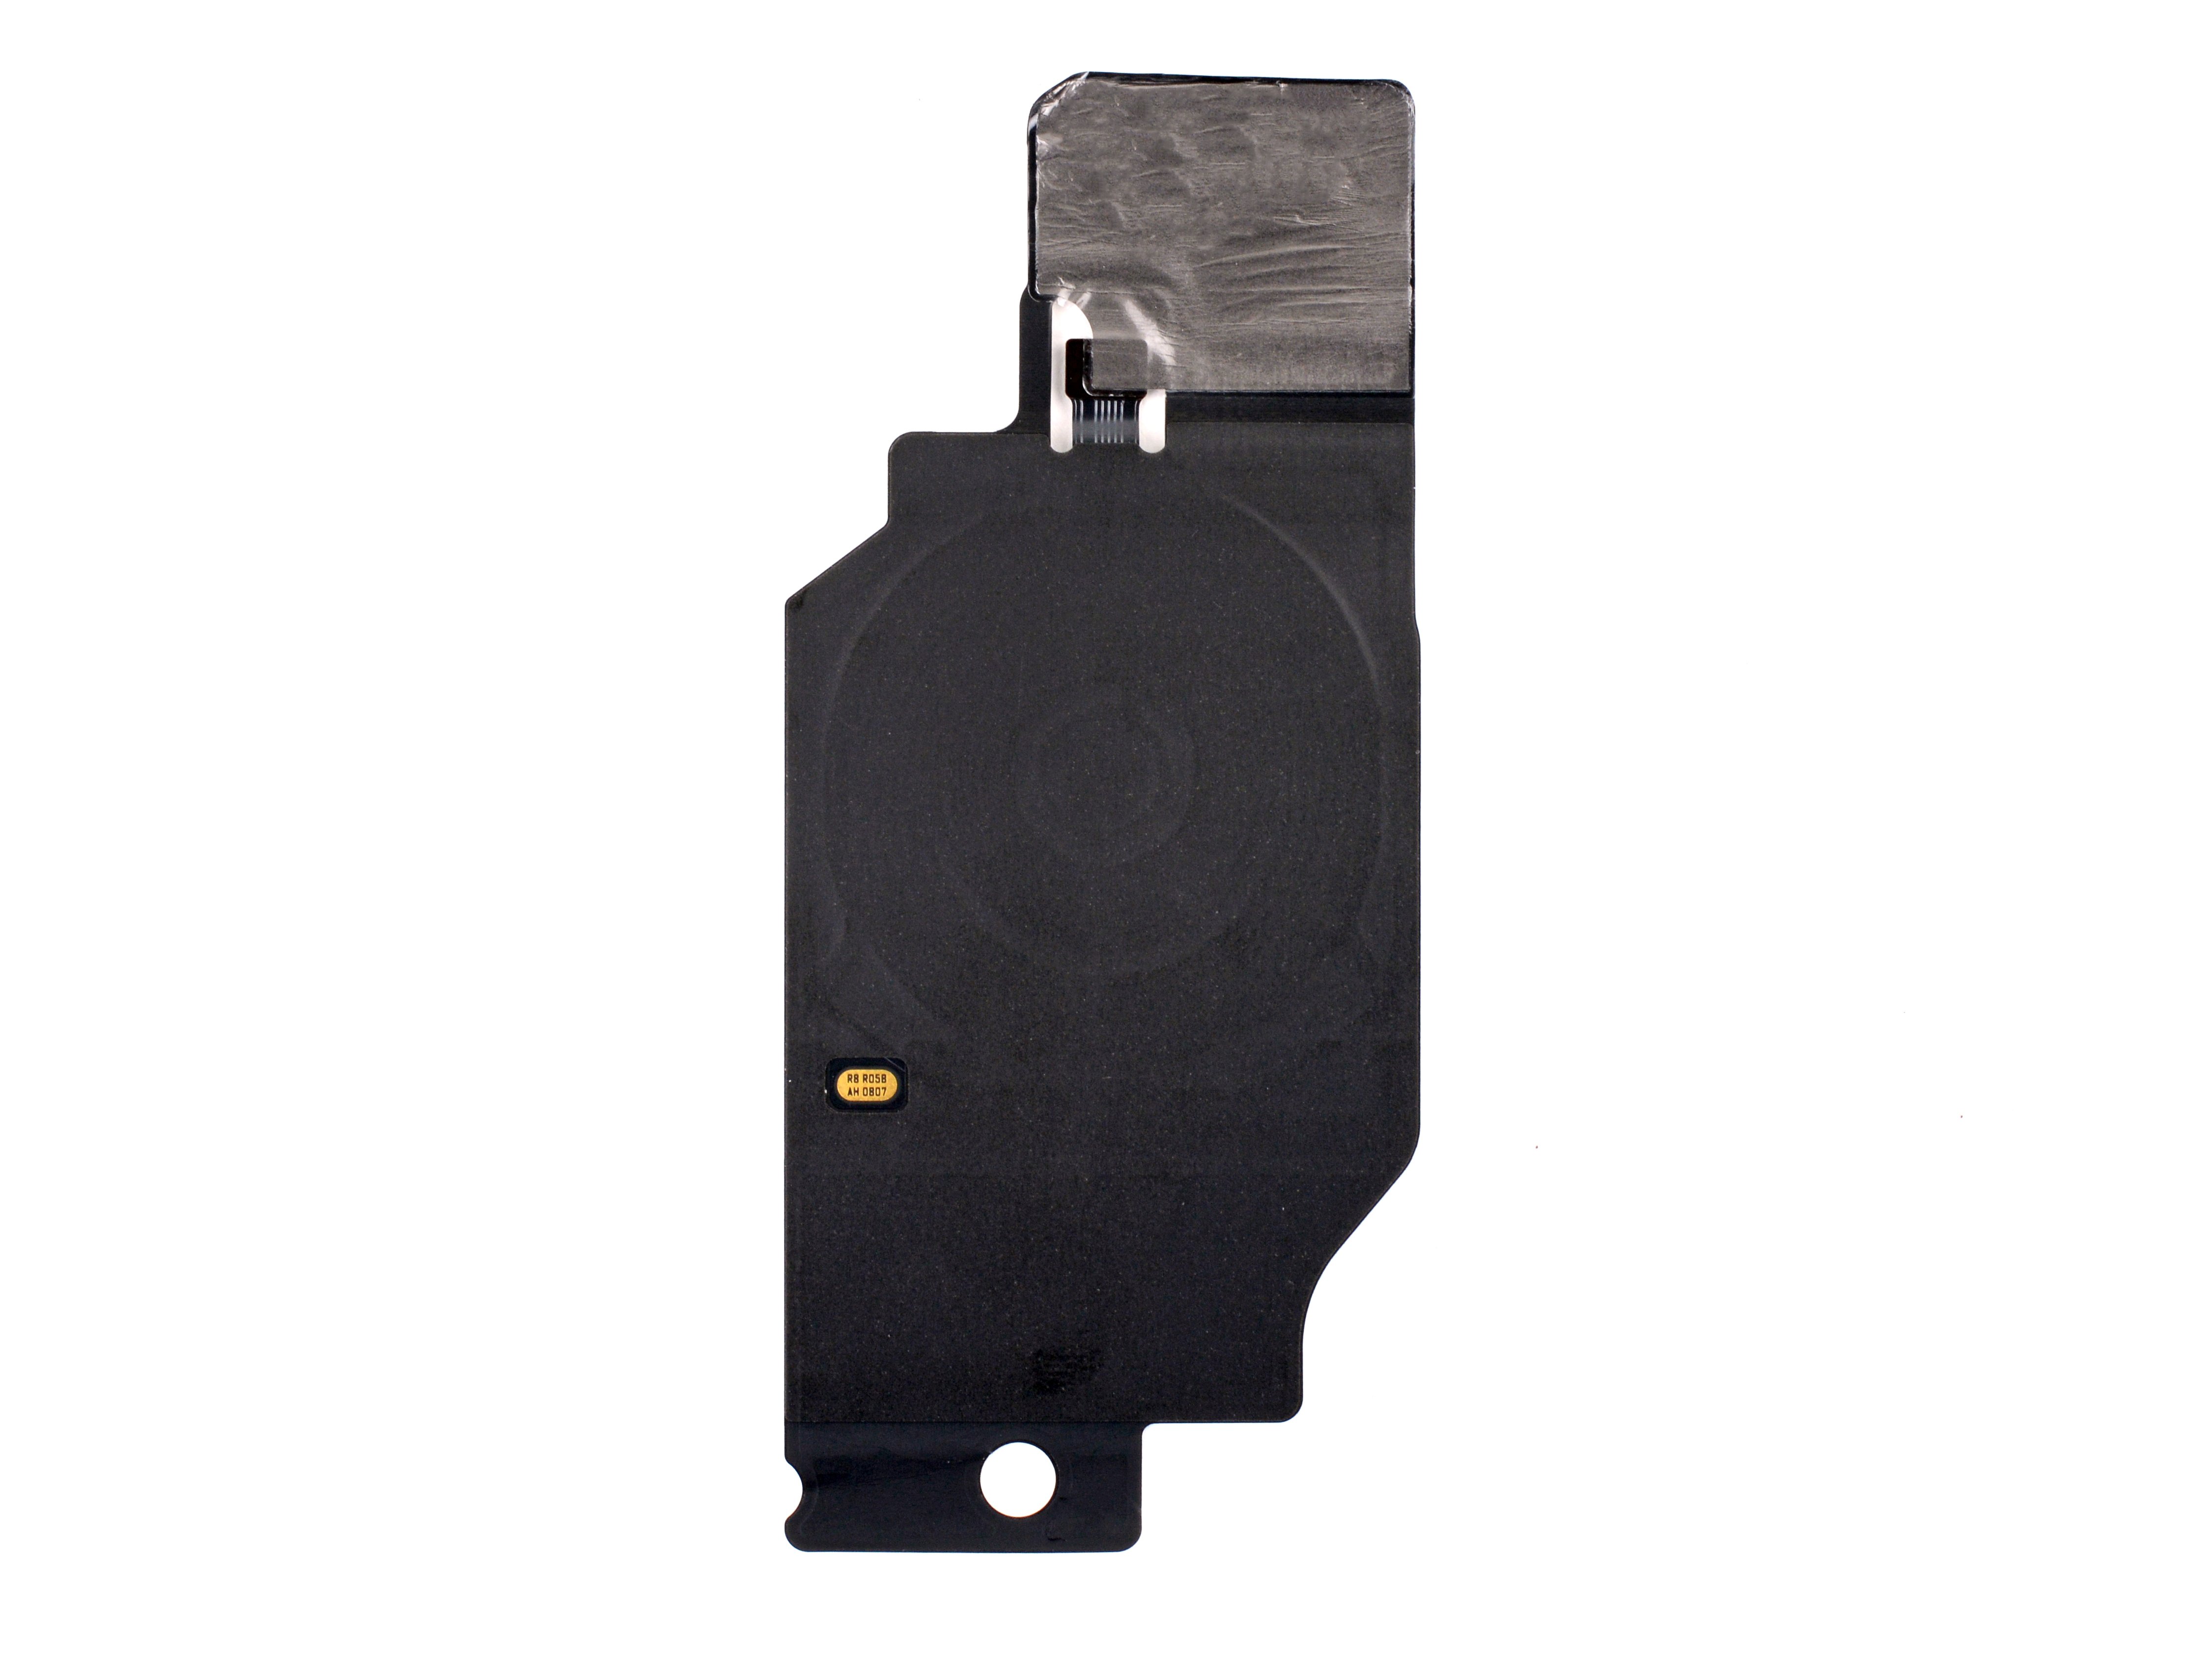
charging coil on its own
Ready to swap out the wireless charging coil in your Samsung Galaxy S20 FE 5G? This guide walks you through replacing just the coil itself—no extra bells and whistles. If your new coil comes bundled with the motherboard cover and loudspeaker, be sure to check out the wireless charging assembly guide instead. Don’t forget fresh back cover adhesive when you’re putting your device back together!
Step 1

Heads up: let your battery dip below 25% before starting. Fully charged lithium-ion batteries and accidental pokes don’t mix well—low battery means safer repairs!
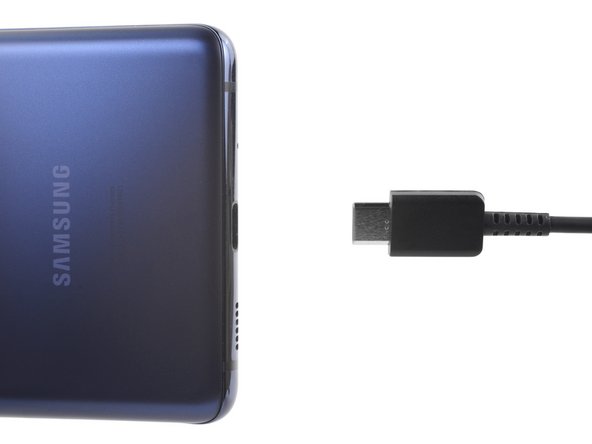
- Turn off your phone and disconnect any cables—give your device a little break before we dive in!
Step 2

A hair dryer works too—just go easy on the heat, or your back cover might end up looking like a potato chip.
- Warm up your iOpener and let it hang out on the bottom edge of the back cover for a couple of minutes to loosen things up.
Tools Used


Step 3


Don't be afraid to get a little aggressive – this part can be a bit stubborn. If it's not budging, try applying some extra heat and giving it another shot. It'll eventually give in.
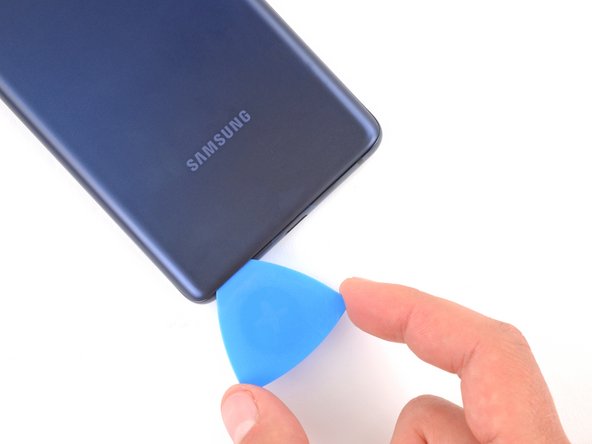
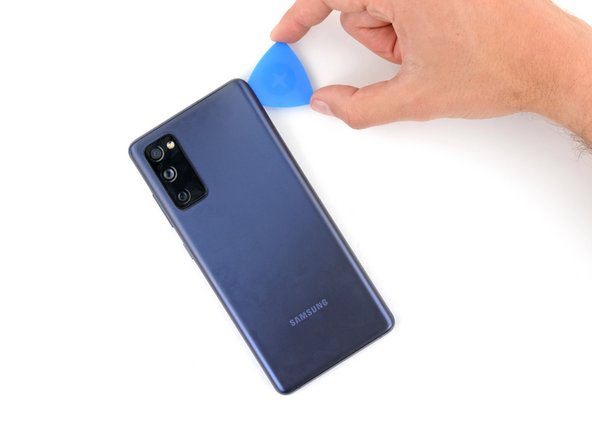
- Place the suction cup right in the middle of the bottom edge of the back cover—try to get it as close to the edge as you can.
- Gently pull the suction handle upwards with consistent force. This will start to create a little gap between the cover and the frame.
- Slide an opening pick into the gap to keep it open and continue the process.
Tools Used

Step 4


- Glide the opening pick along the bottom edge to loosen up that sticky adhesive holding the back cover in place.
- Keep the pick hanging out in the bottom right corner so the adhesive doesn't sneakily stick things back together.
Step 5

A hair dryer can do the trick here too—just watch out for turning up the heat too high, unless you want your back cover to look like modern abstract art.
- Warm up the right edge of the back cover with a heated iOpener for about two minutes. Keep the heat gentle but steady to loosen things up and make the cover easier to lift. If you need a hand, you can always schedule a repair.
Tools Used
Step 6


- Glide the opening pick along the bottom right corner and cruise up the right edge to slice through that stubborn adhesive.
- Let the pick chill in the top right corner for now.
Step 7

Another option is using a hair dryer—just keep the heat in check to avoid warping the back cover. A gentle blow of warm air can help loosen things up, but don’t go full blast or you might end up with a warped shell. If you need help, you can always schedule a repair.
- Warm up the top edge of the back cover with a heated iOpener for about two minutes.
Tools Used
Step 8


- Glide the opening pick around the top right corner and cruise along the top edge to slice through that sticky adhesive.
- Keep the pick chilling in the top left corner for now.
Step 9

A hair dryer works too—just keep it chill on the heat, since cranking it up too high could turn your back cover into a funky new shape.
- Warm up the left edge of the back cover with a heated iOpener for about two minutes. Give it a nice spa treatment before you start prying.
Tools Used
Step 10


- Glide the opening pick around that top left corner, then cruise down the left edge to slice through the last bits of sticky stuff holding things together.
Step 11


If that back cover is still hanging on for dear life, grab your opening pick and run it gently around the edge to loosen up any leftover adhesive.
- Pop off that back cover like it's the lid on a soda can!
Step 12


- Before you snap everything back together, fire up your device to make sure all the important stuff is working. Once you’ve checked, shut it down fully before you get back to business.
- Putting your old back cover back on? You know the drill.
- For a fresh back cover, peel off the protective liners, then press down like you're sealing an envelope—make sure the edges are locked in tight.
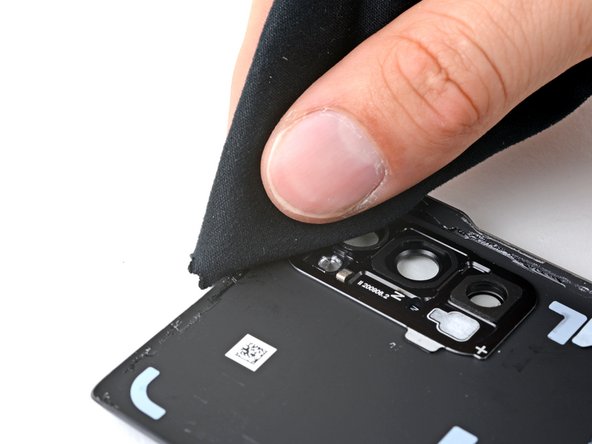
- Use tweezers or your fingers to pull away the old sticky adhesive from the cover and the frame.
- A little isopropyl alcohol (over 90%), a trusty microfiber cloth, and some elbow grease will wipe out any leftover gunk.
- Ready for new adhesive? Follow this guide to lay down the custom-cut stuff and get your device looking sharp again.
Step 13
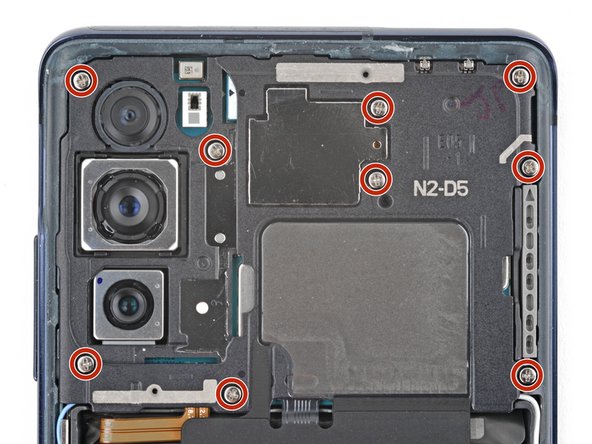
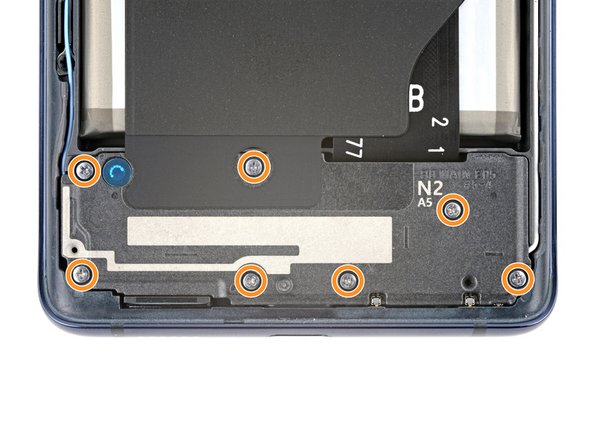

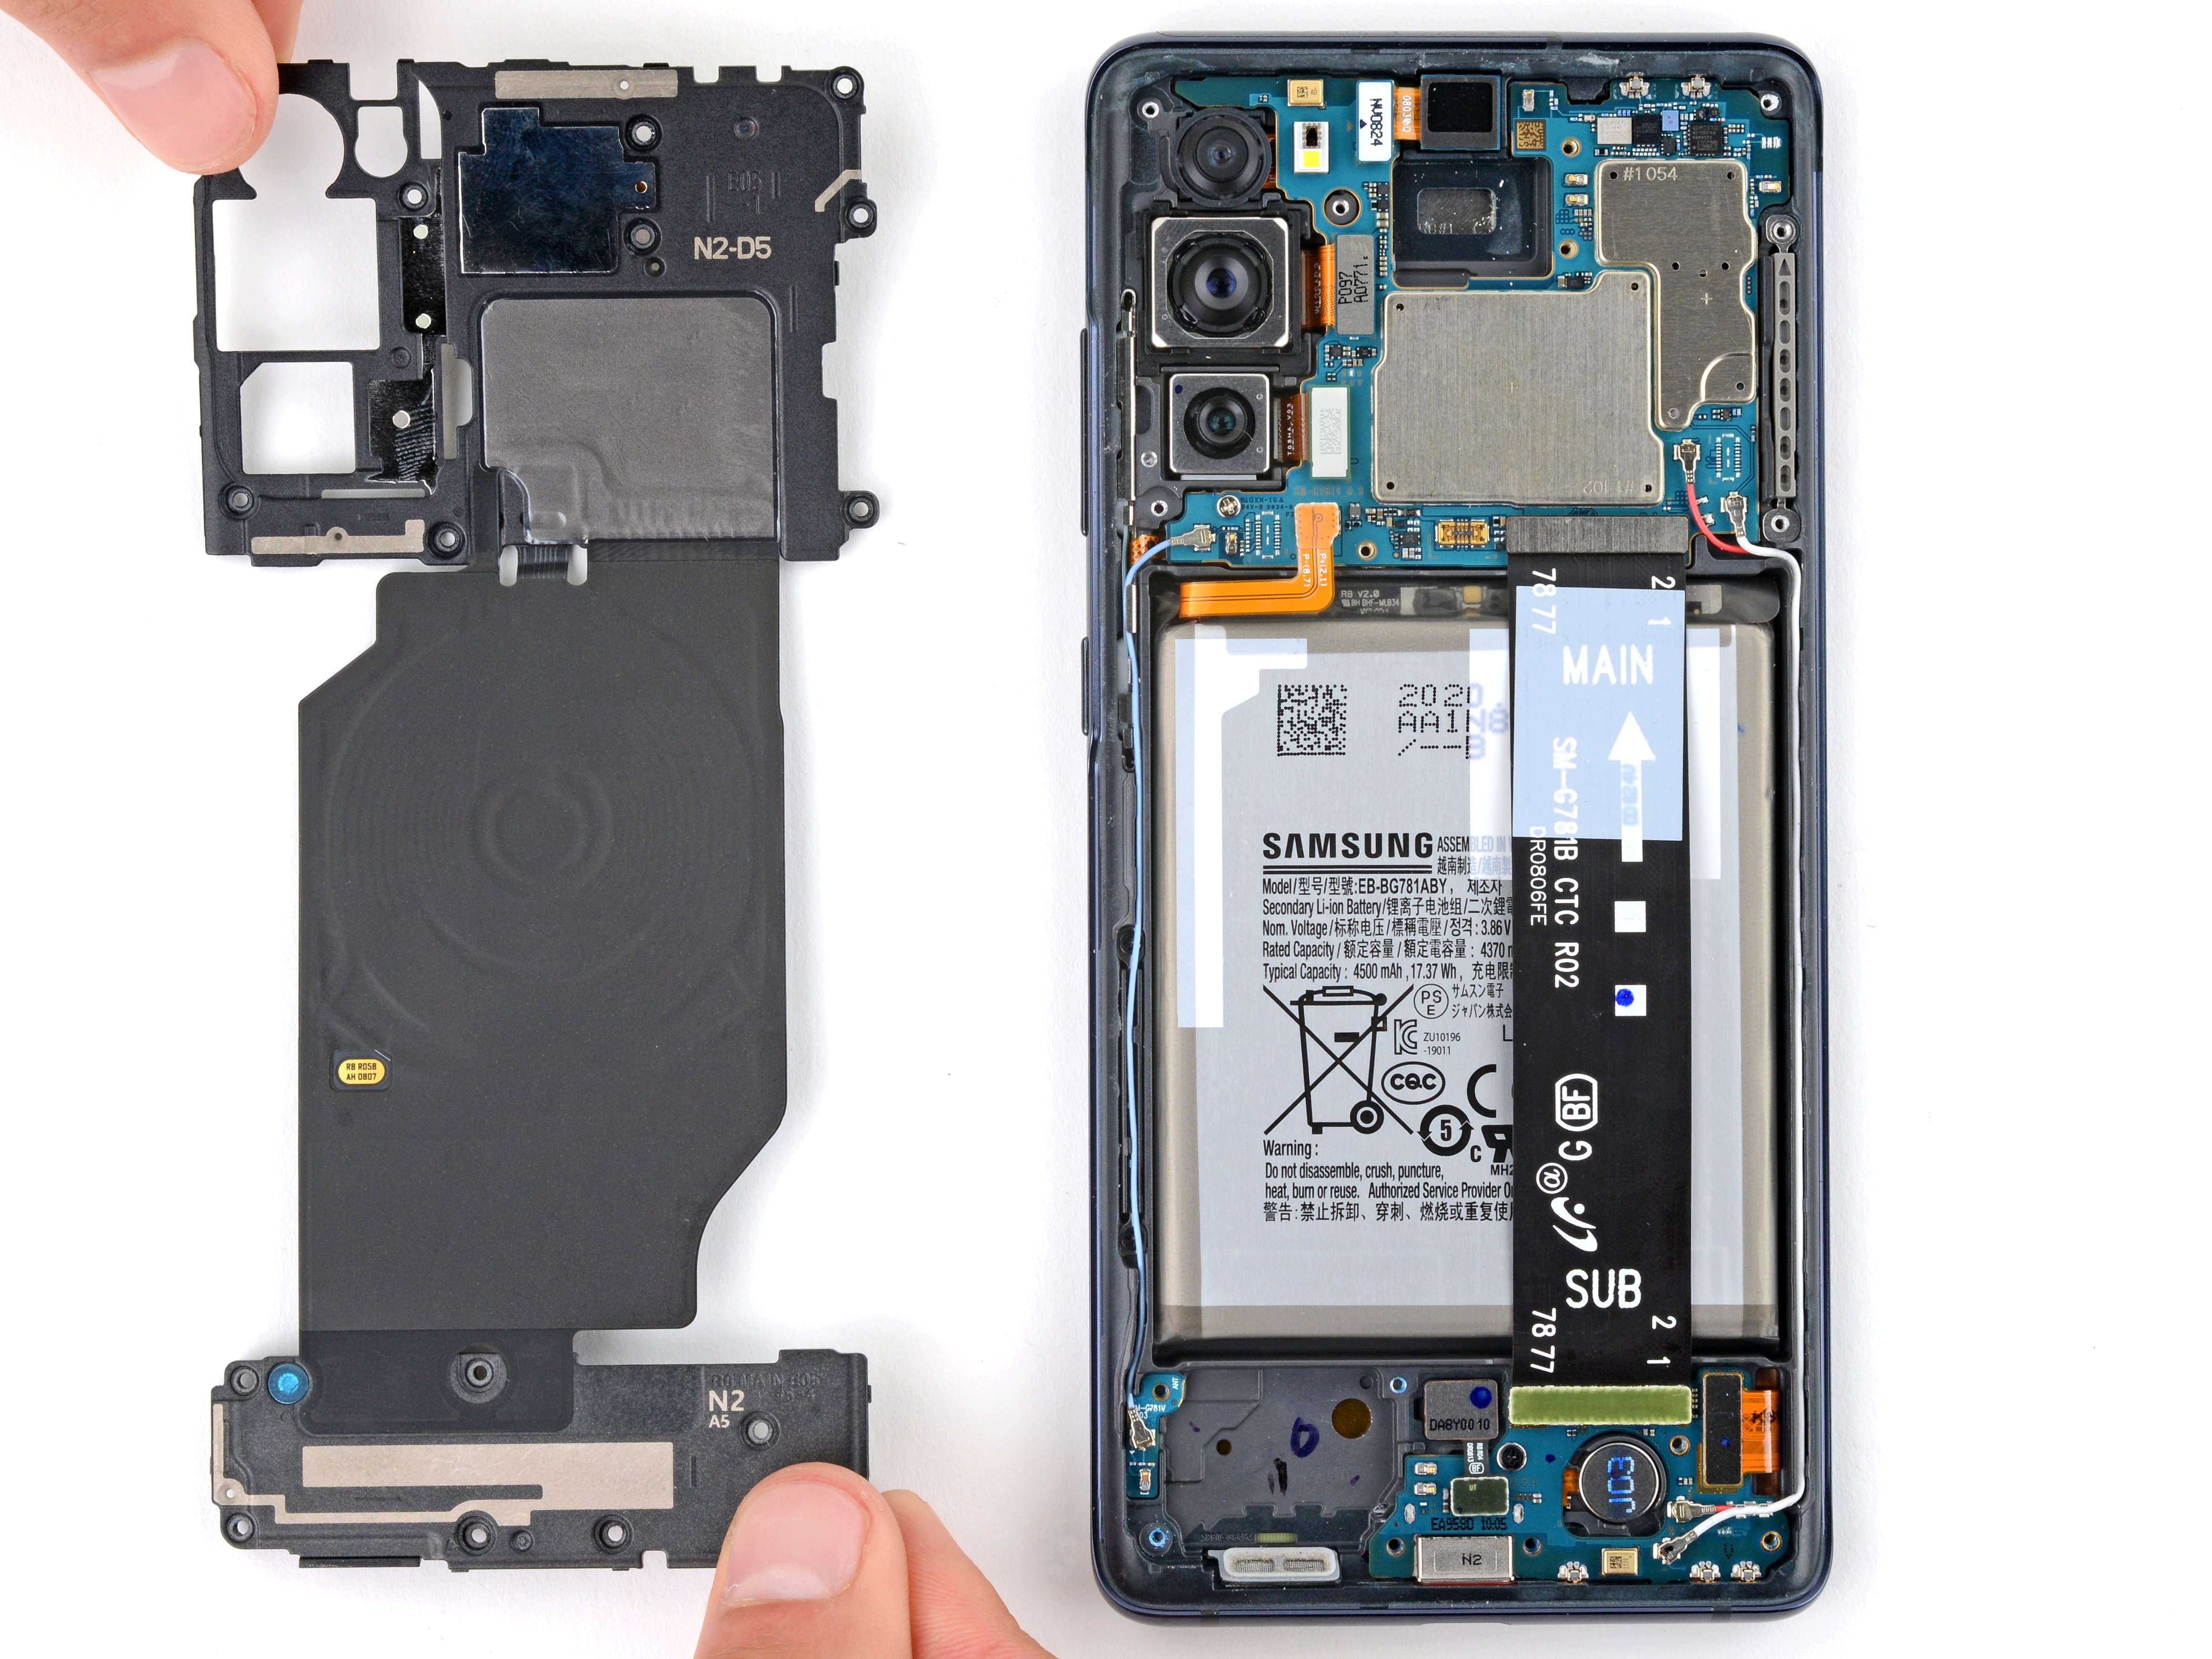
The wireless charging assembly is like a little team made up of the motherboard cover, wireless charging coil, and loudspeaker. They're all snuggled together with some trusty graphite tape, so when it's time to take them out, just remember to do it as one happy little unit!
- Grab your Phillips screwdriver and get ready to unscrew! First, remove the nine 4 mm screws that keep the motherboard cover snug. Then, take out the seven 4.5 mm screws securing the loudspeaker. Keep track of your screws—they’re the star players in this teardown. Need a hand? Remember, you can always schedule a repair with Salvation Repair if things get tricky.
Step 14
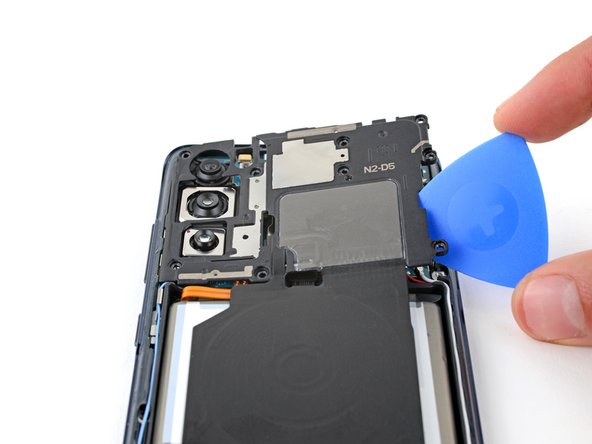

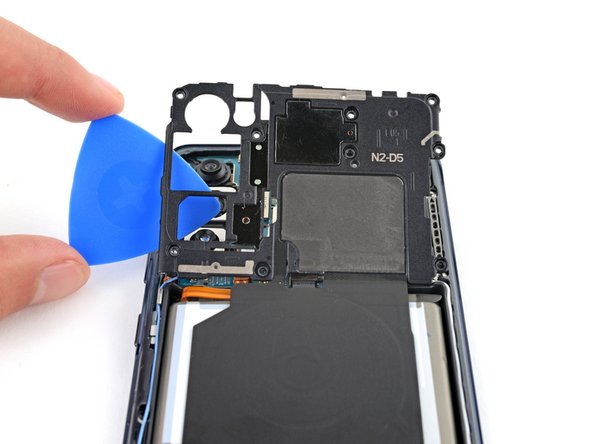
- Slide a pick under the bottom right corner of the motherboard cover and let the adventure begin.
- Give the pick a gentle twist—those clips won’t know what hit them.
- Sneak your pick under the bottom left edge and twist again to set the rest of those clips free.
- When you're putting it all back together, press all around the edge of the motherboard cover to snap those clips back in place.
Step 15
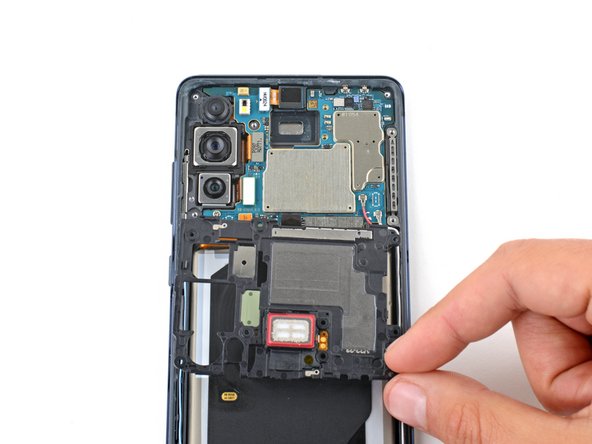

- Swing the motherboard cover out of the way to get to the battery and wireless charging connectors hanging out near the bottom edge of the motherboard.
Step 16
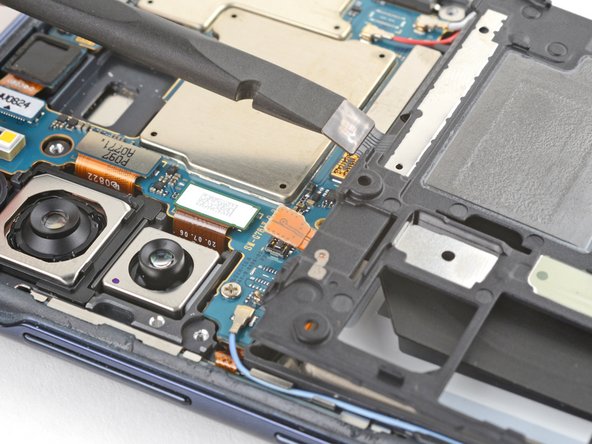
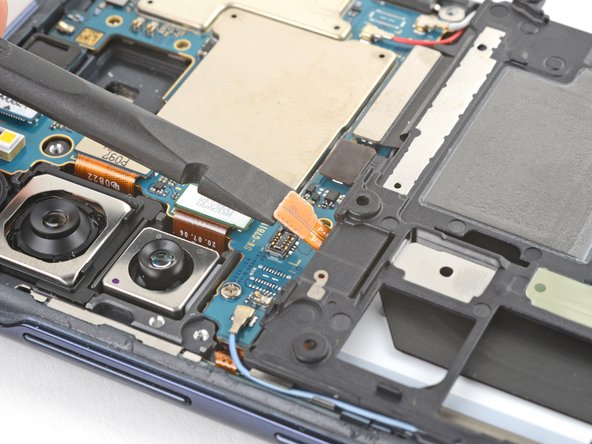

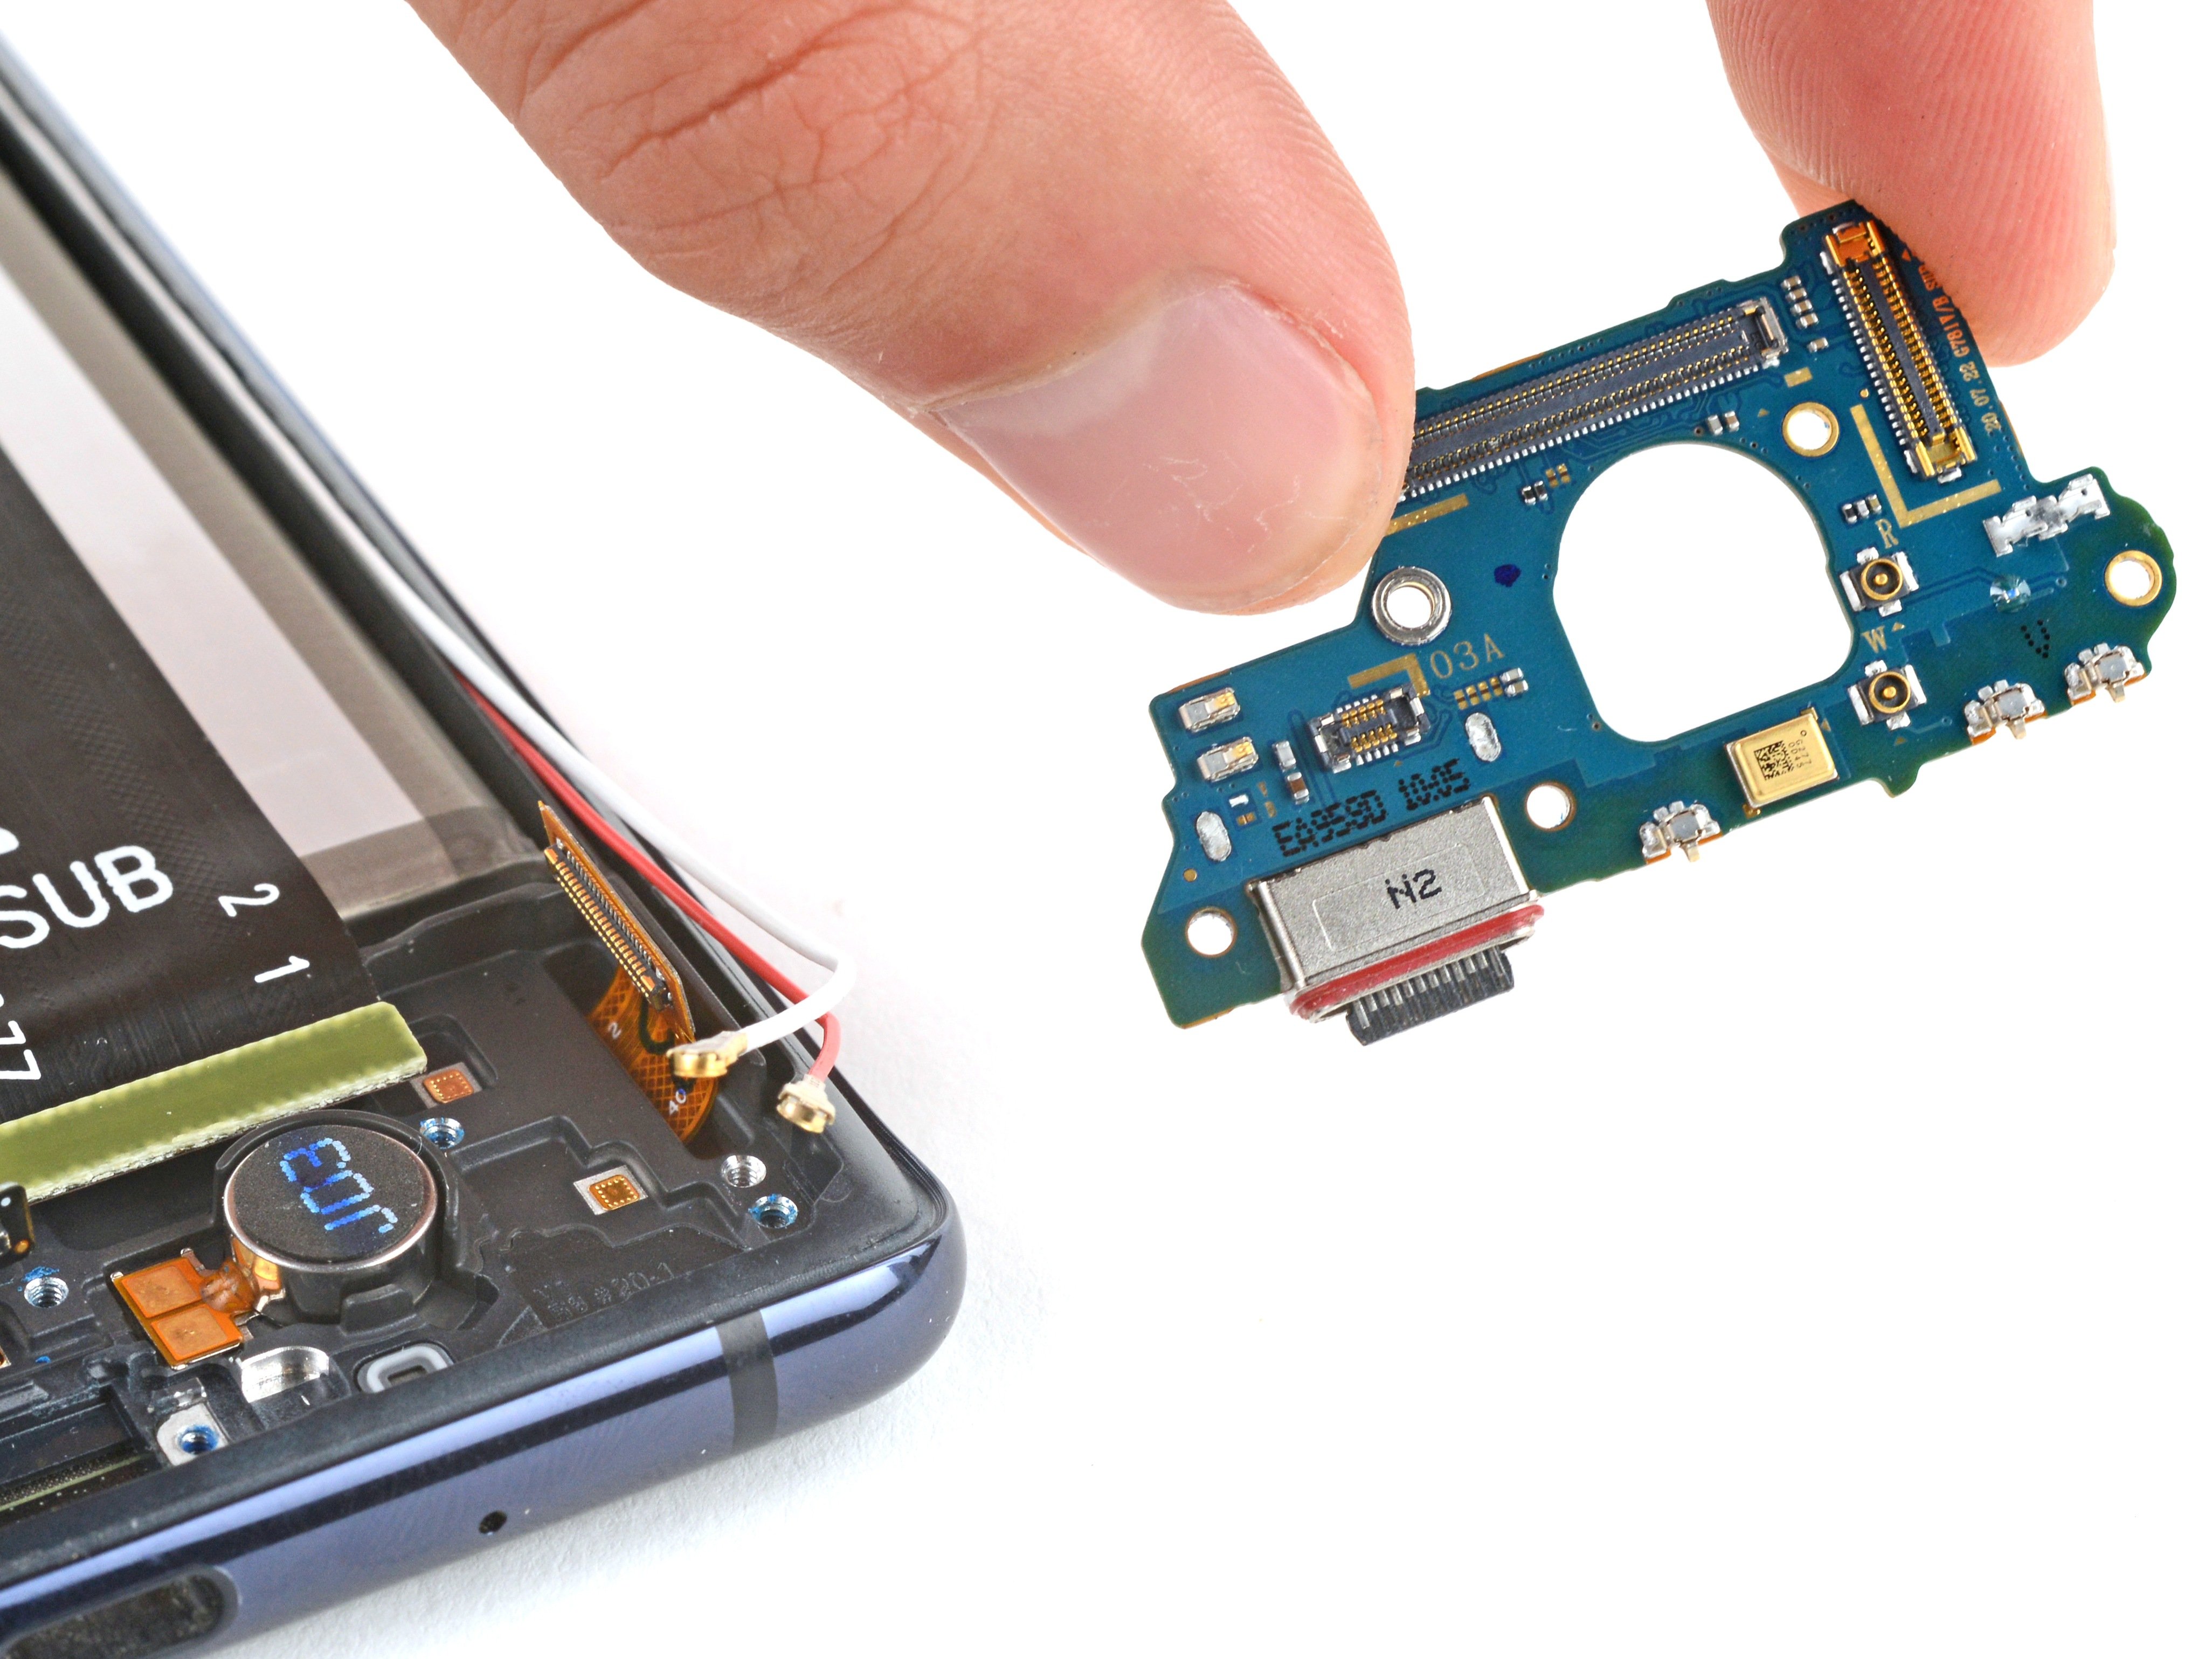
- Grab the flat end of your spudger and gently pop up the battery and wireless charging connectors from the motherboard. Easy does it—just a little prying and those connectors are free!
To reconnect those little connectors, take it easy. Line up one side first, press gently until you hear that satisfying click, then repeat the process on the other side. Avoid pressing in the middle; doing so could cause the pins to bend and lead to some long-term issues. If you’re not sure about anything, feel free to schedule a repair.
Tools Used

Step 17
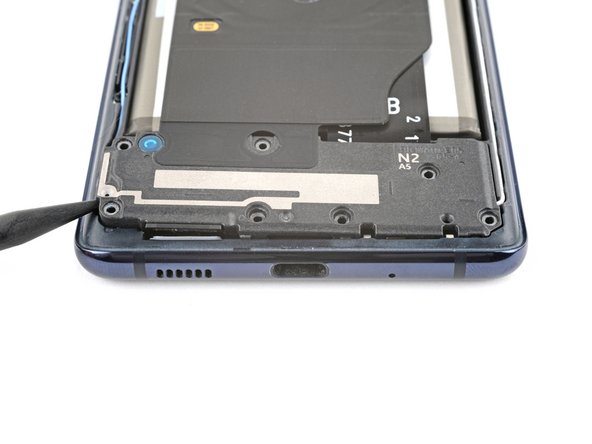

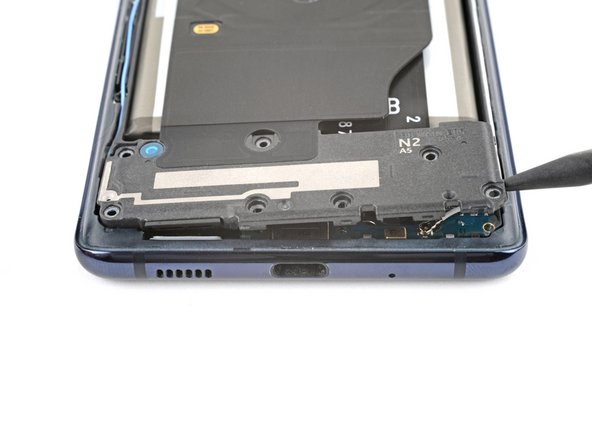
- Slide the tip of a spudger into the bottom left corner between the loudspeaker and the frame—like you're opening a secret door.
- Gently lift to pop the clips along the left edge of the loudspeaker free. Give it a little wiggle if needed.
- Move to the bottom right corner and lift up to release the last few stubborn clips. Victory is near!
- When putting it all back together, press down all around the loudspeaker’s edges to snap those clips back in place. That satisfying click means you nailed it!
Tools Used
Step 18
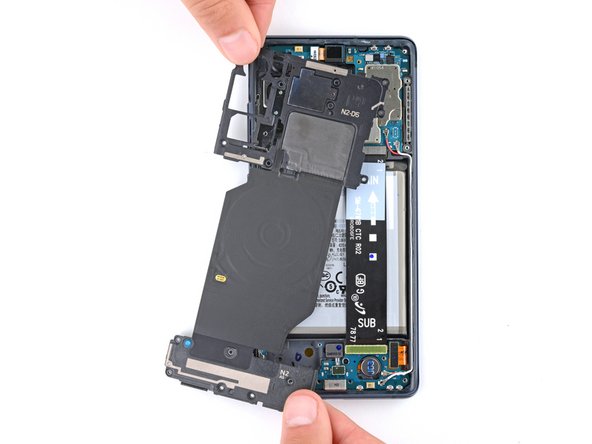
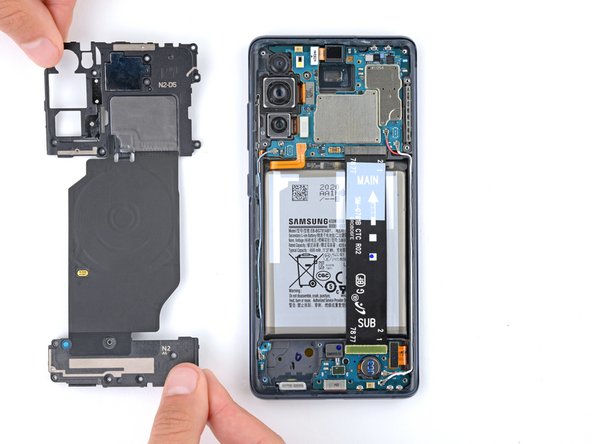

- Take out the wireless charging assembly with care.
Step 19

That wireless charging assembly is held down with some seriously sticky stuff—don't be shy about using a bit of muscle here.
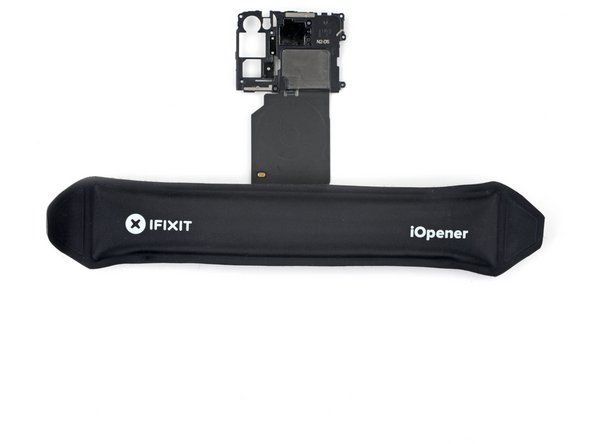
A hair dryer on the top edge of the loudspeaker can help loosen things up if the glue is being stubborn.
- Place a heated iOpener on the loudspeaker to loosen up the glue holding it to the wireless charging assembly. This will make it easier to peel off without a fuss.
Tools Used
Step 20
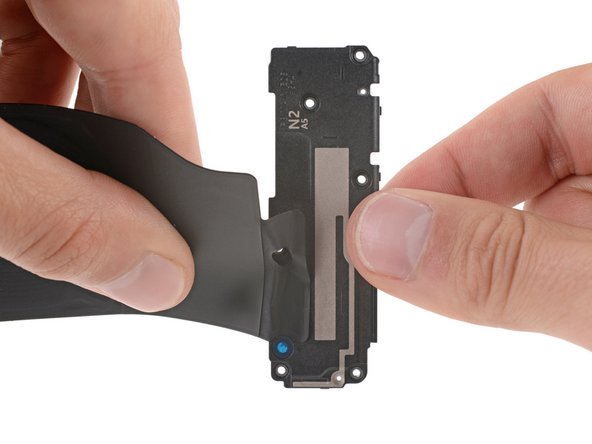

- Gently peel back the graphite sheet from the top edge of the loudspeaker, like you're peeling a sticker—smooth and steady. If you need a hand, you can always schedule a repair.
Step 21

That wireless charging coil is stuck on there with some seriously determined adhesive.
A hair dryer can step in as your secret weapon to warm up the tape and make removal a breeze.
- Warm up that iOpener and give some love to the graphite tape on the bottom edge of the motherboard cover. It's like a cozy blanket for your device!
Tools Used
Step 22
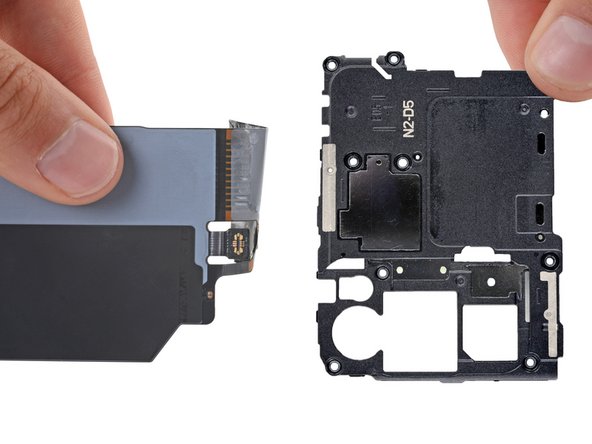

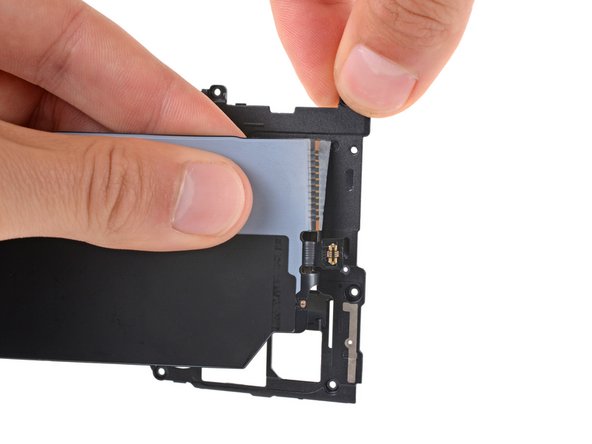
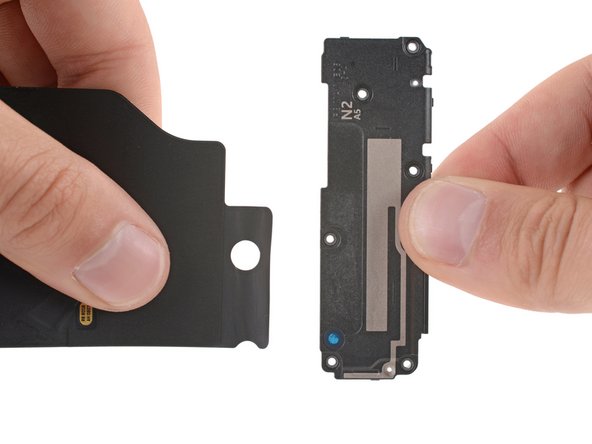
- Gently lift the graphite sheet away from the bottom edge of the motherboard cover, taking your time to avoid any mishaps.
Step 23

- Now you’re looking at the wireless charging coil. Fancy, isn’t it?
- Line up your new part with the original—sometimes there’s a little sticker or adhesive you need to peel off before popping it in.