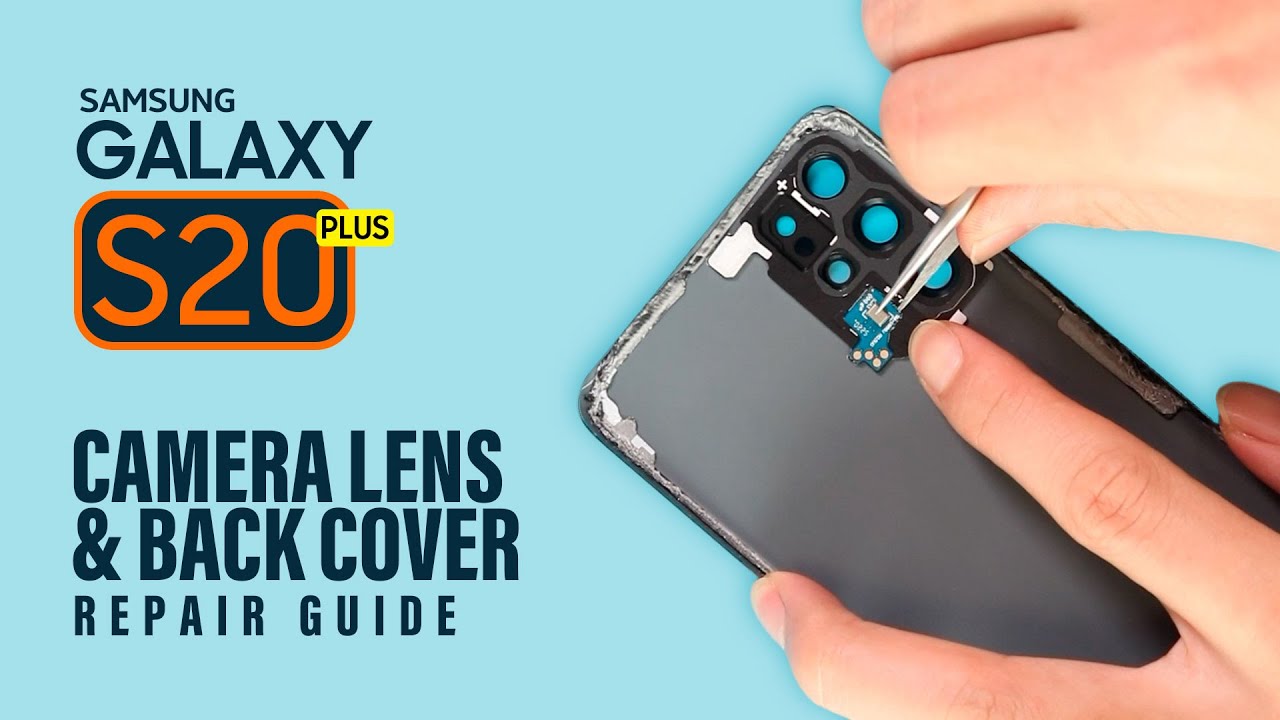
Samsung Galaxy S20 Loudspeaker Replacement Guide: DIY Tutorial for Fixing/Replacing Loudspeaker Step-by-Step
Duration: 45 minutes
Steps: 19 Steps
Hey there! If you’re feeling stuck or need some expert assistance, feel free to schedule a repair with our friendly team at Salvation Repair. We’re here to help you get your device back up and running in no time!
Get ready to tackle the loudspeaker removal on your Samsung Galaxy S20! Since the loudspeaker is snugly nestled into the lower midframe, you’ll be swapping those parts out together. Don’t forget to grab some replacement adhesive to wrap up this repair like a pro. If you need help, you can always schedule a repair.
Step 1

Hey there, tech whiz! Before we dive into fixing your device, make sure you unplug and power it off. That way, we can keep things safe and cheerful while we’re troubleshooting together. If you need any help along the way, you can always schedule a repair with us!
– Get the iOpener nice and toasty, then place it gently on the lower edge of the back cover for a quick two-minute warm-up.
Tools Used

Step 2


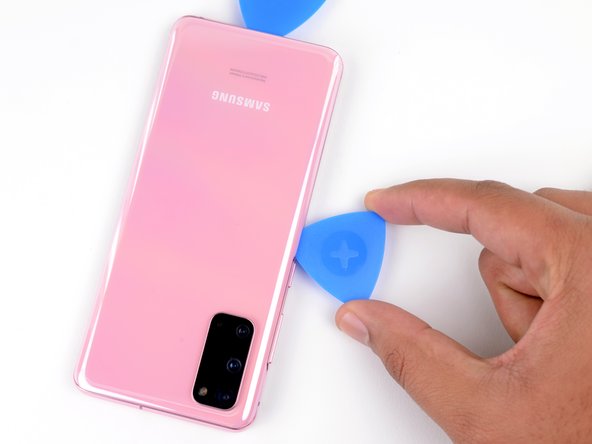
– Get that suction cup ready to rock and roll by sticking it to the back of the phone, aiming for the center of the bottom edge.
– Give that suction cup a good tug with some oomph to create a gap between the back cover and the frame.
– Slide the point of an opening pick into the gap like a pro.
Step 3


– Gently slide the pick back and forth along the bottom edge to cut through the adhesive like a pro.
– Once you’ve made some progress, leave your opening pick in the seam to keep that pesky adhesive from sticking back together.
Step 4

– Give the left edge of the back cover a toasty hug with a heated iOpener for a quick two minutes.
Tools Used
Step 5


Handle the pick gently, or you might just turn that back cover glass into a puzzle piece!
Don’t worry if it takes a few tries because precision is key here!
– Grab a suction cup and stick it to the back of your phone, aiming for the sweet spot near the center of the left edge.
– Give that suction cup a good pull, with a steady and firm grip, to open up a little gap between the back cover and the frame.
– Now, take the tip of an opening pick and slide it into that newly created gap.
Step 6


– Slide the pick underneath the edge of the glass, then gently tilt it down and push it in a bit further to completely break the back cover’s adhesive seal. You’re doing great!
Step 7


– Gently glide your pick along the left edge of the phone to break free the adhesive holding the back cover. You’re doing great!
– Keep that pick tucked under the left edge of the glass near the top left corner to stop the adhesive from sticking back down. You’re almost there!
Step 8

– Warm up the iOpener and give it a cozy two-minute hug on the right edge of the back cover. You’re doing great!
Tools Used
Step 9


– Grab a suction cup and stick it on the back of your phone, aiming for the center of the right edge. You’re doing great!
– Give that suction cup a good, steady pull to create a little opening between the back cover and the frame. Keep it up!
– Now, slide the point of an opening pick into that gap you’ve created. You’re almost there!
Step 10


– Gently glide your pick along the right edge of the phone to cut through that pesky back cover adhesive.
– Keep your pick tucked under the right edge of the glass near the top of the device—this way, the adhesive won’t seal back up on you.
Step 11

– Warm up your iOpener and give the top edge of the back cover a cozy two-minute hug.
Tools Used
Step 12


Hey there! Just a heads up – the glass near the corners of the back cover is a bit delicate and prone to cracking. Take it easy during this part to keep your back cover looking sharp!
– Gently glide the pick along the right side of the device towards the upper right corner.
– Keep on smoothly cutting across the top side until you reach the upper left corner to completely detach the back cover adhesive.
Step 13


– Whoa, hang on there, tiger! Gently lift the back cover with care and precision, like an ace detective searching for clues. If you run into some stubborn adhesive, have no fear – our trusty opening picks are here! They’ll slash right through, just like a ninja in the darkest night. And voila, once you’ve removed the back cover, you’ll be closer than ever to fully restoring your beloved device. Don’t forget, if you’re ever in a pickle, you can always schedule a repair and let us help you out!
Step 14

– Grab your trusty Phillips #00 screwdriver and get ready to rock! Unscrew the fab five 4 mm-long screws holding the motherboard bracket in place.
Tools Used

Step 15


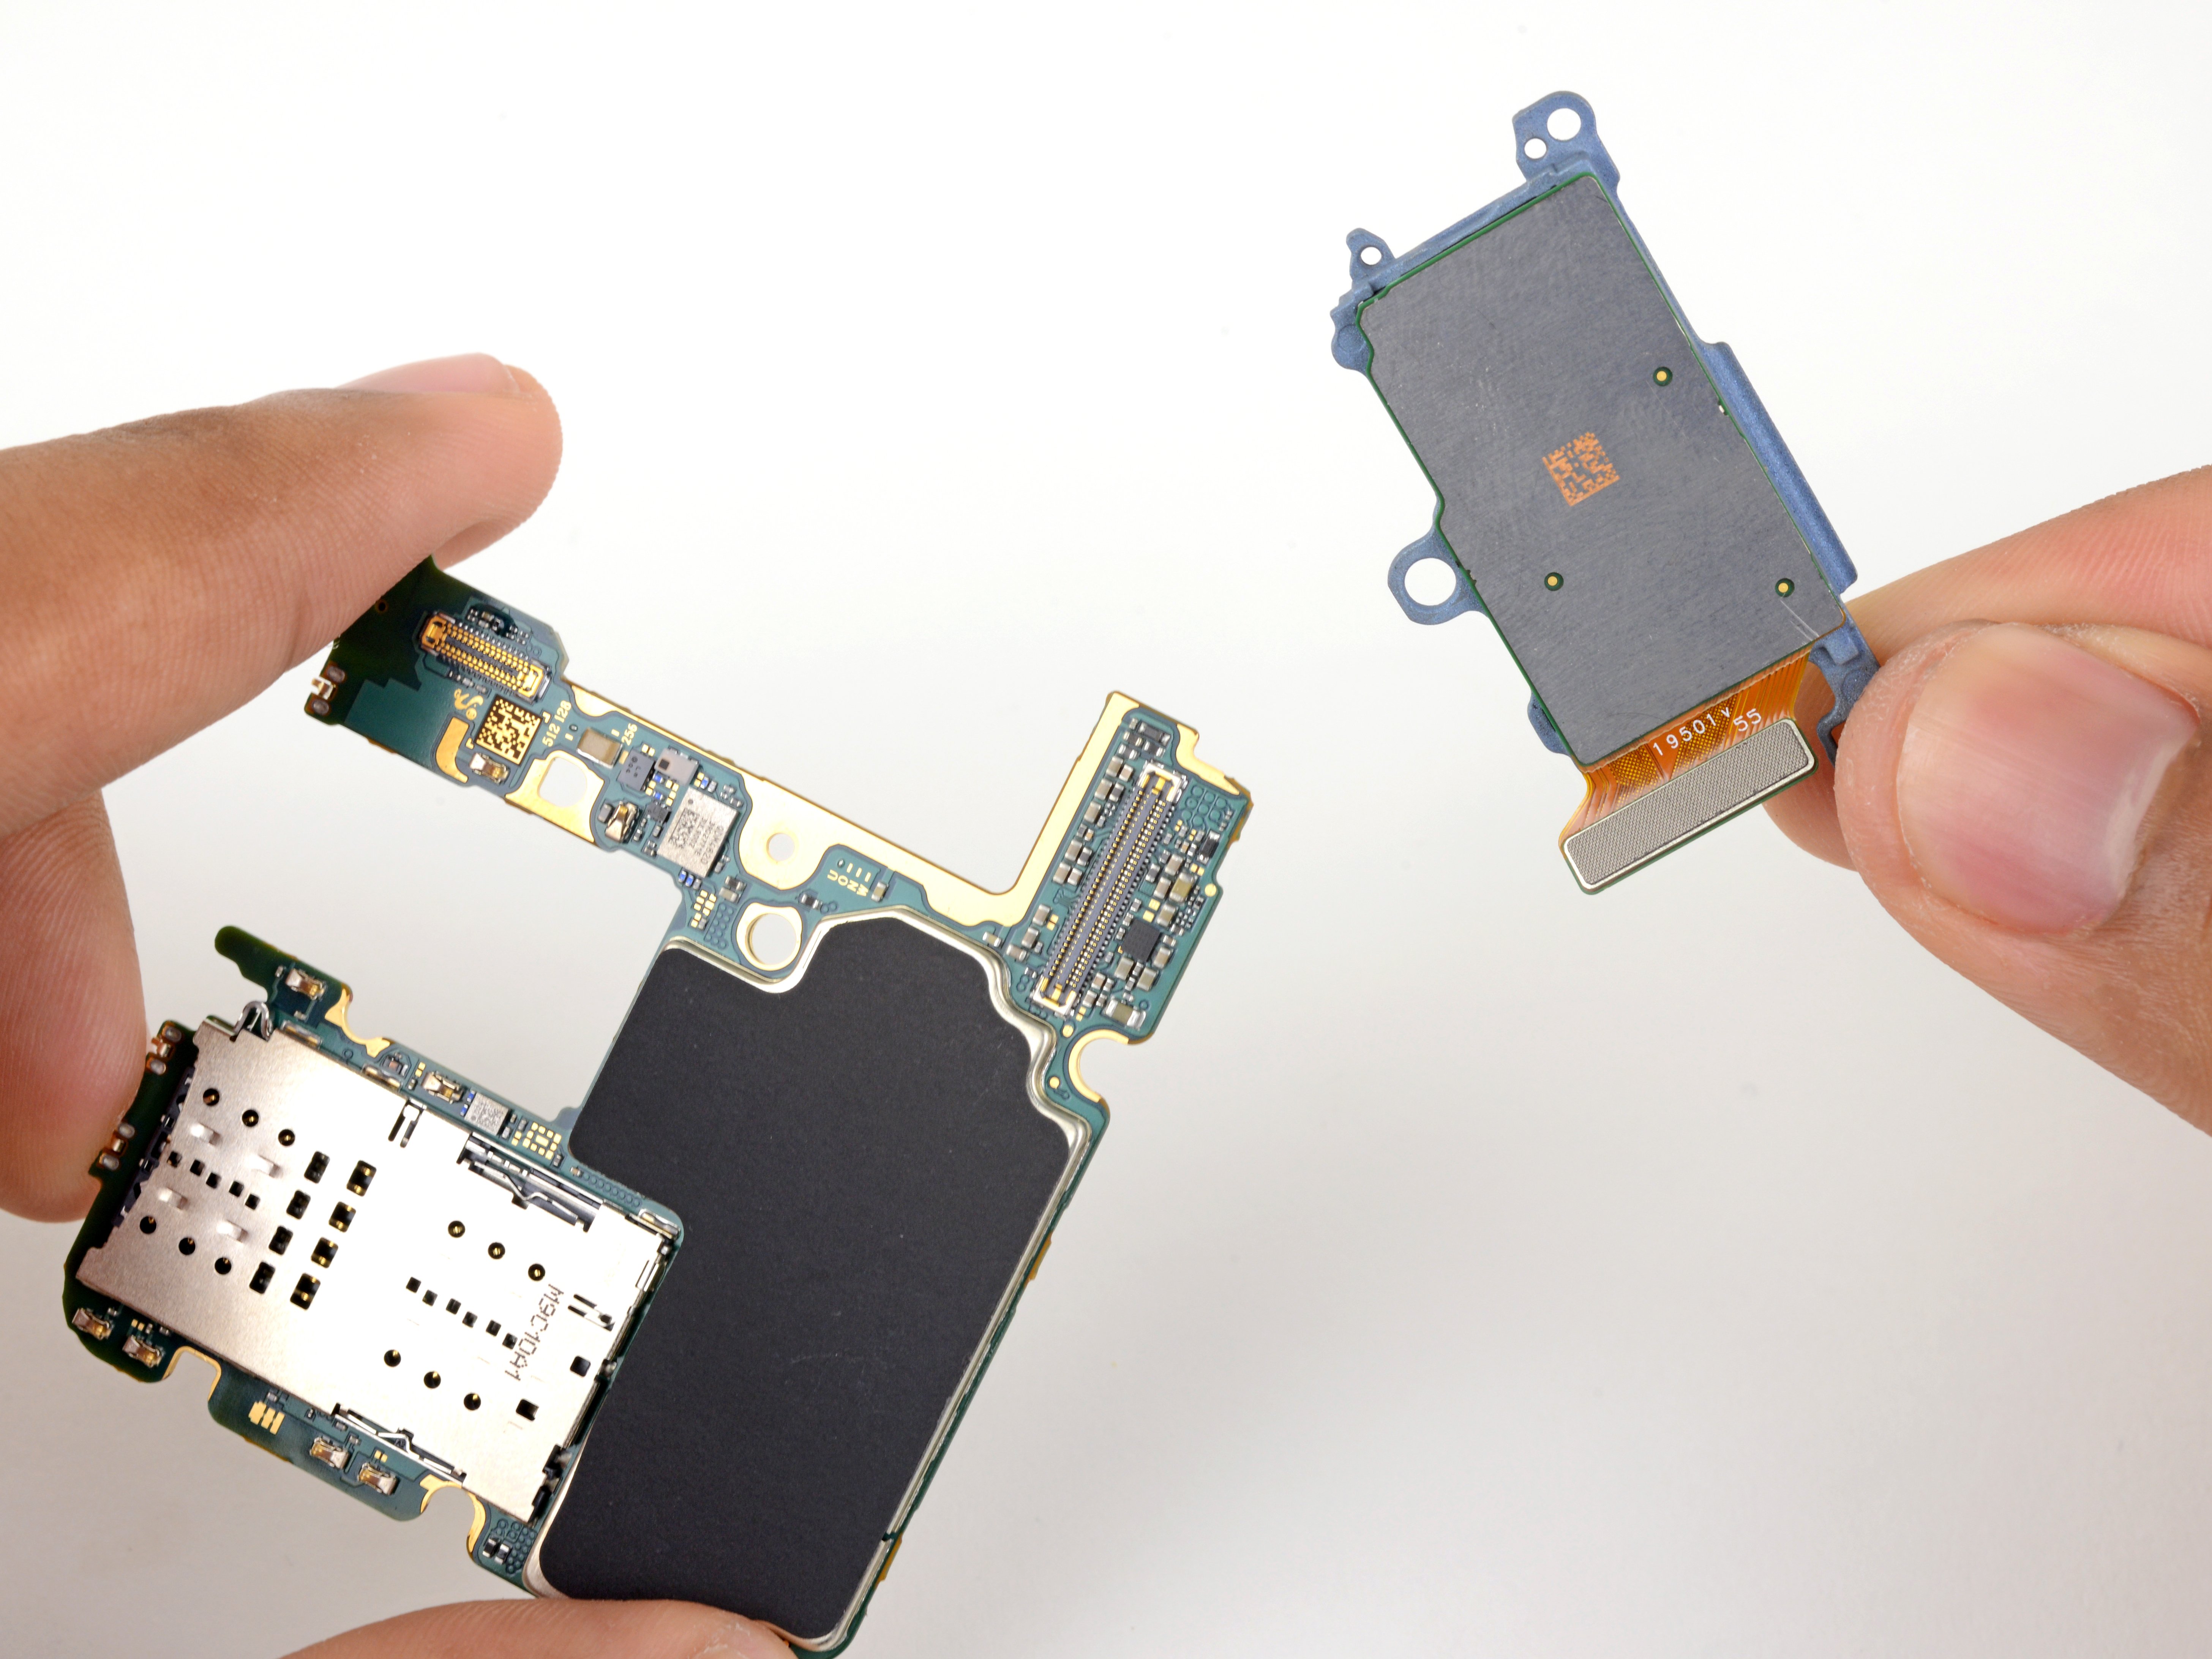
– Grab your trusty tweezers and carefully lift up the motherboard bracket, unclip it from the plastic midframe with a gentle touch. You’ve got this!
Tools Used

Step 16


– C’mon, let’s loosen up this wireless charging coil from our little buddy. Then, we’re gonna bid farewell to that tricky coil. And with a little song and dance, we’ll make sure that baby coil is in its rightful place during reassembly. It’s all gonna be swell, promise!


Step 18

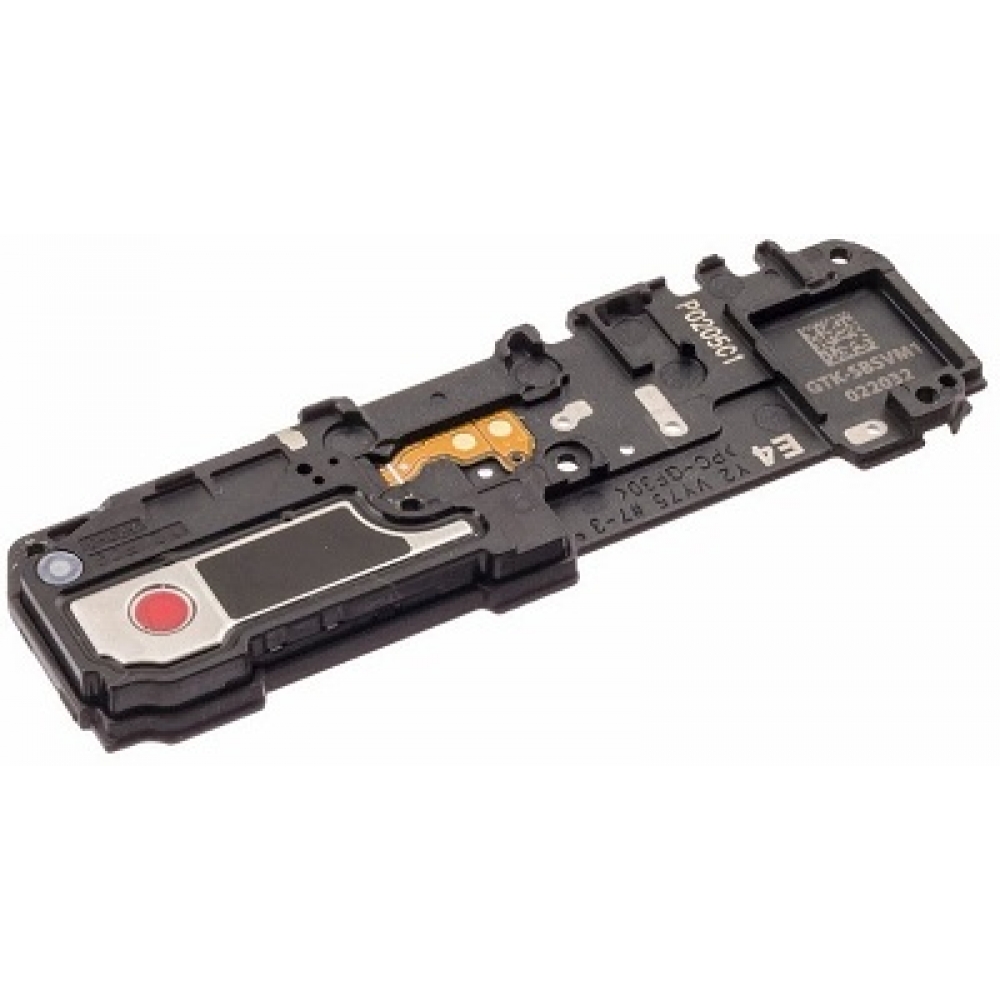
– Grab your trusty Phillips #00 screwdriver and get ready to bid farewell to those five 4 mm-long screws holding onto the loudspeaker and lower midframe.
Tools Used
Step 19


– Get ready to have a little spudger or a trusty pair of tweezers handy. Slide it into the cozy notch located in the upper left corner of the midframe. Gently pry upwards to free the clips that are keeping it snug.
– Bid farewell to the loudspeaker and lower midframe. It’s time to make way for some new parts!