Samsung Galaxy S21 5G USB-C Charging Port and Daughterboard Replacement Guide
Duration: 45 minutes
Steps: 30 Steps
Hey there! If you’re feeling a little stuck, no worries at all. Just remember, we’ve got your back! If you need help, you can always schedule a repair.
Dive into this guide to swap out the USB-C charging port and daughterboard in your Samsung Galaxy S21! Just a heads up: keeping that water resistance intact after your repair will hinge on how well you reapply the adhesive. Remember, your device might lose its IP (Ingress Protection) rating. But don’t worry, you’ve got this! If you need help, you can always schedule a repair.
Step 1


No need to panic if the SIM eject tool found its way into the microphone hole! Chances are, your microphone is still in one piece.
– Grab your trusty SIM eject tool, a bit, or even a straightened paper clip and gently slide it into the SIM card tray hole located on the bottom edge of your phone.
– Give that SIM eject tool a little push to pop the SIM card tray right out!
– Now, carefully pull the SIM card tray out and set it aside.
Step 2

Switch off your phone completely before diving in.
– Get your iOpener all warmed up and gently place it on the lower edge of the back cover for a couple of minutes.
Tools Used

Step 3


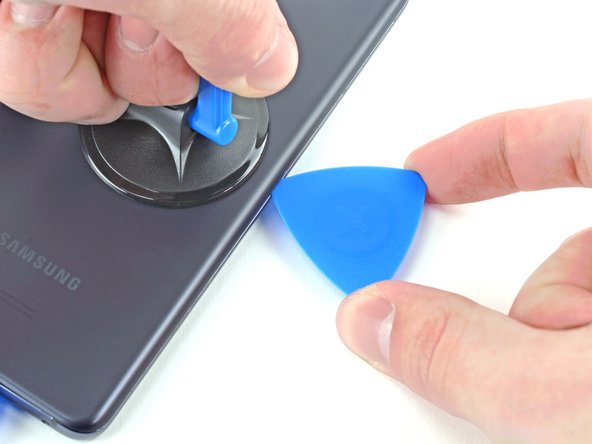
– Stick a suction cup to the back of the phone, aiming for the middle of the bottom edge.
– Give that suction cup a good, strong pull to start creating a gap between the back cover and the frame.
– Slide an opening pick into that gap.
Step 4


– Now, break out your slicing moves like a pro chef and glide the pick along that bottom edge to free those tasty adhesive bits. Once you’re done, let your pick hang out — it’s all about preventing that sneaky glue from relocking the door. If you need help, you can always schedule a repair
Step 5

– Warm up that iOpener and give some love to the back cover’s left edge for two minutes.
Tools Used
Step 6


– Start by placing a suction cup on the back of your phone, aiming for the center of the left edge. You got this!
– With a firm but steady grip, pull up on the suction cup to create a little gap between the back cover and the frame. Keep it strong!
– Now, gently slide an opening pick into that gap you’ve created. You’re making progress!
Step 7


– Gently glide an opening pick along the left edge towards the bottom left corner to slice through the adhesive like a hot knife through butter.
– Leave the trusty pick in place to keep that adhesive from resealing like a stubborn jar of pickles.
Step 8

– Warm up your iOpener and place it on the right side of the back cover for a solid two minutes.
Tools Used
Step 9


– Stick a suction cup to the back of your phone, close to the center of the right edge.
– Give that suction cup a good, firm pull to create a gap between the back cover and the frame.
– Slide an opening pick into the gap.
Step 10


– Glide an opening pick back and forth along the right edge of the back cover to slice through the adhesive.
– Keep the pick in place to stop the adhesive from sticking back together.
Step 11


Just remember, you can perform this quick fix on every corner, except for the top-left spot where the rear-facing camera likes to hang out!
– Twist that right-edge opening pick around the top-right corner of your phone with a bit of flair!
Step 12


– Gently slide the top opening pick right up to the camera shell – we want to be as close as possible without causing a ruckus.
– Now, let’s give some love to the left-edge pick and do the same thing. You got this!


Step 14


If this step doesn’t get the job done, you can always try the next option for an alternative approach; if it works, feel free to skip the next step and rock on!
– Spin the back cover counterclockwise like a pro to create a nifty gap between the camera shell and the frame.
– Gently slide an opening pick into the gap with finesse.
Step 15


There’s quite a bit of sticky stuff holding the frame to the camera shell, so you might need to heat it up a few times. If you need help, you can always schedule a repair.
– Gently slide a trusty opening pick between the camera shell and the frame to lovingly separate the adhesive.
Step 16


– Carefully position the tip of your opening pick right by your phone’s flash.
– Gently slide the pick in, taking care to steer clear of the flash’s plate.
– Cut through the adhesive to the right of the camera.
Step 17


– Aw yeah, lets rip off that bad boy cover! Judges, let’s keep it 100. Ready to assemble? Preheat your oven to Bro mode and let’s get cookin’!
Step 18


– Grab your trusty Phillips screwdriver and let’s get those five 4 mm-long screws out of the motherboard bracket! They’re holding it tight to the frame, so give them a gentle twist and set them aside. You’re doing great!
Step 19


Hold your horses! Don’t fully detach that bracket just yet—it’s still got a buddy in the wireless charging coil.
– Grab a trusty pair of tweezers and gently lift up to free the motherboard bracket from its cozy spot in the frame. You’ve got this!
Step 20

– Hey there! While giving the motherboard bracket a gentle hug to the side, grab a spudger and lift that battery press connector with care.
– Got it? When reconnecting press connectors of this kind, line them up perfectly and gently push one end down until it joyfully clicks in place. Then, do the same to the other side. Avoid pushing down on the center to keep those pins happy and unbent. A misaligned connector can be a real pain, causing some not-so-fun permanent damage. So, let’s keep our devices smiling!
Tools Used

Step 21

– While keeping the motherboard bracket safely out of your way, grab a spudger and gently pry up to disconnect the wireless charging coil’s press connector. You’ve got this!
Tools Used
Step 22


– Grab your trusty Phillips screwdriver and remove the happy little 4 mm-long screws holding the loudspeaker in place on the frame.

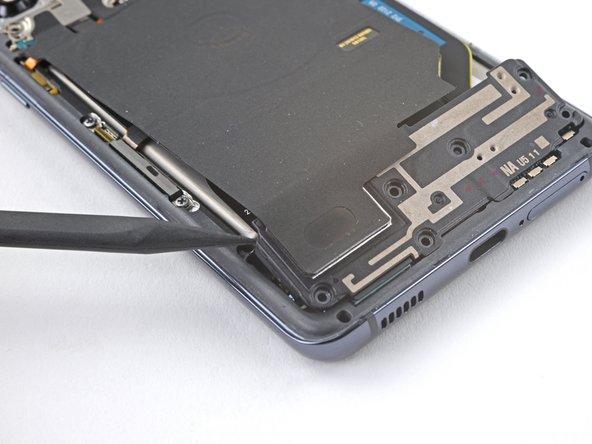
Step 24

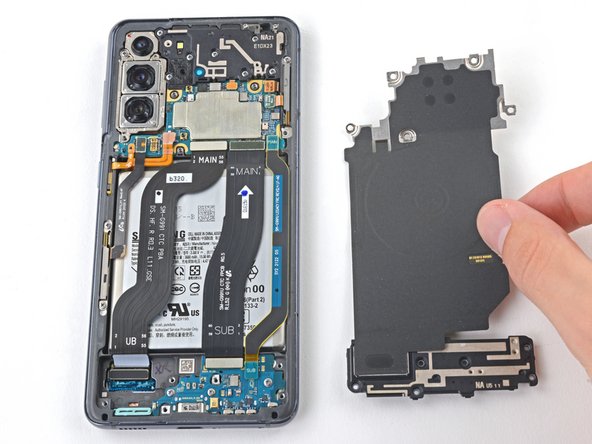
– Time to give that wireless charging coil the grand exit it deserves! Remove it with grace and care.
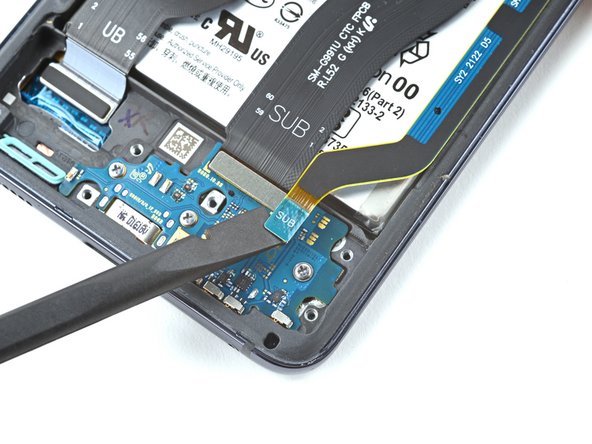
Step 25


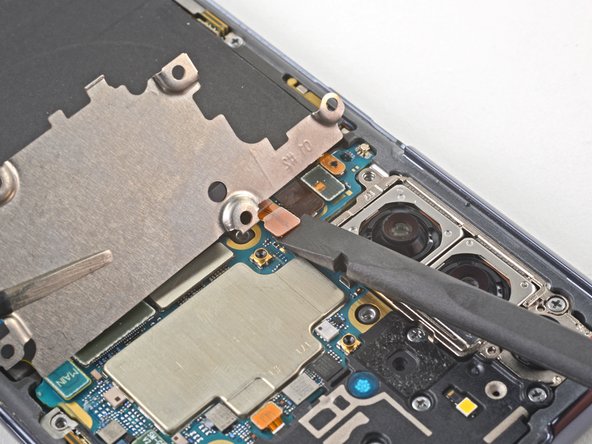
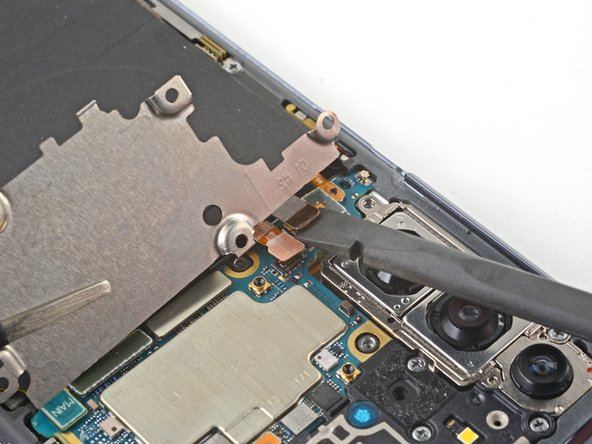
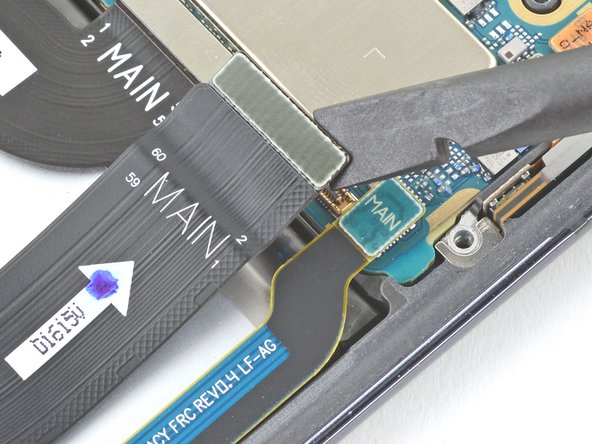
– Alrighty, it’s time to unplug the main connection buddy! Carefully nudge it away with your trusty spudger. If you need help, you can always schedule a repair!
Tools Used


Step 28

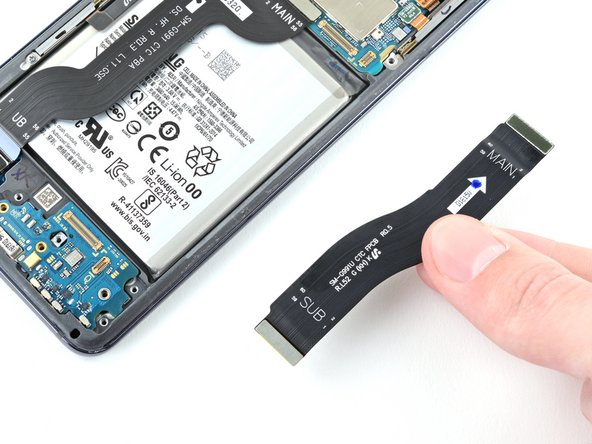
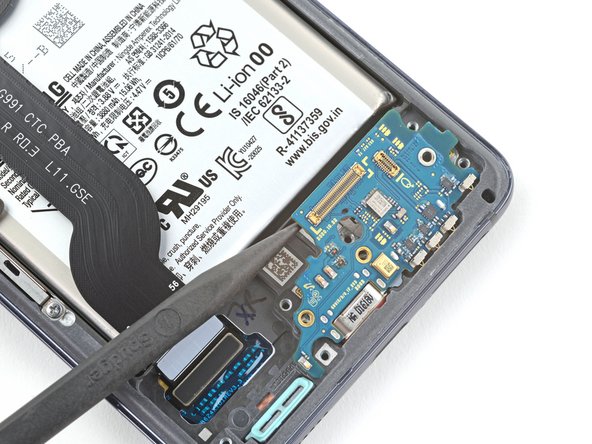
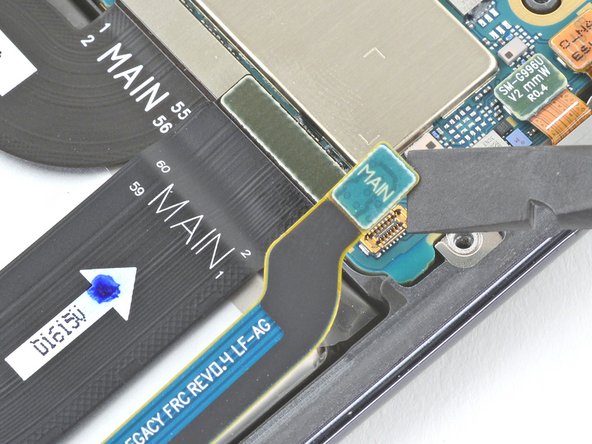
– Alrighty, get ready to rock and roll! Grab those tweezers or, if you’re feeling extra ninja-like, pinch those cables delicately with your fingers. Next up, set ’em aside – don’t worry, you’ll be besties with these cables again in no time during reassembly!
Step 29
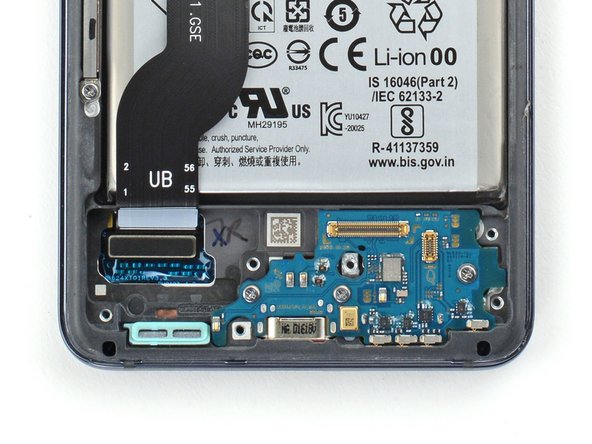

– Grab your trusty Phillips screwdriver and carefully take out the three screws, each measuring 3.5 mm, that are holding the daughterboard snugly against the frame. You’re doing great!