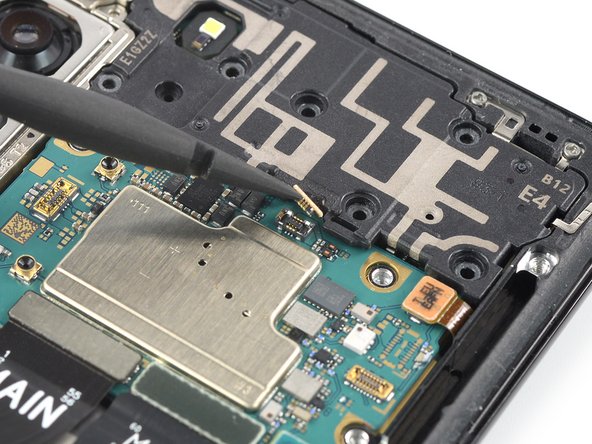
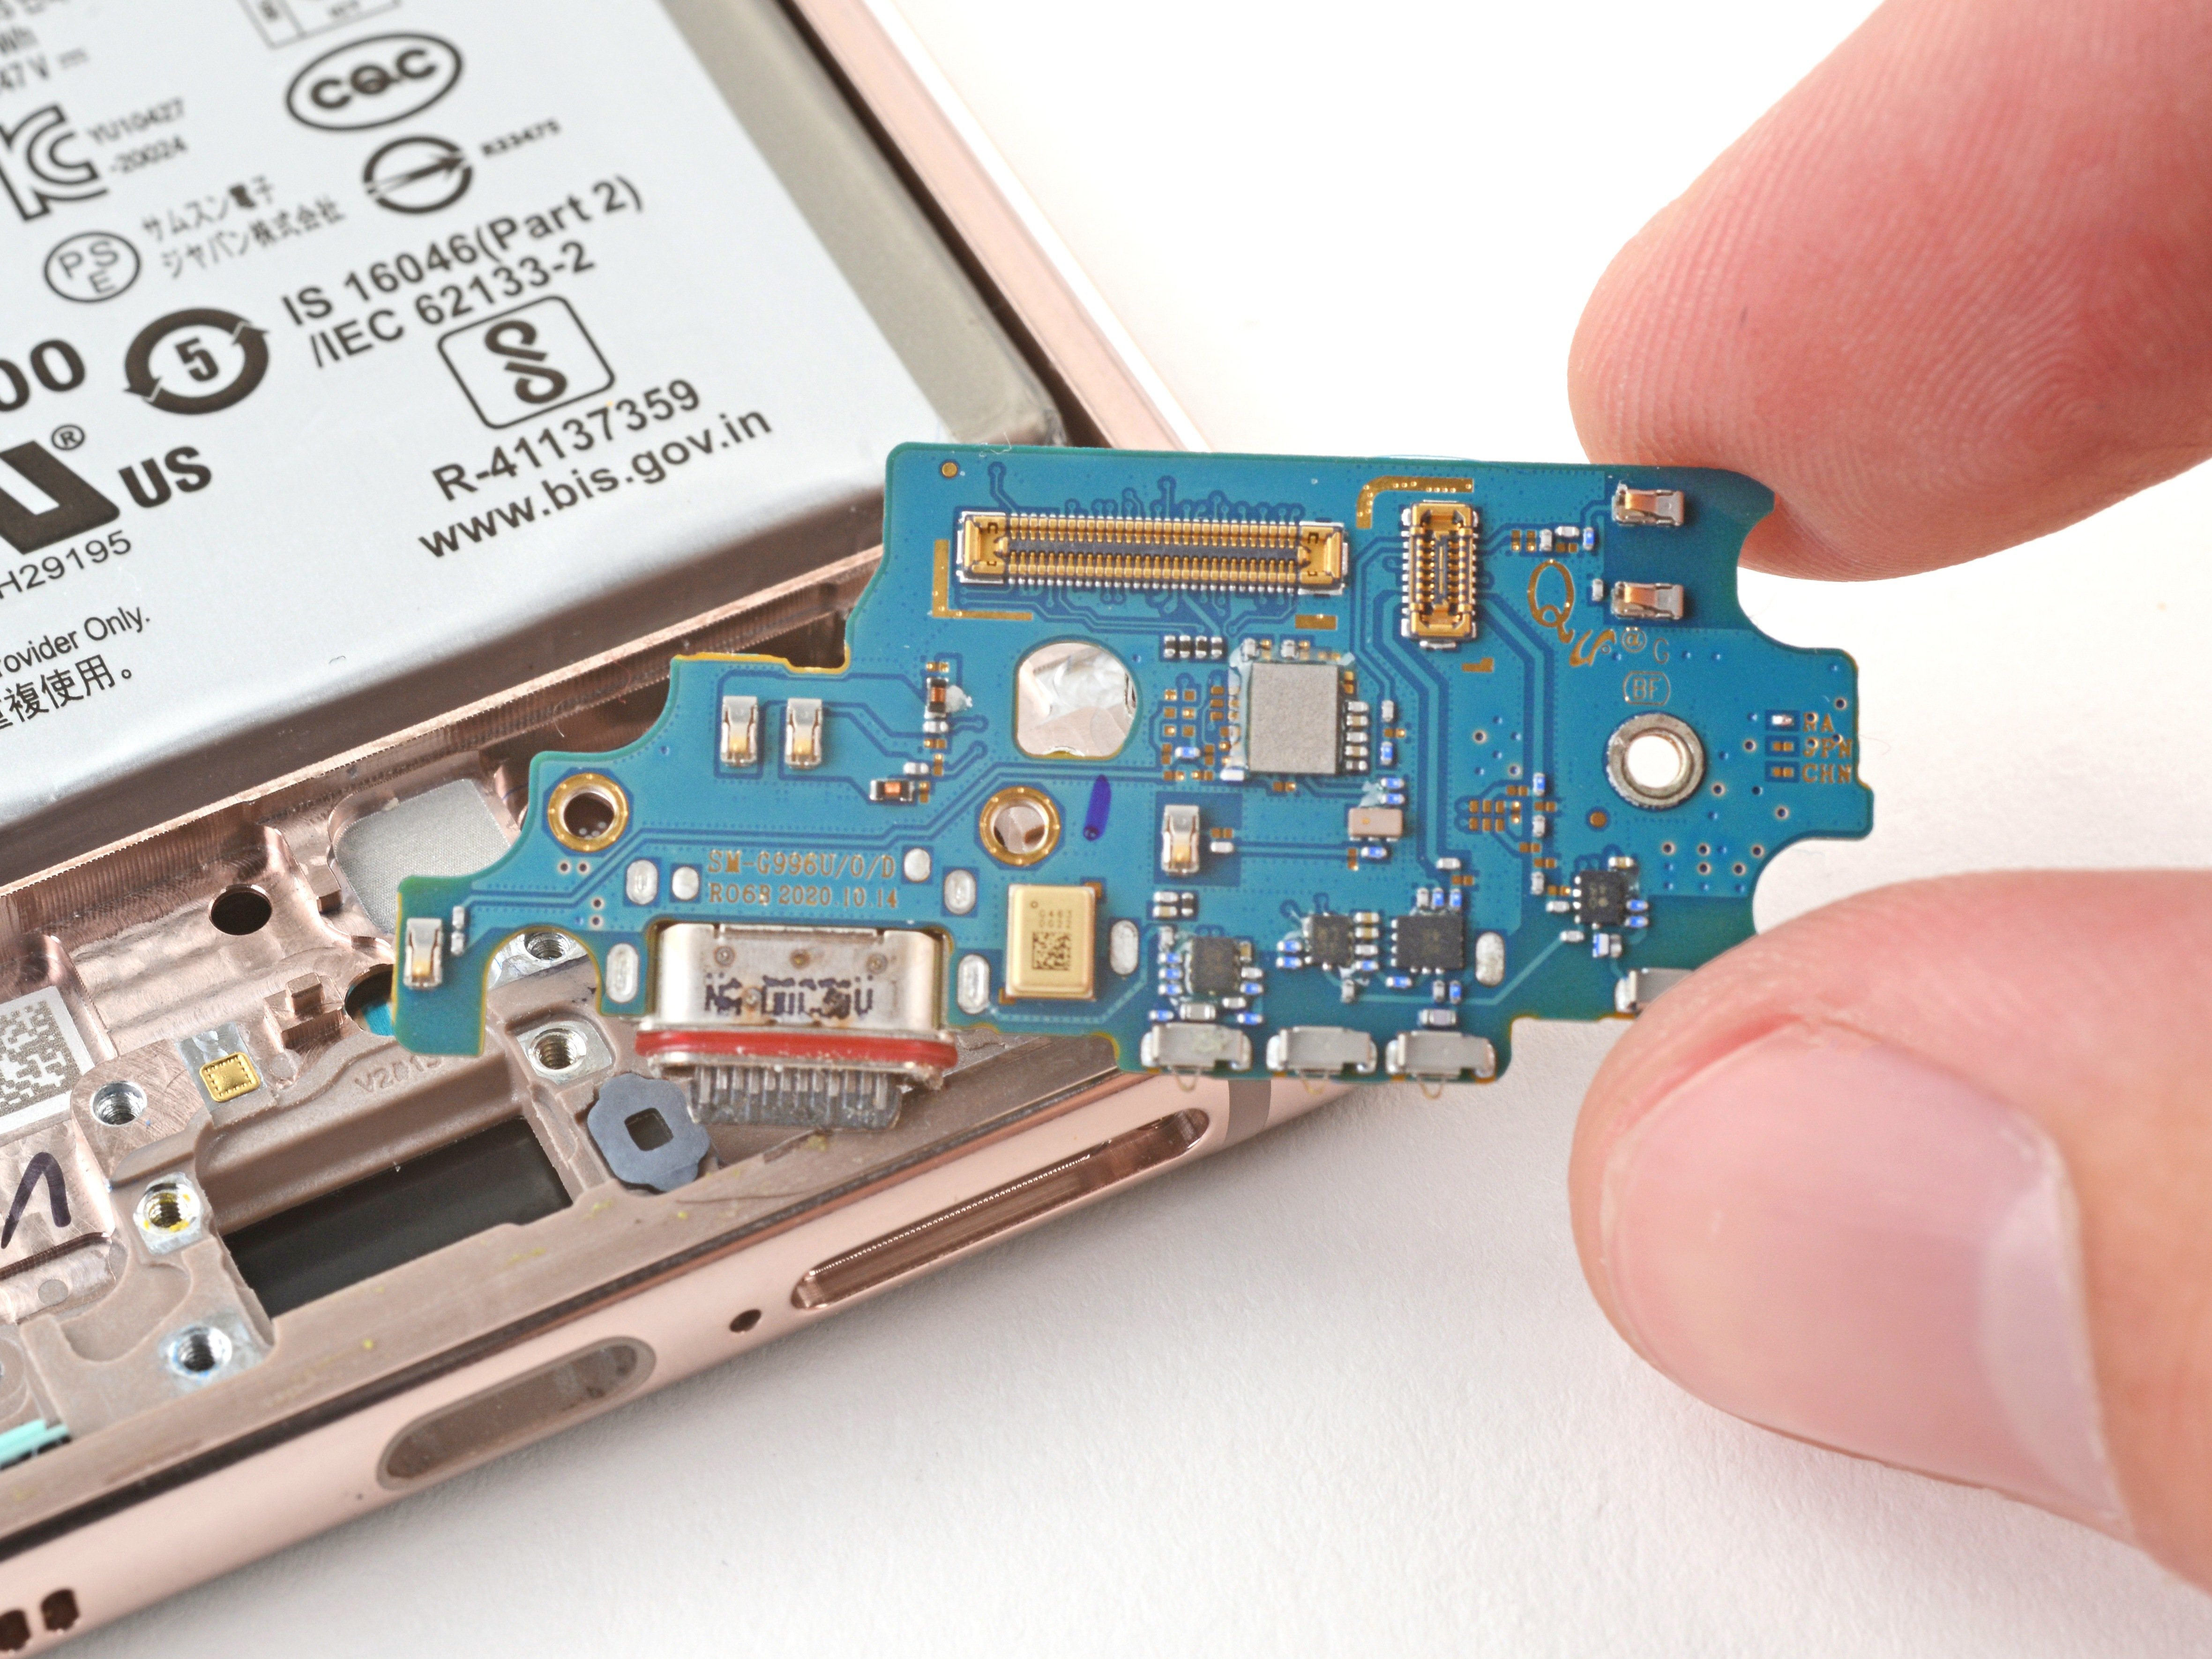
Samsung Galaxy S21 Plus Earpiece Speaker Replacement
Duration: 45 minutes
Steps: 18 Steps
Get ready to swap out the earpiece speaker on your Samsung Galaxy S21 Plus! This guide is tailored for the SM-G996B/DS (international) model, but keep in mind that other models might have an extra antenna cable tucked away in the midframe. When you're putting everything back together, remember that if you skip replacing the adhesive seals, your device will still work like a champ, but it might lose some of that sweet water protection. So, make sure to grab some replacement adhesive to keep everything snug and secure during reassembly. If you need help, you can always schedule a repair.
Step 1
You can use a hair dryer, heat gun, or hot plate, but remember to keep the heat in check! Your phone's display and internal battery aren't fans of excessive heat, so let's keep them safe while we work our magic.
- Grab an iOpener and gently place it on the back cover. Let it sit there for at least three minutes to help loosen that stubborn adhesive. If you need a hand or want to get this done smoothly, you can always schedule a repair.
Step 2
If the back cover has a crack, the suction handle might not stick as well as you'd like. No worries! You can give it a go with some sturdy tape, or for a more permanent fix, superglue that suction handle in place and let it set up so you can move forward.
Struggling to create a gap? Just crank up the heat a bit more to loosen that adhesive. Remember to follow the iOpener instructions to keep things cool and avoid any overheating mishaps.
- Stick a suction handle right near the bottom edge of the back cover—get it as close as you can.
- Gently pull up with the suction handle to pop open a tiny gap between the cover and the frame. You got this!
- Slide an opening pick into that little gap you made.
- Glide the pick over to the bottom left corner and slice through the sticky stuff holding it together.
- Leave the pick chilling in the corner to stop the adhesive from sticking itself back together.
Tools Used
Step 3
- Pop in a second opening pick at the bottom edge of your phone.
- Gently slide that opening pick over to the bottom right corner to cut through the adhesive.
- Keep those opening picks in place so the adhesive doesn’t decide to stick back together!
Step 4
If the adhesive is giving you a hard time and feels tough to cut, it’s probably cooled off a bit. Give your iOpener a warm-up for two to three minutes to bring it back to life.
- Pop a third opening pick into the bottom right corner of your phone.
- Gently glide that pick along the right edge to cut through the adhesive like a pro.
- Keep that pick snug in the top right corner to stop the adhesive from sticking back together.
Tools Used
Step 5
When working around the camera assembly, just dip the tip of your pick in—about 4-5 mm is all you need. Going deeper risks messing with the camera, and nobody wants blurry selfies!
- Pop in a fourth opening pick under the top right corner of your phone—like sneaking an extra fry into your order.
- Glide that pick across the top edge to slice through the sticky stuff holding things together.
- Let the pick chill in the top left corner, so the adhesive doesn’t get any ideas about sealing back up.
Step 6
When you're working near the power button, keep it cool and just dip the tip of the opening pick in (about 3-4 mm). Going too deep risks messing with the power and volume flex cable, and nobody wants that kind of drama.
- Time to get this repair started! Insert a fifth opening pick underneath the bottom left corner to begin loosening the adhesive.
- Now, gently slide the opening pick along the left edge of the back cover to slice through the remaining adhesive, making sure to take your time and be patient.
Step 7
- Take off the back cover with a gentle touch.
- When putting everything back together:
- Now's a great time to power up your phone and check that everything works like a charm before sealing it up! Just make sure to switch your phone off completely before diving back in.
- Use tweezers or your fingers to get rid of any sticky adhesive bits. A little high concentration (over 90%) isopropyl alcohol will help wipe away any stubborn residue.
- If you've got Samsung custom-cut adhesives, be sure to check out this guide.
- For those using double-sided tape, follow this guide.
Step 8
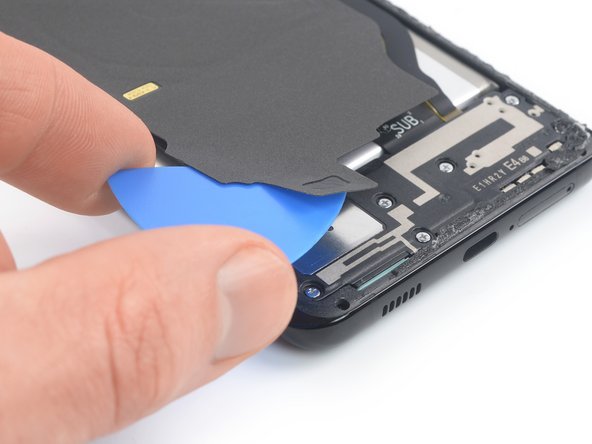
- Slide an opening pick under the left bottom corner of the NFC antenna and charging coil assembly, just like you're sneaking in a surprise party.
- Gently glide that pick along the bottom left edge of the assembly to separate it from the battery, as if you're gracefully dancing your way to a smooth repair.
Handle with care—avoid poking or bending the battery, as a punctured or deformed battery can leak nasty chemicals or even cause a thermal event. Also, watch out for that cable underneath the charging coil—work gently and stop if your tool catches on it. If you need a hand, you can always schedule a repair.
Step 9
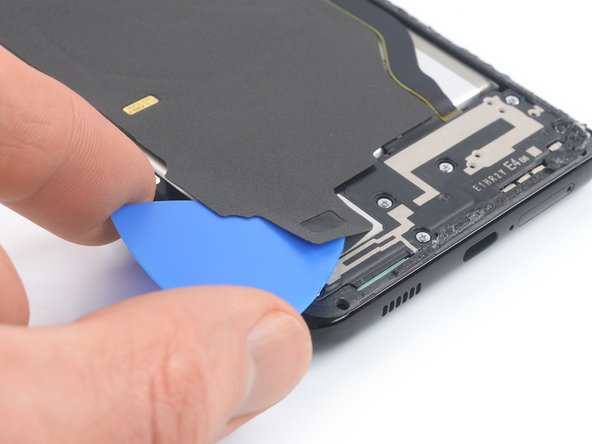
- Slide an opening pick gently beneath the lower edge of the NFC antenna and charging coil assembly. You're doing great!
- Carefully glide the opening pick along the bottom of the assembly to detach it from the loudspeaker. Keep it smooth and steady!
Step 10
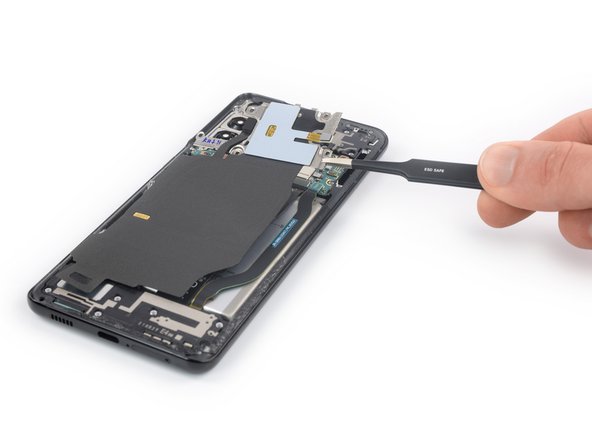
- Grab a spudger and gently pry the charging coil connector straight up from its socket to disconnect it. If you need a hand with this, you can always schedule a repair.
Tools Used
Step 11
- Grab a spudger and gently pry the NFC antenna connector straight up from its socket. Take your time to avoid damage, and if you need a hand, you can always schedule a repair.
Tools Used
Step 12
- Grab a Phillips screwdriver and loosen those five 3.9 mm screws holding down the NFC antenna and charging coil assembly. Easy does it—you're just removing the hardware that keeps everything in place. Need a hand? Remember, you can always schedule a repair if things get tricky.
Step 13
- Grab a trusty pair of tweezers or just your fingers, and gently lift out the NFC antenna and charging coil assembly. You've got this!
Step 14
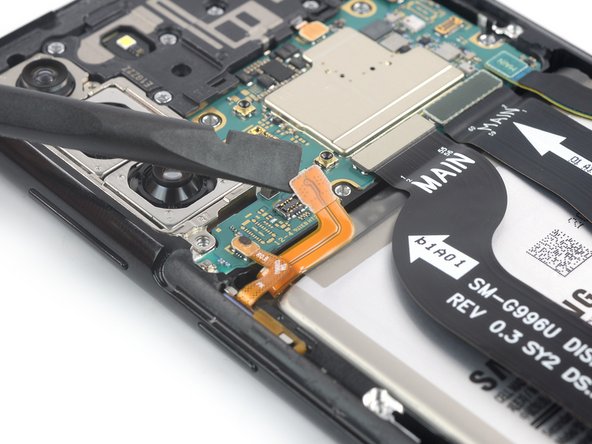
- Grab your spudger and gently lift the battery connector straight up from its socket to disconnect the cable.
Tools Used
Step 15
- Grab your trusty Phillips screwdriver and get ready for some fun! Let's unscrew those seven 3.9 mm-long screws that are keeping the earpiece speaker assembly in place. You've got this!
Step 16
- Grab your trusty spudger and gently pry the earpiece speaker cable connector straight up from its socket. You've got this!
Tools Used
Step 17
- Slide your spudger under the bottom left corner of the earpiece speaker assembly. Get in there like you mean it!
- Gently pop up the earpiece speaker assembly with your spudger. Take it slow—no need for a wrestling match.
Tools Used
Step 18
- Grab some tweezers or just use your fingers—whatever works best for you—and gently lift out the earpiece speaker assembly. No need to rush; slow and steady wins here.
- When putting everything back together, fresh adhesive is your friend! Make sure the area’s clean by wiping it with some isopropyl alcohol (90% or stronger) before sticking things down.


